The rigging looks great doogs. Pre-drilling the holes is one of the thing I did right. Still had to find them under the decal when that part was done.
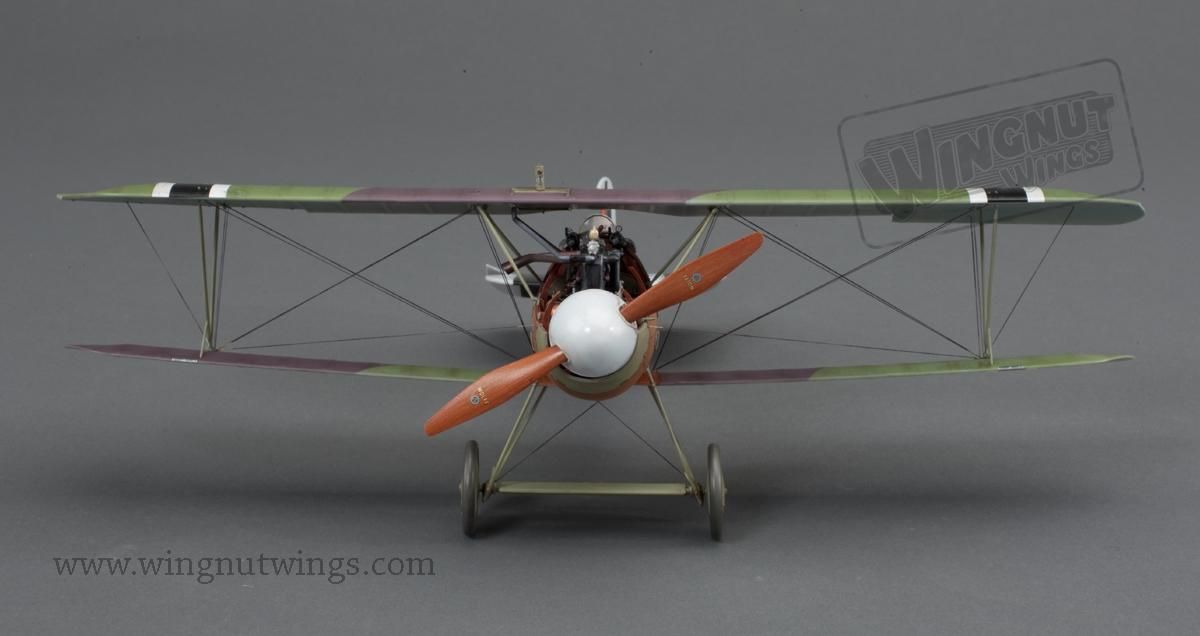
I did a test fit of the upper wing and have a big problem. The wing practically rests on the fuselage. No way the guns will fit underneath. I immediately went the the WNW site to look and the finished model pics and my eye went right to this one...
This photo is being used for discussion purposes only

My lower wing are flat and maybe even a tiny bit of anhedral. The weight of the upper wing pushes them down even more. The fit everywhere else in the kit was so good and the wing joint so tight I just figured it was right.

Having used a tiny bit of CA, thankfully not the Tenax, and the tight fit of the wing it must not have penetrated to deep and i was able to work the wings off with zero damage.
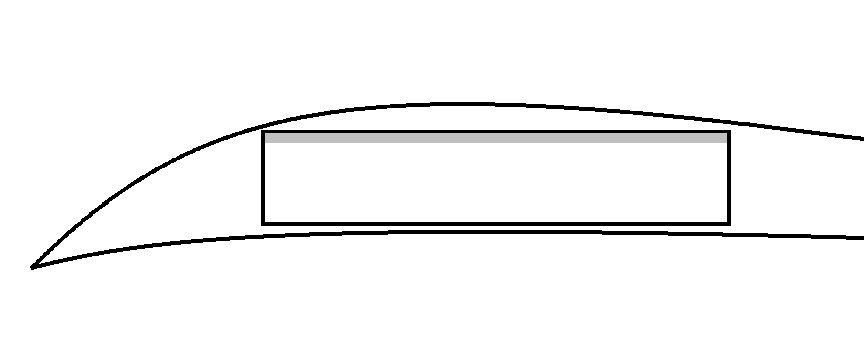
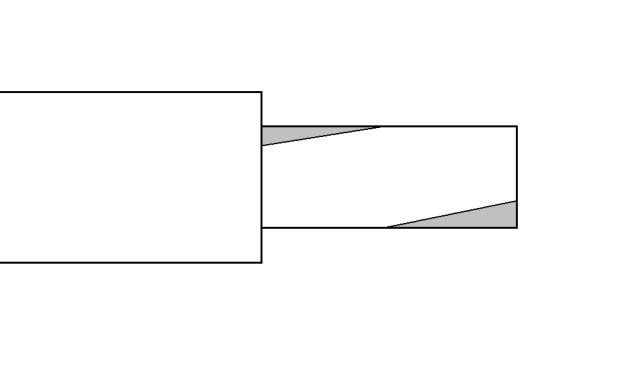
I looked at the wing root and came up with what seemed to be a logical course of action.
First I trimmed the top edge of the hole in the wind slot indicate by the gray line.

Then I trimmed the gray areas away on the tab on the wing. My though was to allow that tab room to rotate on its axis and still keep it as solid as possible.

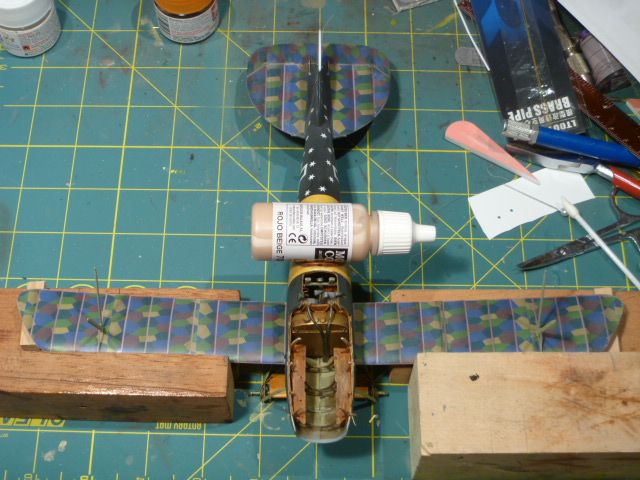
It all looked good in the dry fit so I made a jig taping 2 blocks of wood to the cutting mat, with 2 blocks standing at the front edge to press the wing leading edge against to keep them straight. The fuselage is set along a line to keep every saqure... note how the rudder lines up. Small block under the tips to hold the dihedral. The LG was off the mat about 3/16" so I weighted the fuselage to push it down. The wing was glued in with some slow cure CA to have a bit of work time to get it all set up.

The last thing I did was to redo the nose cables while in the jig and got them real tight to help add some support. No photo of the result but it looks pretty good.