Hello Everyone,
To start with - the kit is the RS Models 1/72 Tachikawa Ki-94-II. It is lowpressure injection plastic with 2 resisn parts (engine & intake) and a photo etched fret.
There are some very large ejection pin 'towers', good detail, good engraved panel lines, very little flash, and, so far, good fit (but vert few location pins).
The cockpit peices with photo etched peices added and paint.
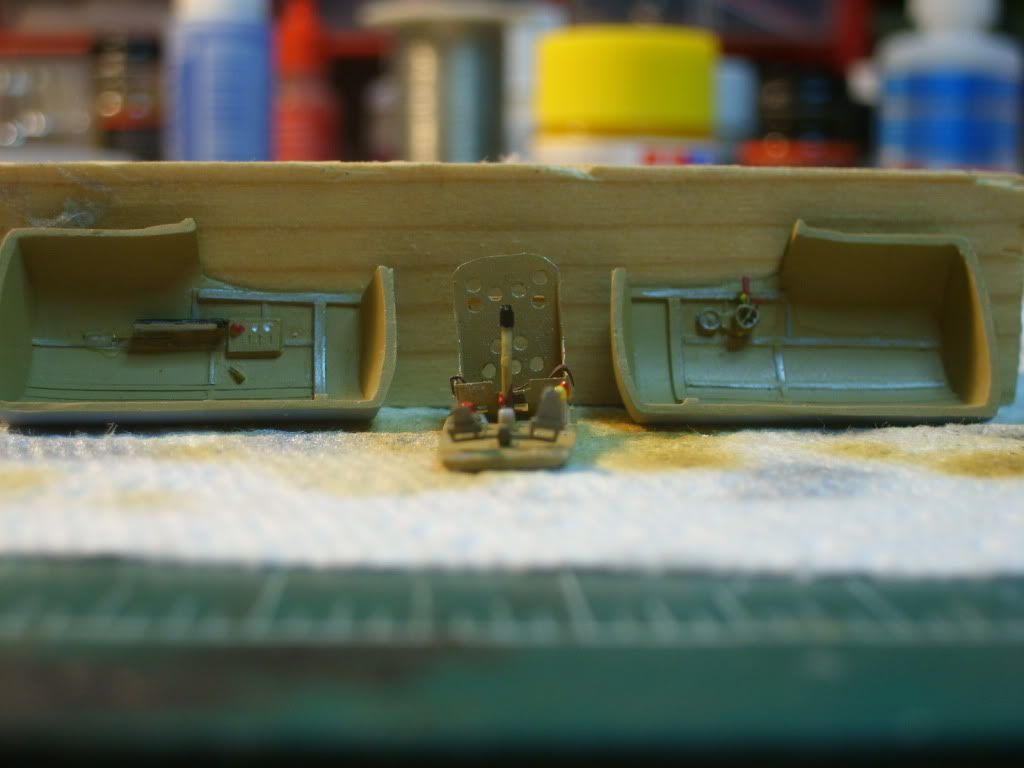
The cockpit tub - literally!
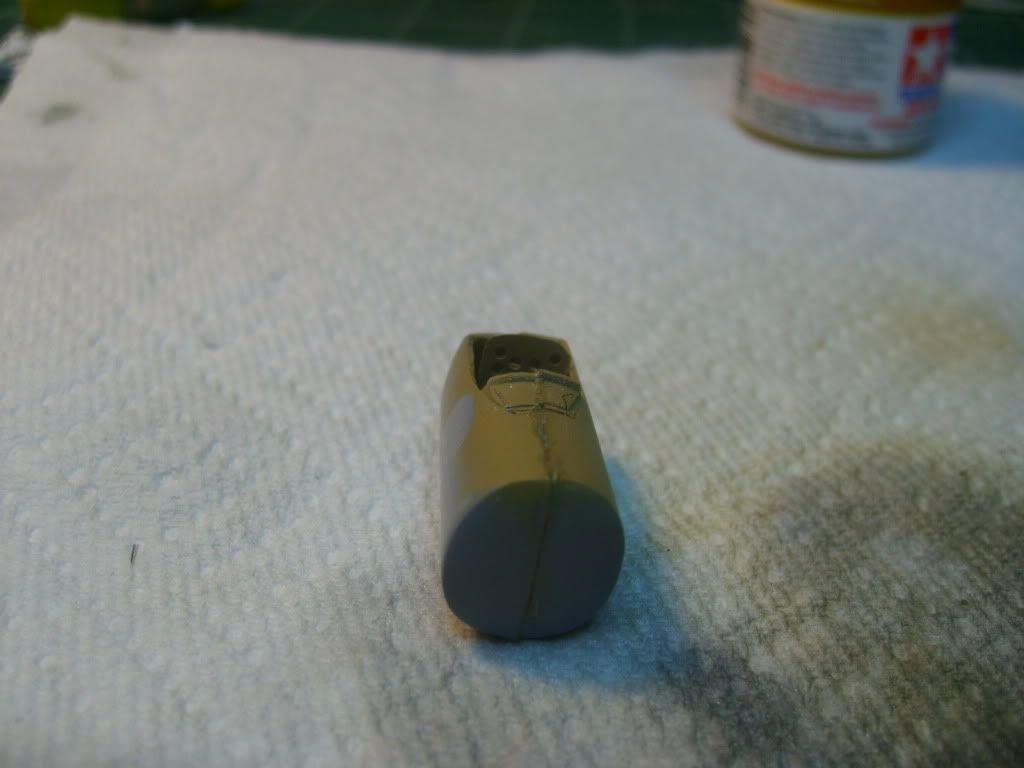
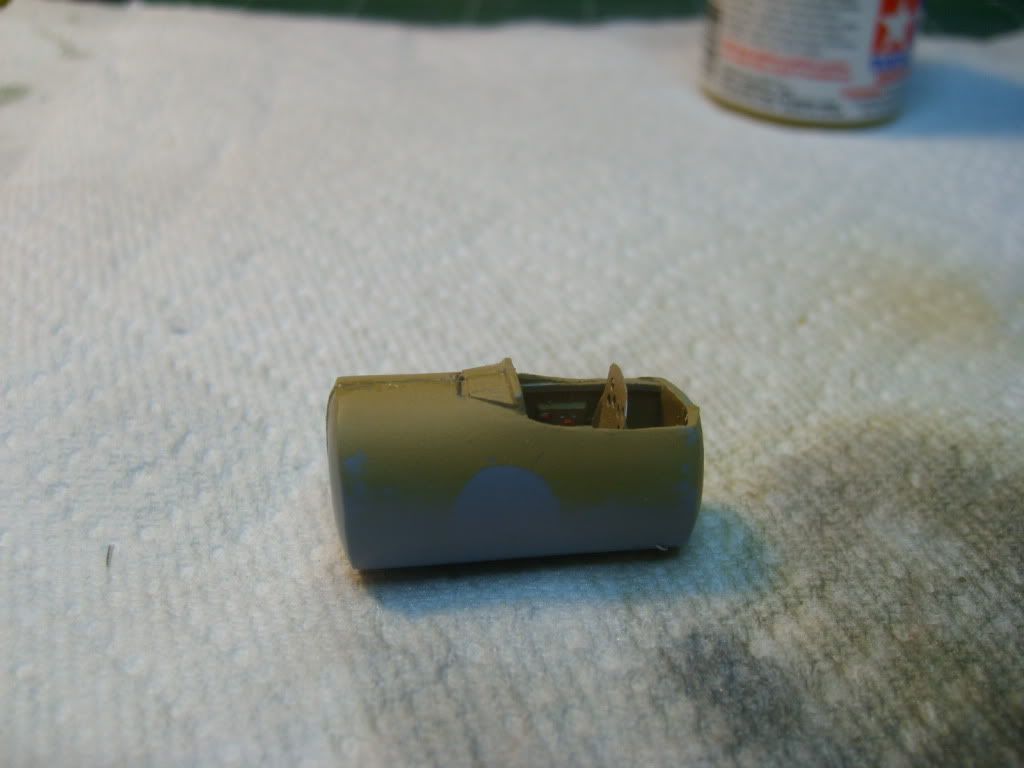
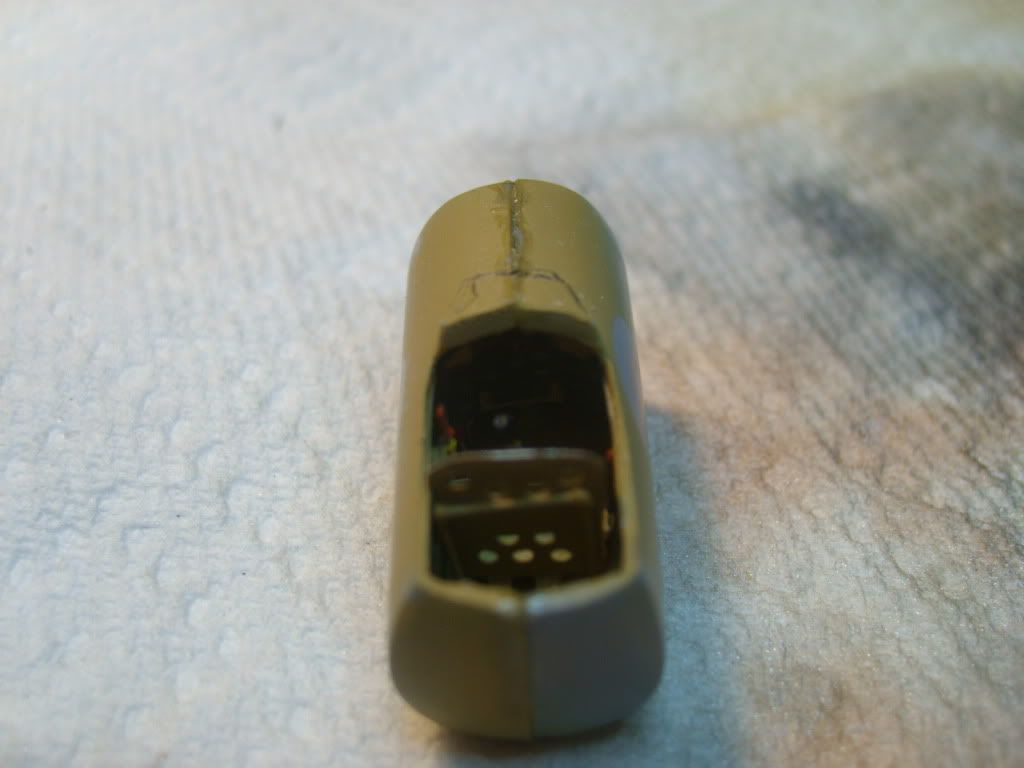
Before closing up the fuselage halves the engine need to be added as it cannot be installed later. Did I mention that there is no propellor shaft included in the kit? I'll make it out of telescoping brass tube (more on that later). Also I cut down the engine cooling fan just a bit so I can install it through the cowl at a later time.

With no locating pins the cockpit tub is held in place with Blu-Tack (poster putty). I later added some peices of sprue and CA to hold it in place.
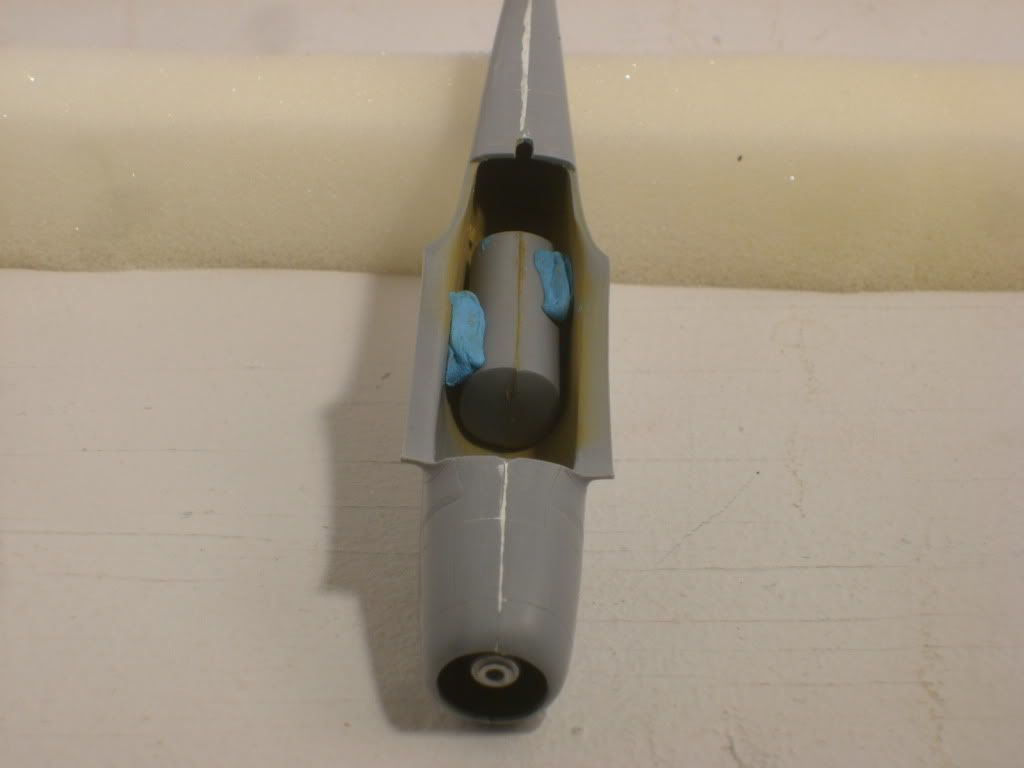
The cockpit tub installed and some work done on the fuselage seams.
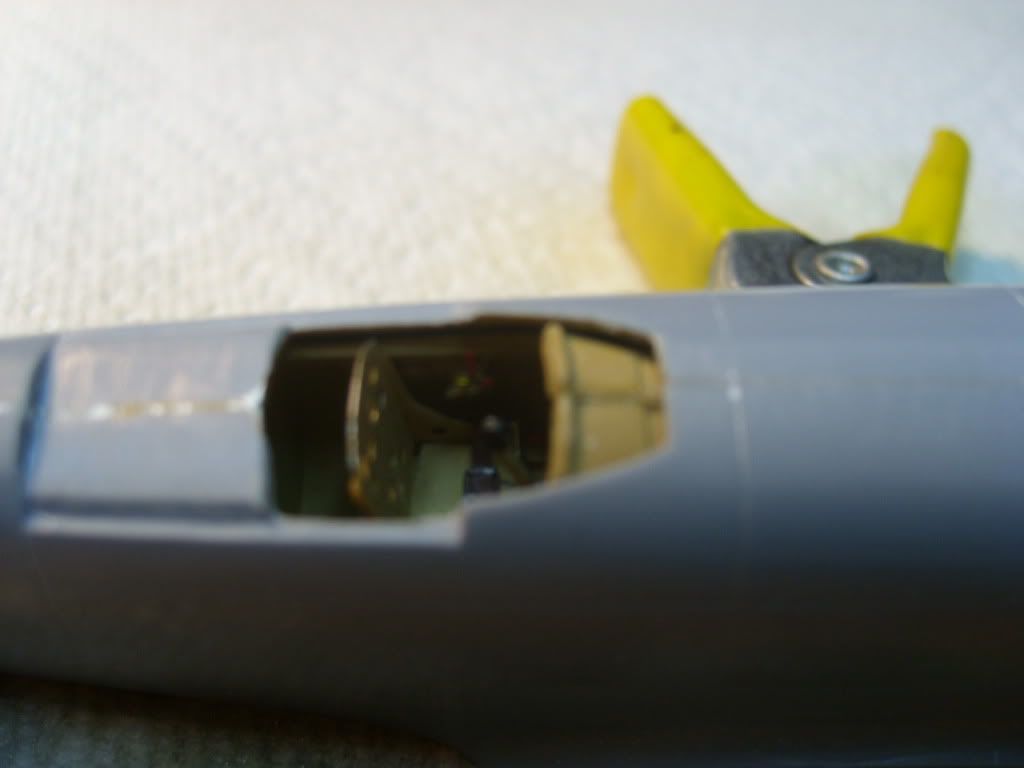
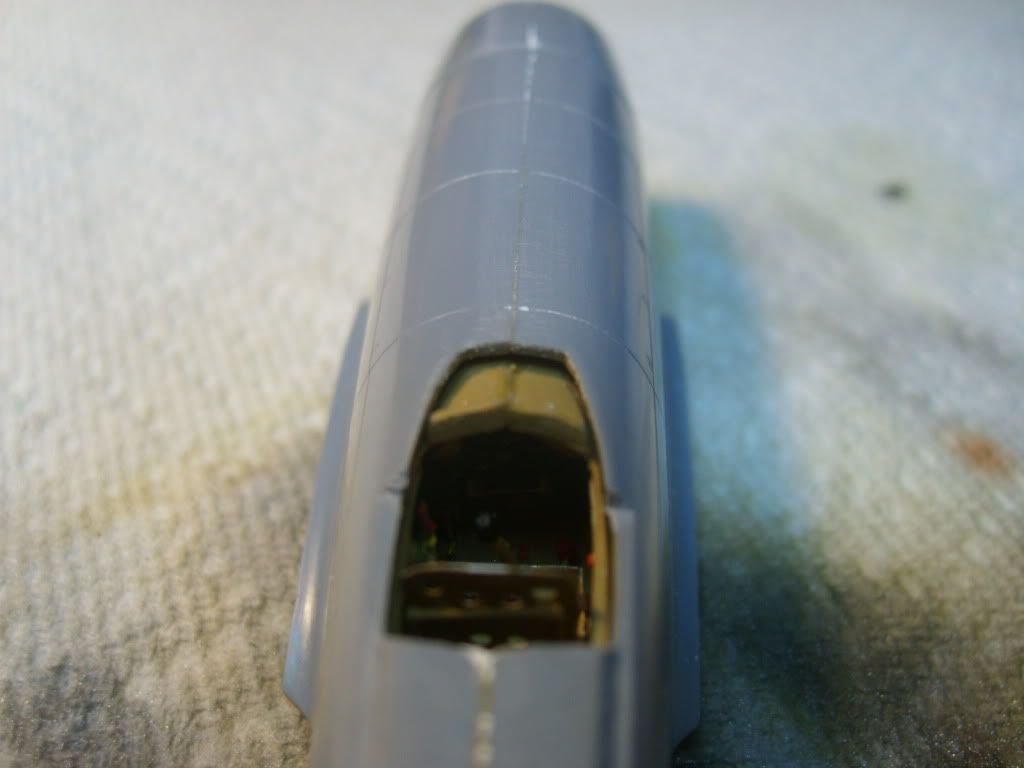
A lot more sanding of the cockpit tub and a little more adjusting and the cockpit is as close as it is going to get. Since there are no plans of the airplane and no photos of the cockpit I have no idea if the cockpit coaming should be smooth with the top of the fuselage, but I plan on filling it and smoothing it out anyway. The airplane did have a pressurized cockpit so maybe the step should be there?
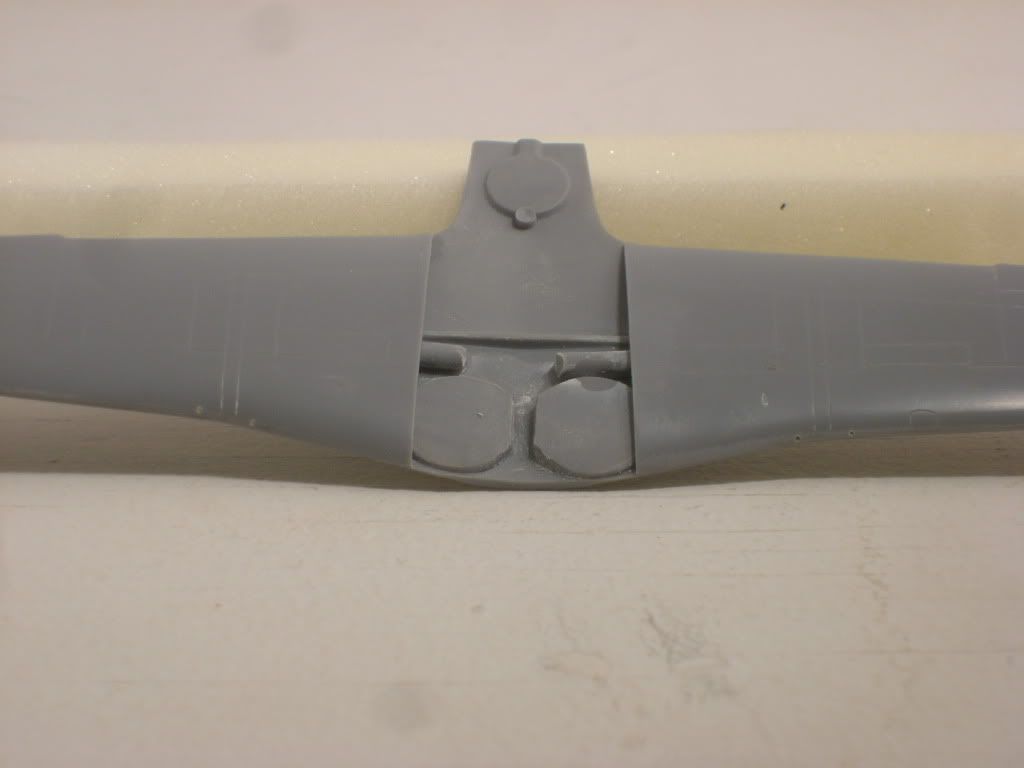
On to the wings. Initaillyy the top and bottom parts had ejection pin marks that held the two surfaces 1/4 inch (7-8 mm) apart. Then the landing gear bay inserts were added. These were much to thick to fit between the wing halves so the tops and fronts of the inserts were filed until they were almost paper thin.Finally I found the fit of the wings to be about 1mm below the wing root on the fuselage so I added some sprue to hold the top and bottom halves apart.
Landing Gear bay insert detail.
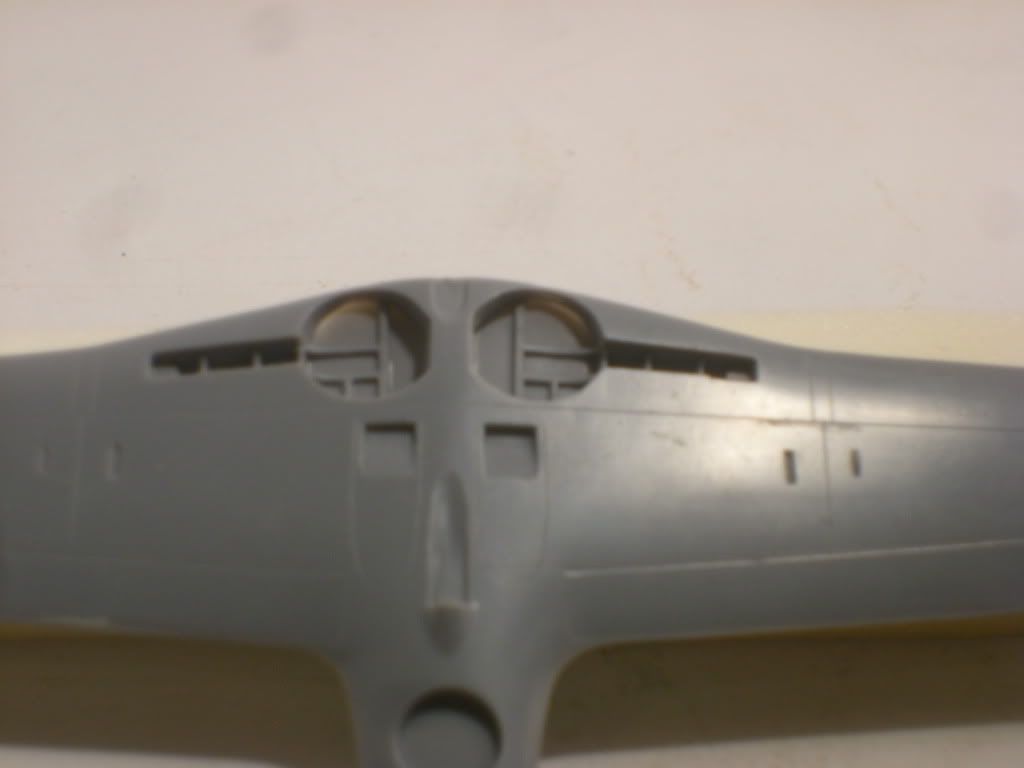
Lastly the wings glued together showing the sprue peices added to hold the wing halves apart at the wing root and the wheel bay inserts.
I also drilled out the wing cannon holes at this point just so their locations would not get lost in claening up the leading edge.
That's it for now. More in couple of days - if my PhD work allows me some modelling time...OK I'll TAKE the time.
Comments & suggestions are always welcome.
Kevin