Hi Everyone,
Today was another busy day. Today's mission; prepare the avionics bay to be installed.
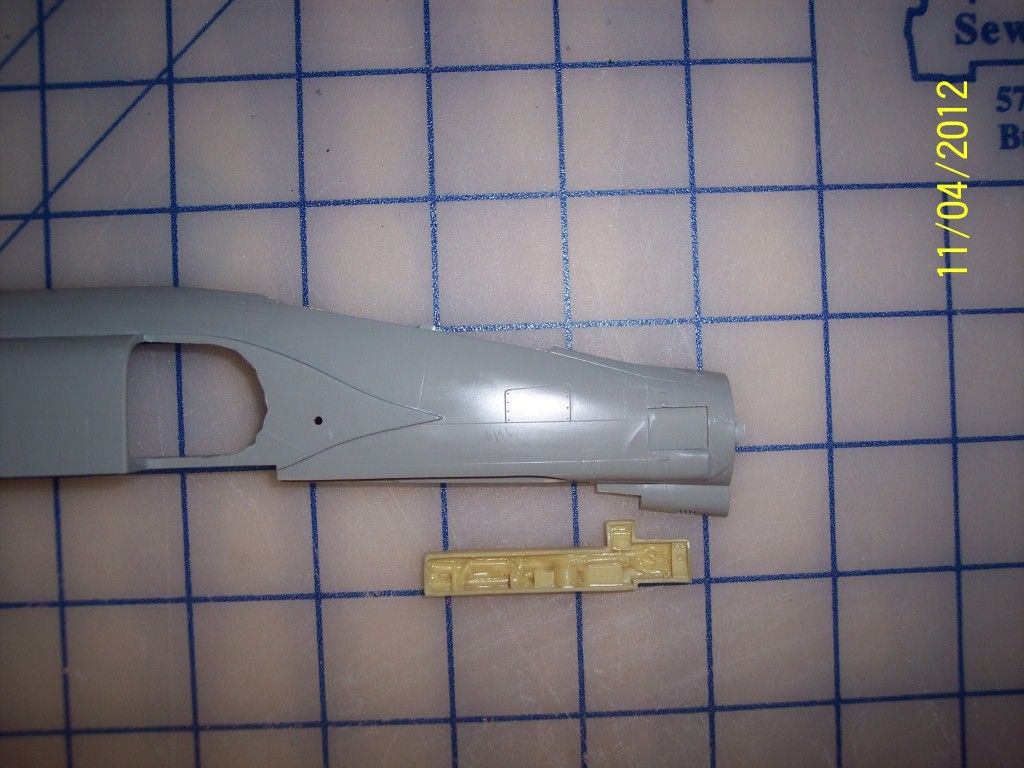
The first thing to note is that the photo etch of the panel frames is smaller than the resin piece:
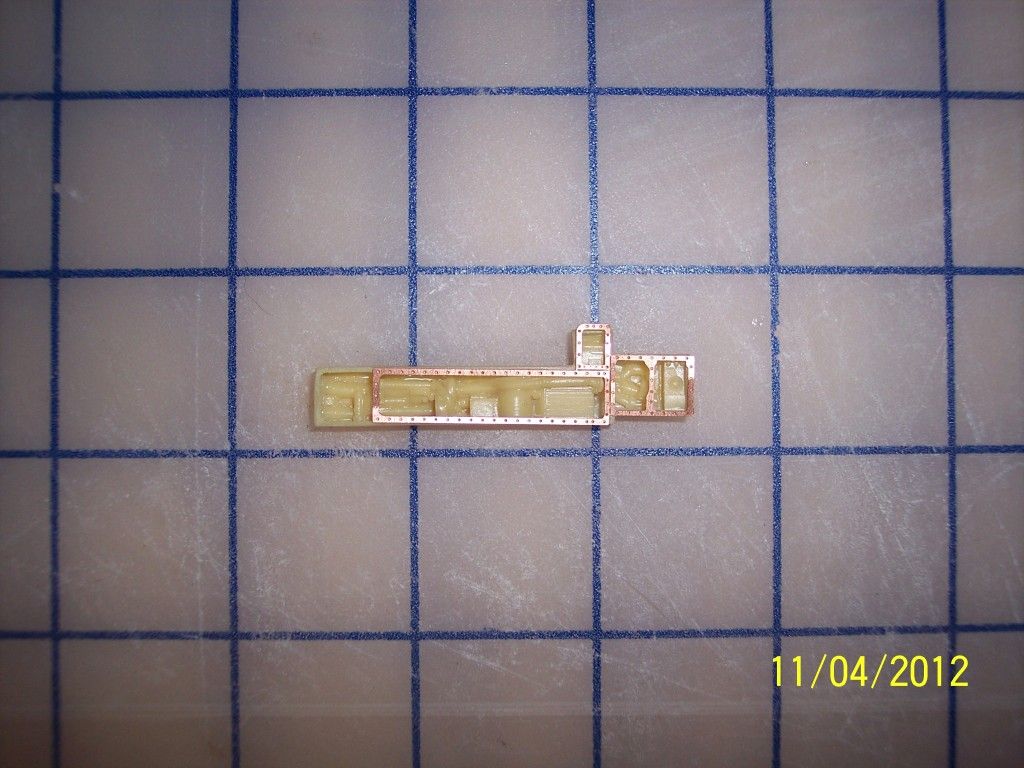
So the area to be cut out of the fuselage will need to match the photo etch, not the resin piece. Here is a picture showing the placement for the photo etch on the fuselage:
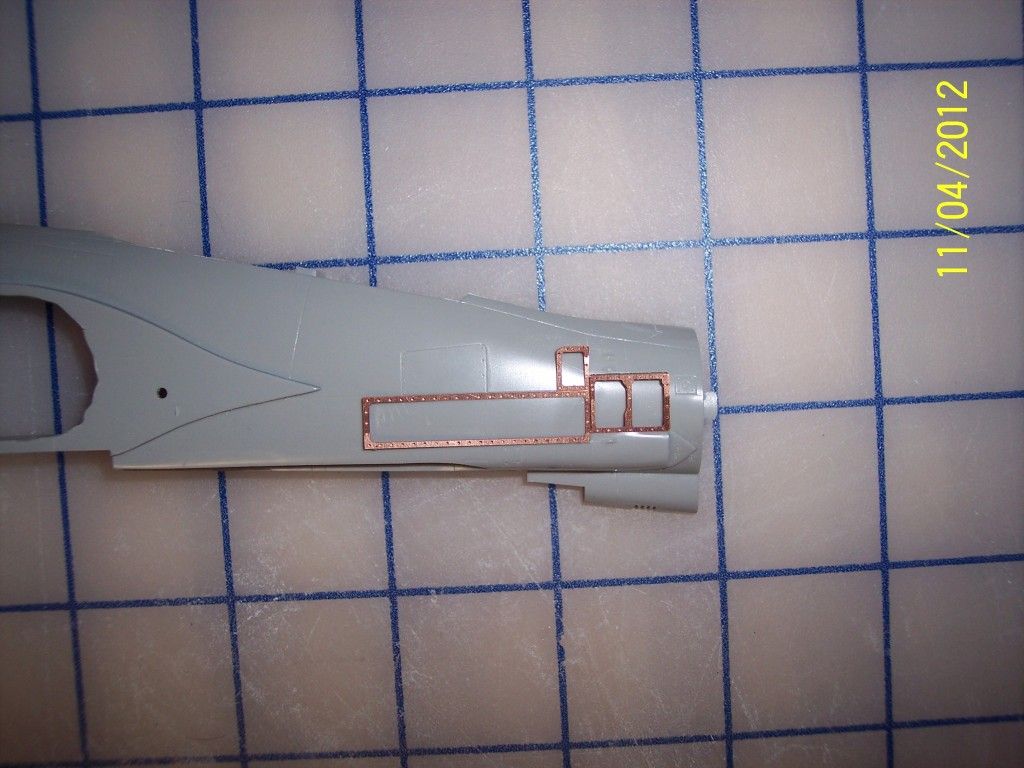
I used the photo etch as a template to trace out a line for the hole I needed to cut out of the fuselage:
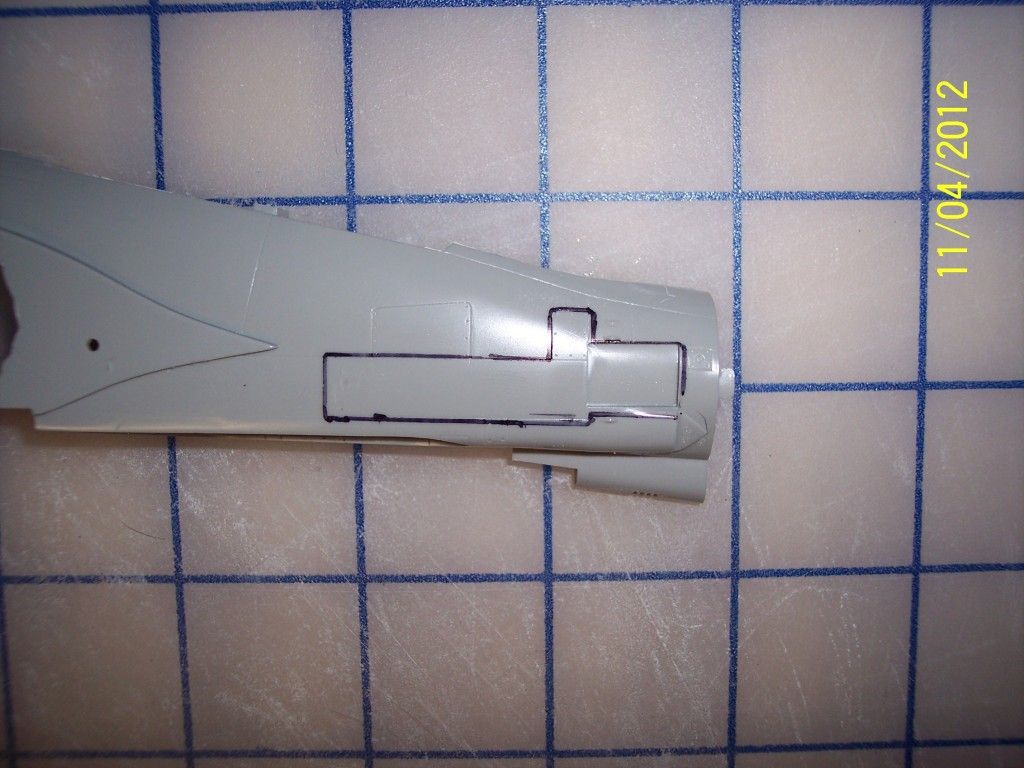
Next I used my Dremel with a cutting bit and carefully cut out the hole staying well within the lines:
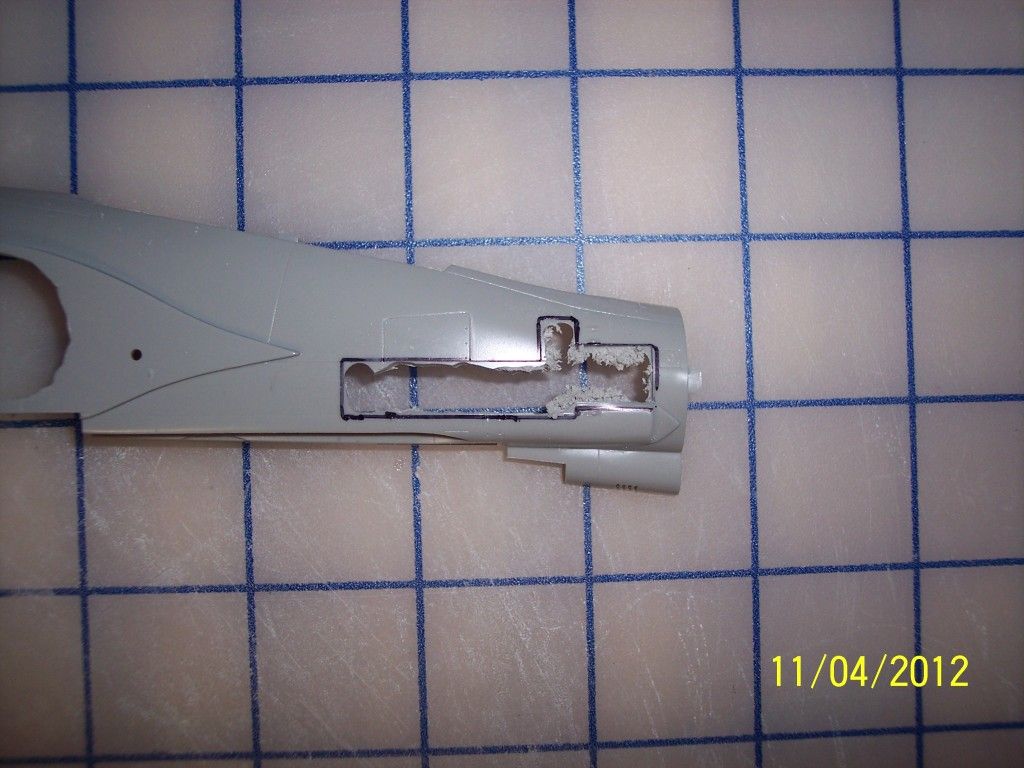
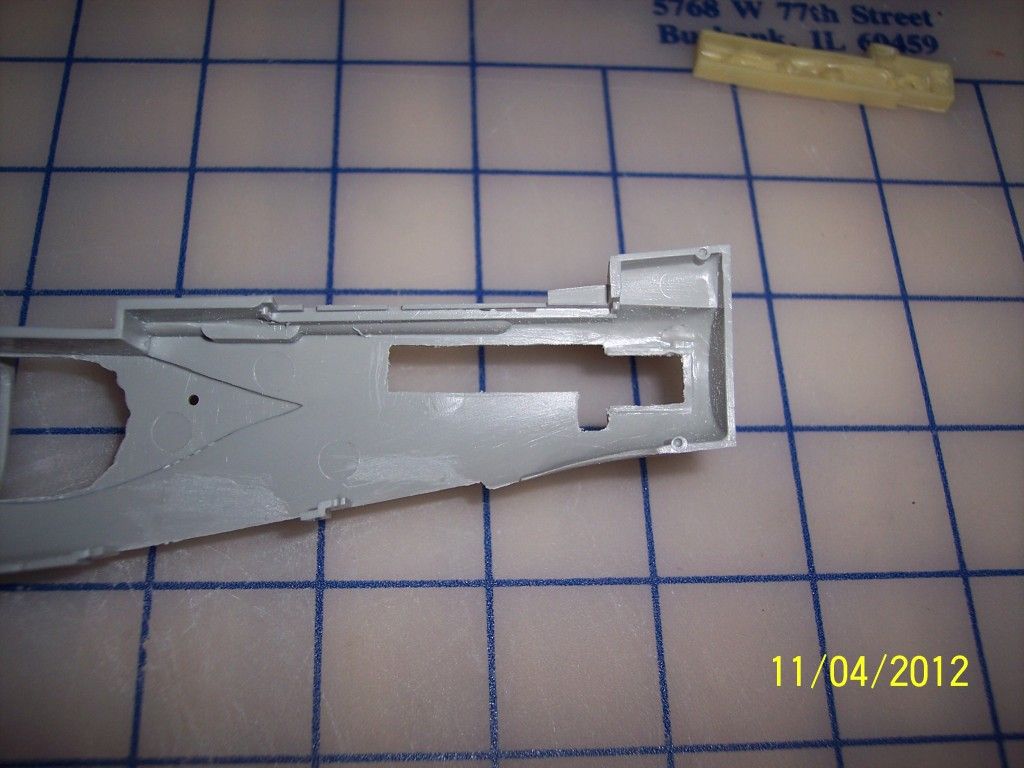
Then I finished the hole with a flat file. The next thing I had to take care of was on the inside of the fuselage toward the nose was a raised area that I had to remove with the same flat file:
Here is a picture with the resin avionics bay inserted into place. Take note of the upper right corner. Because of the shape of the fuselage, that corner of the avionics bay sticks up above the fuselage. More about this in a second.
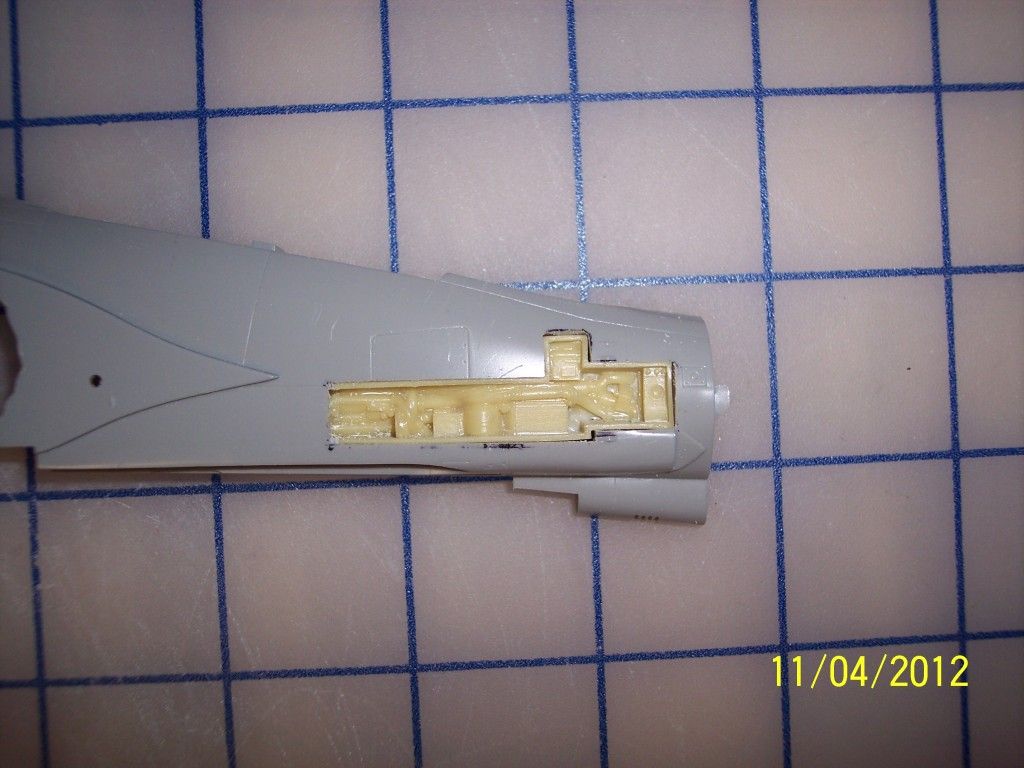
Here is a picture of it from behind:
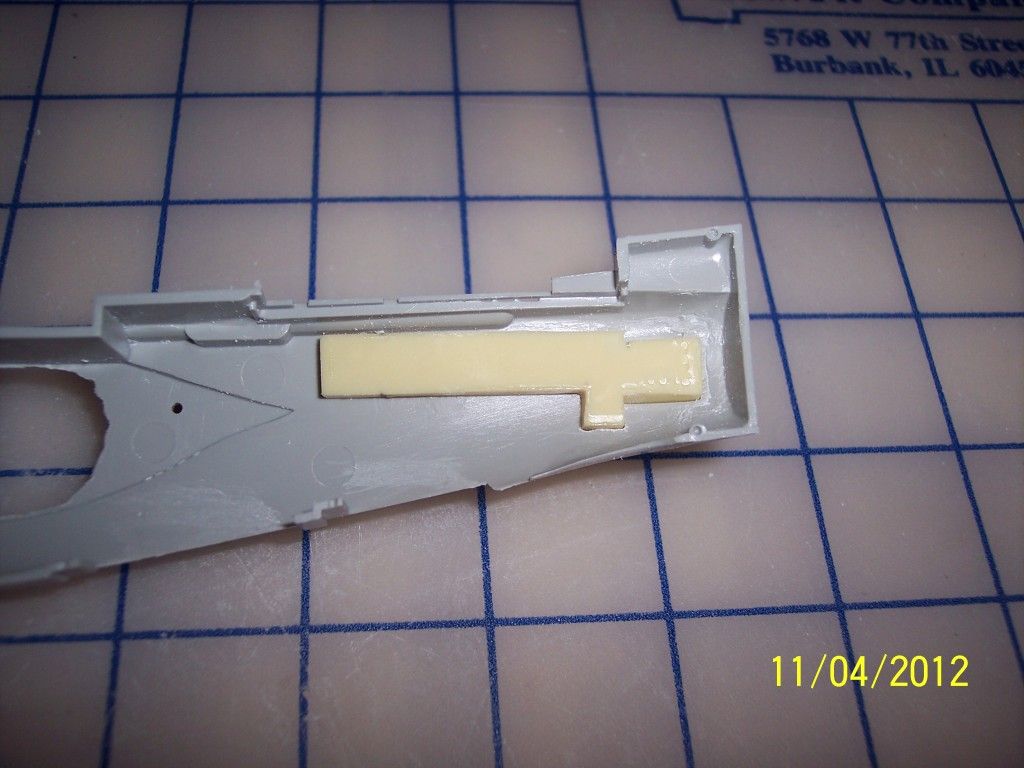
In this next picture you can see where I modified the resin piece where it was "under" the panel so that it would fit flush. This way when I place the photo etch piece on top, the thickness of the fuselage is not holding the resin piece too deep making it out of scale for the depth:
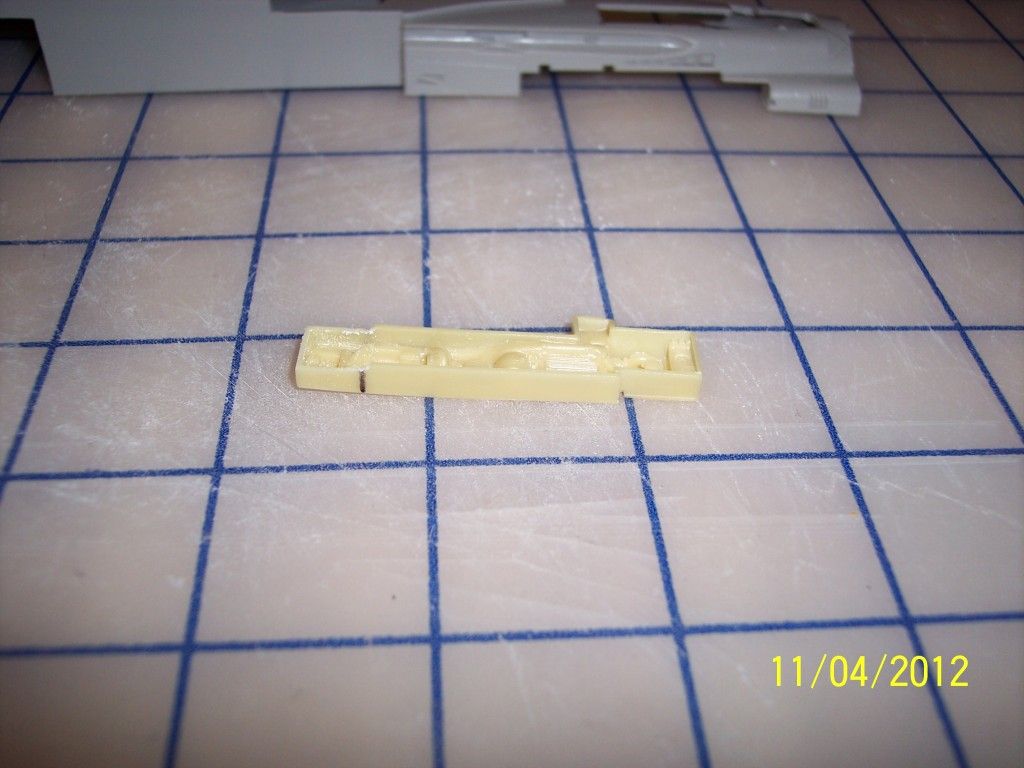
Okay, now back to that corner that is sticking out too far. I came up with the idea that I could run hot water over the resin piece to soften it up and thereby be able to bend that corner down so it wasn't sticking up too high. Here is the result:
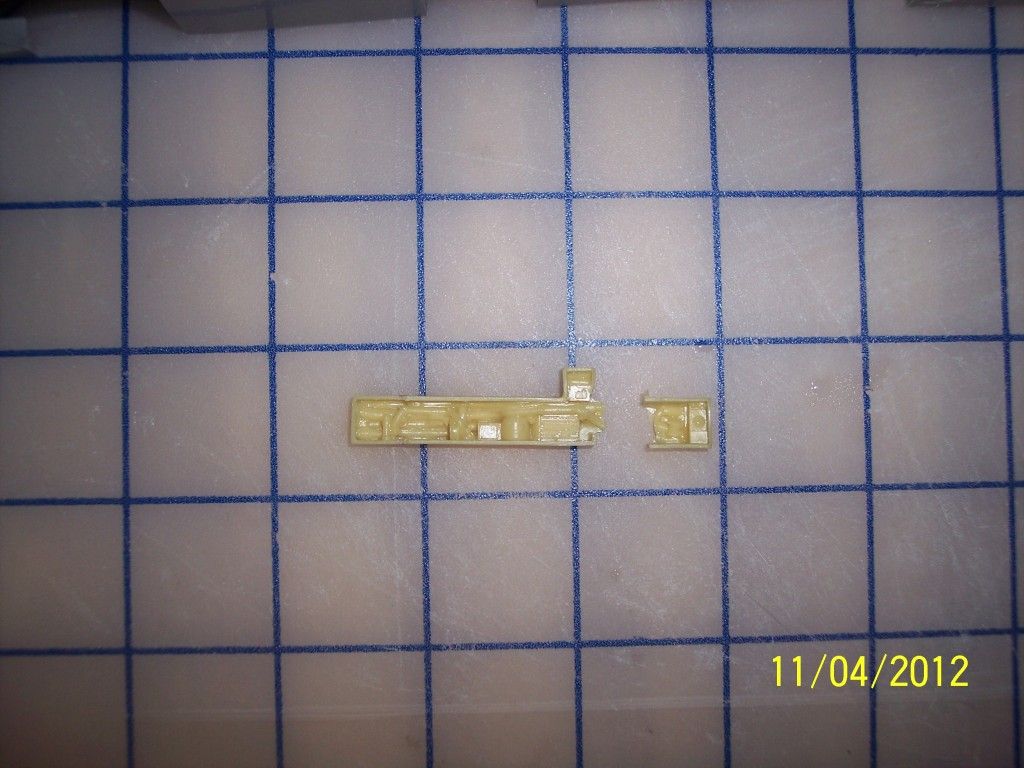
I had a feeling that it was a bad idea, but live and learn. So instead I filed down that corner then super glued the two halves back together. Fortunately the way that it broke you will never be able to see it after it is glued back together. So now I will have to wait for the glue to dry before I proceed.
Ken