Geez... so this is what happens when you don't post for 2 weeks, eh? 10+ pages to catch up on and all the progress to admire. We really have a zimmerit showcase going on. I think we are up to 5 different mediums for zimmerit. Molded, paper, putty, resin and PE, wow. So... where to start?
Mike/TB379 - Looking sweet. I am really looking forward to seeing the final camo scheme on that huge cat. I too have been starting to dabble in the scaling effect with my recent builds, so I'm watching with interest.
JOE RIX - Man that PE zimmerit looks sooo good. It's probably the most realistic looking of the lot. I agree with the others that your efforts are worth the results.
Eric - Man, now I've noticed that my kit doesn't have tow cables. After seeing yours I'm gonna have to buy some. (As if I haven't spent enough coin on this thing already. This must be a phenomenon of joining your 1st group build.  ) And good luck with starting the 2nd simultaneous build. Brave man.
SMJ - Paint job and battle damage look great. It'll be a nice and scruffy alley cat. Looking forward to the weathering.
Armor86 - Very nice weld seams and surface finish. Almost looks like a whitewash coat... I'll be interested to see how the paint looks over it.
Carl - What can I say. Masterful detailing. The turret is a thing of beauty. I am going to have to try some of these techniques on my future builds. It really does just add so much. It's those subtle nuances that when you notice them, are very appreciated. This is what I aspire to... realizing I have a very long way to go.  Hope you enjoyed that wedding! (A question for ya.. now that you've gone this far, are you going to add the casting numbers seen on the base of the gun or elsewhere?)
Ben - Boy you've made a heck of a lot of progress. I really like this kit. All those AM goodies.. love it. (It looks to me like MC1 is a PE zimmerit piece to cover the gap left by the joint of the upper/lower hull - to cover the smooth area there.)
wingnut/Marc - Thanks for the in depth lesson on paper zimmerit. After your trials and tribulations I don't know if I'm brave enough to try it... but it really looks good. Even better when you factor in that it's 1:48. The places where you had trouble and it got all mushy just look like chipping/battle damage. With that yellow base coat on, it just looks awesome. And I'm very much in awe of your paper spare link brackets on the rear hull. Those are pretty cool. Again, more amazing to me given the scale.
malone duke - You are a PE genius. Did you use any of the kit parts, sir? I would probably be pounding my head on my bench with that much PE. I'm pretty close with mine as it is. You've got some mad skillz, man.
Andy - Sweet work on your PE as well. Those are the "little" things that drive me nuts when I try them. I am always a little jealous when others do them so well. More practice! Do you solder? I'm coming to the realization that I need some magnification. Don't have that 20 year old eye sight any more.
Hope I didn't miss anyone!
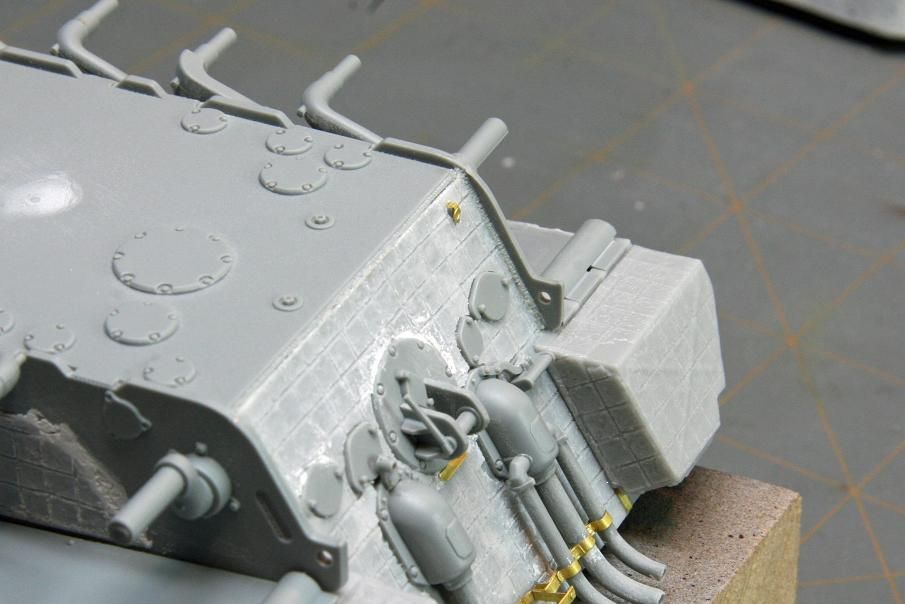
Now for my update. I feel like I've been spending a lot of time building with not much to show for it. I still feel so far away from painting... So, trying to keep up with the group, I went from never doing a weld seam to having 27 on this thing. Examples of the rear/front hull. I used stretched sprue as before and liquid glue to soften. I made the texture by pressing the back of an older/dull exacto blade into it on a slight angle.


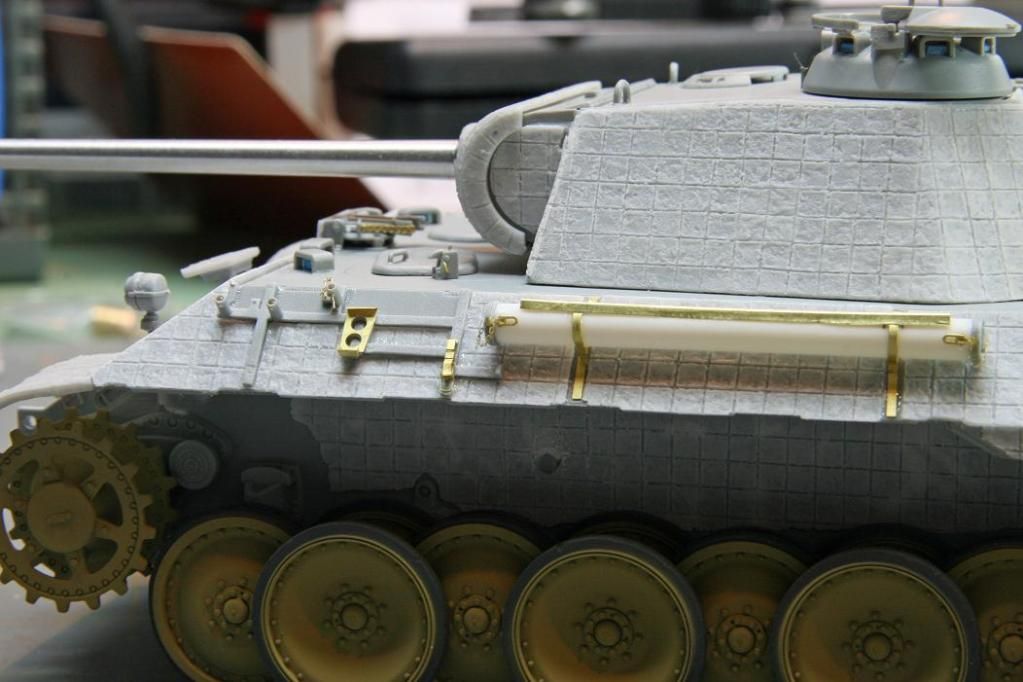
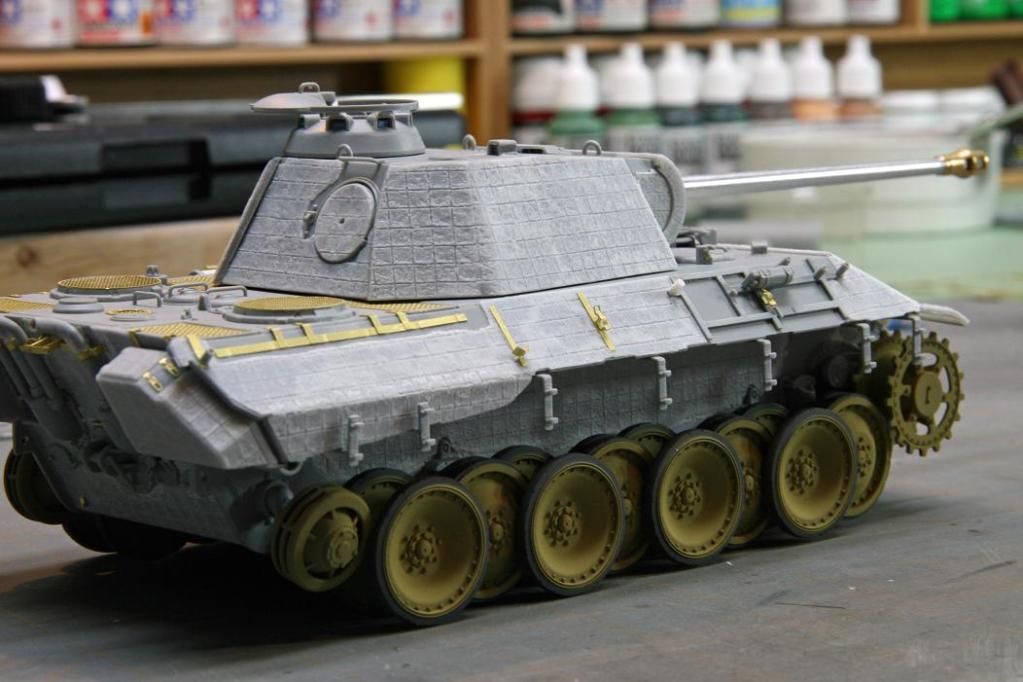
Here are some shots of where I'm at overall. I finished attaching the tool brackets. (I paint the pioneer tools separately and attach after camo is on.) I dry fit the wheels again just to see how it will look. This small PE stuff takes me forever, so I'm looking forward to getting to painting. Still have a bit of work on the spare link racks in the back, etc., but getting closer.


Any questions or comments are welcome. Thanks!
Dave