Now, back to the plastic, the Airfix Dauntless.
I usually glue the horizontal stabilizers on planes first, then set the proper angle with a protractor. I find that this lets me use enough glue to keep them from falling off during the gluing, sanding, painting phases--when, in the past, I have knocked them off.
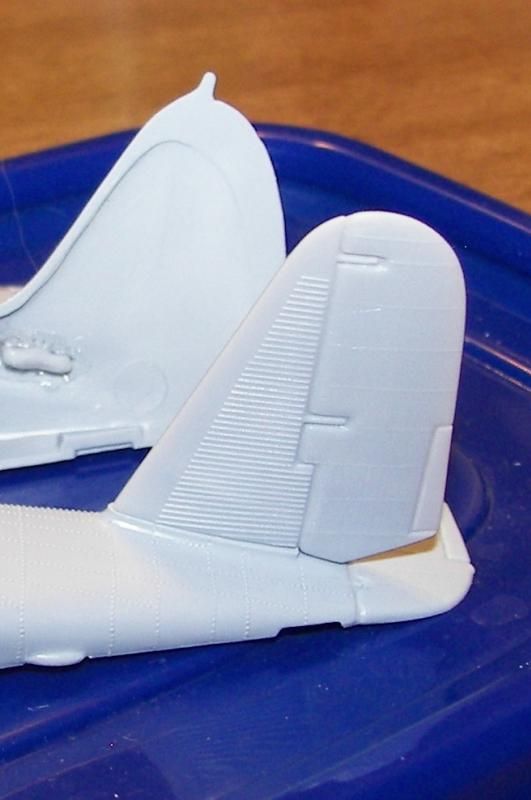
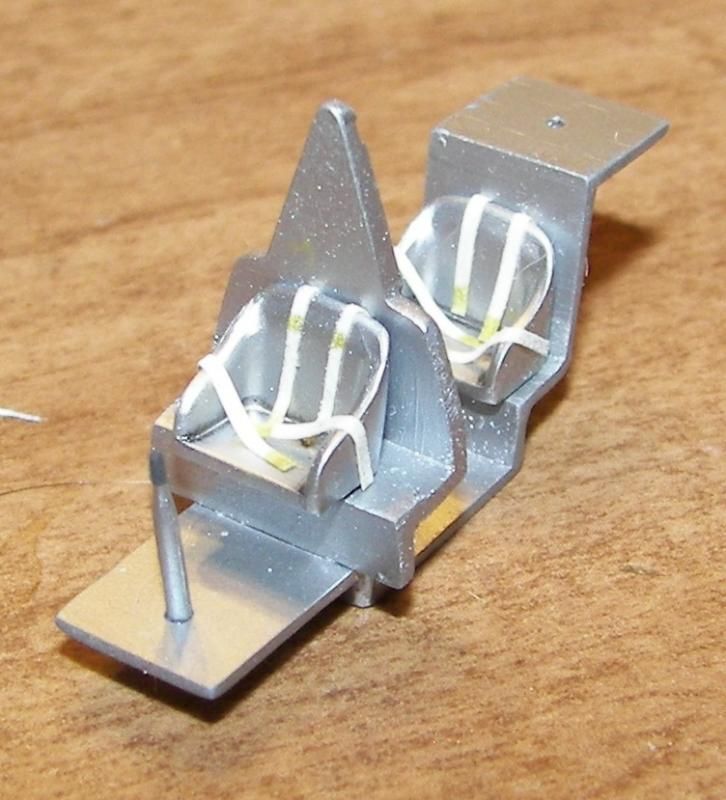
While the stabilizers were setting up, I worked on the cockpits. Pretty simple. I painted them with one of the Floquil model railroad silvers, very much thinned with lacquer thinner. It usually goes on very smooth then.
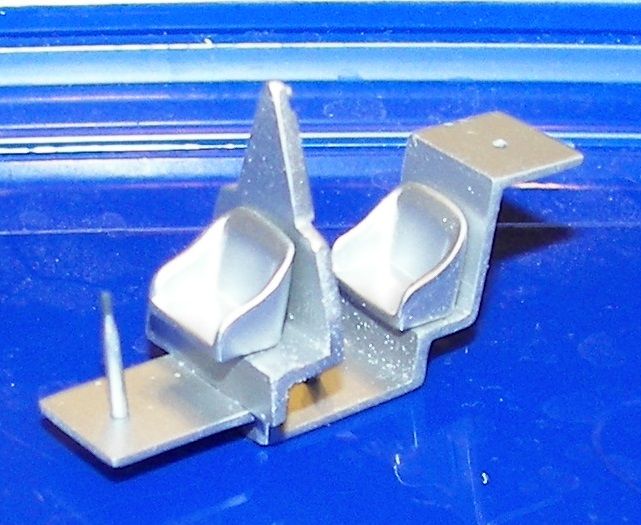
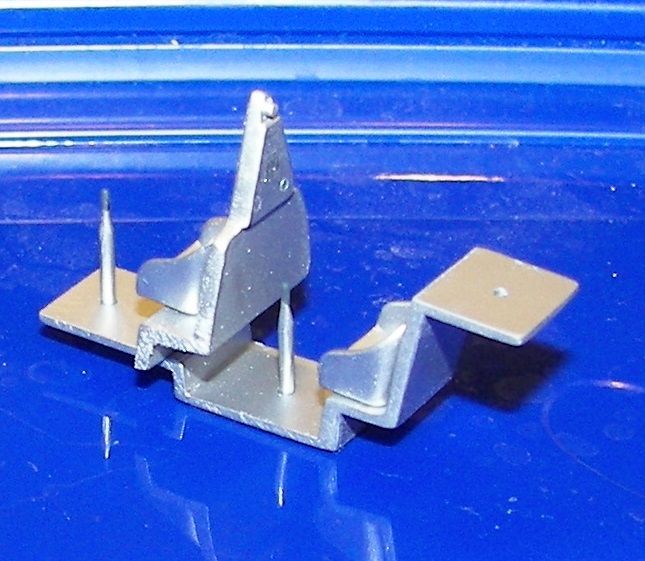
That rough, dotlike stuff is sanding dust. I discovered after assembly that the cockpit wouldn't fit between the fuselage halves, because of the width of the pilot's back bulkhead, so I had to sand it down. It made a mess, which I did clean up, after taking the picture. I didn't smooth the edge down, because it will all be below the level of the fuselage and won't be visible--especially with the canopy closed.
Again, below, prior to dusting off the sanding residue. Some things don't show up, till you take a photo!
I made some seat belts out of masking tape painted a light tannish/khaki. Dabbed the ends with a gold gel pen and installed them. A stray cat hair under the assembly; they like to sit on the work area. Pests.
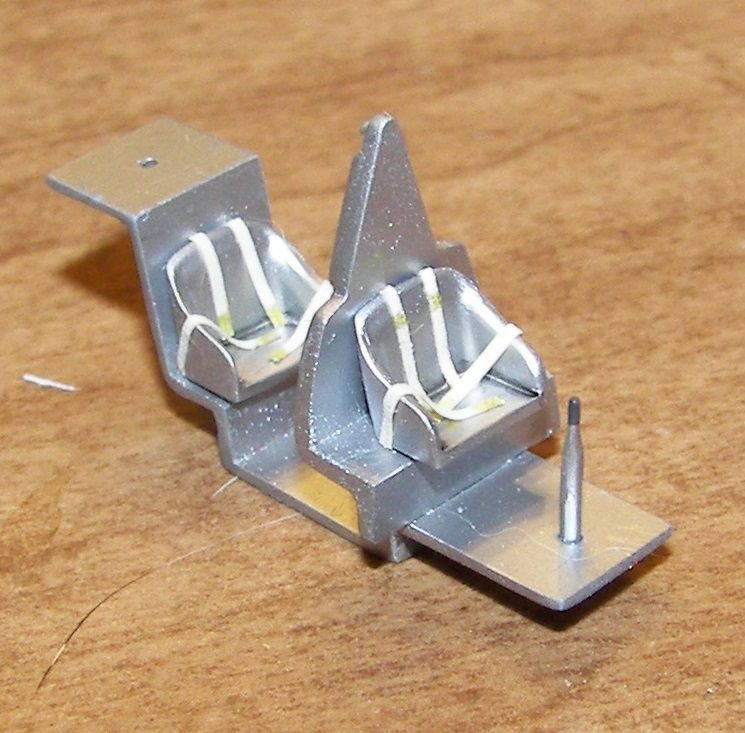
I couldn't find any evidence that the rear gunner's seat had a belt, so I didn't install one. But I don't know how the gunner would have stayed in the plane without it, during maneuverings?
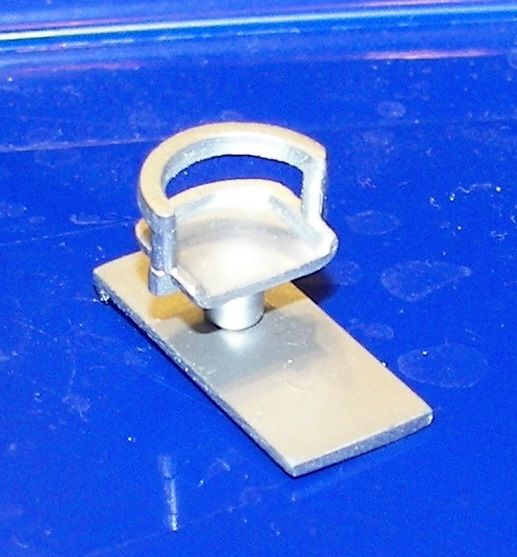
One thing to note about the floor in the gunner's area--it's too short to fit around the locating pegs on the fuselage wall, so you have to sand one of the tabs away, on the bottom of the floor. I eliminated the one on the near end of the floor in this photo, so the fore appendage "hooks" around the pin, and the aft part of the floor just rests on the pin. Superglue holds it all in place anyway.
Thanks for looking.