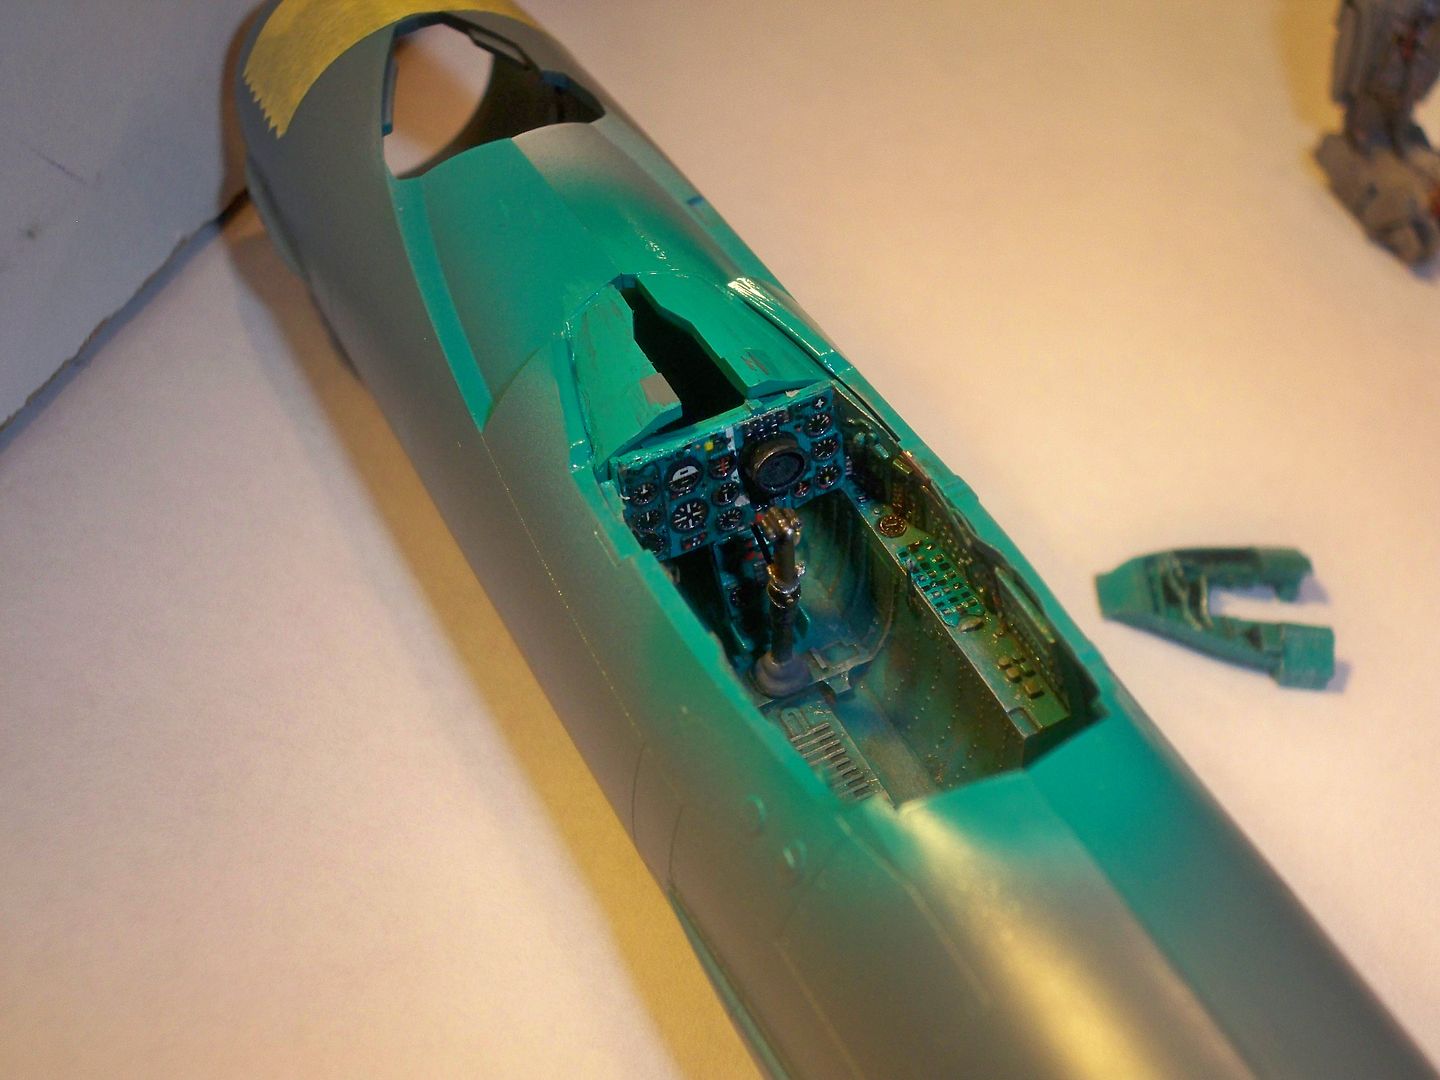
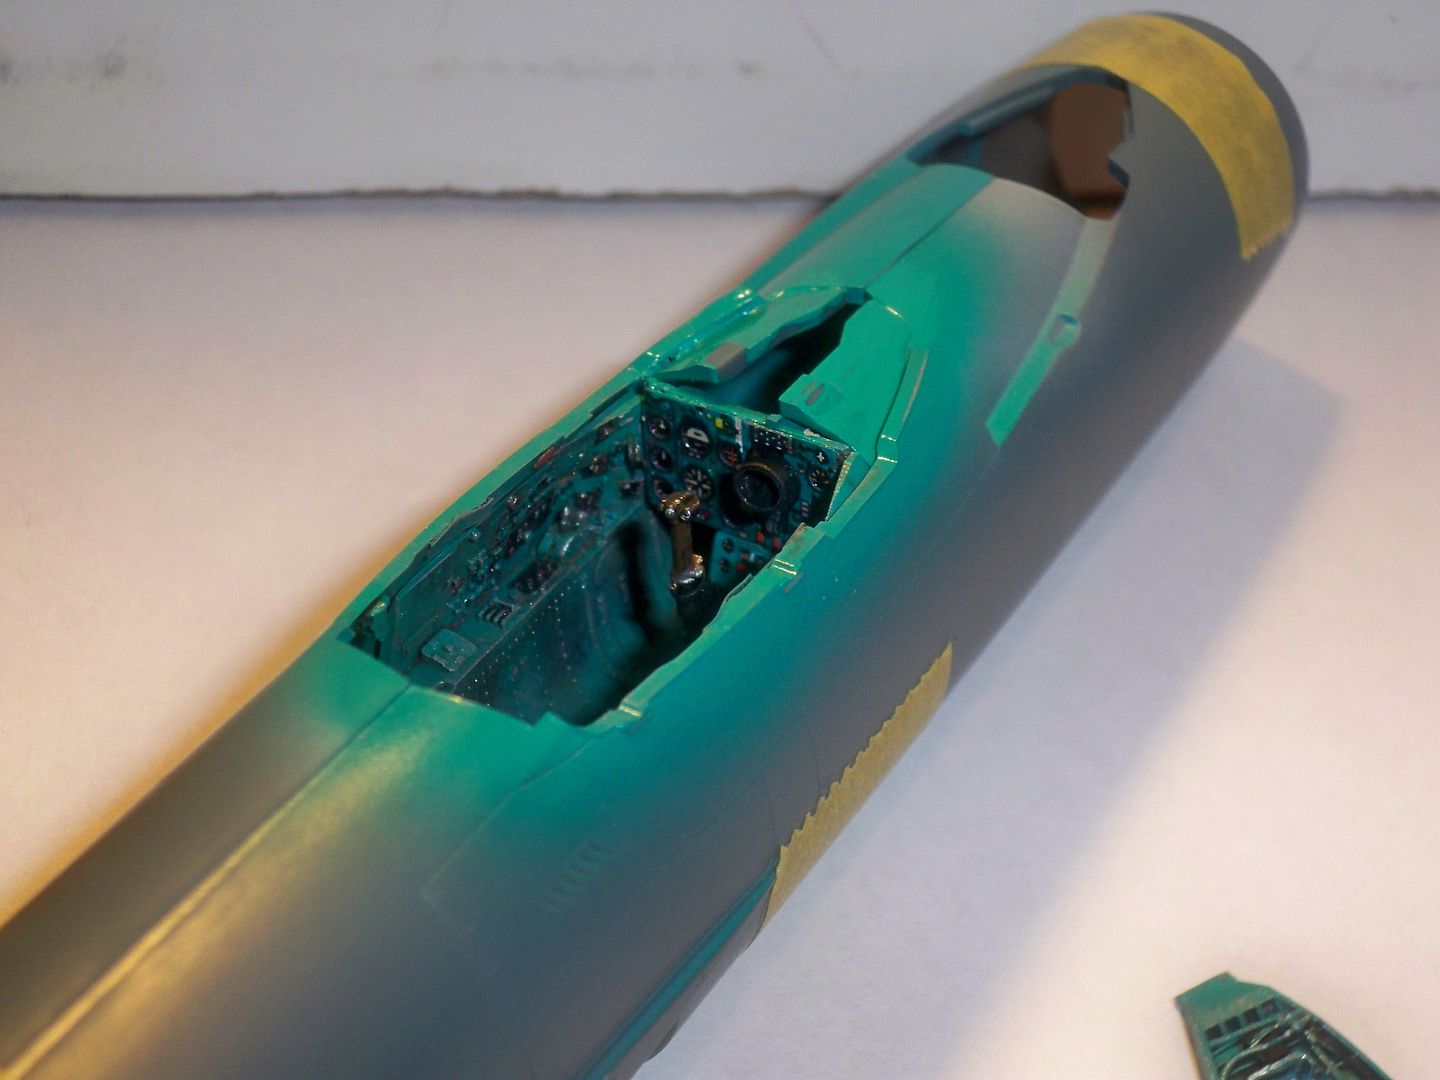
I'm calling the cockpit done. It sure has been a learning curve for this WW II props guy. Figuring out what color to paint all these little switches and dials, and what order to glue things in. I had some trouble with the instrument panel being too narrow, so I had to glue a small piece of sprue to the side, then hand paint it the interior color. The rear bulkhead is also too narrow, and not tall enough. I'll have to add a small strip of sprue to the inside of the spine when it comes time to glue that on. The cockpit has been washed and flat coated, and is glued inside the fuselage halves. That part fit well. The resin exhaust also fit well into the fuselage, but this meant more weight was needed in the nose to make up for the resin. I'm gonna close up the fuselage halves for good tonight. Wish me luck. Here's the finished pit:
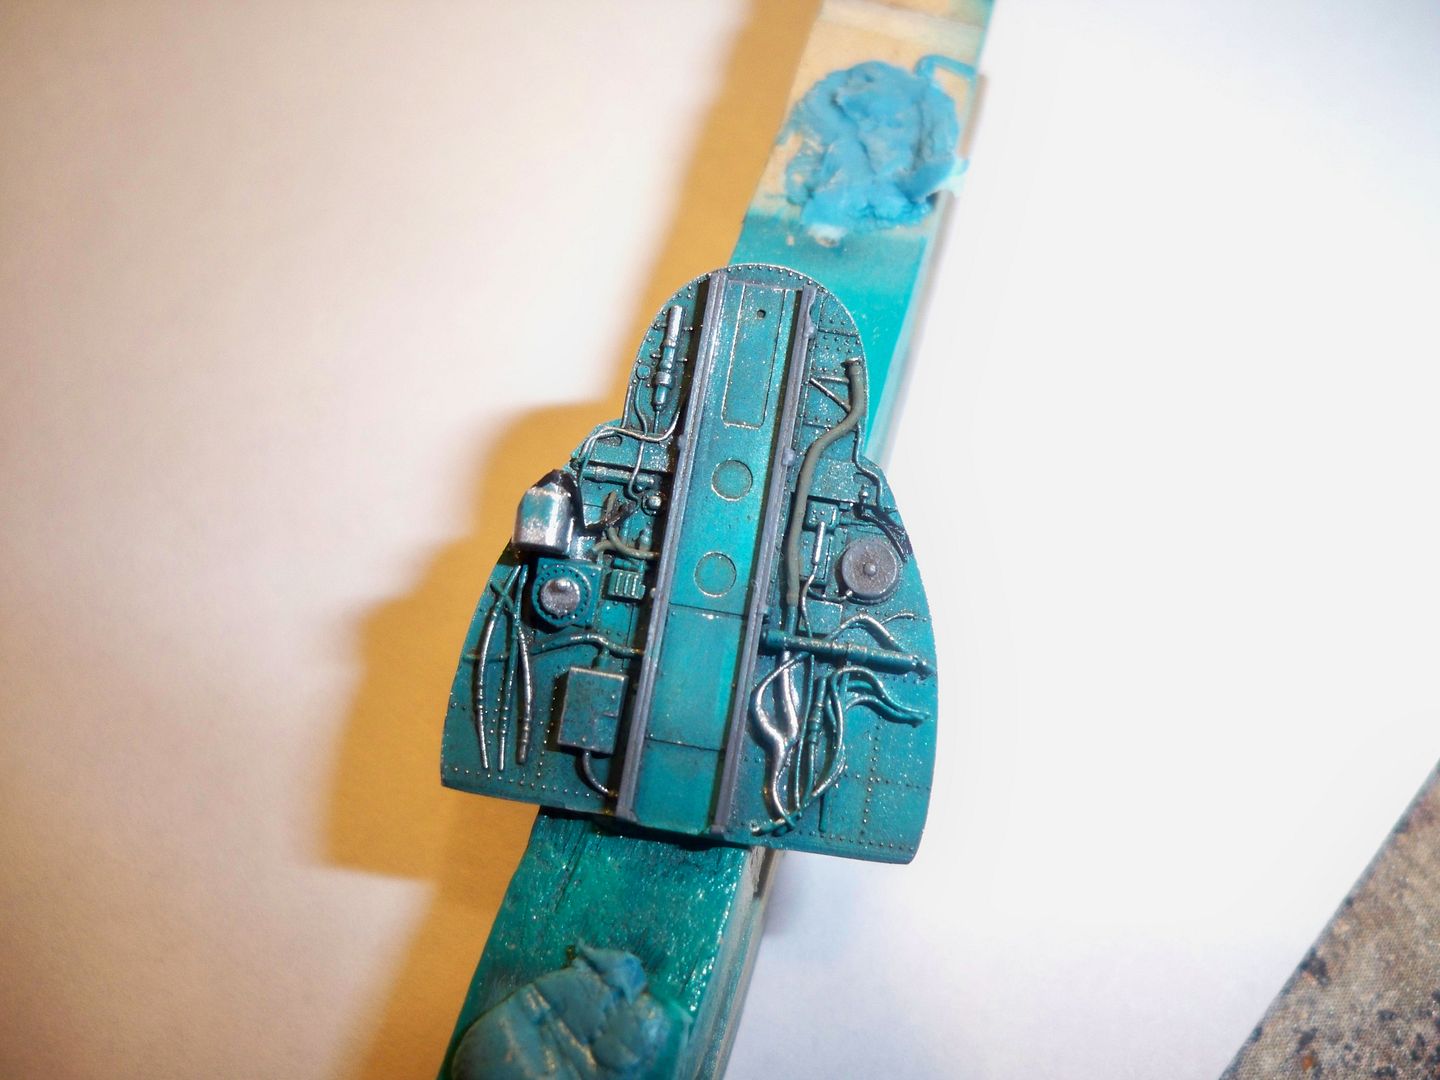
I added some lines of solder inside the canopy to represent the frame lines and the heating piping. It was a real pain but it turned out ok:
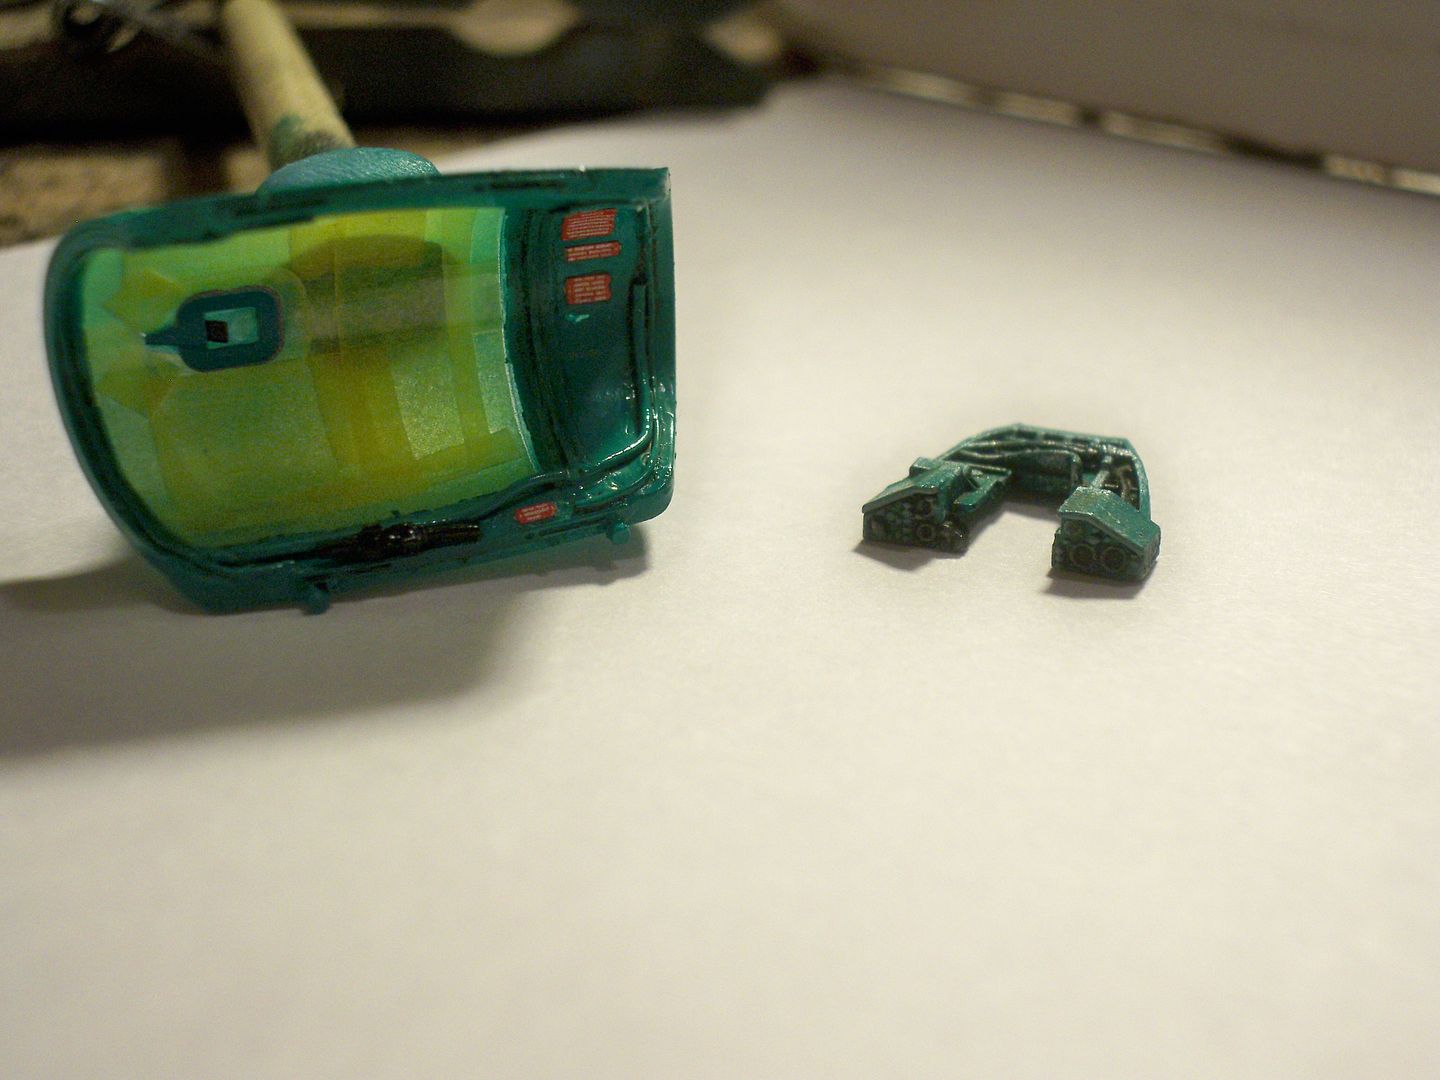
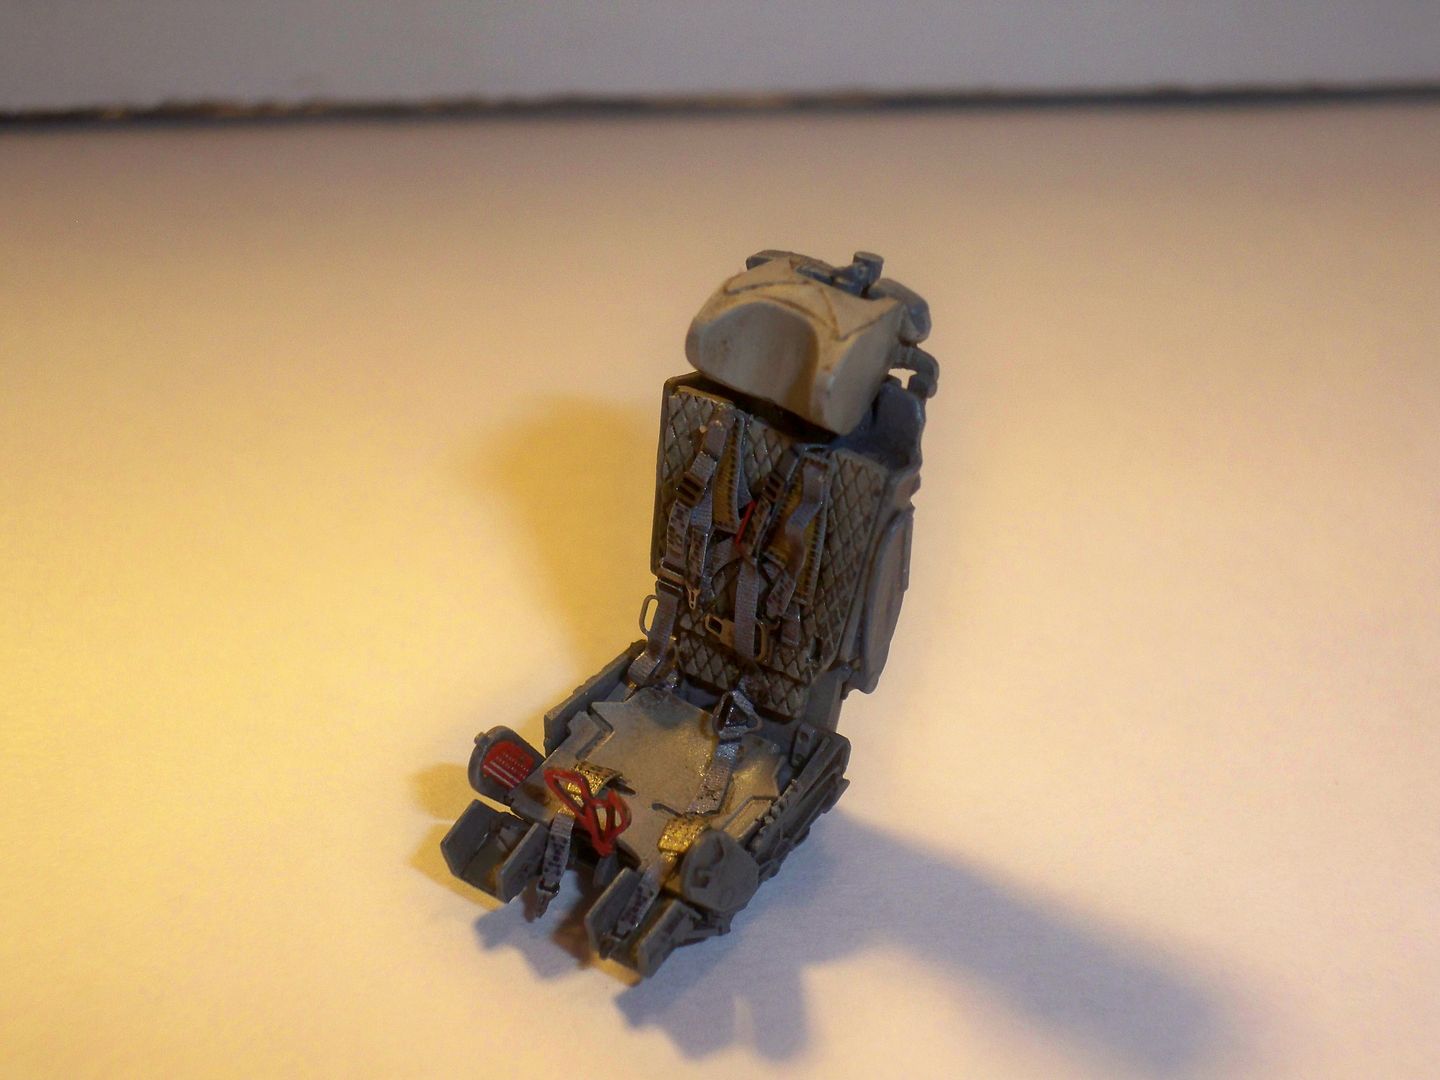
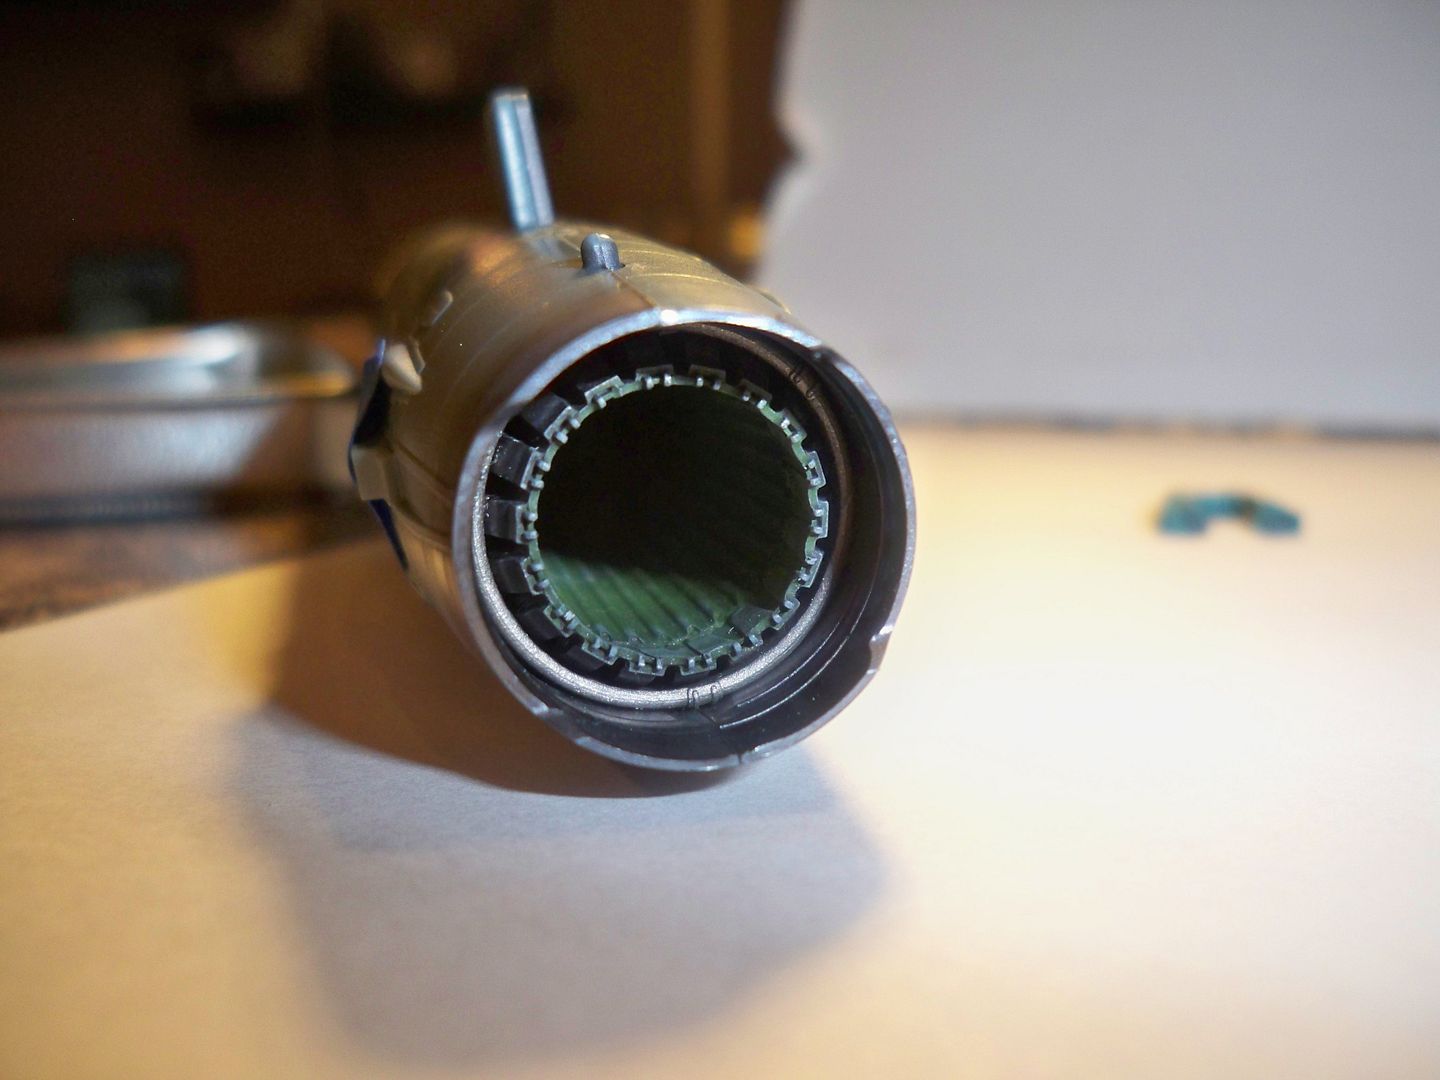
The nozzle. I know you can't see much down inside, but the thin edges and crisp detail make a resin nozzle worth it:
I think if I do another Eduard Mig, I'll go with Aires or some other AM pit. The Eduard Brassin just has too many fit snags for a newbie jet builder like me.