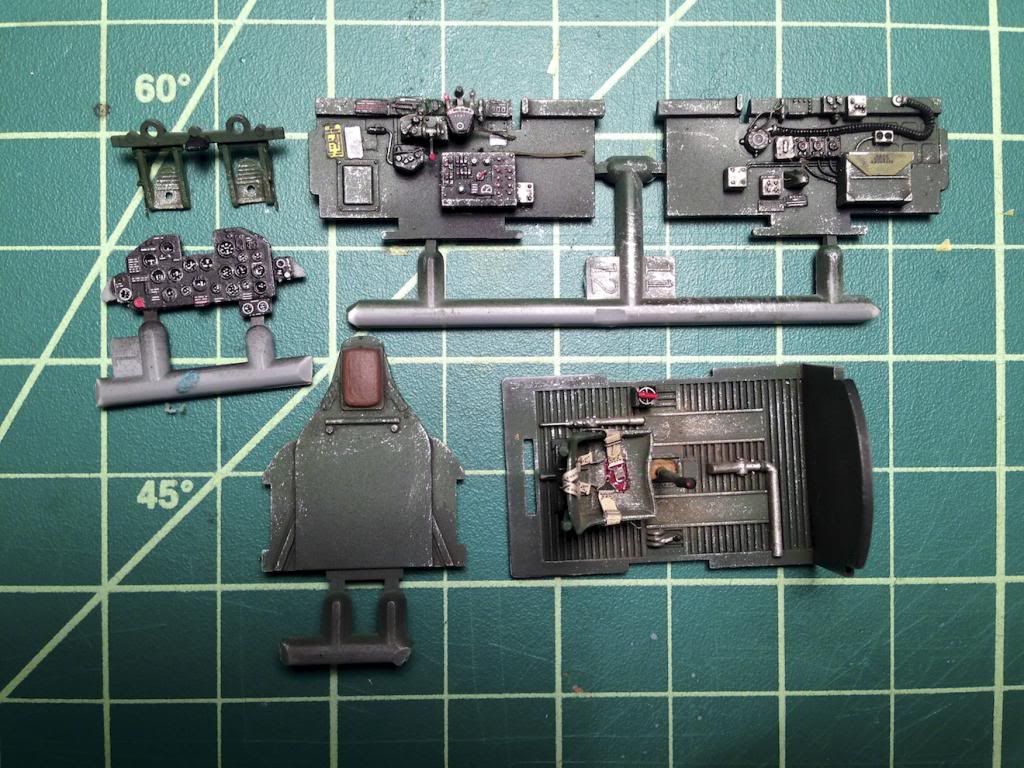
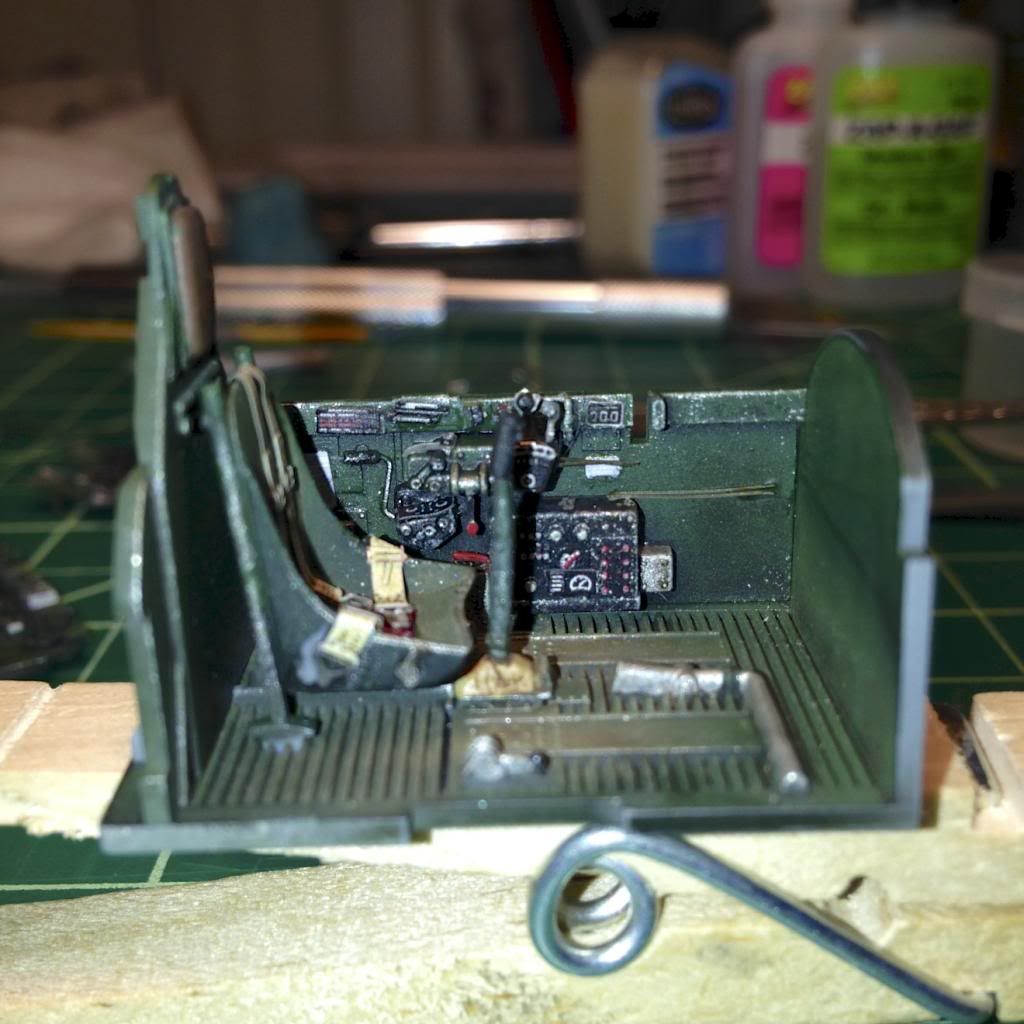
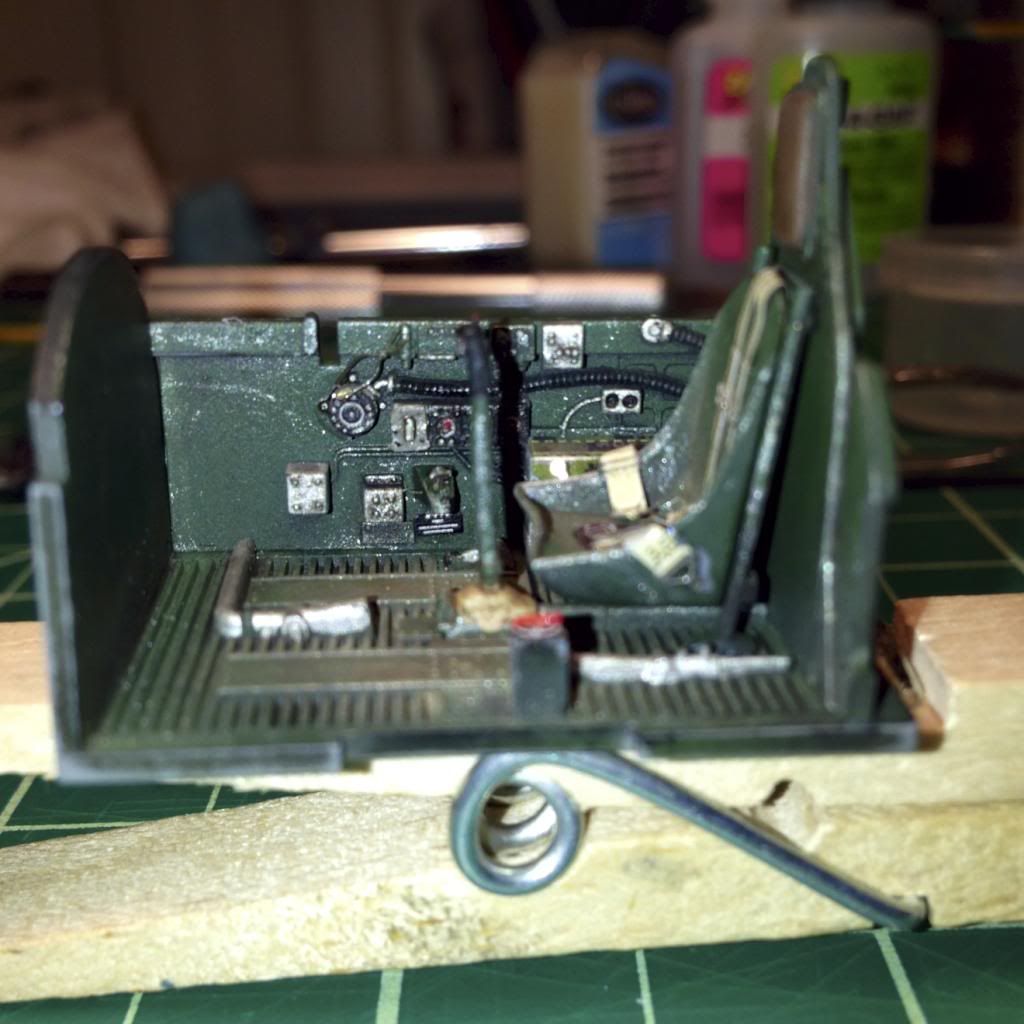
Well, I have some progress to share:


The seat and walls are not yet glued in, but I wanted to take the pictures. iPhone macro photos are not flattering, but everything looks ok at normal viewing distances.
The cockpit & IP are the Tamiya parts augmented with p/e from the Eduards P-47 D 20 detail & Zoom Placard kits. Tamiya acrylics, dry brushed enamel silver, an oil wash (black & burnt umber), and "European Dust" MIG pigments. I attached the flat-coated outer IP photo-etch to the inner etched panel (instrument dial faces) with Future to get a glassy effect. Hard to see in this photo, but I think it worked.
Speaking of attaching photo-etch, I really need a better way to work with those #$%'n little handles and such. I have been using Zap CA, both the thin and medium viscosities, and have had at best mixed success. Attaching placards is one thing, but trying to get a handle with a half a hair's width of surface area to attach to the curved surface of the throttle quadrant is beyond frustrating. I'd say the CA holds on the first attempt on less than 30% of the tries. I've even started using the Zap accelerator (coat the surface with accelerator using a seeing needle, dip the end of the handle in CA, join & pray), but can't say the results are stellar. The accelerator adds some noxious fumes to the game as well.
How do you guys do it? Someone must have a better way than I. Even when I do successfully attach the piece, the bond is so fragile the pieces fall apart if I look at them funny. Not sure how I am going to mask the cockpit interior when it comes time to paint the exterior... again, advice is welcome.
That's all so far. I plan on adding some cables to the back of the instrument panel, closing up the cockpit box, and then turning my attention to the Double Wasp. I do love those big Pratt & Whitney radials.