SEARCH FINESCALE.COM

Enter keywords or a search phrase below:

The 2015 /16 Red Hot and Rollin Automotive Group Build--Ended

121084 views
2225 replies
1 rating 2 rating 3 rating 4 rating 5 rating
  • Member since
    January 2015
Posted by MOPAR - D on Wednesday, March 18, 2015 1:40 PM

Joe - glad to see some progress pictures your ride stance is going to look cool on your truck.

  • Member since
    March 2012
  • From: Corpus Christi, Tx
Posted by mustang1989 on Wednesday, March 18, 2015 9:27 AM

Jay: Those fuel lines and filters as well as that alternator looks really sharp Jay. A trick I learned from MCM is to go to Radio Shack and purchase some little electrical diodes with leads. They have the "fuel line" and a "filter" all made together and it works perfect!!

Mike: Dude that dragster is da bomb!!!!! Wow man you really hit a homer there!!!!!!!!! Where in the world are you gonna display that big bad boy????


 As of now I had to ditch the idea of the trailing arm suspension just because it just wouldn't work here. What I did do instead was, from my way of thinking, a little unorthodox in the fact that I removed the original spring perches from the build frame and graphed the ones from the spare parts frame onto the one from the build. I know it's not icon_quotes.GIFcorrecticon_quotes.GIF but I'll be able to lower the rear suspension down about 1/4" to put the wheel/ tire assy where I want it and have about 1/8" tweeking room. I've still got to brace them up a little better with some spare resin stock that I've got to clean up the appearance and have to trim up some on the truck bed so that it sits all the way down on the frame in the front (about 1/32"-1/16")  but here's the current progress so I can at least show that I'm building on this.


and a little closer:


This is going to be the location of the wheel/ tire....or at least that I'm shootin' for:


 Forum | Modelers Social Club Forum (proboards.com) 

  • Member since
    January 2015
Posted by MOPAR - D on Wednesday, March 18, 2015 8:22 AM

Jay - those fuel lines are going to look nice

  • Member since
    December 2009
  • From: Laurel, MD
Posted by Tucohoward on Tuesday, March 17, 2015 9:09 PM

Alittle progress tonight. Worked on the fuel line. Made with soft wire and styrene strip and rod drilled out. Kind of a pain to do in scale, but I am from the school of, if you can't do it in scale, don't do it at all. Added the carb linkage rods and distributor. Painted the alternator.

Jay

The Mighty Mo says no.

  • Member since
    January 2015
Posted by MOPAR - D on Tuesday, March 17, 2015 6:02 AM

Mike your dragster is awesome looking already and your new front wheels will put it over the top. What's next?

  • Member since
    January 2012
  • From: Hatfield
Posted by Misty on Tuesday, March 17, 2015 3:18 AM

that a fantastic dragster, Mike/ i never really thought about building a dragster  or custom car, but its tempting seeing some of the great builds here.

  • Member since
    February 2006
  • From: Smithers, BC, Canada
Posted by ruddratt on Monday, March 16, 2015 10:32 PM

OK fellas, the dragster is done (sort of).  I'm still waiting on the AM spokes & rims for the front tires, so for the photos here I went with the kit rims.  They're not bad, but the AM ones are much more to scale and will make a huge difference since they are such a prominent feature.  Nevertheless, I couldn't resist showing it as is. Hope you enjoy.


Mike

 "We have our own ammunition. It's filled with paint. When we fire it, it makes pretty pictures....scares the hell outta people."


  • Member since
    February 2006
  • From: Smithers, BC, Canada
Posted by ruddratt on Monday, March 16, 2015 8:42 PM

Seriously great work guys!

Tim, you are a machine, man!  Incredible stuff one pic after the next,  and you make it look effortless (but I know it ain't).  Yes

Joe, wow!! Another one.  Here I've been sitting trying to figure how to transition from a rail to a 109.  That next one you picked out is gonna be sweet!

Jay, I've seen your aircraft....is there anything you CAN'T build!?  Awesome work!

Mike

 "We have our own ammunition. It's filled with paint. When we fire it, it makes pretty pictures....scares the hell outta people."


  • Member since
    January 2015
Posted by MOPAR - D on Monday, March 16, 2015 8:37 PM

Jay the carb are looking good.

  • Member since
    December 2009
  • From: Laurel, MD
Posted by Tucohoward on Monday, March 16, 2015 8:19 PM

Thanks, Dan. Regarding the MCW paint, I don't think it helped that the bottle is 10-15 years old either. Working on the carbs today. The kit parts are really devoid of detail so I tried to help them out. Added the tube between the bowls, center shaft with PE pieces to attach throttle linkage and return spring, and the fitting for the fuel line.

Jay

The Mighty Mo says no.

  • Member since
    January 2015
Posted by MOPAR - D on Monday, March 16, 2015 7:45 PM

Thanks for the comments the engine detail it turned out the way I was hoping it would. My paint scheme will be plum crazy purple, yellow and red.

Jay - the red looks good I find that with MCW I have to put the last coat on heavy to avoid the Orange peel plus it helps when sanding and buffing it. Wow those rear springs look really cool with the bolts holding them in place.

Tim - your truck is so cool looking and the detail on the frame is awesome.

Joe - looking forward to see what you have planned for the 56 Ford F - 100.

  • Member since
    January 2015
Posted by taaron76 on Monday, March 16, 2015 5:22 PM

Thanks fellas!  Some slight modifications, but nothing too bad.  However, it did take me 4 hours to get the front and rear suspension to fit right with the wheels, etc.

Here's the stance.  These wheels were in the '62 Impala kit, but I wound up using Pegasus wheels for that one.  I think they fit pretty good with this kit.

Tim

  • Member since
    March 2012
  • From: Corpus Christi, Tx
Posted by mustang1989 on Monday, March 16, 2015 3:21 PM

Like I said, "Fits like a glove!". Yes


 Forum | Modelers Social Club Forum (proboards.com) 

  • Member since
    January 2015
Posted by taaron76 on Monday, March 16, 2015 2:43 PM

Thanks Joe!

... and the rear NASCAR suspension mocked up.  On the left is the stock suspension.  I have to make shock mounts and springs for rear, but everything fits good.

Tim

  • Member since
    March 2012
  • From: Corpus Christi, Tx
Posted by mustang1989 on Monday, March 16, 2015 9:21 AM

Dan: Man that diesel engine weathering and detail looks totally awesome.  I can’t get over the good fit onto the chassis and into the body that its all got!!!

Jay: Your Dart body looks fantastic considering all the trouble you are having out of the paint. The suspension detail to include the bolts and nuts on the leaf spring shackles and the way that transmission is mating up to the engine is all that as well.

Tim: That suspension looks like it was made for that kit!!! Awesome work buddy!

Tony: I’m looking forward very much to the progress pics on that build!

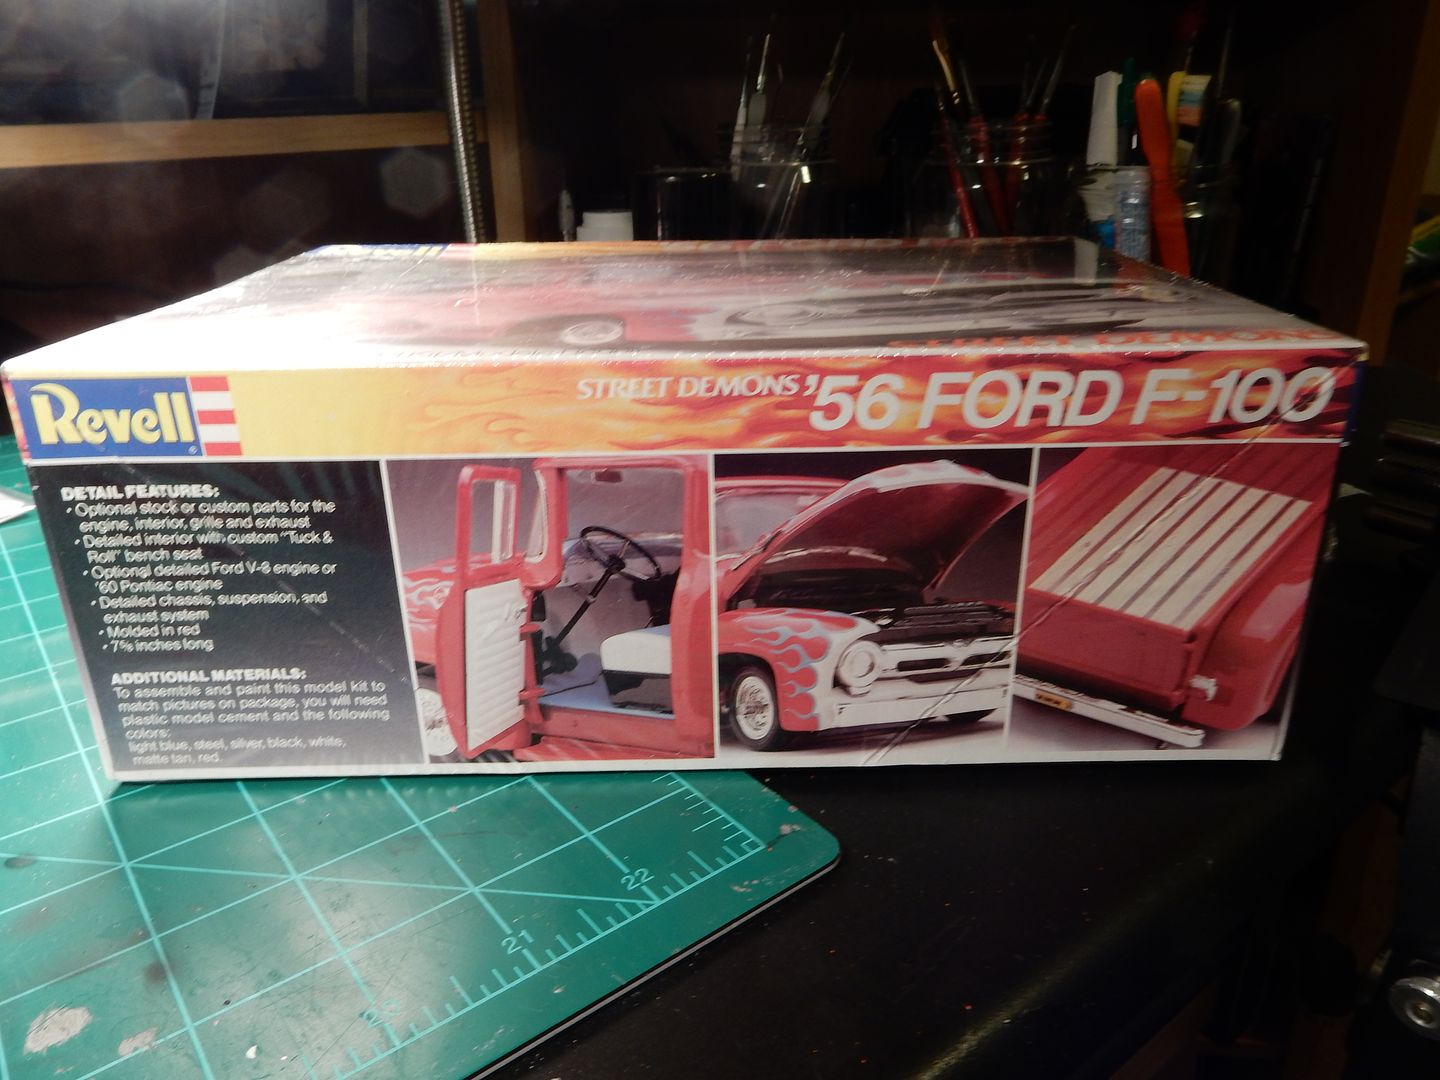
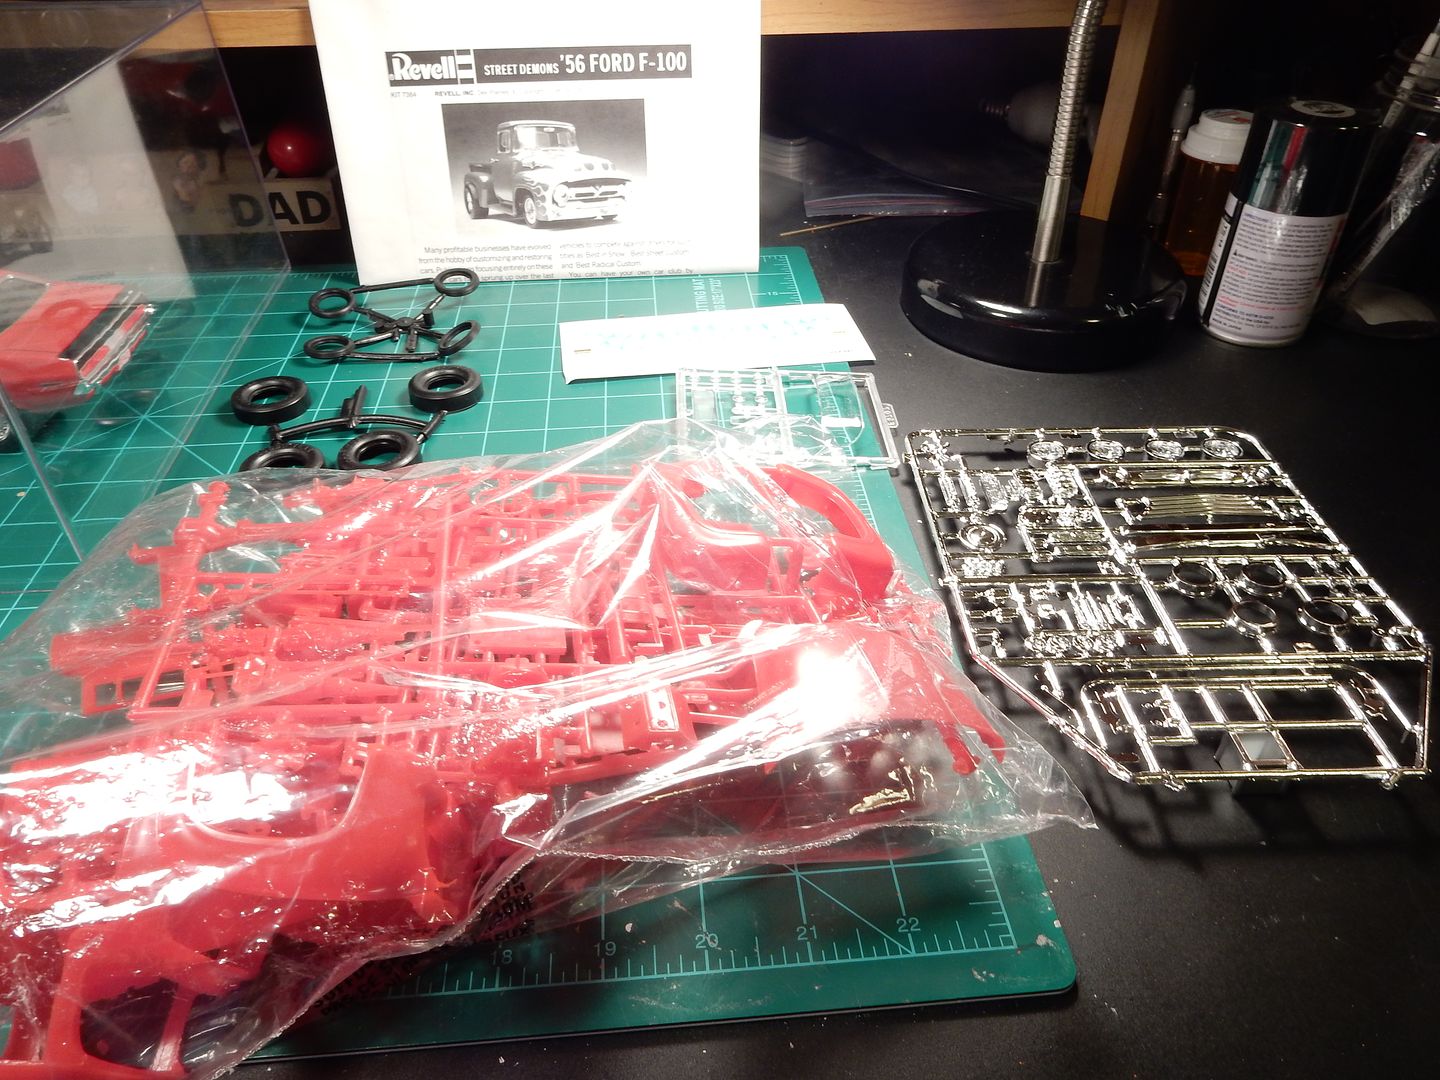
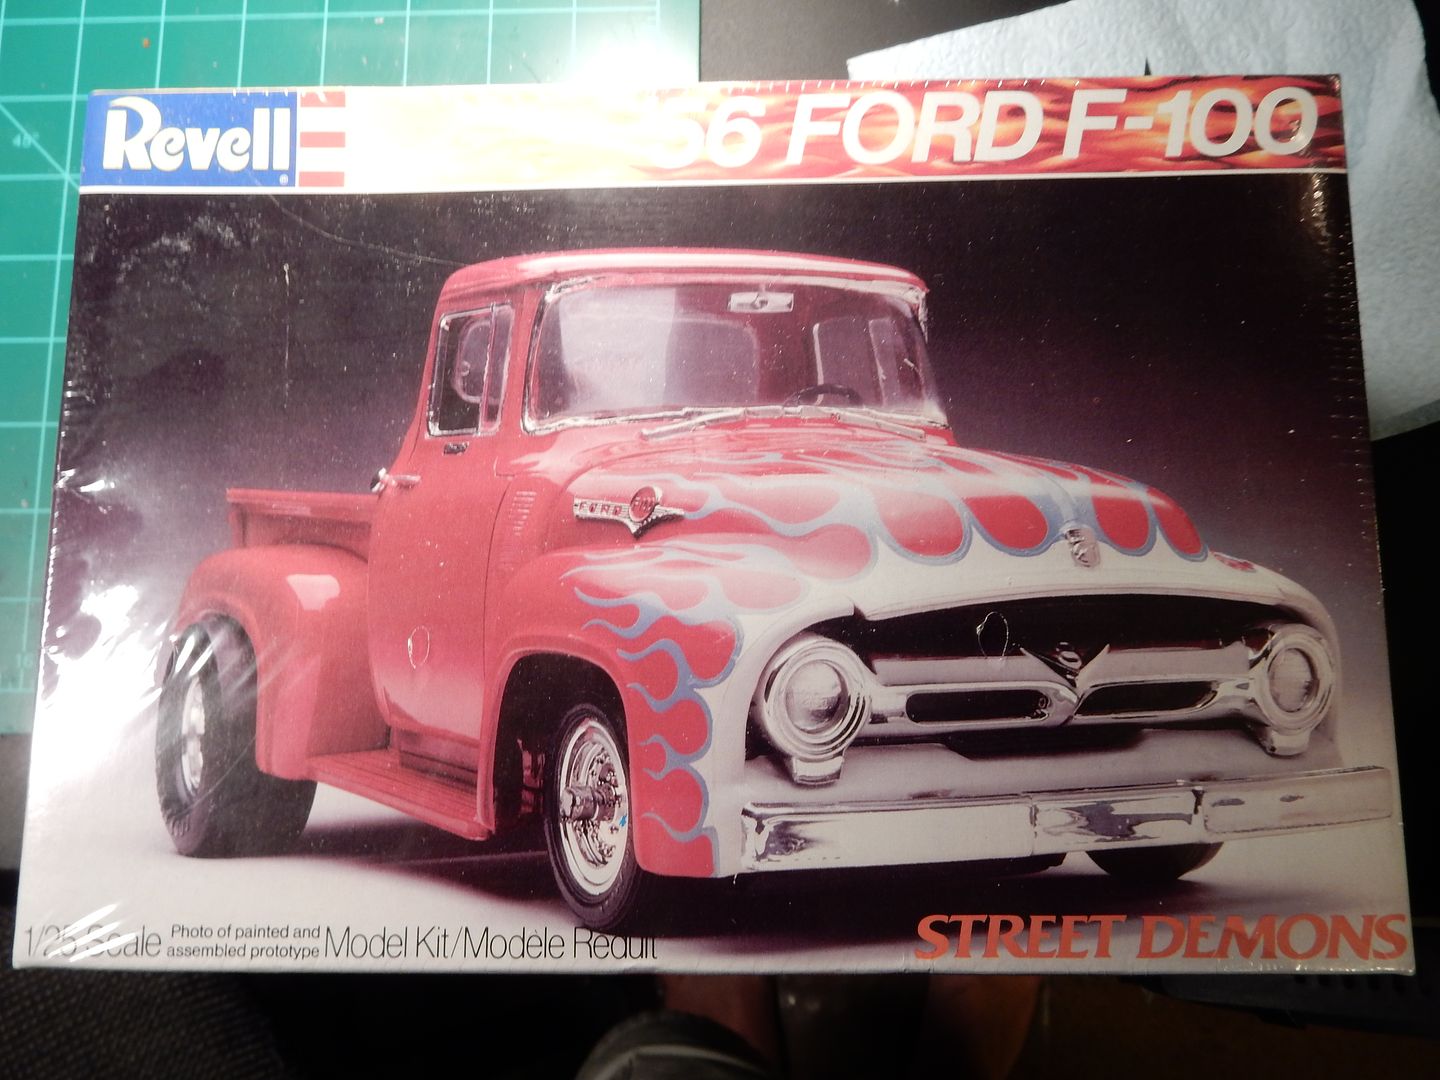
Well folks I’ve got my next build lined up. I built this kit when I was around 16 years old and have wanted one now for a few years and recently took up looking for one. I found one on Ebay new in the box and found a second one that had been started (by what looks to be an 8 year old) which is perfect because it’s going to be my sacrificial “test mule” for all the hacking and cutting I’m going to have to do to tuck these tires under the rear fenders and lower the rear end significantly.

Without further ado I present the Revell 56 Ford F-100 from the “Street Demons” Series.


 Forum | Modelers Social Club Forum (proboards.com) 

  • Member since
    January 2015
Posted by taaron76 on Monday, March 16, 2015 6:19 AM

Hopefully the only thing left on the original chassis in the remaining frame.  I'm glad it married up so well.

Tim

  • Member since
    April 2005
  • From: Australia
Posted by taxtp on Sunday, March 15, 2015 8:17 PM

Dan, that thing is moving forward amazingly quickly. Nice work on it.

Tim - I agree, it's an enormous improvement.

Jay - nice looking paint work and the extra work underneath looks like a great improvement too.

Still filling the ejection pin marks on my Williams, so no photos yet :)

Cheers

Tony

I'm just taking it one GB at a time.

  • Member since
    January 2012
  • From: Hatfield
Posted by Misty on Sunday, March 15, 2015 7:20 PM

nice bit of kit bashing Tim. its a massive improvement.

  • Member since
    January 2015
Posted by taaron76 on Sunday, March 15, 2015 6:13 PM

Look good, fellas!  I love progress pics!!!  Nice job!

I wanted to upgrade the suspension on the '53 and matched up a front clip and suspension from the 1984 NASCAR Terry LaBonte Peidmont Chevy kit.  Surprisingly, it fit perfectly.  I had to do some measuring and a few things here and there, but this will work out nicely.  I'll be looking at using the rear suspension from the NASCAR kit as well. 

I might even use the engine, but not sure yet.  Here's the front clip that the front radiator support has to be trimmed, but I can't do that until it dried.  I pinned it as well...

Tim

  • Member since
    December 2009
  • From: Laurel, MD
Posted by Tucohoward on Sunday, March 15, 2015 6:01 PM

The Mighty Mo says no.

  • Member since
    December 2009
  • From: Laurel, MD
Posted by Tucohoward on Sunday, March 15, 2015 5:55 PM

Dan, that looks great! Really well done.

My struggles have continued, but I haven't given up yet. Repainted the body again. I could never really get the MCW paint to spray well resulting in a lot of orange peel. That in turn resulted in a lot of polishing which then resulted in a few thin spots. Stripped it all off and mixed up a batch of Mr. Color that I think more closely matches the color in the pictures I have found. Why I ever even think about using any other paint I'll never know. Went on great with no polishing required. Since this car is an automatic I had to swap out the tranny and rear. I used a MAD tranny, which is just a resin copy of the Revell one in the kit, and cut out the center section of the Dana to transplant the 8 3/4 diff. I wanted to use the Hemi springs so I couldn't just use the whole 8 3/4  assembly. Drilled it through and put a brass rod in for strength and added Grandt Line nuts and bolts for detail. I also sanded down the rear window molding and replaced it with styrene strip. The detail was too soft once painted so this should help a lot at BMF time, if I ever get there.

Jay

The Mighty Mo says no.

  • Member since
    January 2015
Posted by MOPAR - D on Sunday, March 15, 2015 5:01 PM

Moving on I painted the engine and added a little black detailer and finished up the frame. I've lowered the fuel tanks just a little so they will fit under the door steps. Also started squaring off the storage compartment. Here's some pictures of my progress with the before and after on the engine and some test fitting.

  • Member since
    March 2012
  • From: Corpus Christi, Tx
Posted by mustang1989 on Sunday, March 15, 2015 5:00 PM

Thanks fellas!Big Smile I forgot to mention that it still has the original body and interior except for the shifter lever.

Dan: That diesel engine looks great man!!! I'm really getting stoked about that show!!


 Forum | Modelers Social Club Forum (proboards.com) 

  • Member since
    February 2006
  • From: Smithers, BC, Canada
Posted by ruddratt on Sunday, March 15, 2015 3:01 PM

Thanks fellas!


Dan, the detail work on that diesel is top shelf brother!  Flippin' awesome!  Yes

Joe, good grief!  Just amazing stuff!  Can't get over the difference between the before & the after pics.  Incredible work!  Bow Down

Mike

 "We have our own ammunition. It's filled with paint. When we fire it, it makes pretty pictures....scares the hell outta people."


  • Member since
    January 2014
Posted by Seabe on Saturday, March 14, 2015 10:55 PM

Mustang, that is such a good rebuild - well done!

And Mike - that dragster is jaw-dropping!

  • Member since
    April 2005
  • From: Australia
Posted by taxtp on Saturday, March 14, 2015 3:48 PM

Joe -  your Challenger looks fantastic. I agree that it looks realistic.  It's an eye catcher. What's next for you ?

Dan - Your diesel looks great so far. I am looking forward to this.

Mike - Your dragster is amazingly realistic.

Cheers

Tony

I'm just taking it one GB at a time.

  • Member since
    January 2015
Posted by MOPAR - D on Saturday, March 14, 2015 12:41 PM

This the first time that I've attemted to detail a diesel engine. A guy on another fourm did a WIP on one and I used his as a go by.

  • Member since
    January 2015
Posted by MOPAR - D on Saturday, March 14, 2015 8:19 AM

Mike - wow your dragster looks awesome !

Joe - I've been waiting to see you finish your Challenger and glad you decided to go all out with it and not your original 2 week rebuild. It looks fantastic and very hard to tell the difference between the 1:1 and yours with that last picture. I bet the owner of the 1:1 would be very impressed of your build. Looking forward to seeing this in person next month.

  • Member since
    January 2014
  • From: Toronto
Posted by Rob S. on Saturday, March 14, 2015 6:10 AM

Wow..what a beauty mustang!! congrats on a bloody excellent build!! Love it...YesCoolYes

______________________________________________________________________________


On the Bench: Nothing on the go ATM

  • Member since
    March 2012
  • From: Corpus Christi, Tx
Posted by mustang1989 on Friday, March 13, 2015 8:59 PM

Ok guys. I have a super small amount of touch up to do but after 4 kits, tires from another kit and a few AM parts I'm callin' this puppy done!! I'm really happy with this car as it's my first all out auto build ever. I have another one up my sleeve that'll probably take me the rest of the year to do so stay tuned for more.................

Till then....the pics:

Being that this is a re-build , here is the before pic:

and the after pics:


The tire size and stance are just what I was after:


 Forum | Modelers Social Club Forum (proboards.com) 

JOIN OUR COMMUNITY!

Our community is FREE to join. To participate you must either login or register for an account.

SEARCH FORUMS
FREE NEWSLETTER
By signing up you may also receive reader surveys and occasional special offers. We do not sell, rent or trade our email lists. View our Privacy Policy.