Hey folks,
This is my Nichimo, 1:48 scale, Kawasaki Ki-45 "Toryu". Actually, this is a carry over from "IV", that I had started last January.
The kit itself isn't bad at all. Considering it's age, it really is very well engineered. It has very nice surface detail and the parts fit is pretty very nice as well. One thing the kit suffers from, is a lack of interior detail, both in the cockpit, and in the wheel wells. Both are quite Spartan and need help. I went online and found that Lone Star Models, makes a cockpit, AND wheel well sets that address this issue. I did a little poking around, and ordered both from their website. (This was several years back, BTW.)
I have to say that both sets are not that good. The detail level is okay, but I found the instruction sheet included within, is confusing and difficult to understand. Drawings are terrible, and the castings are of poor quality. I was not happy.
The delays with this project came, because not only are the problems I listed already bothersome, but the fit of the castings isn't any better. There is a lot of sanding, cutting and altering....and guessing of how this all goes together. However, I felt I commited myself, so onward!
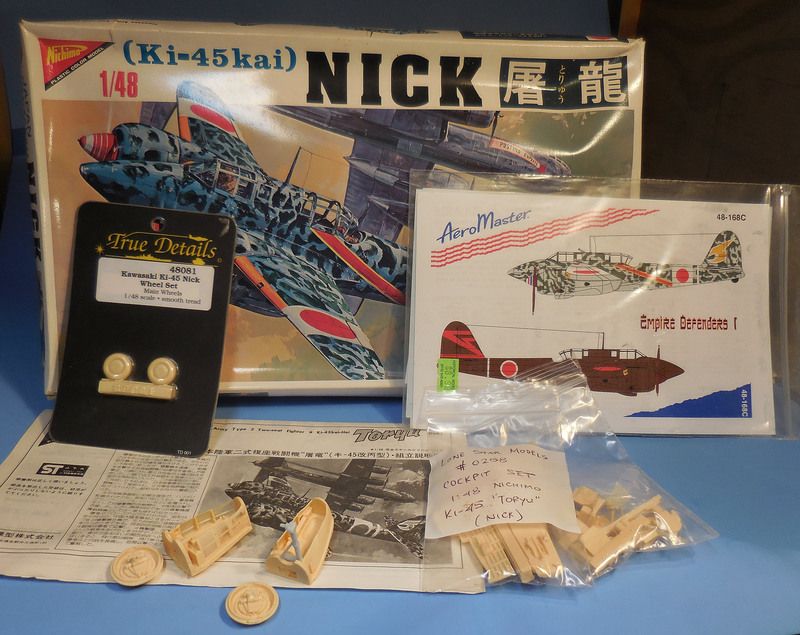
So, here is what I am using, in addition to the Lone Star sets...

Here are the kit's engines, mounted to the Lone Star firewalls, (Resting on a couple of old car model tires). The engines are actually one of the kit's high points.
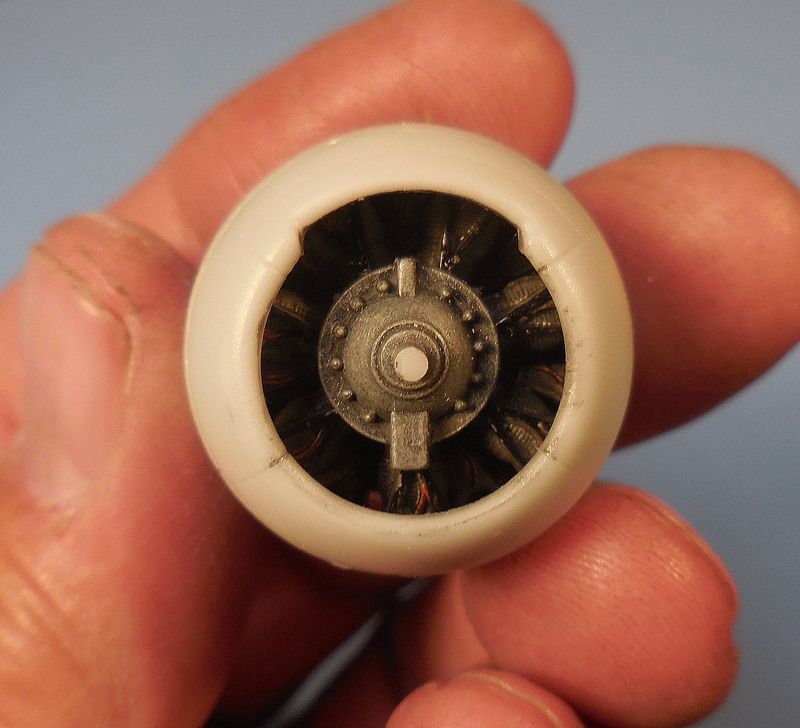
The engine and cowl fit onto the Lone Star firewall pretty well, ONCE you can figure out where the engines belong...there are no marks to give you even a hint on that, so there was a boat load of test fitting and hoping I got it right before the CCA glue set.
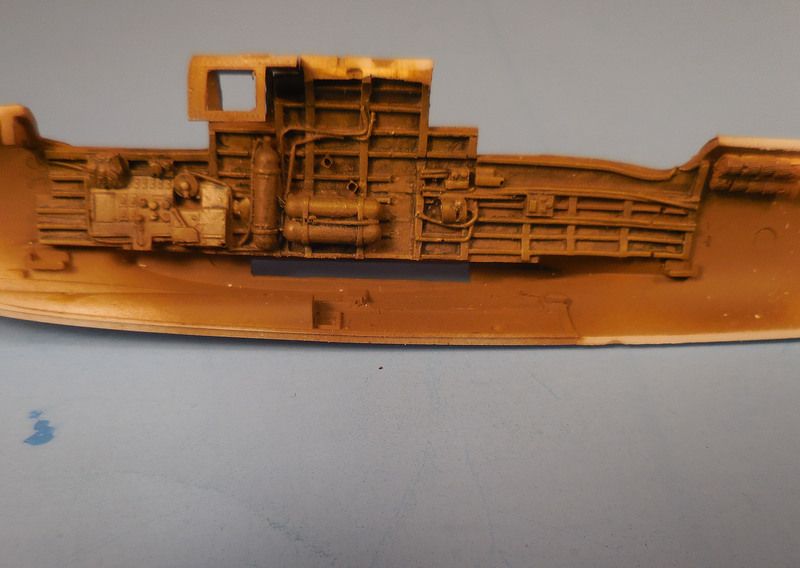
Here is the Stbd side detail, which goes from the cockpit back through the gunner's position. The detail on this is pretty good, but the casting is rough.
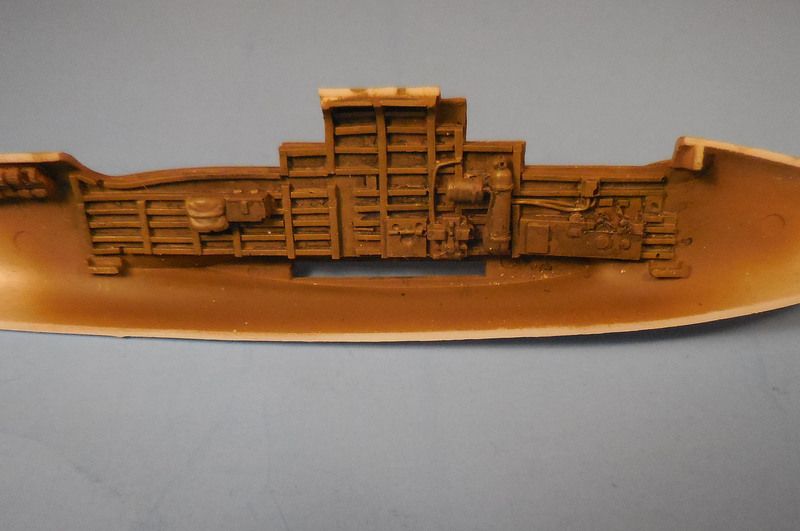
Once the floor is added, the fit is terrible. There was a LOT of working, to get this to fit, which I finally was able to do. There was considerable "potty" talk...
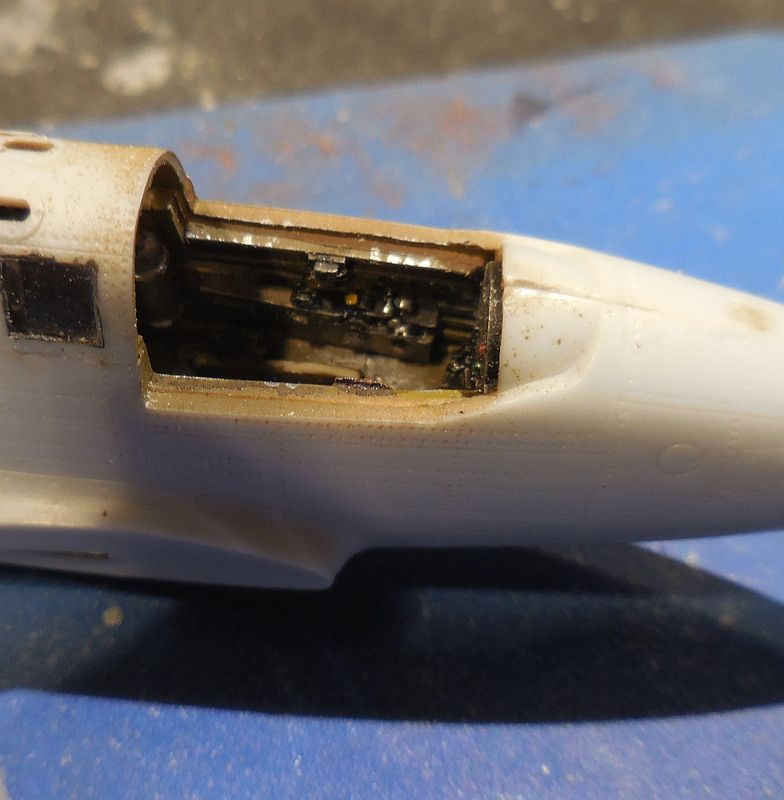
Here's a shot of the port cockpit wall...
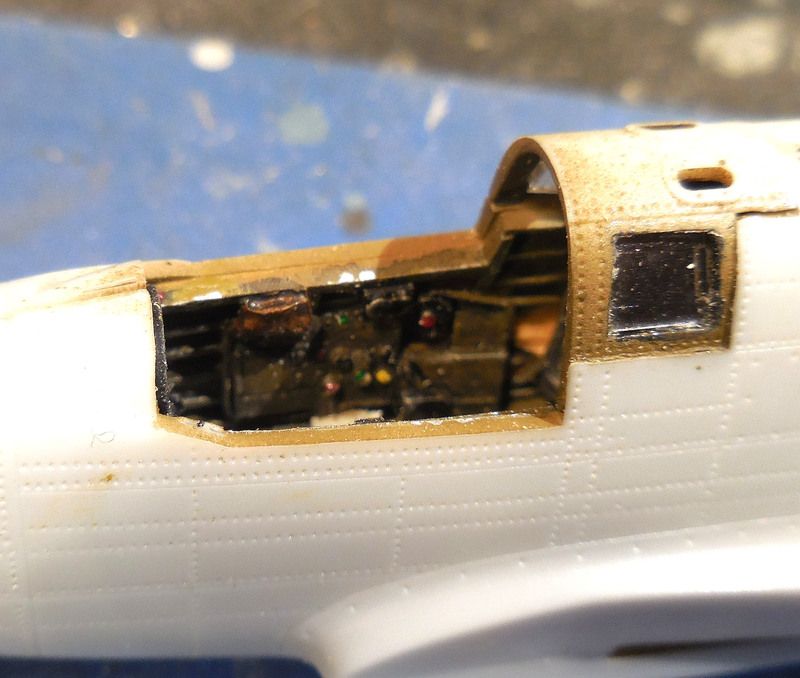
Starboard...
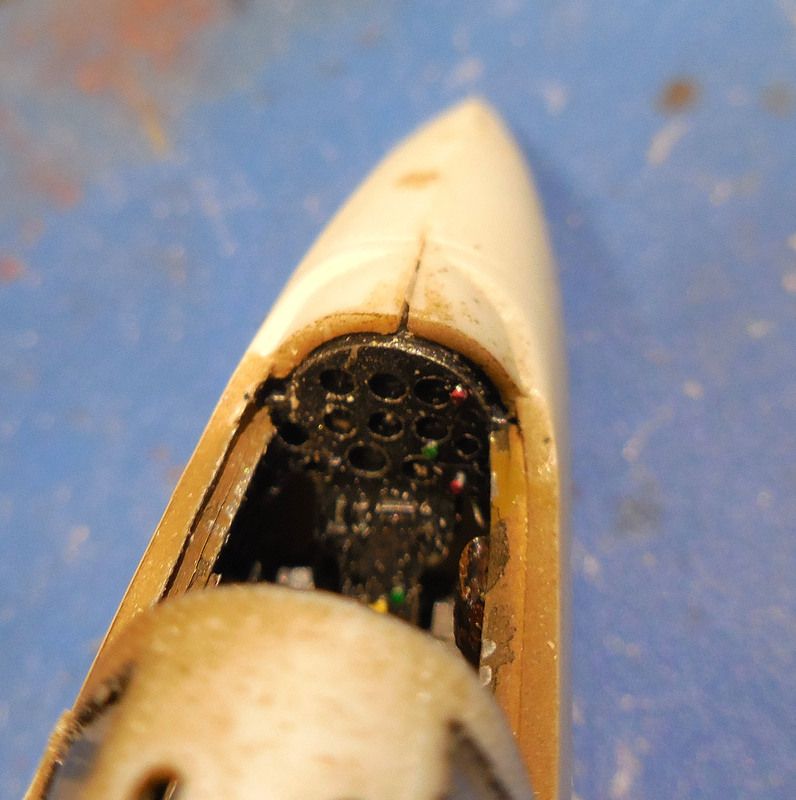
The instrument panel and front...
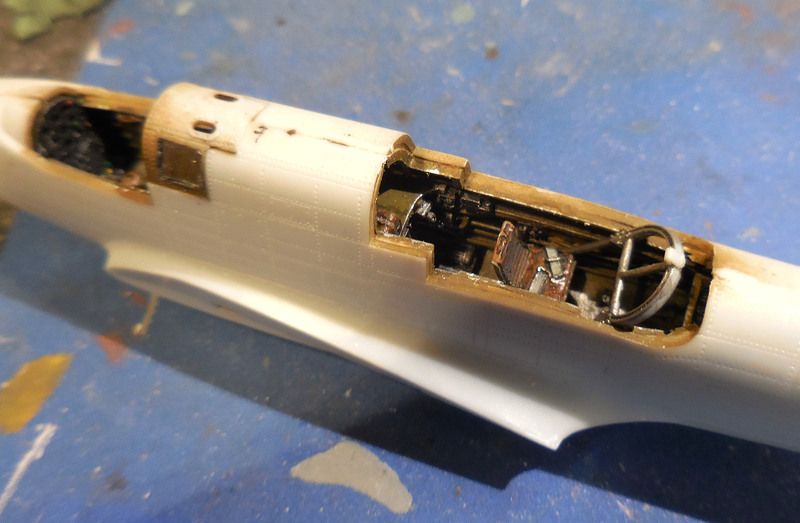 Here's on of the gunner's postition, looking to starboard.
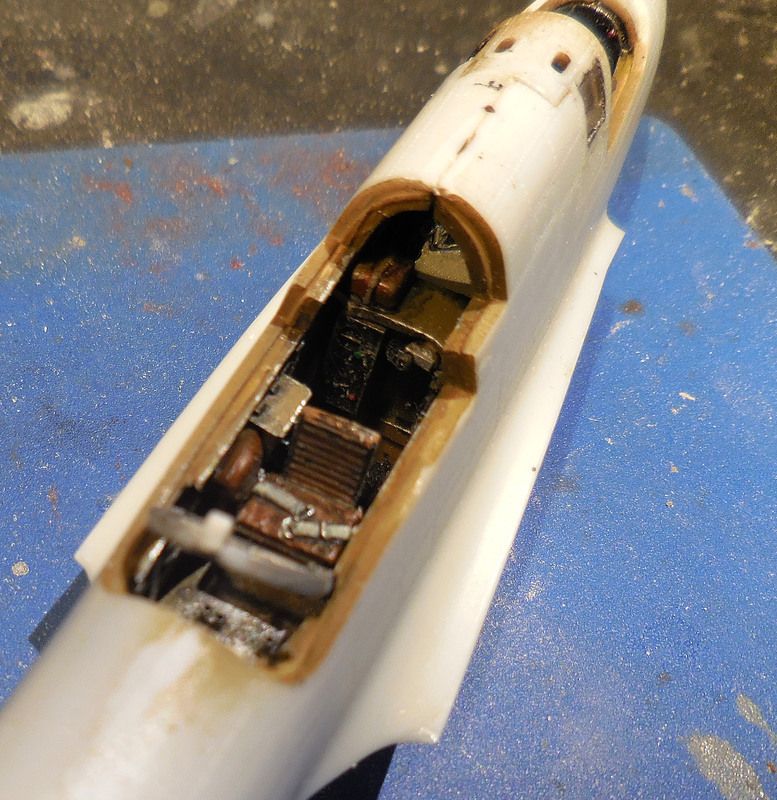
And one more of the gunner's position.
I've made more progress today, and as soon as I think she's dry enough to handle, I'll take a few more. I got all the seams sealed on the fuselage, and the tail planes attached. I also got the wing halves together, with the wheel wells inside. Now I need to afix the landing gear legs and struts, which is what I think is the most confusing part of Lone Star's instruction sheet. I still am not sure just how this is going to work.
Anyway, I thought I'd share what I have so far. I am looking to finish this build off, and get onto part two of "V", a Hasegawa Ki-100 "Tony".
Thanks for looking and as always, constructive commets and questions are always welcomed. Have a great evening!
Regards,
Freddie from LI