SEARCH FINESCALE.COM

Enter keywords or a search phrase below:

80 Years of Airfix GB

115232 views
1664 replies
1 rating 2 rating 3 rating 4 rating 5 rating
  • Member since
    December 2005
  • From: Goteborg / Sverige
Posted by Svenne Duva on Monday, February 11, 2019 1:31 AM

Hi Steve,

How are the clear parts? Any good?

Svenne

sic transit gloria mundi

  • Member since
    December 2002
  • From: Bury St Edmunds, Suffolk, England
Posted by Bish on Monday, February 11, 2019 2:10 AM

AA, i can't see you 51 at the minute, your pics don't show up at work. But i will have a look and update the front page tonight. Thanks for taking part.

I am a Norfolk man and i glory in being so


On the bench: Airfix 1/72nd Harrier GR.3/Fujimi 1/72nd Ju 87D-3

  • Member since
    June 2017
  • From: Winter Park, FL
Posted by fotofrank on Monday, February 11, 2019 6:20 AM

modelcrazy

Nice looking 51 AA.

I started on the BV. It's typical of the old Airfix, lots of flash, nonexistent detail, raised panel lines and oversized rivets.....OK the rivets constitute some detail. It should go together quickly and probably take twice as long to fill the seams.

I started in my usual way with a black primer.


Modelcrazy, what did you use as a primer? A lacquer or emanel?

OK. In the stash: Way too much to build in one lifetime...

  • Member since
    December 2002
  • From: Bury St Edmunds, Suffolk, England
Posted by Bish on Monday, February 11, 2019 6:25 AM

stikpusher

I was able to wrap up building the crew figures yesterday... 


Painting them will probably be my biggest challenge...


They look like nice figures, i am sure you will have no trouble painting those.

I am a Norfolk man and i glory in being so


On the bench: Airfix 1/72nd Harrier GR.3/Fujimi 1/72nd Ju 87D-3

  • Member since
    August 2004
  • From: Forest Hill, Maryland
Posted by cwalker3 on Monday, February 11, 2019 6:29 AM

Painting stage on the Lanc is finally finished. There were a couple of mistakes that I had to go back and fix, and a couple of other areas that I think I can address with weathering, but overall I think this is my best camo effort to date.

For one of the repairs I had a chance to experiment with Silly Putty. Before I used it I worked it a good bit with just my hands. The I layed it out thin and sprayed a light coat of paint on it. When dry I worked it again in my hands. Then I used it to mask off the areas I needed to repair. It worked fine. Thanks to all for their advice on using this.

Anyway, here are a few pics.

Cary


  • Member since
    December 2002
  • From: Bury St Edmunds, Suffolk, England
Posted by Bish on Monday, February 11, 2019 6:32 AM

The camo has come out well. have you sprayed the clear parts seperat;y or are you brush painting those.

I am a Norfolk man and i glory in being so


On the bench: Airfix 1/72nd Harrier GR.3/Fujimi 1/72nd Ju 87D-3

  • Member since
    August 2004
  • From: Forest Hill, Maryland
Posted by cwalker3 on Monday, February 11, 2019 8:05 AM

Bish

The camo has come out well. have you sprayed the clear parts seperat;y or are you brush painting those.


I masked with Eduard masks and sprayed. I'll wait unti after the final flat coat before unmasking. Hopefully, everything's fine.

Cary


  • Member since
    July 2004
  • From: Sonora Desert
Posted by stikpusher on Monday, February 11, 2019 9:19 AM

Bish


stikpusher

I was able to wrap up building the crew figures yesterday... 


Painting them will probably be my biggest challenge...


They look like nice figures, i am sure you will have no trouble painting those.


Thanks Bish. They are very nice figures indeed. Painting the uniforms on them is not a big deal. It’s getting the flesh areas to look right that is always my challenge. 


F is for FIRE, That burns down the whole town!

U is for URANIUM... BOMBS!

N is for NO SURVIVORS...

       - Plankton

LSM


  • Member since
    December 2002
  • From: Bury St Edmunds, Suffolk, England
Posted by Bish on Monday, February 11, 2019 9:26 AM

stikpusher


Bish


stikpusher

I was able to wrap up building the crew figures yesterday... 


Painting them will probably be my biggest challenge...


They look like nice figures, i am sure you will have no trouble painting those.


Thanks Bish. They are very nice figures indeed. Painting the uniforms on them is not a big deal. It’s getting the flesh areas to look right that is always my challenge. 


Same here. And the eyes are always the thing i struggle with. I have found painting 1/10th scale busts has helped a lot.

I am a Norfolk man and i glory in being so


On the bench: Airfix 1/72nd Harrier GR.3/Fujimi 1/72nd Ju 87D-3

  • Member since
    July 2014
Posted by modelcrazy on Monday, February 11, 2019 10:01 AM

Svenne

Yes not bad at all. I'm going to hand paint most of them. I just don't want to spend days masking.

Fotofrank

Neither, I'm trying the Vallejo black primer, so far I like it, it sprays very smooth. Enamel goes over it well, I don't know about lacquer yet.

Steve

Building a kit from your stash is like cutting a head off a Hydra, two more take it's place.


http://www.spamodeler.com/forum/

  • Member since
    October 2009
Posted by JacknewbIII on Monday, February 11, 2019 3:32 PM

I cant wait to see what you do with the figures Stik. I am just getting ready to try some myself for the first time.

That Lancaster is really looking nice so far as well!

So things were going along as normal on the F-14 until I encountered this step in the instructions. In an effort to add cool wings that retract they had to add some huge slabs of plastic that protruded out out of the sides (it was the 70's) of the craft and obviously need to be addressed.

I rigged my own system using their parts but elimited the areas that stuck out of the craft. I am not quite able to get them all the way back but they move nicely and I am happy with the results. She is all sanded and primed now so I will check back in soon once I add some paint.


  • Member since
    December 2002
  • From: Bury St Edmunds, Suffolk, England
Posted by Bish on Tuesday, February 12, 2019 3:10 AM

Looks good Jack. I recall those large slabs of plastic, if i remember right, they came out of slots in the front of the wing gloves when you moved the wings.

I am a Norfolk man and i glory in being so


On the bench: Airfix 1/72nd Harrier GR.3/Fujimi 1/72nd Ju 87D-3

  • Member since
    December 2005
  • From: Goteborg / Sverige
Posted by Svenne Duva on Tuesday, February 12, 2019 1:34 PM

Congratulations on your competed build AA!

Your P51 has come out nicely Cool

Just one question, is that a light frosting to the alluminium?

Thank you for sharing your build with us!

Svenne


sic transit gloria mundi

  • Member since
    December 2005
  • From: Goteborg / Sverige
Posted by Svenne Duva on Tuesday, February 12, 2019 1:41 PM

@ cwalker3,

The camo looks just right so far, nice job!

@ Jack,

I do remember the swinging wings, you are doing a great job on the F-14! 

sic transit gloria mundi

  • Member since
    March 2017
Posted by Armor_Aficionado on Tuesday, February 12, 2019 4:04 PM

Light frosting?  No, heavy buttercream frosting!   

Seriously, though, just Revell Aluminum rattle can spray, with a gloss coat applied before decal placement, then a dull overcoat.  Glad you like it!

  • Member since
    June 2017
  • From: Winter Park, FL
Posted by fotofrank on Wednesday, February 13, 2019 12:53 PM

The Clipper is primed and ready. I polished the primer with a 12,000 grit pad. Now it's ready for the Alclad. So if the rain would finally stop, I could go out on to the patio and shoot some paint.


OK. In the stash: Way too much to build in one lifetime...

  • Member since
    July 2004
  • From: Sonora Desert
Posted by stikpusher on Wednesday, February 13, 2019 10:50 PM

Jack, your Tomcat is shaping up nicely.

Frank, I can’t wait to see some metal color over the black on your Clipper

As for my project... Detail painting today... enamels... the tires and base color of the tow ropes. Today was temps in the low 50’s in my work area and high humidity due to rain... the paints were drying very slowly...


I’ll get more done tomorrow...


F is for FIRE, That burns down the whole town!

U is for URANIUM... BOMBS!

N is for NO SURVIVORS...

       - Plankton

LSM


  • Member since
    December 2002
  • From: Bury St Edmunds, Suffolk, England
Posted by Bish on Thursday, February 14, 2019 1:58 AM

Nice detail painting Stik, itreally brings the gun to life.

I am a Norfolk man and i glory in being so


On the bench: Airfix 1/72nd Harrier GR.3/Fujimi 1/72nd Ju 87D-3

  • Member since
    December 2002
  • From: Bury St Edmunds, Suffolk, England
Posted by Bish on Thursday, February 14, 2019 1:59 AM

Heres hoping for a rain free day frank. Be nice to see the paint on that.

I am a Norfolk man and i glory in being so


On the bench: Airfix 1/72nd Harrier GR.3/Fujimi 1/72nd Ju 87D-3

  • Member since
    June 2017
  • From: Winter Park, FL
Posted by fotofrank on Thursday, February 14, 2019 9:03 AM

Thanks, Bish. Should be warm enough and dry enough to paint tomorrow. Stik, that gun looks really good.

On to "whatever it takes!" To fill the lower turret openings, I used wheel halves from an ESCI P-36 kit. I filed the inside of the wheel half with the curved side of a wood file then epoxied them in place. Then I used the flat side of the same wood file to curve the wheel halves to match the curve of the fuselage. Yeah, whatever it takes. Now I'll fill and sand and polish as needed. man, this is a lot of work!


OK. In the stash: Way too much to build in one lifetime...

  • Member since
    May 2017
  • From: Denver, Colorado
Posted by MrStecks on Thursday, February 14, 2019 11:08 PM


I can't keep up with all the great updates in this thread!
 
cwalker3 – Your Lancaster’s camo looks great.
 
Jacknewblll – Nice work on the F-14.  I built that plane when I was a kid.  I didn’t remember it at all until I saw Bish’s post about the plastic slabs sticking out of slots in the front of the wing gloves, then suddenly the memories of that plane came back to me.  Must have really traumatized me to make me black it out of my memory like that.  Hahaha….
 
Frank - Love how the Clipper is coming along.
 
Stik – The gun is looking awesome.  The figures look cool too.  Looking forward to seeing those painted up.  There are five figures in my Omnibus kit, but I’m not sure I’ll use them.  Kind of afraid of painting figures. 
 
Cheers,
Mark


On the bench:  Revel 1/48 B-25J Mitchell

In the queue: Tamiya 1/48 F4U-1A Corsair

  • Member since
    May 2017
  • From: Denver, Colorado
Posted by MrStecks on Thursday, February 14, 2019 11:23 PM

Tales of the Omnibus - Chapter 1  (cont.)

Moving slowly on the Omnibus, but making progress.  Got the floor and chasis members together, and everything is nice and true.  Glad I made the effort to fix that warped floor.
Put down some primer and a first pass of color for the interior floor.  Some fixing to do in there.

Then... I got sidetracked, and now this build has become much bigger and more challenging.  The thing is, I can live with the obscene number of ejector pin marks and warped parts.  But the absolute lack of any interior structure (other than the benches) is too much to bear. 
Here's a pic of the inside wall of the bus, without the "glass."

And here's a pic with the glass laying in place.

That's it.  That's what you'll see when you look inside.  A big slab of clear plastic glued on to a featurless wall.  Ugh...

So, as much as I dread scratch-building, it must be done.  I started by tracing out the shapes of the windows on plastic stock and carving them out.  These will become the interior sills for the glass.  I've also decided to dump the 1mm thick glass and go with some .010mm acetate.
I have the interior window framing mostly done on one side, about to start on the other:

Well, this should be interesting.  :)


Cheers,
Mark


On the bench:  Revel 1/48 B-25J Mitchell

In the queue: Tamiya 1/48 F4U-1A Corsair

  • Member since
    December 2002
  • From: Bury St Edmunds, Suffolk, England
Posted by Bish on Friday, February 15, 2019 5:20 AM

Mark, i know scratchbuilding can be tedious and time consuming. But i do get satisfaction from adding bits myself. And i think the effort you are goiung to is already paying off in that extra detail. At least you have some kit parts to work from rather than trying to build somthing that isn't in the kit at all.

I am a Norfolk man and i glory in being so


On the bench: Airfix 1/72nd Harrier GR.3/Fujimi 1/72nd Ju 87D-3

  • Member since
    December 2005
  • From: Goteborg / Sverige
Posted by Svenne Duva on Friday, February 15, 2019 9:03 AM

Hi Stick,

The 17 Pounder realy pops now. Great job!

This will look great with the figures added as well, planning a small diorama?

Svenne

sic transit gloria mundi

  • Member since
    December 2005
  • From: Goteborg / Sverige
Posted by Svenne Duva on Friday, February 15, 2019 9:12 AM

Hello Frank,
Looking forward to see the Clipper in alloy - guess you are going to give the WB-29 the same treatment?

I guess the question about the primer was related to the Alclad coating, what did you end up using?

Svenne


sic transit gloria mundi

  • Member since
    December 2005
  • From: Goteborg / Sverige
Posted by Svenne Duva on Friday, February 15, 2019 9:20 AM

Hi Mark,

I do not enver you but your efforts are going to pay off for sure!

How do the figurines look?

Svenne

CG on your Butcher Bird btw :)


sic transit gloria mundi

  • Member since
    June 2017
  • From: Winter Park, FL
Posted by fotofrank on Friday, February 15, 2019 9:53 AM

Svenne Duva

Hello Frank,
Looking forward to see the Clipper in alloy - guess you are going to give the WB-29 the same treatment?

I guess the question about the primer was related to the Alclad coating, what did you end up using?

Svenne


Svenne, the Clipper will be painted with Alclad Aluminum. The primer is Alclad Black Primer and Microfiller. The WB-29 will get the same treatment as well. These two kits will be the fourth and fifth I have painted with an Alclad finish.

OK. In the stash: Way too much to build in one lifetime...

  • Member since
    December 2005
  • From: Goteborg / Sverige
Posted by Svenne Duva on Friday, February 15, 2019 10:15 AM

Right,

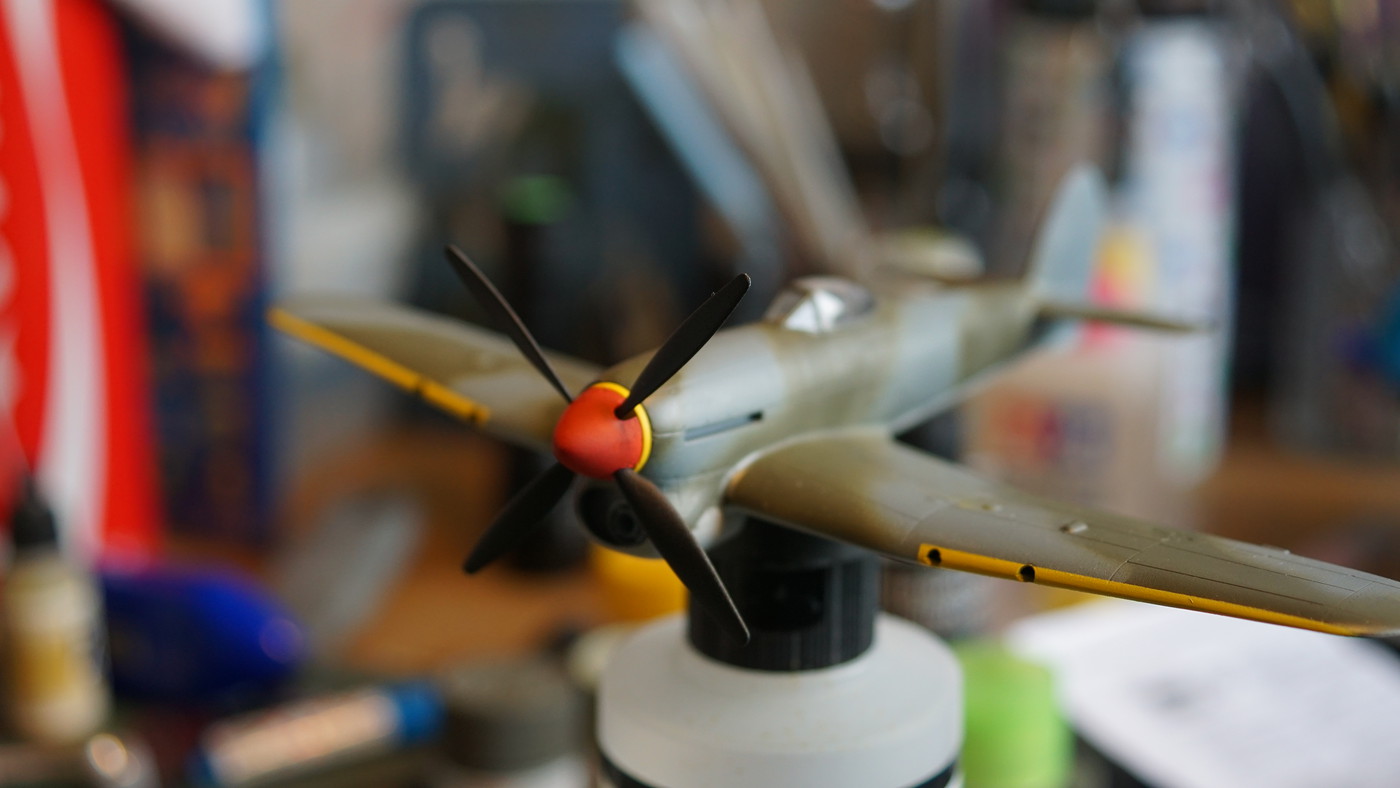
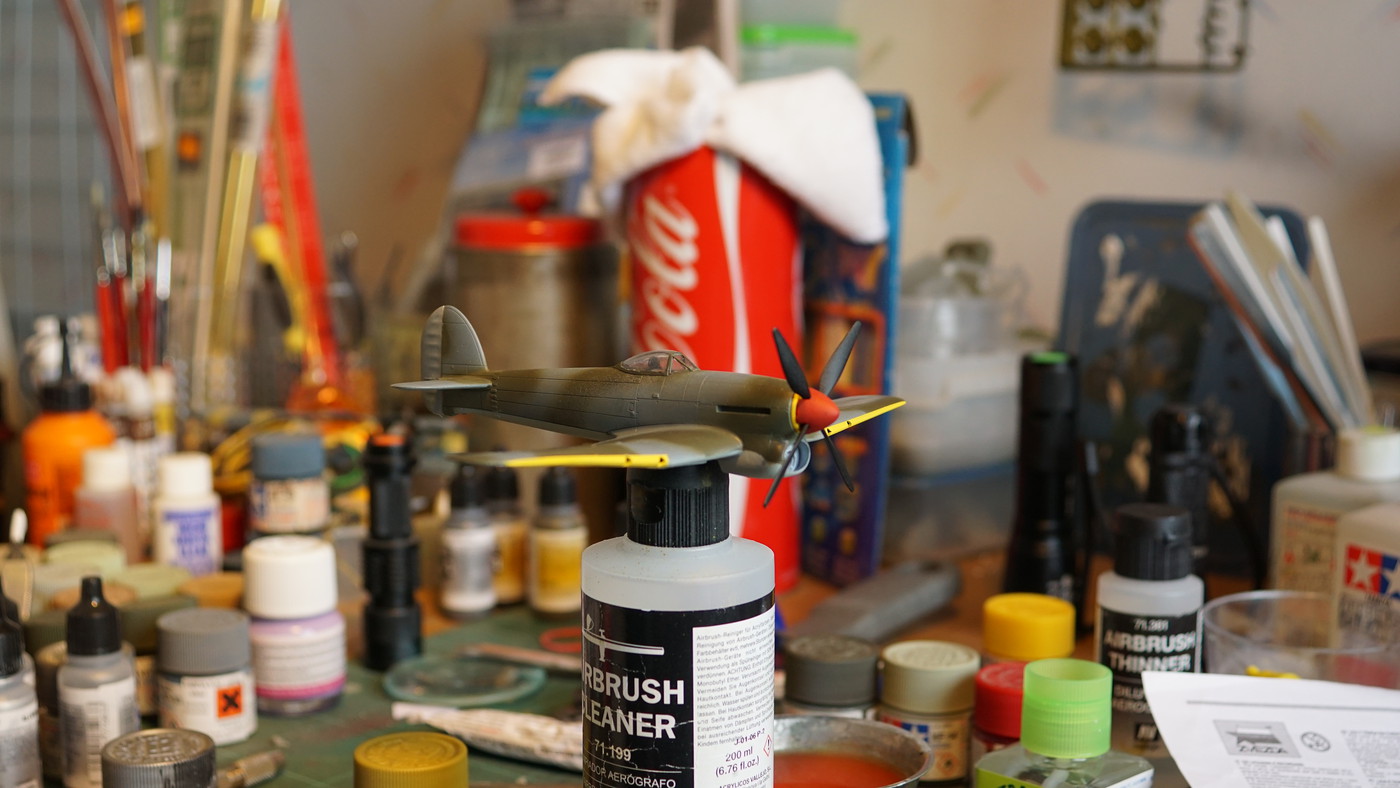
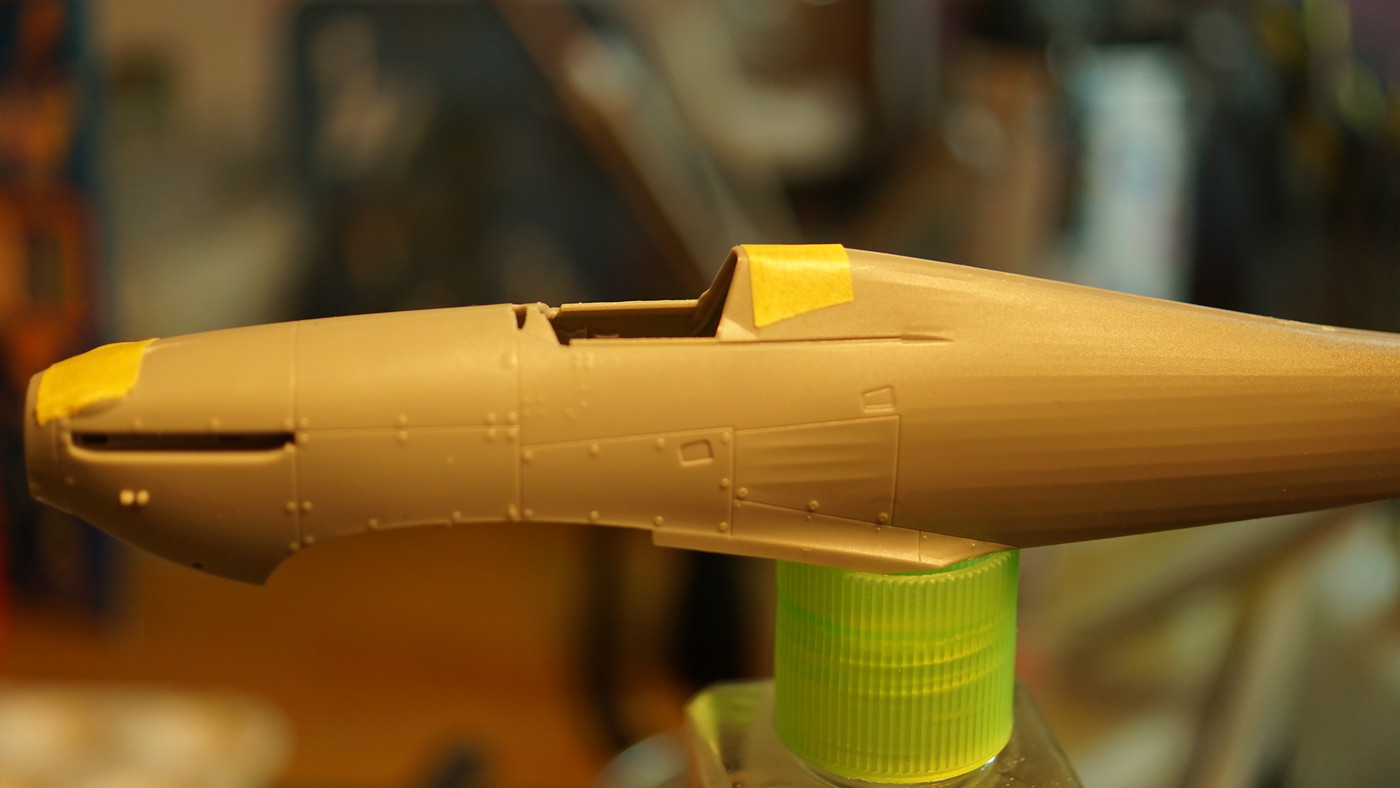
so after my misshaps with the 1/72 Typhoon I sort of lost the will.
And the stencil chart.

Sure I could lift the frosty Tamiya coats with Windex - not a problem but the Vallejo primer sits like concrete.

Leasson learnt - don't mix anything but Tamiya with the Tamiya yellow cap thinner.

Anyway, after some contemplating I remembered myself why I was doing the 1/72 in the first place.

I wanted to learn more about the story behind the Typhoon;
Variants, history, units, basically anything worth knowing before I started the big 1/24.

And I have learned a lot. Shape up and bite the bullet.

So I sanded down the worst frosting and gave the lady a camoflage coat.

Colors used are:
XF-80 Royal Light Gray
XF-81 Dark Green 2
XF-82 Ocean Gray 2

@ James - still waiting for the Vallejo RAF set to arrive from Hannants...
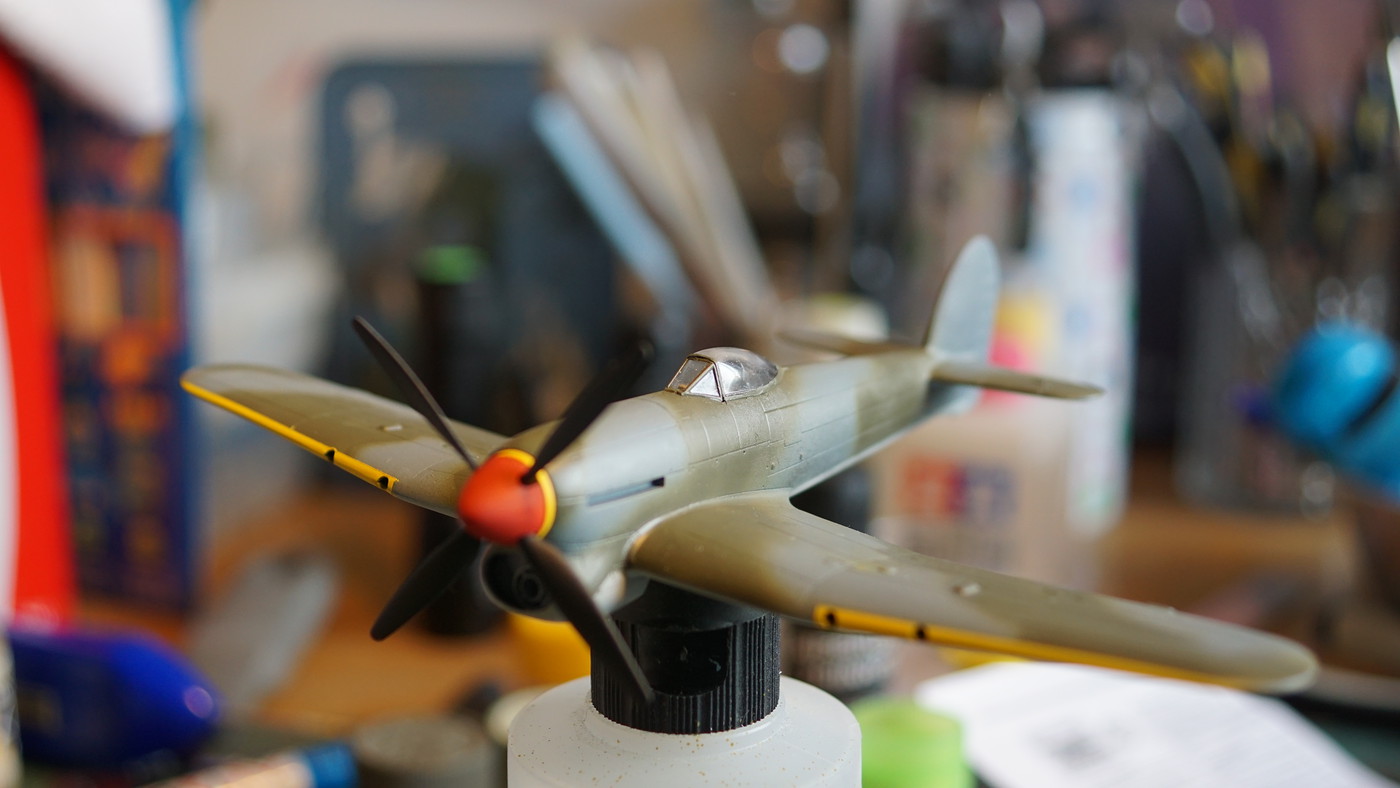

I did find a stencil set from Heller for a Tempest in 1/72 in the stash, must be at least 25 years old. I will get the exhausts painted and give the old stencils a go.
But that is not going to be a priority now.

On to the next (or previoues) Sidney Camm design, Airfix Hawker Hurricane 1/48.

This is a new release from 2017 (tool from 2015).
The kit includes optional parts to build either a Mk.1 or Mk.1B replacing the lower rear section of the airframe with a part including the arresting hook for the sea version.

This is a totally different kit.

It is difficult to belive that the Typhoon (tool from 2013) and the Hurricane come from the same manufacturer.
I would have guessed FineMolds or Hasegawa.
And belive me when I say I was impressed with the Typhoon!

But this is something completely different...

The plastic is finely molded and brittle:
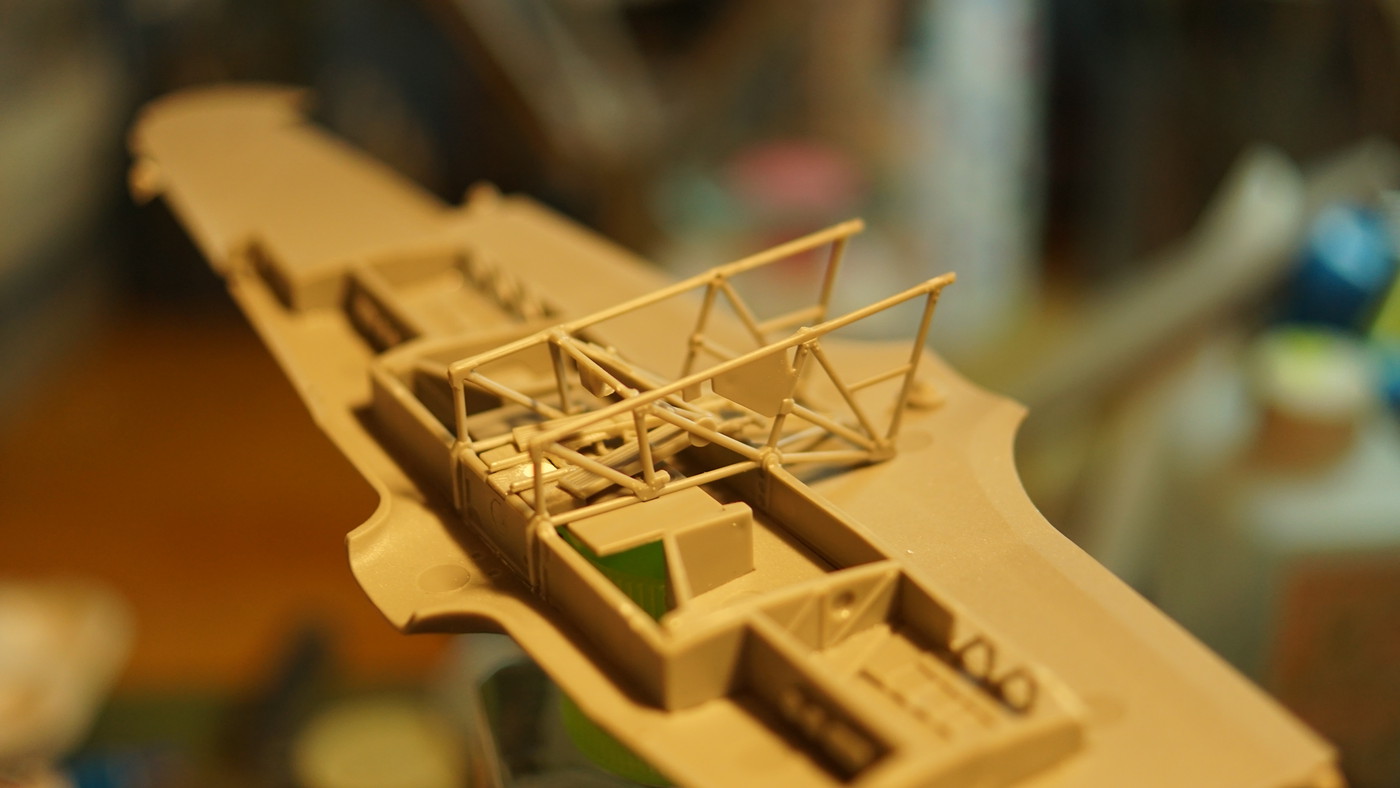
Details are very fine and crisp:
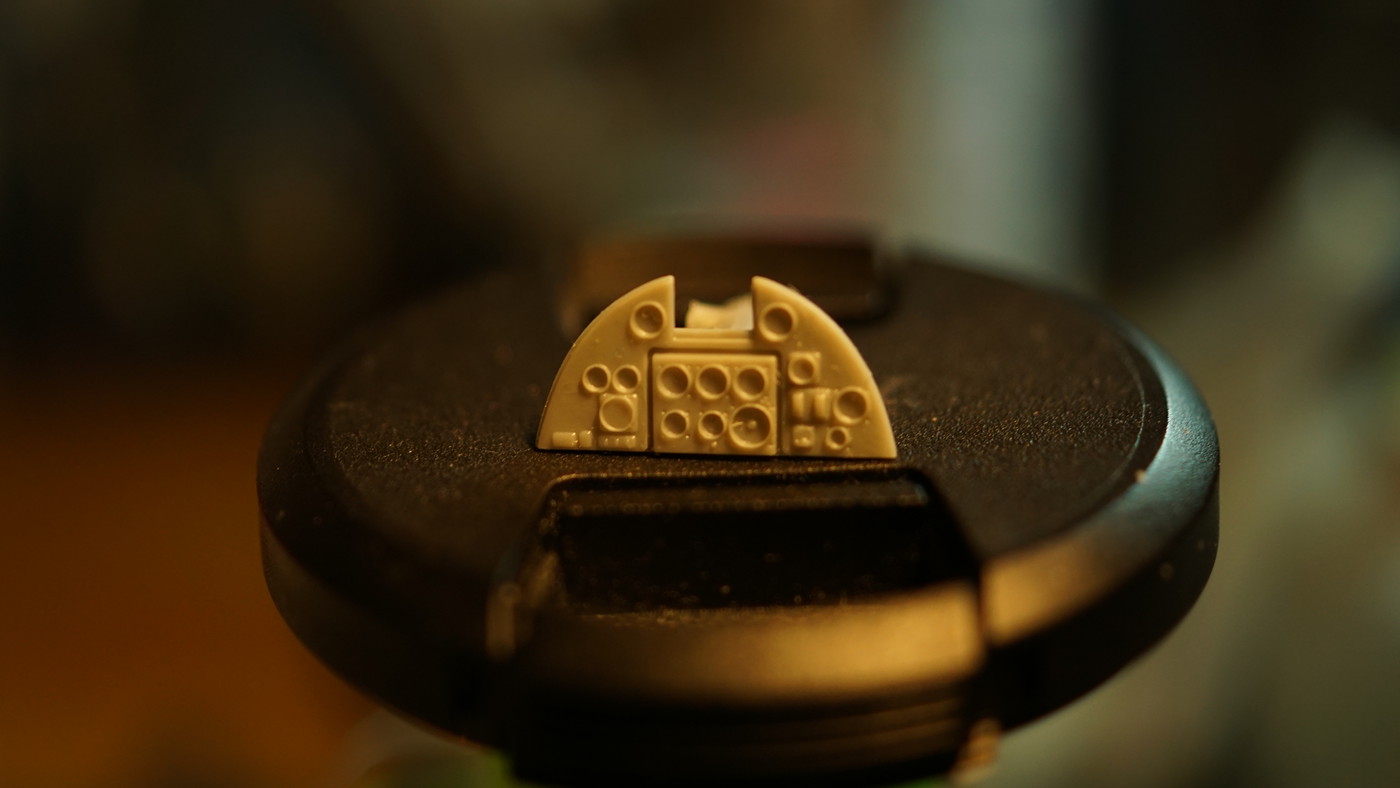
Not sure if this impression is going to, last but so far this is...

WOW!!!

Svenne

sic transit gloria mundi

  • Member since
    June 2017
  • From: Winter Park, FL
Posted by fotofrank on Friday, February 15, 2019 11:04 AM

Looking good, Svenne. I've always been a fan of the Typhoon.

For me, progress! The underside and the sponsons and the two outboard vertical tails are painted with the Alclad Aluminum. Looks like a nice smooth finish. I polished the primer with a 12,000 grit Micro-Mesh pad then cleaned the surface with alcohol. I sprayed the Alclad at 8 psi to make sure the paint didn't dry between the airbrush and the surface of the airplane. The finish looks good. I'll spray the topside tomorrow or Sunday.


OK. In the stash: Way too much to build in one lifetime...

  • Member since
    July 2004
  • From: Sonora Desert
Posted by stikpusher on Friday, February 15, 2019 11:48 AM

Frank, I’m really loving that Clipper. A true classic airliner with a distinct look. You are doing the kit and the aircraft justicein your build.

Svenne, that tiny Typhoon is coming along great. And the Hurricane... wow! What detail in there! 

Thanks to all for the kind words on my gun. Bish, the added colors do help this build become more life lifelike and break up the monotony of the color scheme. Mark, you should try painting the figures, if not for the practice and experience, if nothing else. Svenne, I do have a diorama or vignette setting in mind for this once I have all the figures completed. 


F is for FIRE, That burns down the whole town!

U is for URANIUM... BOMBS!

N is for NO SURVIVORS...

       - Plankton

LSM


JOIN OUR COMMUNITY!

Our community is FREE to join. To participate you must either login or register for an account.

SEARCH FORUMS
FREE NEWSLETTER
By signing up you may also receive reader surveys and occasional special offers. We do not sell, rent or trade our email lists. View our Privacy Policy.