SEARCH FINESCALE.COM

Enter keywords or a search phrase below:

VACUFORM –Any Aircraft Subject (Starts 2/1/05 Ends 9/30/05)

22936 views
233 replies
1 rating 2 rating 3 rating 4 rating 5 rating
  • Member since
    March 2004
  • From: British Columbia,Canada
Posted by bstrump on Thursday, July 14, 2005 1:28 AM
A minor update. The resin F-84 cockpit arrived from Squadron the other day and tonight I got it installed in the forward fuselage. It was so close to the XF-91 that I didn't even have to modify it. I like it when that happens. With that installed, I mated the forward and rear fuselage sub-assemblies and now the task of blending together begins.
  • Member since
    March 2004
  • From: Pacific Northwest
Posted by MBT70 on Saturday, July 9, 2005 6:40 PM
Funny thing about the prop ... the one in the kit was poorly cast, so I bought a high-impact plastic one meant for RC gas airplanes, just the right scale, and painted it with a wood-grain look. I also had to scratchbuild the entire upper engine housing from brass sheet because the Vacuformed parts were very innaccurate. So.. thanks!
Life is tough. Then you die.
  • Member since
    March 2004
  • From: British Columbia,Canada
Posted by bstrump on Friday, July 8, 2005 7:51 PM
Fantastic looking build MBT70! The detail up front is outstanding and I like the wark on the prop.
  • Member since
    November 2005
Posted by Anonymous on Friday, July 8, 2005 3:55 PM
Thanks for the aditional info! So it was silk and not fabric, the layer that covers the inside of the fuselage.

This is probably my second favorite aircraft ever... after the Albatros D.V... These are beauties!!!

Regards,

  • Member since
    March 2004
  • From: Pacific Northwest
Posted by MBT70 on Friday, July 8, 2005 1:48 PM
Klinkerumpf, as applied to the D-III, was made by laminating strips of plywood over a shaped form of the fusleage. The strips were soaked in water to become pliable, then bonded with a brushed-on glue. The first layer was aircraft silk, then wood strips, silk, wood, silk, wood and then a cover layer of silk, which I left off mine to show the laminate better. Pfinished Pfalz Pfighters were delivered with an overall silver paintjob, as you astutely noted. My version of that color was a mix of Steel and Gunmetal grey to get a weathery look and knock the glare down a bit.

As for the other colors and markings .... I know Eduard has a Werner Voss version of the fighter that looks nothing like this. I believe them to be wrong, based on the book I have as well as pictures of a captured Pfalz D-III that looks surprisingly like Eduard's version. It was not Voss'. I'll get the information from my book and possibly even post a picture or two. Of note, however ... this is not Voss' assigned aircraft, but rather one he was known to have flown numerous times and even scored some kills with.
Life is tough. Then you die.
  • Member since
    November 2005
Posted by Anonymous on Friday, July 8, 2005 6:19 AM
Great build MBT70. Just a few questions: the klinkerumpf construction implied internal coverage with fabric, wasn't it (Roland build type)? Which colour do you think this was? Some state grey, but one would imagine CDL to be also possible? Also, could you elaborate on your recipe for the Pfalz silver grey?

Is the red finish the one from Werner Voss? Quite unusual one!!

Thanks for sharing!

Regards,

  • Member since
    March 2004
  • From: Pacific Northwest
Posted by MBT70 on Thursday, July 7, 2005 10:44 PM
Okay ..... here we go .... first shot is beside an 1847 Walker Colt .44 to show size (very, very big revolver). The fourth picture is a 1/72 Pfalz D-III I built "in the white," or as an unpainted factory mule, to show the klinkerumpf construction on the fuselage and the plywood and fabric elswhere.


Life is tough. Then you die.
  • Member since
    March 2004
  • From: Pacific Northwest
Posted by MBT70 on Thursday, July 7, 2005 2:53 PM
Thanks, guys. I'm just crazy about the Pfalz D-III and have every kit and book I can find with details about it. This 1/24th kit has been a labor of love because it's the biggest scale version I've found of it, but it's quite expensive and I've modified it somewhat to increase detail and accuracy. It's actually pretty far along and i'll take some shots tonight and post them here. It's the only vacuform kit I've ever built, although it's reaslly what you'd call multi-media with resin and metal parts, too.
Life is tough. Then you die.
  • Member since
    November 2005
Posted by Anonymous on Thursday, July 7, 2005 8:03 AM
Great subject! As a paralel build to my Halberstadt, I'm finishing an OOB Pfalz D.IIIa (Roden 1/72) as Carls Degelow's plane!!

Looking forward to see your build, MBT70!
  • Member since
    March 2004
  • From: British Columbia,Canada
Posted by bstrump on Wednesday, July 6, 2005 9:36 PM
Super! Another participant in this GB. Welcome aboard!Sign - Welcome [#welcome] Though I'm not in charge of this GB, we're all still glad to have you. The "official" welcome will come from Model Grandpa but in the meantime, start sanding.Big Smile [:D] I can't wait to see what you've got for us.
  • Member since
    March 2004
  • From: Pacific Northwest
Posted by MBT70 on Wednesday, July 6, 2005 6:41 PM
Can I jump into this GB with a Marco Polo 1/24th scale Pfalz D-III? It's being finished up as one Werner Voss occasionally used from a photo that I found in an old book called "Germany's Teenage Ace."
Life is tough. Then you die.
  • Member since
    March 2004
  • From: British Columbia,Canada
Posted by bstrump on Wednesday, June 29, 2005 9:33 PM
Finally got some progress pics to show. They've been a long time coming so without further ado I present:


I mocked up the assemblies to give you an idea of what it'll look like. I'm waiting for the resin cockpit to show up so the forward and rear sub-assemblies are still loose. In the meantime, I still have a fair bit of work to do cleaning up the rear fuselage joints.
  • Member since
    March 2004
  • From: British Columbia,Canada
Posted by bstrump on Sunday, June 26, 2005 2:37 PM
I have given up trying to scaratchbuild a cockpit for the XF-91. I wasn't happy with the results so I ripped it out and ordered a resin F-84 cockpit from Squadron. I'll just modify it a bit, cram it into the fus' and call it good enough.
  • Member since
    November 2005
Posted by Anonymous on Wednesday, June 22, 2005 10:36 AM
geee.... about time someone showed up!!

A brief status on the subject: I haven't actually made much. I've filled the fuselage panel mark with putty and sanded that down. Polished it, and that's that. I've been finishing up other projects, but I hope to return to this one within a couple of weeks.

What about the others?
  • Member since
    March 2004
  • From: British Columbia,Canada
Posted by bstrump on Tuesday, June 21, 2005 10:39 PM
A little update on the XF-91. So far I've managed to get all the sub-assemblies glued together and I'm still working on the cockpit. For the most part, fit has been pretty good but in some areas my years-long absence from vacforms is really showing. Oh well, when you haven't got enough work, create some! My apologies for not having posted any pics so far but I'll try to have some ASAP.

How's everybody else's projects coming along?
  • Member since
    September 2003
  • From: Melbourne, Australia
Posted by celestialsphere on Thursday, June 2, 2005 5:40 PM
Work is progressing. Whew. Only four fin parts to go...

While I'm happily sanding little bits of plastic, my girlfriend plays some computer game involving saving the World ( it's amazing how often the World requires this). As long as she succeeds I'll be able to finish this model. Thumbs Up [tup]

Celestialsphere
  • Member since
    April 2004
Posted by mats.man on Saturday, May 28, 2005 12:19 PM
I had hope to be the first to finish my vacuform project but I see I have been beat by David with an excellant model of the Javelin by Dynavector. I believe his selected model was more difficult than my Astra CF-105. I finished it about two weeks ago but have yet to figure out how to get pictures of it into the forum. As soon as I get back from the vacation I will try to get a couple of pictures of the completed CF-105 along with few comments into the forum.

Richard
  • Member since
    September 2004
  • From: Utereg
Posted by Borg R3-MC0 on Wednesday, May 25, 2005 3:27 AM
QUOTE: Originally posted by celestialsphere

This Deux Ponts has twin fins, with 2/3 of the area above the tailplane and 1/3 below.

That means I've got to sand down 8 parts for these pieces alone... (2 fins, each of 2 panels, and each of those in two halves... Sigh [sigh] Sigh [sigh] Sigh [sigh] Sigh [sigh] Sigh [sigh] Sigh [sigh] Sigh [sigh] Sigh [sigh]

Celestialsphere


Sanding is a part of the fun of vac form building!!!

Well, actualiy, it isn't, but it's a very important step. So take your time for it.

  • Member since
    September 2003
  • From: Melbourne, Australia
Posted by celestialsphere on Tuesday, May 24, 2005 10:13 PM
This Deux Ponts has twin fins, with 2/3 of the area above the tailplane and 1/3 below.

That means I've got to sand down 8 parts for these pieces alone... (2 fins, each of 2 panels, and each of those in two halves... Sigh [sigh] Sigh [sigh] Sigh [sigh] Sigh [sigh] Sigh [sigh] Sigh [sigh] Sigh [sigh] Sigh [sigh]

Celestialsphere
  • Member since
    March 2004
  • From: British Columbia,Canada
Posted by bstrump on Monday, May 23, 2005 12:26 PM
Sign - Welcome [#welcome]to this GB, Clestialsphere. Looks like you have some fun build time ahead of you. I can't wait to see this one.
  • Member since
    September 2004
  • From: Utereg
Posted by Borg R3-MC0 on Monday, May 23, 2005 8:19 AM
Sign - Welcome [#welcome] in this GB Celestialsphere!

  • Member since
    November 2005
Posted by Anonymous on Sunday, May 22, 2005 4:50 PM
Welcome Celestialsphere! Lovely subject!!
  • Member since
    September 2003
  • From: Melbourne, Australia
Posted by celestialsphere on Sunday, May 22, 2005 6:20 AM
Greeting All !

I'll join the fray (today, if I may...).

I've started the Welsh Models 1/144th Breguet Deux Ponts.

http://www.airliners.net/open.file/214042/M/

This is my first Vacform and it's natural metal so that's a double challenge...

Celestialsphere

Melbourne, Australia.
  • Member since
    September 2004
  • From: Utereg
Posted by Borg R3-MC0 on Friday, May 13, 2005 8:48 AM
I was a bit stuck with the wings, I really lost momentum, but I have used my secret succes formula to get out of such a situation.
I just started glueing pieces, if problems arise I will tackle them later!

I have glued the wheel wells in place and have got one wing to fits nice (after some severe sanding!). So on to wing number 2, which will be a bit of a challenge because I made a mistake whilst removing it from the plastic sheet (see earlier photo's)
But I am making progress and that's what counts!

  • Member since
    September 2004
  • From: Utereg
Posted by Borg R3-MC0 on Tuesday, May 10, 2005 6:02 AM
Another update on my mig-3:
I have been doing some work on the wings,cleaning pieces, opening up holes, figuring out how the resin should fit etc.
It's doesn't look like much work, so I have no pictures of the progres. However, I'm very short of glueing the wings together. But this is a bit of a "make or break" part in the build so I am going to take my time for it.

Rafeal: very nice work there!

  • Member since
    November 2005
Posted by Anonymous on Saturday, May 7, 2005 3:45 PM
Hi Mike. Welcome to the GB! You can find the badge in some of theprevious pages (around page 4 or 5, I believe...). The Wyvern is a lovely topic. Looking forward to see some pics.

Regards,

Rafael
  • Member since
    July 2003
  • From: Keizer, Oregon
Posted by Model Grandpa on Friday, May 6, 2005 11:39 PM
Hello Mike. Welocme to the Vacuform GB, be more then glad to have you along.
Regards, Dan Building Scale Models At The Speed Of Dark
  • Member since
    May 2004
  • From: Chester, UK
Posted by mikeiw on Friday, May 6, 2005 7:09 AM
Hi All,

Am I too late to join in this build with my 1/48th Dynavector Westland Wyvern and Compass Rose resin update set? My first vacform, and it's a brilliant beginners kit if you can find one. The Compass Ross updates are also first class, but again, difficult to find, as they're only a small company.

If I'm eligible to join in, where do I get the badge from?
  • Member since
    March 2004
  • From: British Columbia,Canada
Posted by bstrump on Thursday, May 5, 2005 12:24 AM
Hi fellas. Just checking in. Rafael, that is looking real good. You're doing a fantastic job on such a tiny model. Keep up the good work. Progress on my own build has been very slow in the last little while. Too much real world interference into my leisure time.
  • Member since
    November 2005
Posted by Anonymous on Wednesday, May 4, 2005 5:49 PM
Still busy...

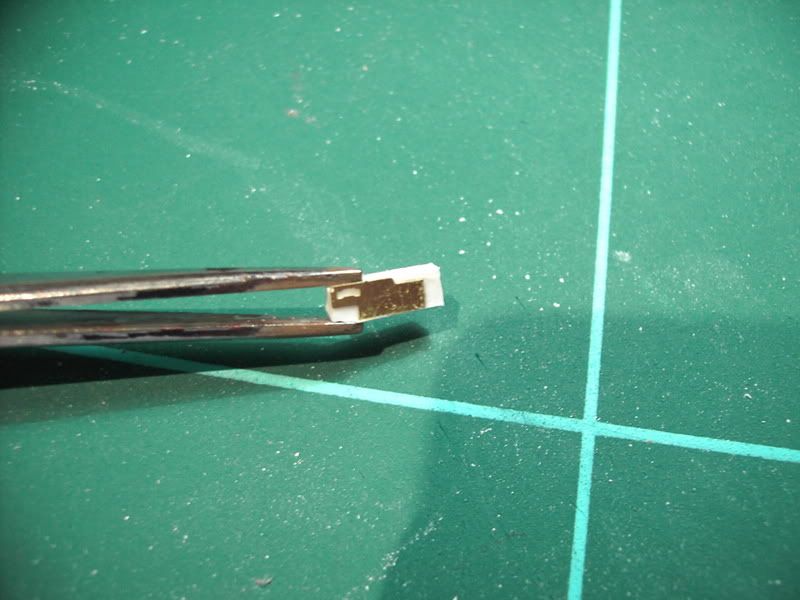
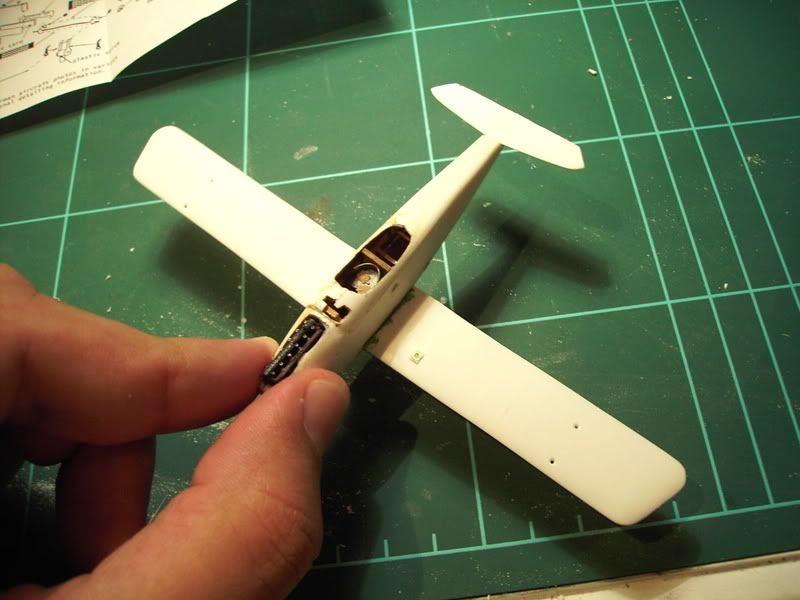
You probably remember the back of the fuselage. Now, with some files, wet-n-dry and a a blade:
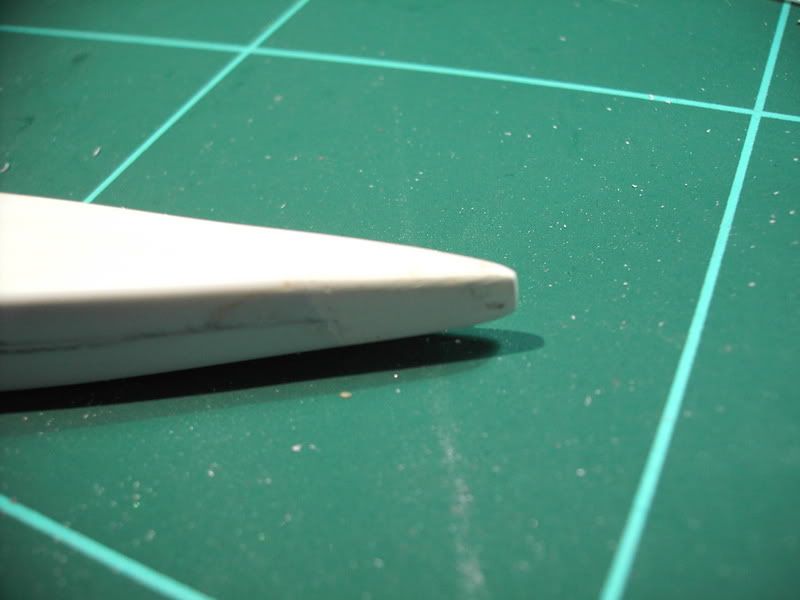


From there, I went for glueing the wings. Since it is virtualy impossible to insert any sort of tabs, I decided to escavate an emplacement hole in the fuselage. Here they are, in place:
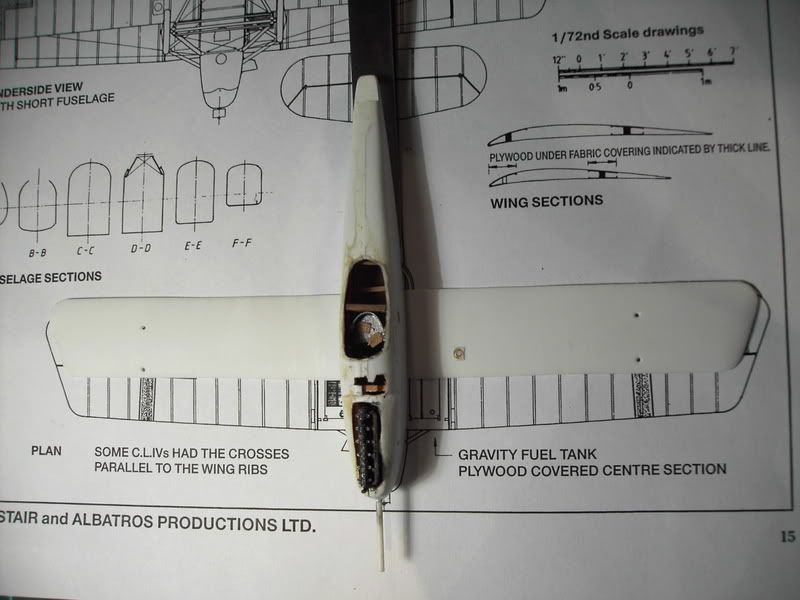


Note that I usually place the lozenge decals before glueing the wings, butthat is on injection molded and resin, on which you can glue the wings without too much effort. I'll have to improvise ahead...

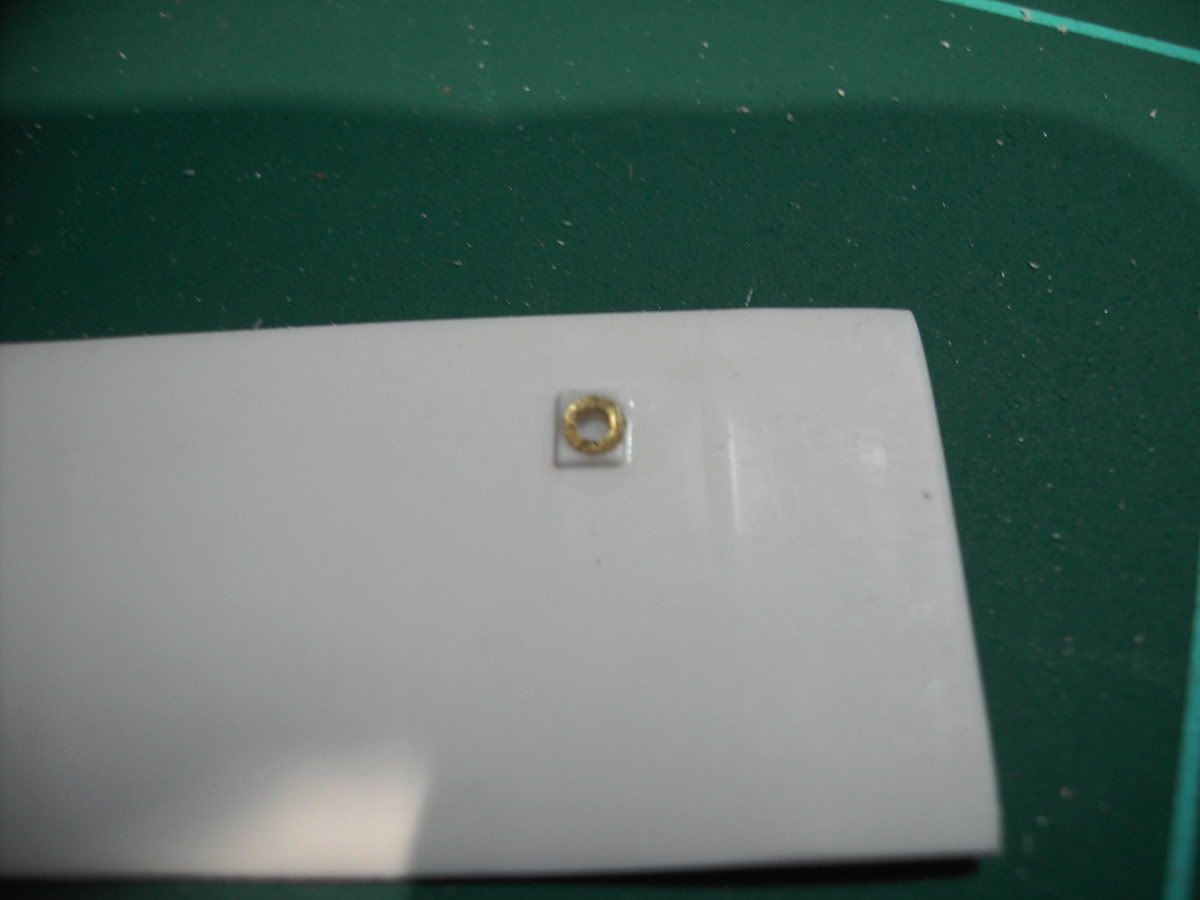
Note the compass on the wing:


Also I glued the estabilisor:


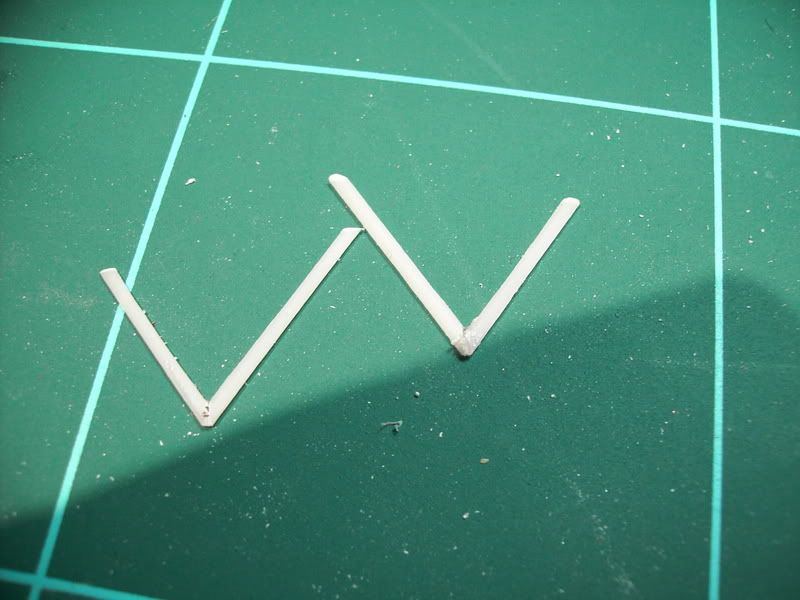
Finally, I've started with the structural parts. Contrail profile and epoxi glue, in order to produce the structure of landing gear:


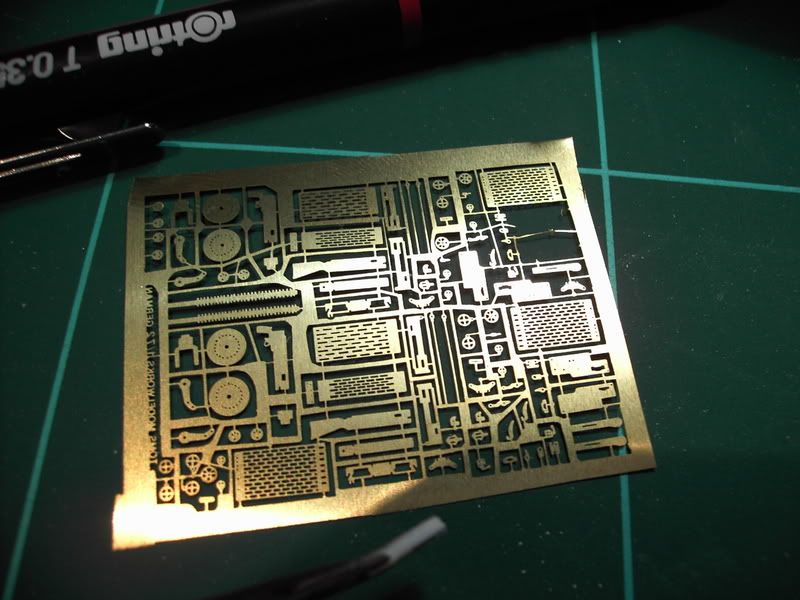
The kit brings two machine guns in white metal. They are so rough, that I decided to produce new ones using a Tom's Modelworks photoetch kit. The frontal Spandau and the observer Parabellum are small kits in theirselves....

Here are a couple of photos. I've started with the Spandau:


This is it, for now...

Regards,

Rafael
JOIN OUR COMMUNITY!

Our community is FREE to join. To participate you must either login or register for an account.

SEARCH FORUMS
FREE NEWSLETTER
By signing up you may also receive reader surveys and occasional special offers. We do not sell, rent or trade our email lists. View our Privacy Policy.