SEARCH FINESCALE.COM

Enter keywords or a search phrase below:

The Official F4U Corsair Group Build 4/01/08 - rolling end date

179031 views
1732 replies
1 rating 2 rating 3 rating 4 rating 5 rating
  • Member since
    July 2003
  • From: Cincinnati, Ohio
Posted by ridleusmc on Saturday, May 31, 2008 2:07 PM

Goodafternoon Gentilemen,

It's been a while since I checked in with the Corsair GB and I have to say that there is some great work being posted here. 

Daywalker, Frank, Great work on that F4U-1D.  Those beaten up fuel tanks and the rocket wires are great little touches that add alot of life to the model. 

Gzk, Kbuzz, and Dirtball, your pits are looking phenomenal.  They really look great.  If I was inch tall, I'd climb in them to play fighter pilot. 

Scottrc.  Superb work on that machine.  It looks like you'll be finishing her up soon.  We can't wait to see completed pics. 

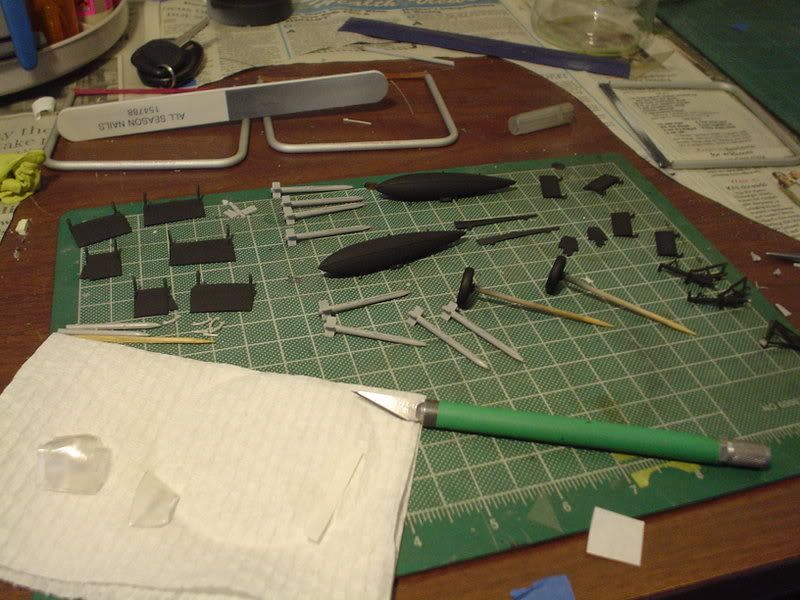
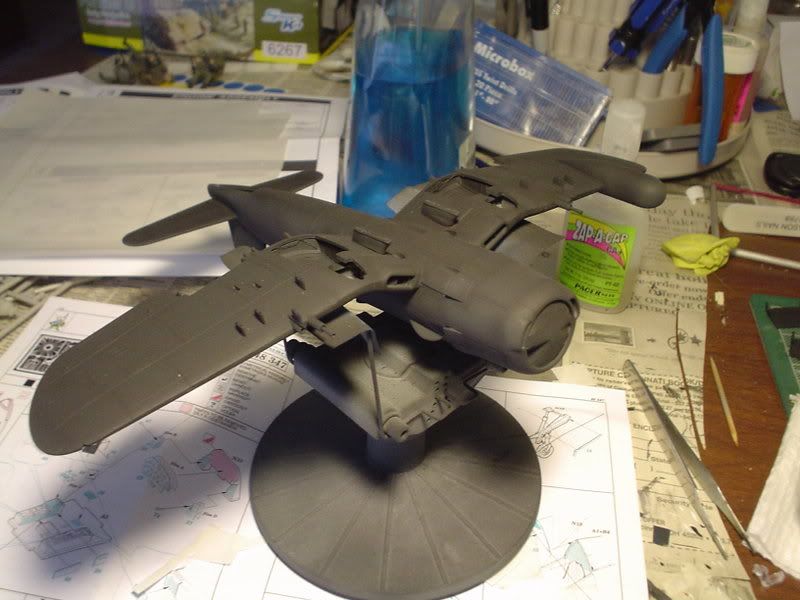
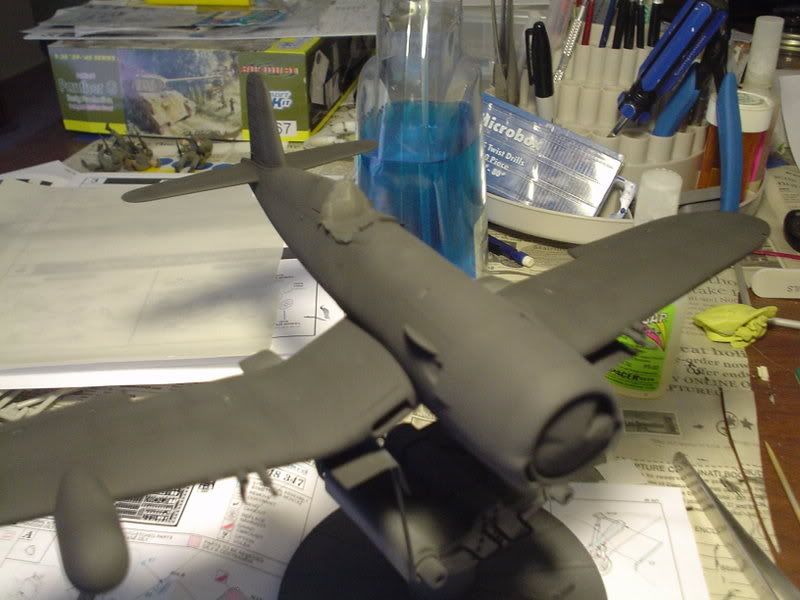
I've been busy outside the modeling realm, but I've been working by little bits for a few minutes a day.  Here's what I have. 
Semper Fi,

Chris

gzt
  • Member since
    May 2007
  • From: Massachusetts
Posted by gzt on Saturday, May 31, 2008 3:18 PM

Nice build Chris !

I see you are using the stretched sandpaper to finish seams on this bird. What is it and wehre did you get those stretchers ??

I am working on my tamiya corsair and just closed the fuselage however, I face a lot of sanding on top and bottom. This kind of tool is perfect for such work. I made my own from a piece of aluminum wire but ... it is not really any good one, just a need of that moment Smile [:)] 

Flying is a thrill #2 known to mankind. Landing is #1.

http://www.rwd-6.org

  • Member since
    July 2003
  • From: Cincinnati, Ohio
Posted by ridleusmc on Saturday, May 31, 2008 4:02 PM

GZT- The product is called "Flex-I-File" by Creations Unlimited Hobby Products, Grand Rapids MI 49525.  I bought them at a LHS in Medina, OH called Medina Family Hobby.  The set of three stretchers and a box of replacement sanding strips didn't cost very much.  I can't remember how much they were, but it was definately under $20.  There are three grades of sanding strips.  Black is coarse, brown is medium, and red is fine.  They are very useful.  I bought them a year ago, and I cannot imagine life without them.  If you were removing mold lines from a spoked wheel, you could insert the strip through the wheel.  Then you could attach it to the handle and sand away inside the wheel.  This ability comes in very handy on many parts, not just spoked wheels.  

Greatmodels webstore has the set listed for $24.25 which seems a little pricey.  It's listed as FLX0301.  

Semper Fi,

Chris   

  • Member since
    January 2007
Posted by Gigatron on Saturday, May 31, 2008 5:26 PM

Beatiful looking bird, Chris Thumbs Up [tup].  Can't wait to see it painted up.


I just started on the pit of my -1D this morning.  With the eduard PE set, it looks like it could be really killer.  I'll post some pics over the next day or so.

-Fred


  • Member since
    September 2007
  • From: galt, ca.
Posted by dirtball on Saturday, May 31, 2008 5:39 PM

   Thanks Chris. I realy like your bird. Shes looking awsome! Cant wait to see more.

    Fred, good luck with the PE. I know it will look killer when your done!...........Harv 

"I once shot an elephant in my pajamas. How he got in my pajamas, I`ll never know!"
  • Member since
    December 2003
  • From: 37deg 40.13' N 95deg 29.10'W
Posted by scottrc on Saturday, May 31, 2008 10:18 PM

Great work Chris and thanks for checking in.

Havn't had much time to build this last week.  Hope to get some time on my Corsair this weekend.

Regards,

Scott

  • Member since
    March 2006
Posted by simpilot34 on Sunday, June 1, 2008 7:35 AM

Chris she's looking good mate!!!!Thumbs Up [tup]

Cheers, Richie

Cheers, Lt. Cmdr. Richie "To be prepared for war, is one of the most effectual means of preserving the peace."-George Washington
  • Member since
    January 2007
Posted by Gigatron on Sunday, June 1, 2008 11:08 AM

Well, the office is done and here she is:

A combination of out of the box and eduard color PE

Enjoy

-Fred


  • Member since
    September 2007
  • From: galt, ca.
Posted by dirtball on Sunday, June 1, 2008 11:57 AM
   Well Fred, how do you like playing with PE?. Sure adds a lot to the pit. VERY nice pit BTW. She`ll be a real looker when done...............Harv
"I once shot an elephant in my pajamas. How he got in my pajamas, I`ll never know!"
  • Member since
    July 2003
  • From: Cincinnati, Ohio
Posted by ridleusmc on Sunday, June 1, 2008 3:43 PM

I agree, it's a great looking pit.  What color did you use for the interior green/zinc chromate?  It looks spot-on. 

Semper Fi,

Chris

  • Member since
    January 2007
Posted by Gigatron on Sunday, June 1, 2008 6:00 PM

Thanks, Harv.  I hate PE as much today as I did a year ago when I first stated using it Laugh [(-D].  I really hate attaching little levers and knobs because I can never get them to go on right.  They either get glued to my finger, the tweezers or laying down flat.  It took me forever to get those levers the way they are and I'm still not 100% happy with them.

Chris, for the interior green, I used Model Master Interior Green.  Makes it so much easier than mixing tammy colors.

I got a little more work done (no pics, yet).  I got the engine assembled, the fuselage assembled, the wing core assembly and one wing is hacked up for the resin guns.  Maybe when I'm not so tired of looking at it, I'll snap a few pics.

-Fred


  • Member since
    March 2006
Posted by simpilot34 on Sunday, June 1, 2008 6:08 PM

VERY VERY nice pit there Fred!!! Yes PE sets are a pain in the backside to use sometimes but the end results speak for themselves. Great job!!!Thumbs Up [tup]

Cheers, Richie

Cheers, Lt. Cmdr. Richie "To be prepared for war, is one of the most effectual means of preserving the peace."-George Washington
  • Member since
    December 2006
  • From: Kennewick, WA
Posted by kbuzz01 on Sunday, June 1, 2008 11:32 PM

Great job with that PE, Fred, it's looking really good!  Bow [bow]  I had a pretty frustrating time with mine! 

Ken 

animation6.gif image by kbuzz_photos
  • Member since
    May 2003
  • From: Abbotsford, B.C. Canada
Posted by DrewH on Monday, June 2, 2008 6:56 AM

Great work on the pit Fred! Thumbs Up [tup] Nicely done.

Chris - Coming along great. Hopefully you'll be able to decal soon. Keep it up bud! Big Smile [:D]

Take this plastic and model it!
  • Member since
    February 2003
  • From: Melbourne, Australia
Posted by darson on Monday, June 2, 2008 8:48 AM

Hi there guys I just got back from holidays and thought I had better pop in to say hello.

Chris great looking job on the dash 5, it's really coming along nicely.

Fred great work on the pit and I know exactly what you mean about those PE levers, man are they a pain in the you know where.

Obviously no progress from yours truly but thanks to inspiration from Chris my True Details F4U-5N cockpit arrived while I was away and I can't wait to get at it.

Cheers
  • Member since
    November 2006
  • From: Coastal Maine
Posted by dupes on Monday, June 2, 2008 5:42 PM
Pretty pit there, Gigatron...despite your un-love of PE, you've gotta be happy with those Eduard Zoom sets. Pretty nifty stuff. Big Smile [:D]
  • Member since
    September 2007
  • From: galt, ca.
Posted by dirtball on Tuesday, June 3, 2008 11:38 AM
     Did I hear a "BUMP"?
"I once shot an elephant in my pajamas. How he got in my pajamas, I`ll never know!"
  • Member since
    January 2007
Posted by Gigatron on Wednesday, June 4, 2008 8:40 AM

 dirtball wrote:
     Did I hear a "BUMP"?

I don't think so.  You must be hearing things, Harv.  Maybe it's time to see a doctor about these mystery noises Wink [;)] Laugh [(-D]

-Fred


  • Member since
    November 2006
  • From: Coastal Maine
Posted by dupes on Wednesday, June 4, 2008 9:13 AM

Due to the high quality of Corsair builds that have been flying by lately (and despite my better judgment!) I pushed my Tamiya F4U1 to the top of the build stack. In fact, it even went in front of the build on my workbench. Heh. Assembled the pit last night and airbrushed a coat of interior green...get to work on detailing it tonight. Big Smile [:D]

Couple of questions for you guys - I know there were pics of Corsair 'pits and engines that went by - anyone able to tell me what page they were on, or re-post them? Tempted to "plumb" the engine...never tried that before. Whooo! Big Smile [:D]

  • Member since
    September 2003
  • From: South Central Wisconsin
Posted by Daywalker on Wednesday, June 4, 2008 9:22 AM

Chris- Outstanding paint on your bird!  Black is a tough color to get right, and you nailed it my friend! Thumbs Up [tup]

Fred- Beautiful cockpit there!  That PE really adds a lot to it.  I am tempted to give it a try on my next one.

dupes- I don't recall what page I posted this on, but here are some photos of the engine I did for mine. 

HTH! Big Smile [:D]

Frank 


  • Member since
    November 2006
  • From: Coastal Maine
Posted by dupes on Wednesday, June 4, 2008 9:43 AM

Wow that's a lot of wires. Shock [:O]

What color do those end up getting painted? I really need to just find a pic, I think...Wink [;)]

Thanks Frank! 

  • Member since
    March 2006
Posted by simpilot34 on Wednesday, June 4, 2008 11:20 AM

Nice engine Frank!!!!Thumbs Up [tup]

Dupes the plug wires could be grey, black, or a copper color. So pretty much take your pick I would think. Unless someone knows any particular reason for the different color wires. BTW Congrats on getting your King Tiger published!!!!

Cheers, Richie

Cheers, Lt. Cmdr. Richie "To be prepared for war, is one of the most effectual means of preserving the peace."-George Washington
  • Member since
    November 2006
  • From: Coastal Maine
Posted by dupes on Wednesday, June 4, 2008 11:59 AM
 simpilot34 wrote:

BTW Congrats on getting your King Tiger published!!!!

Confused [%-)]??? Thanks for the color info! But I think you have me confused with someone else about the KT...wish I had something published! Maybe someday! Big Smile [:D]

  • Member since
    March 2006
Posted by simpilot34 on Wednesday, June 4, 2008 1:12 PM
 dupes wrote:
 simpilot34 wrote:

BTW Congrats on getting your King Tiger published!!!!

Confused [%-)]??? Thanks for the color info! But I think you have me confused with someone else about the KT...wish I had something published! Maybe someday! Big Smile [:D]

Sign - Oops [#oops]Blush [:I] Sorry dupes! 

Here's a pic i posted awhile back.

Cheers, Richie

Cheers, Lt. Cmdr. Richie "To be prepared for war, is one of the most effectual means of preserving the peace."-George Washington
  • Member since
    November 2006
  • From: Coastal Maine
Posted by dupes on Wednesday, June 4, 2008 3:49 PM
Ahhh, perfect. That's the one I was looking for! Approve [^]
  • Member since
    March 2006
Posted by simpilot34 on Wednesday, June 4, 2008 8:01 PM

Another Sign - Oops [#oops]! Sorry dupes I didn't post that pic gzt did. This is the one I posted.

The engine discusion we had is about 6 pages back I think. I have my forum page setup newest to oldest. Hope that helps.

Cheers, Richie

Cheers, Lt. Cmdr. Richie "To be prepared for war, is one of the most effectual means of preserving the peace."-George Washington
  • Member since
    January 2007
Posted by Gigatron on Thursday, June 5, 2008 9:41 AM
 Daywalker wrote:

Chris- Outstanding paint on your bird!  Black is a tough color to get right, and you nailed it my friend! Thumbs Up [tup]

Fred- Beautiful cockpit there!  That PE really adds a lot to it.  I am tempted to give it a try on my next one.

dupes- I don't recall what page I posted this on, but here are some photos of the engine I did for mine. 

HTH! Big Smile [:D]

Great work, Frank!  What size bit did you use to drill into the casing?

Since it's too humid to do much by me, maybe I'll wire my engine - at least I'll feel productive.

-Fred


  • Member since
    December 2002
  • From: Northern California
Posted by jeaton01 on Thursday, June 5, 2008 11:41 AM

Did I join this GB?  I thought I joined this GB.  Building the Tamiya F4U-1 in the Marine blue-grey scheme, so here are some pictures at the risk of being thrown out because I am not official.  I was surprised, I had fit issues with the wing spar parts in the wheel wells.  Trimming and superglue fixed them.  I used the instrument panel decal, and it seems to be OK.  I do think the whites are too vivid on the panel and will try to tone them down and also try to get a bit more flat finish to the black. It did snuggle down pretty good, I doused it several times with Micro Sol.  My wash is not so good, I'm still working on that skill.


John

To see build logs for my models:  http://goldeneramodel.com/mymodels/mymodels.html


  • Member since
    March 2006
Posted by simpilot34 on Thursday, June 5, 2008 12:50 PM

Looking very very nice so far John! Yea you wouldn't expect that from Tamiya. Smile,Wink, & Grin [swg]You don't know fit issues until you build an old Airfix!Laugh [(-D]

Cheers, Richie

Cheers, Lt. Cmdr. Richie "To be prepared for war, is one of the most effectual means of preserving the peace."-George Washington
  • Member since
    January 2007
Posted by Gigatron on Thursday, June 5, 2008 12:56 PM

Nice looking pit, John!  You're in this GB - you're the 6th one down from the top.

I'm building the same kit, I didn't notice any fit issue there.  Though, myabe after spending 2 days jerking around with PE, nothing seems like a fit issue Laugh [(-D]

-Fred


JOIN OUR COMMUNITY!

Our community is FREE to join. To participate you must either login or register for an account.

SEARCH FORUMS
FREE NEWSLETTER
By signing up you may also receive reader surveys and occasional special offers. We do not sell, rent or trade our email lists. View our Privacy Policy.