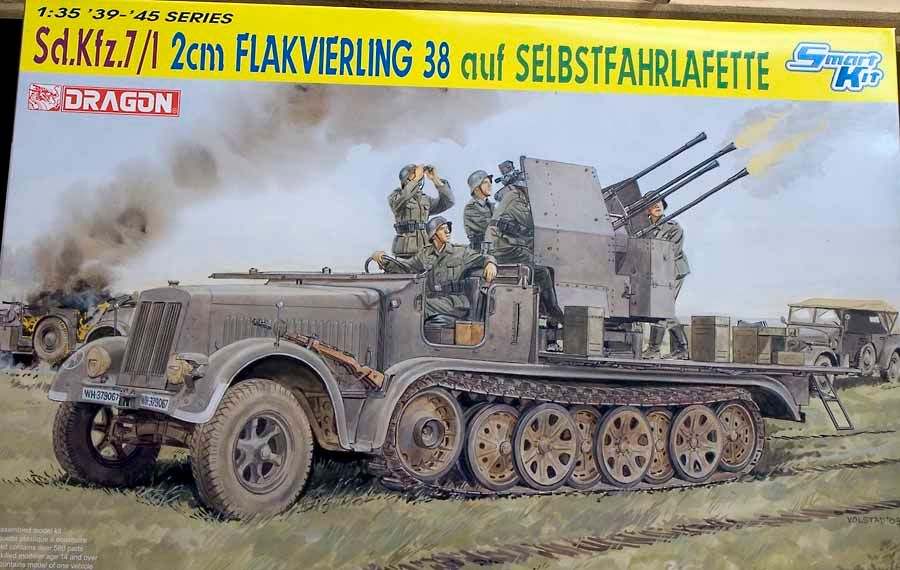
My first WIP contribution; the DML 6525 Sd.Kfz.7/1 2cm Flakvierling 38 auf Selbstfahrlafette Smart Kit. I'm not the fastest builder, so anticipate that this kit may take a while to be completed. And please feel free to comment or make suggestions as this progresses. The kit contains a fairly complete engine, transmission, fuel tanks and winch assembly, most of which will be invisible in the final model and could be left out if desired. To start, here's a look at the box art.
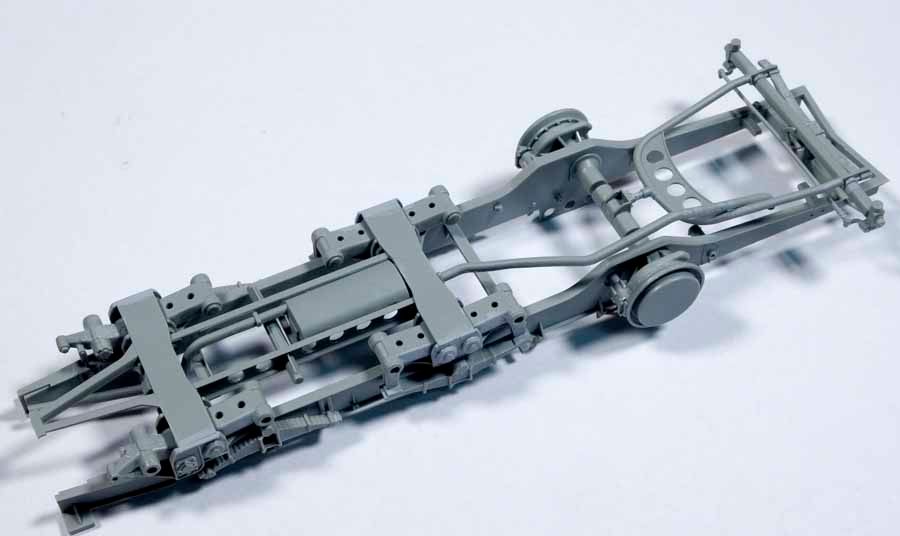
I think that this will be an out of box build, although I may check out some aftermarket gun barrels in the near future. Typical of many DML kits, the box is jammed full with 10 sprues, a PE sprue, single slide molded parts representing the chassis frame and fender assembly and 3 front tires molded in Dragon styrene. Some unused space on some of the sprues suggest that other Sd.Kfz.7 variants may be coming. Construction is carried out in 17 steps with options for installing the gun assembly in combat or travel modes. As usual, some of the assembly steps look to be quite busy, so I guarantee that at some point I'll likely glue something on backwards and have to do a little corrective surgery. That said, the first two steps focus on assembling the suspension and exhaust/muffler assembly and attaching these to the frame.
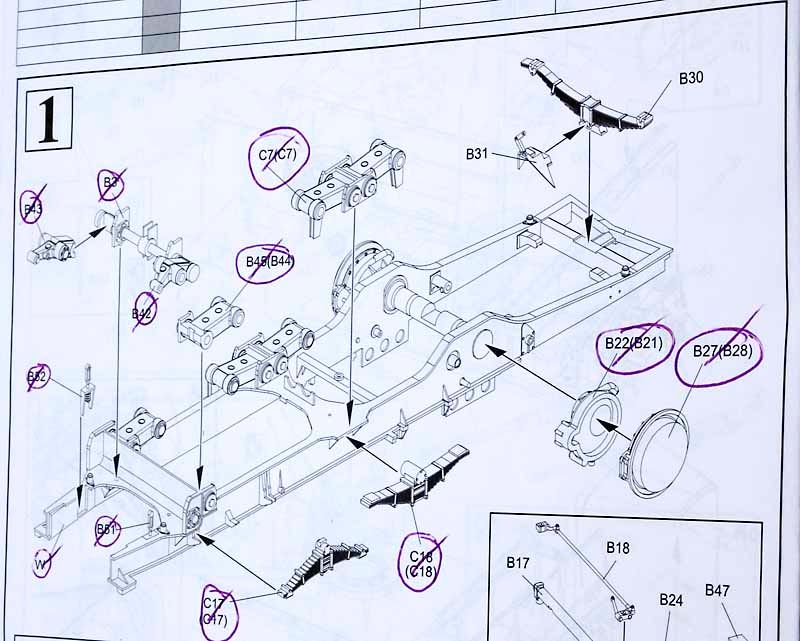
In step 1, the road wheel mounts and leaf springs are attached in multiple parts. A bit suprised that some of the sprue attachment point were quite thick, especially on the leaf springs. More noticeable here than with other DML kits that I've built recently. The leaf springs also had mold lines that had to be scraped or sanded. And most parts also had several knock out nubs that had to be removed. So this step required alot of clean up work. In the end, much of this will be hidden behind the road wheels and drive sprocket. The front suspension is also installed here. So far, the fit is nice although a little Mr. Surfacer 500 was used to fill some small seams around parts B51,52. Here's a look after step 1.
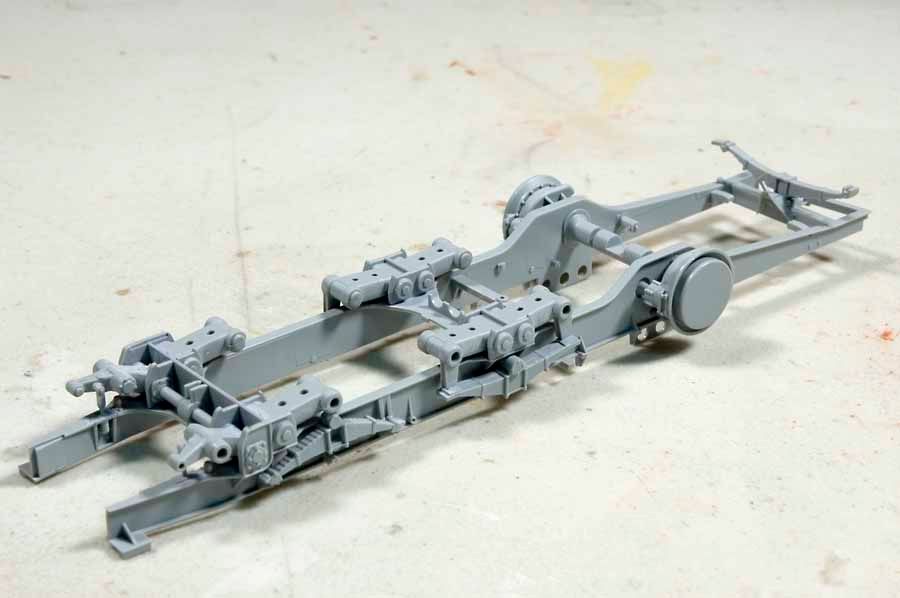
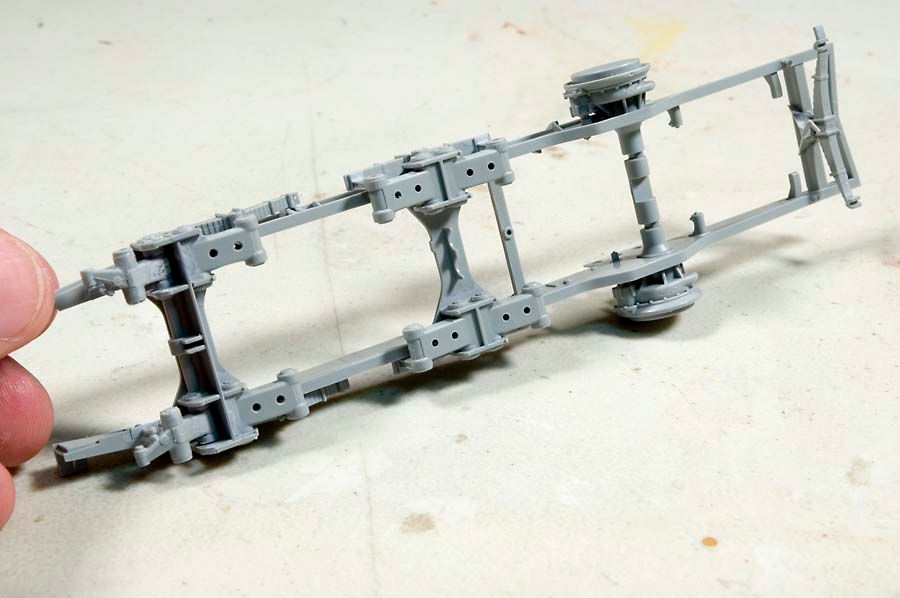
Step 2 involves assembly of the muffler/exhaust and installation of some of the steering linkage. The muffler comes in 2 halves with attached exhaust pipes. Each half must first be threaded through a frame assembly (part B57) before the muffler is glued. Found this out the hard way (my fault because it is shown correctly in the instructions) because you simply cannot fit the exhaust pipes in the frame correctly if you assemble the muffler first. It was an easy fix. The front axle assembly is comprised of 4 parts; the steering rod part B18 is fragile and care must be taken removing it from the sprue. Both sub-assemblies are then attached to the frame from step 1.
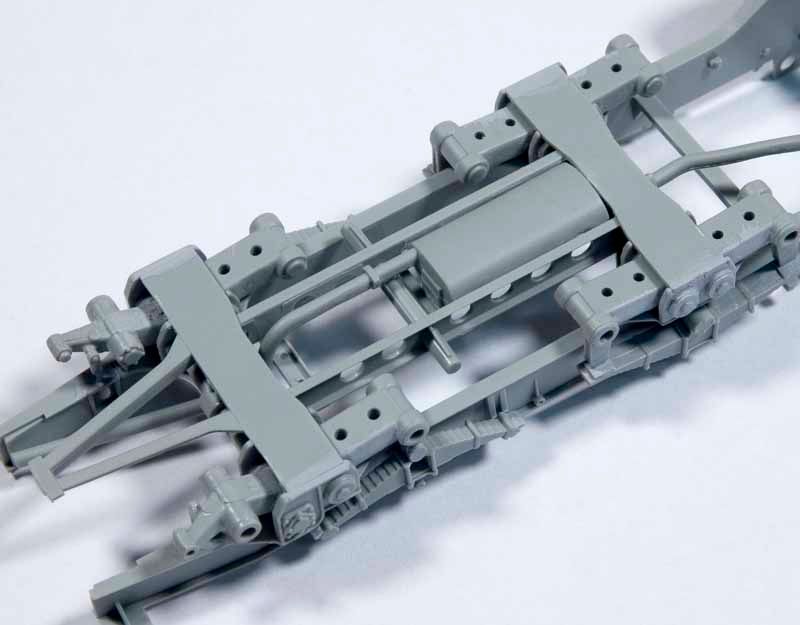
The exhaust pipe is solid and will have to be drilled out. Also, it looks like it might be best to give this some paint now since access will be restricted in the later stages of assembly. Next up is the engine and transmission; done in steps 3 and 4.
Don