Again, thanks, all who have weighed in! I have another update, and don't worry, I"m not going to "go too far"  I really like the way this is coming out, and I don't want to cover it up too much.
So, last night before I went to bed, I did a quick acrylic wash of the lower hull, just slapped it on and let it dry overnight. More of that in a minute--now. I wanted to get a start on the tracks, which needed some color before I really addressed their metallic tones. I used a combination of Raw Umber,Terra Cotta, and Clay Bisque--interesting names, but really just a rust color with a darkening and/or lightening agent.The tracks have already been airbrushed a deep Brown. (darkened w/ Black)
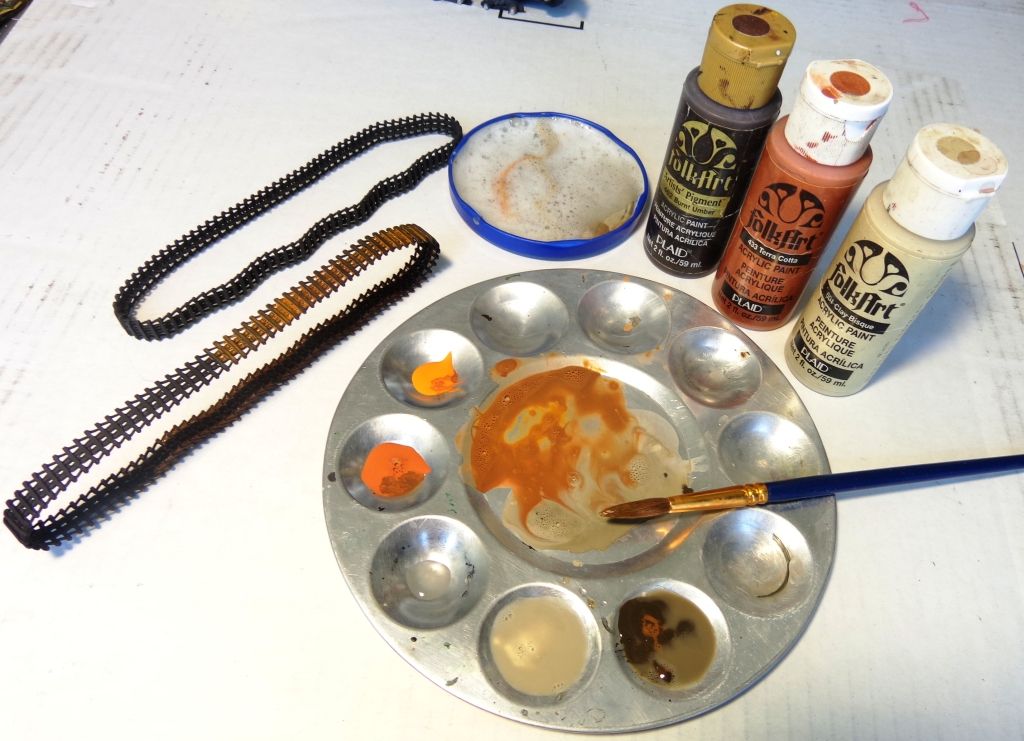
Load up the brush and slap it on. Make sure to get it in all the treads...
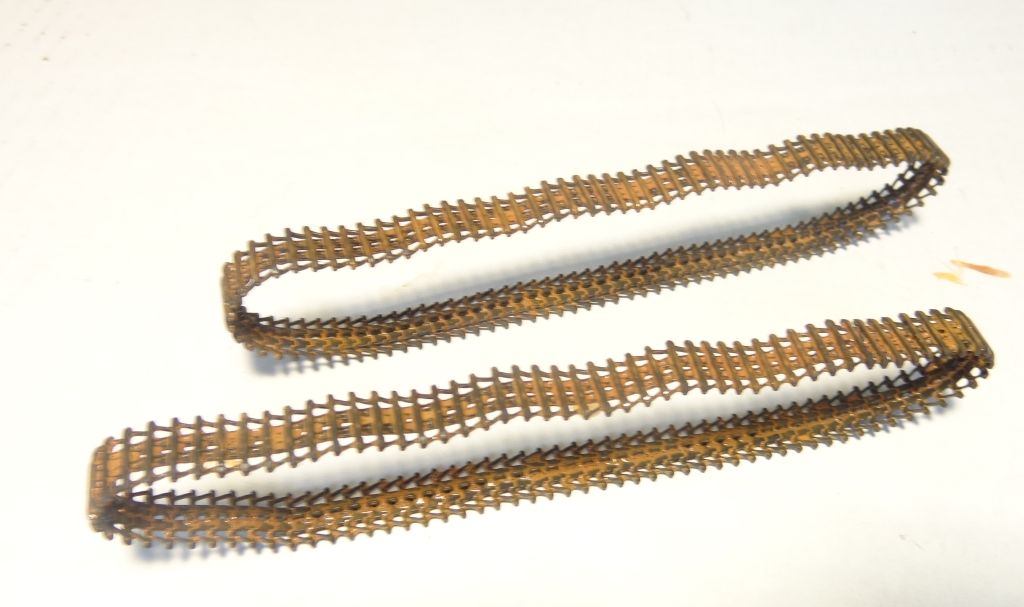
When it was wet, it had the depth I wanted, but when it dried it didn't quite stand out from the deep Brown.
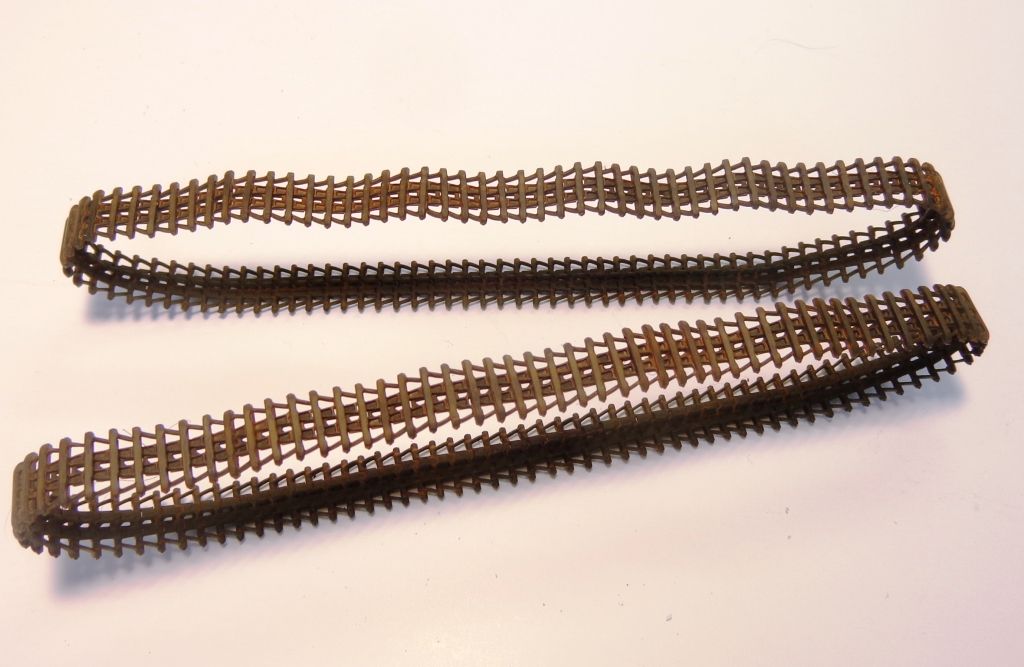
It's actually darker in real life--the camera picked out more of the rust. So I decided to add some Wilder pigments. I used Track Dark Brown, Light Rust and Red Rust, and mixed them together in a cup.

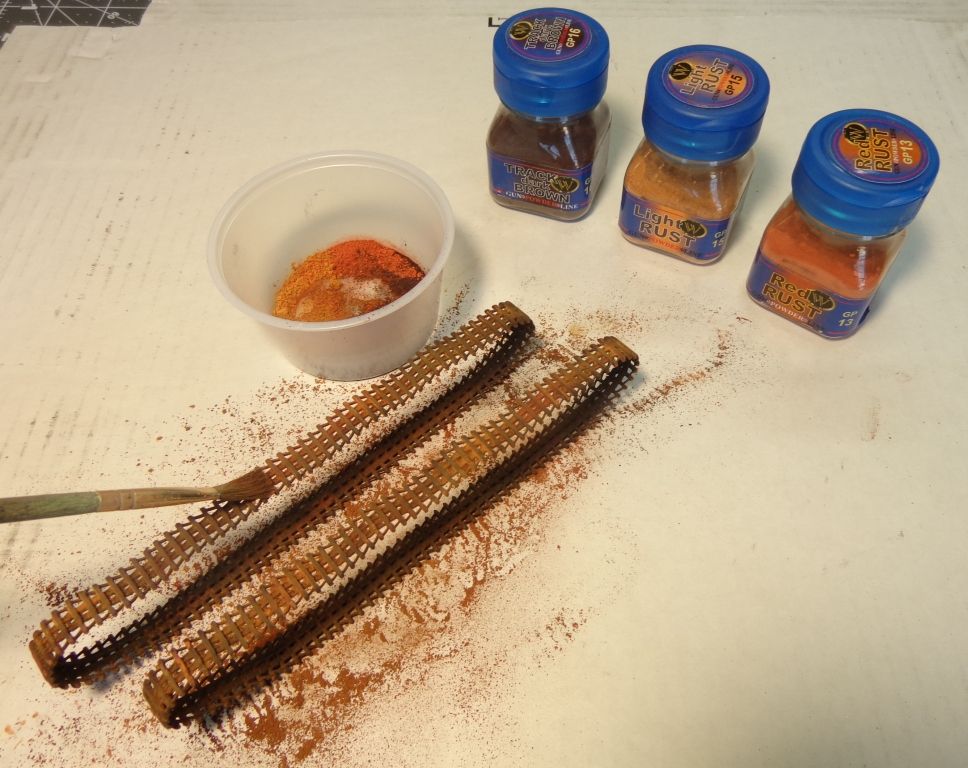
I fixed these with some sprayed-on WIlder fixer when I had covered the whole tracks, This will give some nice texture to the tracks. More on those in a future update.
I was pretty pleased for the most part with the hull wash which had dried overnight. I needed to put some more color under the fenders though, so I loaded up a large, soft brush and rather haphazardly run down some streaks of color. REMEMBER that each brush load of paint would be dipped in a pool which had some degree of soap in it to cut the surface tension--THIS IS VITAL to get proper dispersion and flow of paint.

On the one side, there were these weird little pooled "balls" of paint and I wanted to see if I could de-emphasize them and also get some bare areas in there for variety.

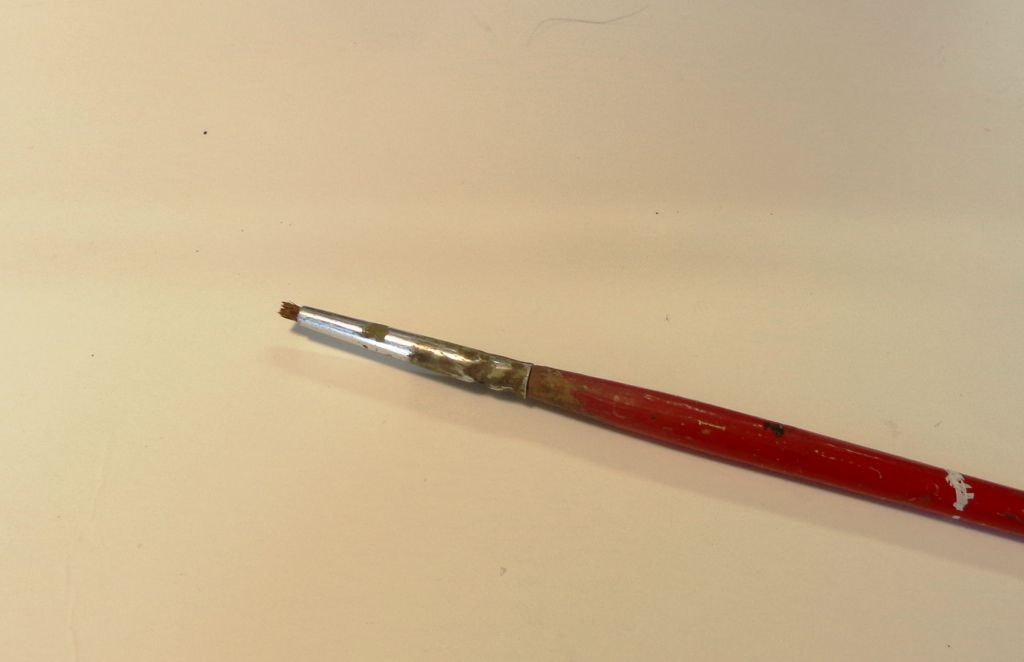
I used this brush...it's a short-bristled thing of my own creation.
I forgot to mention last night that I found that, by wetting the brush and dabbing it in a little raw soap, I could actually scrub away the dried acrylic! This paint apparently does not exactly harden like what we would expect of regular hobby acrylics---it can be scrubbed away within a rather long time period. It takes a little effort, but it actually works!


I have also found that by simply wetting the brush and dabbing off most of the water, you can "scrub": against tide marks and sharp lines of delineation to smooth them out. Look at the before-after shots here.. I used this technique on the top hull as well. It works wonderfully.

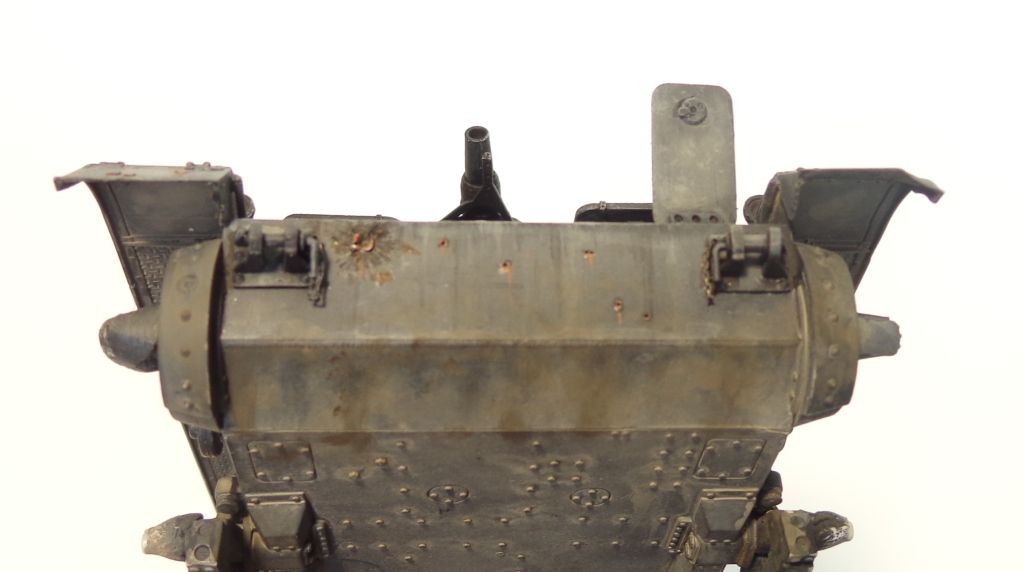
Much smoother, right? 
The bottom of the tank is also similarly smoothed and refined.

Here's the bottom weathering so far, without any pigments or additional washes.

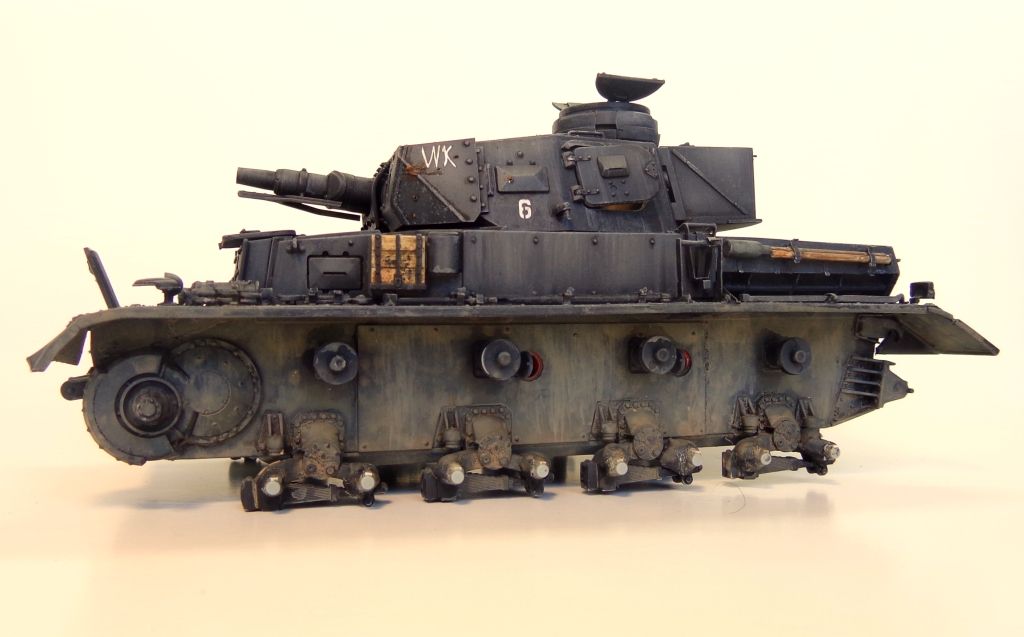

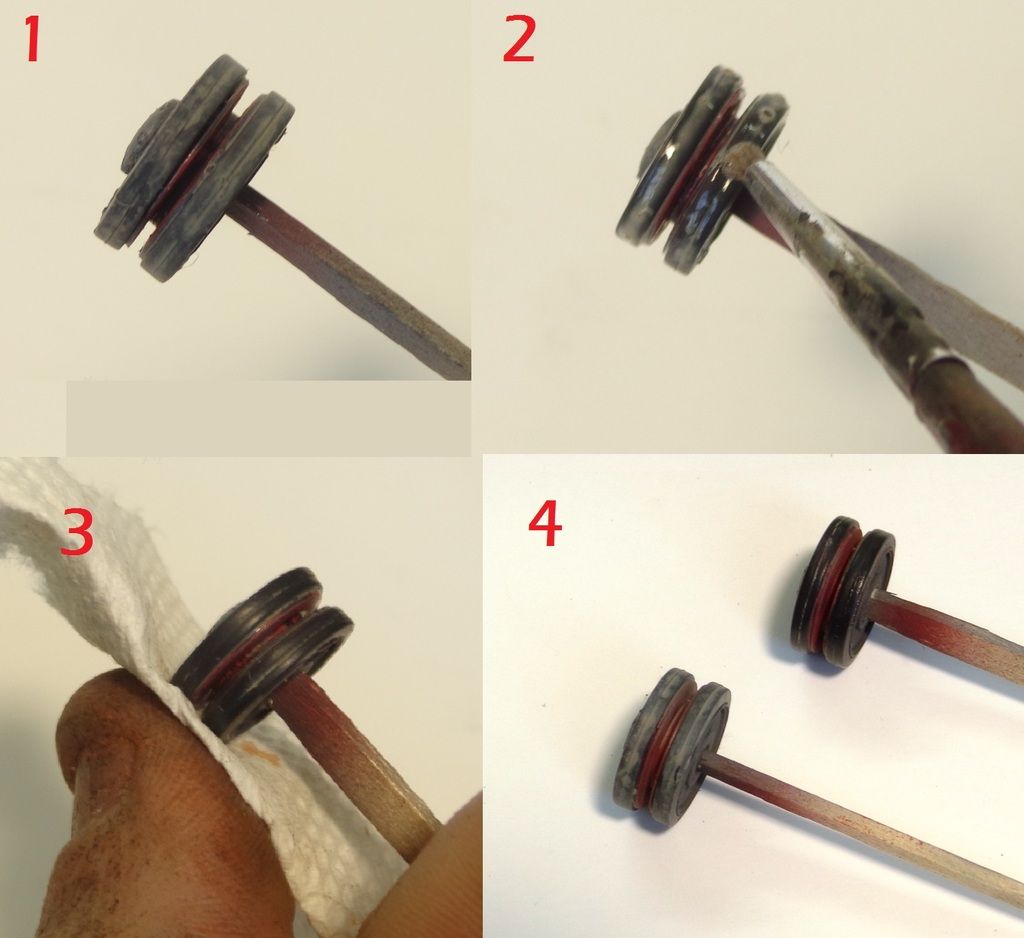
The wheels got a liberal coating of paint-gunk. They looked a little too monochromatic for me, so I wondered if they could be cleaned up a little to reflect how the rubber would have been rubber clean during contact with the wheels? And just in case you're wondering--YES, I painted each and every wheel one by one, by brush...
I tried my trick with the small brush again:
1. The wheel before...
2 Using the brush and some soapy water
3 clean it off with a paper towel
4 the original wheel and the clean one.
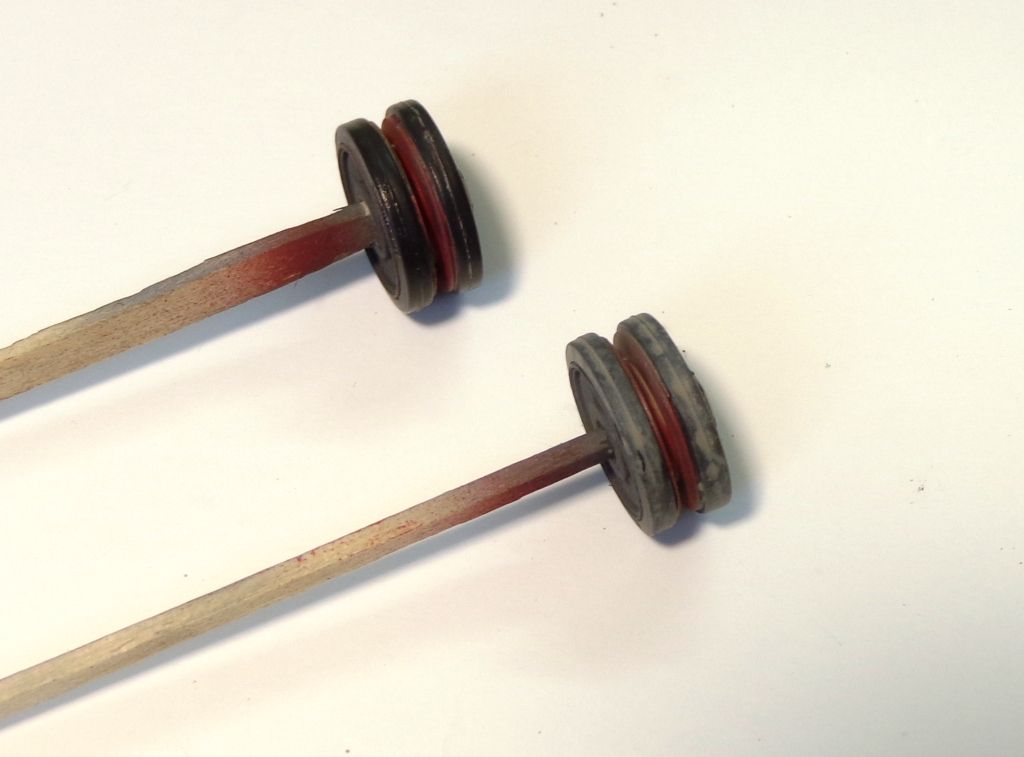
That was today's efforts...more to come, in a few days.
By the way, I contacted Plain Industries, makers of all the craft paints, and asked them what their thinner or carrier was, with the intent of being able to possibly airbrush them, since the pant itself is a little oily almost, and needs water thinning in order to best and most effectively brush paint it. I got a swift response;
"We do not make a thinner for our paint products. We do not recommend our paints for airbrush".
Sigh...oh well. Looks like I'm "going Frankenstein" if I want to AB these in the future!
Hope you all are enjoying the latest lab rat... 