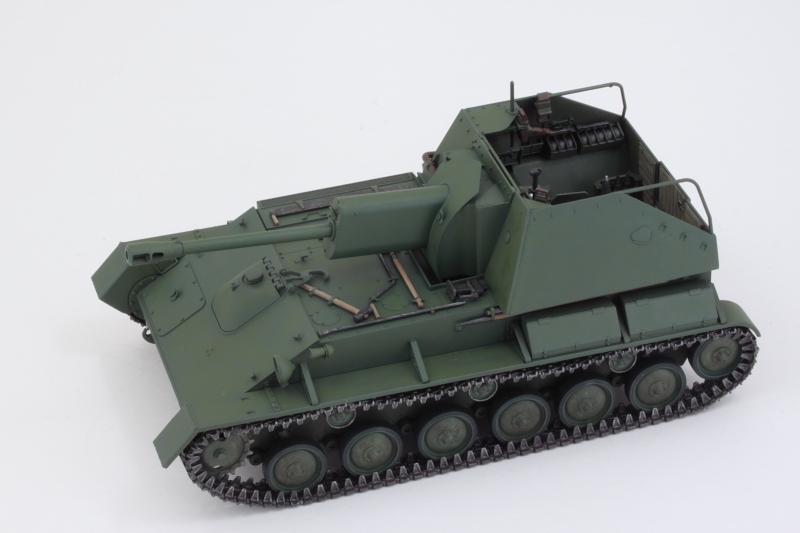
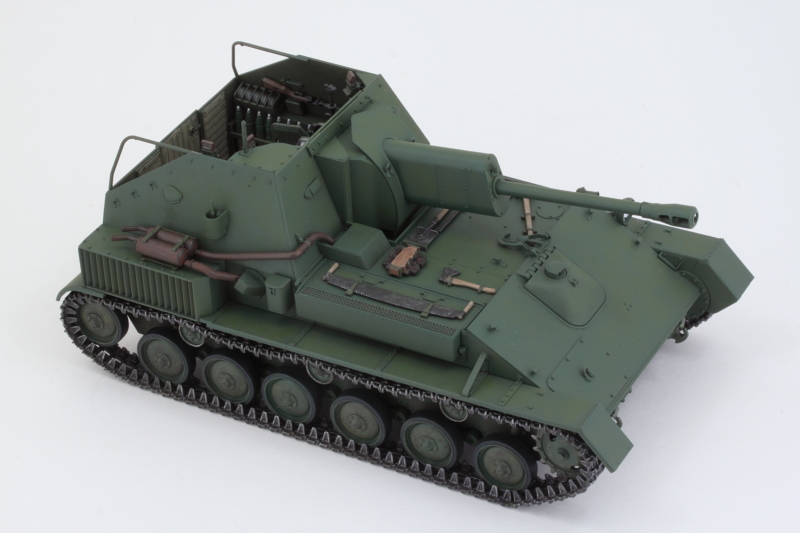
After the tracks had set up, I installed the fenders permanently into place. This went relatively smoothly, I just needed to add a little bit of putty to the left rearmost mount since it attaches right up against the hull side edge. As you can see, there's not a whole lot of clearance tolerance between the fenders and the tracks. Trying to work the indy links with the fenders already in place would probably have been possible since the sprocket can move but it would be a very tight space for sure. I also decided to do a little more tonal work on the hull color, so the masking tape around the fighting compartment was a prep for that.
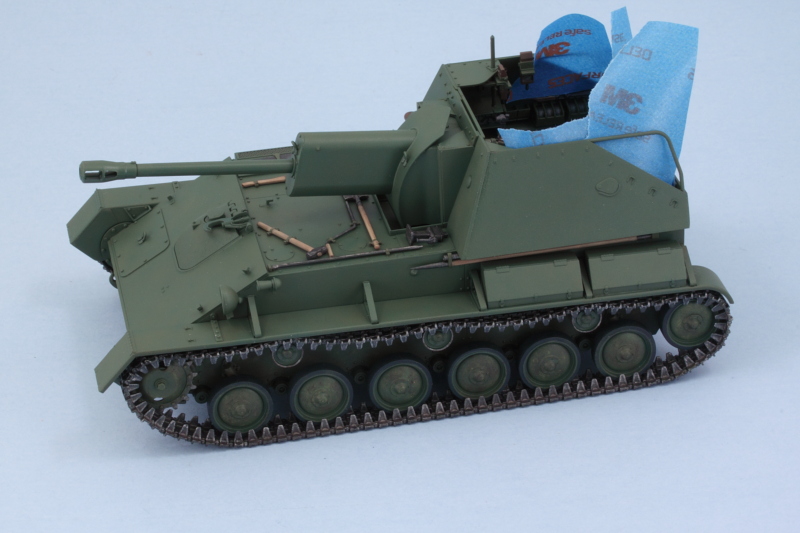
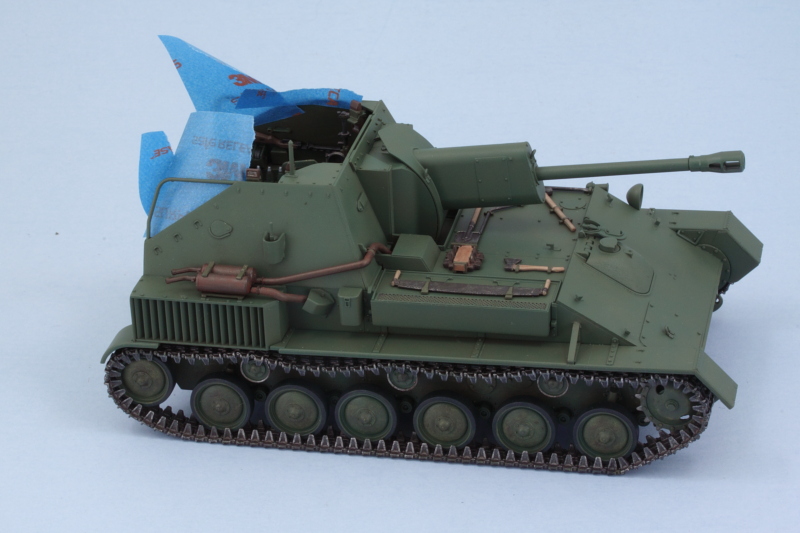
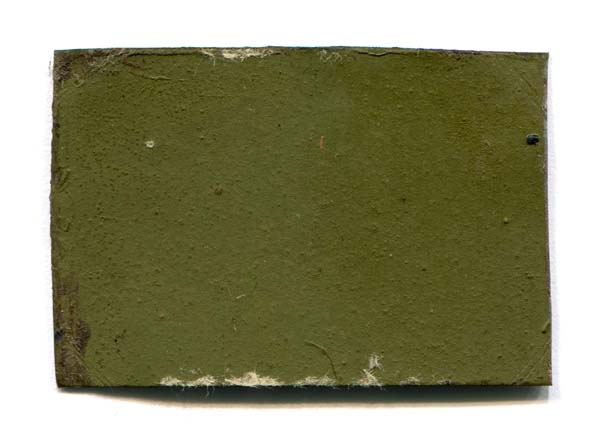
I have to issue a small disclaimer here for the next little bit as it involves the whole 4BO 'correct shade' debate...which I'm not an expert on and have no interest in trying to litigate. In searching around the 'net, I did find a handy 4BO color chip and this was the 'green' that I've been using as a mental guide in relation to the finish.
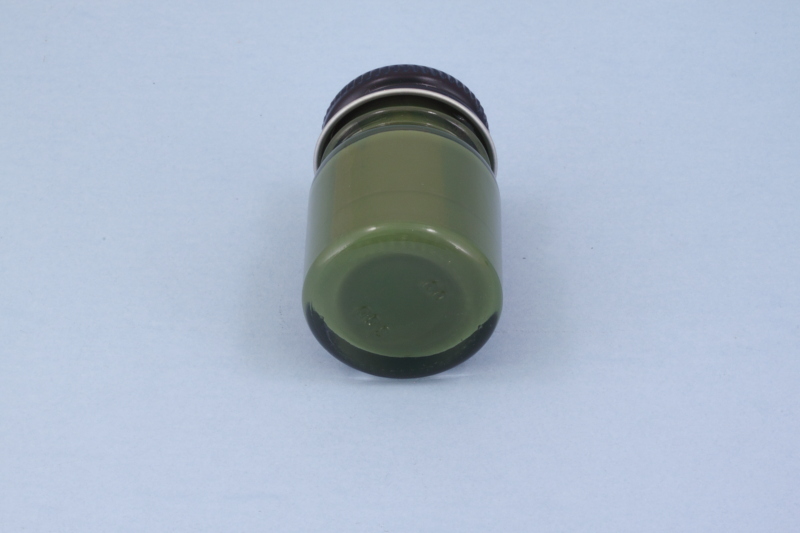
Easier said than done, but I've been waiting until I had the fenders on to add the last little touch. I took the 50/50 OD/Russian Armor Green mix mentioned previously and combined it with another 50% MM enamel Medium Field Green. Here's how it looks in the bottle:
I loaded up the airbrush and worked with a very fine detail nozzle (I use an Aztek airbrush, so this is the 'tan' tip) to add this shade over the previous work. I switched to a white background as the blue was playing some tricks and it's hard to capture it effectively, with the white, the photos are closer to what it looks like 'in hand'. Monitor settings of course may cause a variance, but I'm happy with the approximation and subtle changes it introduced to the overall green finish.
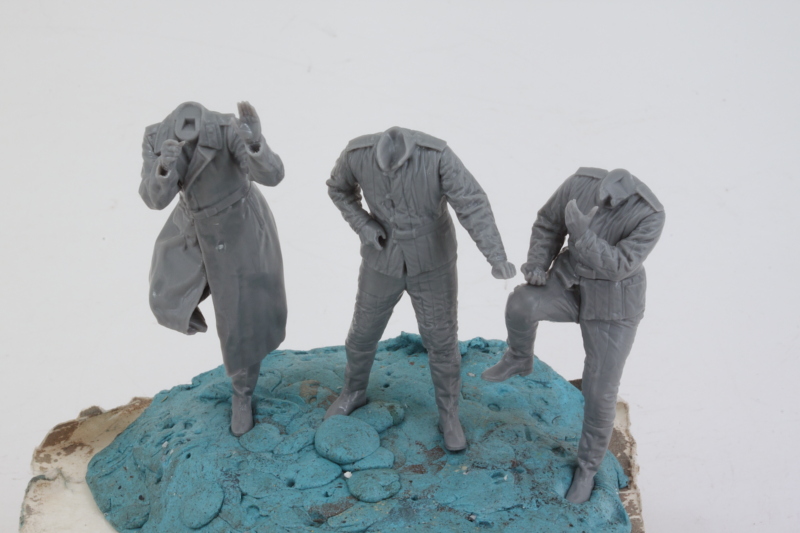
While that's all curing (and before I tackle the last remaining hull detail, the tow cable), I decided to give the kit-supplied crew figures a shot. These are covered in Step 37 and are multi-part assemblies depending on the figure in question. They go together easily without the need of much clean-up and are, of course, designed to occupy specific positions/poses in the vehicle with no real room to modify/adapt them. Pictured left to right are the commander, gunner, and loader. The commander's arms had molded solid sleeves on his coat, so I opened them up for a little better detail using a combination of micro drills and needle files.
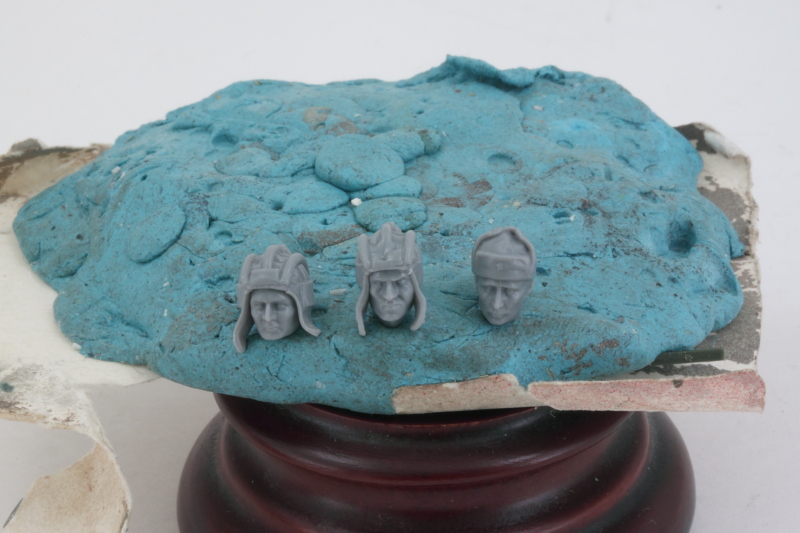
The commander (aka Comrade Putin) had his hat molded in place along with the head while the other two crew have the padded tanker's helmets as three-piece assemblies that build up around the head. The details on Putin's hat are a little soft as a result when compared to the other two crewmen but each one has their own features/character instead of being cookie-cutter heads. All three have shaped tabs on their bases that are designed to fit their respective torsos, so no swapping around without a lot of work if you wanted to go that route.
I did a test fit with the gang to see how they would all go into the compartment. As I suspected, the gunner is the hardest to position correctly and I found it necessary to remove the C77 gun-control wheel that was installed back in Step 29 in order to be able to move him in and out of position. Once he's painted and positioned, the wheel will go back on so it can match up to his hand to boot.
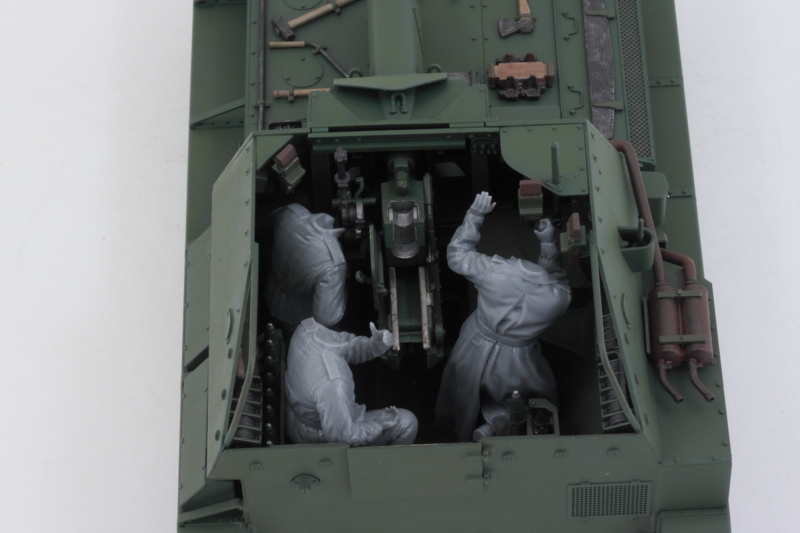
The loader is going to be holding a round, the instructions want you to fit an HE round but I did a test fit and one of the AP rounds fits just as well, so you can really take your pick since the sprues have 'clean' rounds of both type available for use. As you can see, the crew had to be on good terms with each other, not a lot of room to spread out!