Hey thanks, Steve, and Cliff, and everyone---I somehow muffed the whole post I made last time; only half of it showed up. Jeez, I hope they don't have a limit to how long posts can be?!?
Anyhoo....let's try this again...
I drybrushed the wheels--it's still a great way to get the bolt detail to come out..tires were painted with Panzer Gray.
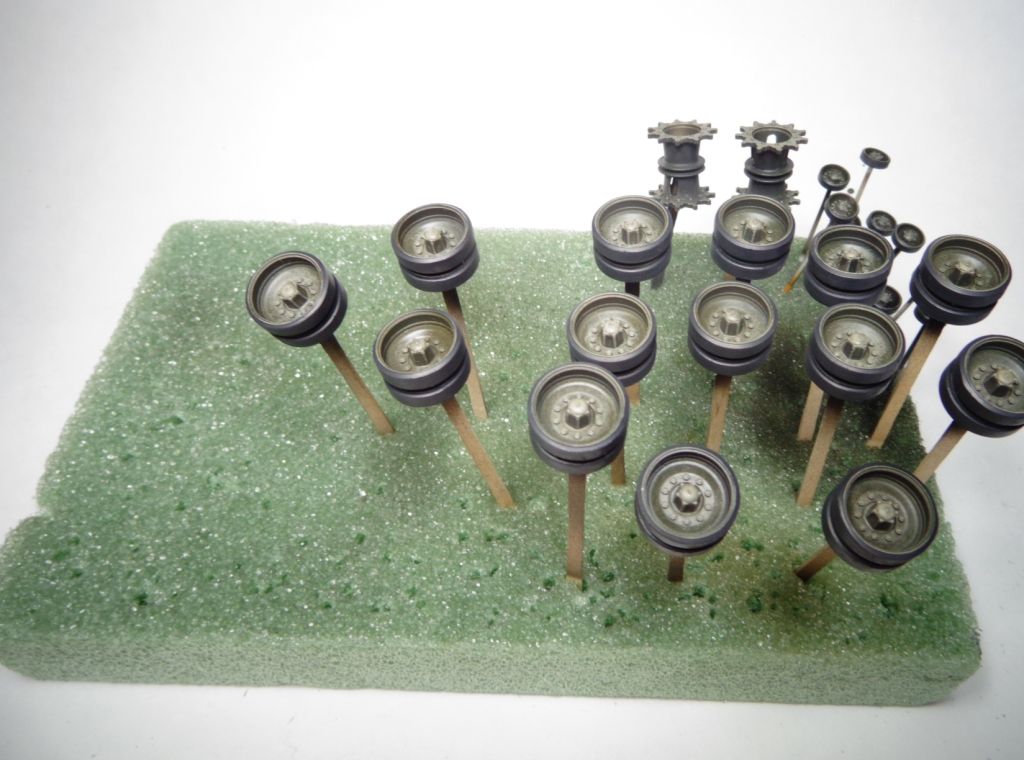
This is the melange of colors that I used; honestly, a lot of times I just reach for whatever's close and mix up what I need.
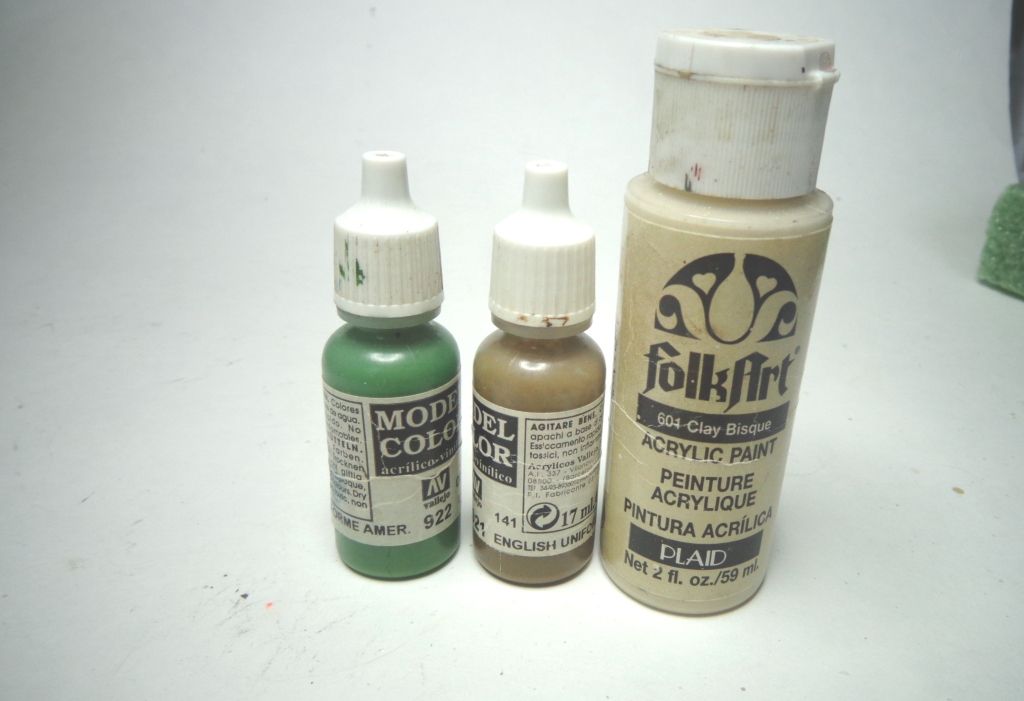
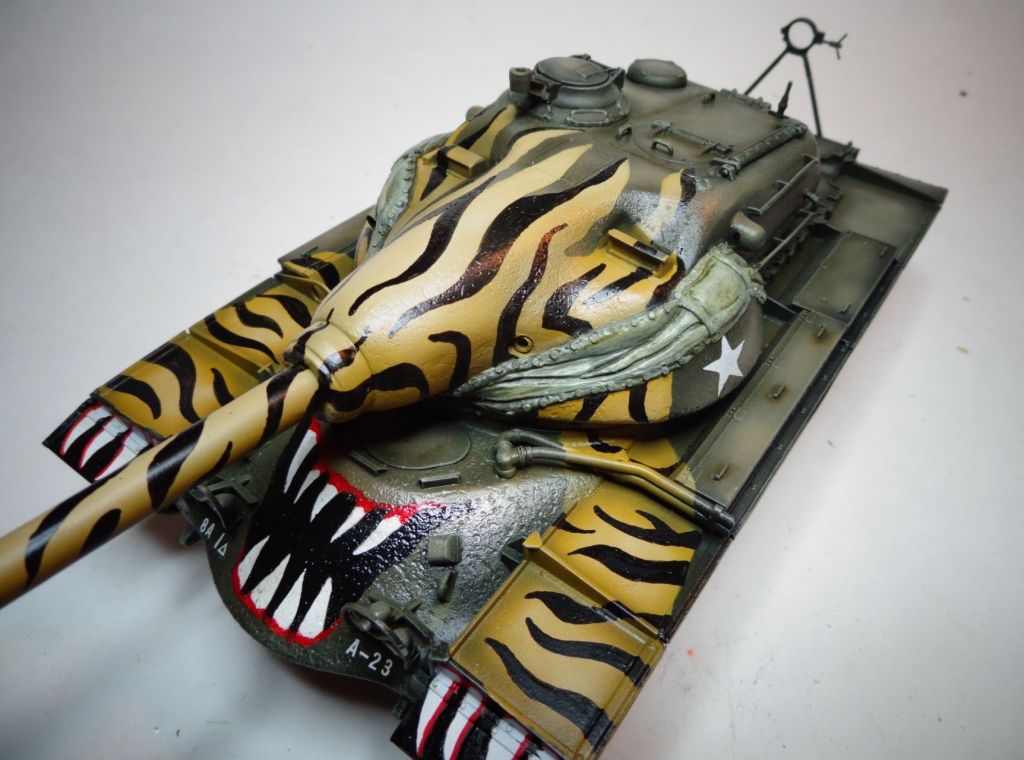
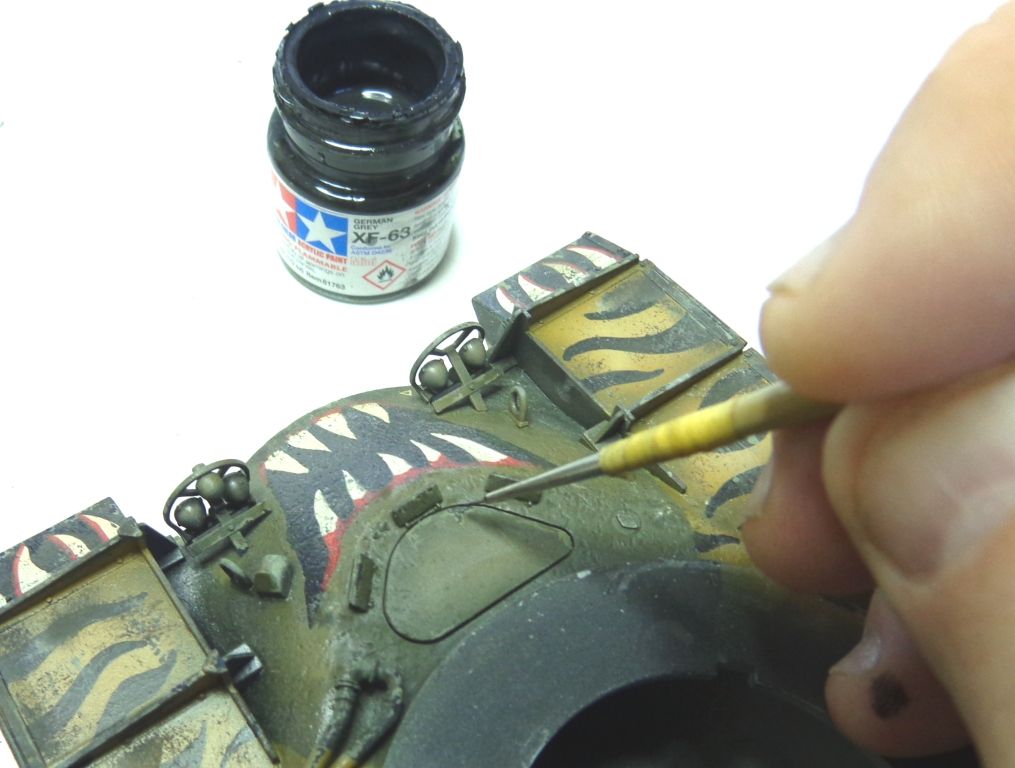
I also used this combination to paint the mantlet cover. I then used a bit of oil paints--Olive Green + Raw Umber--to wash the creases to impart some depth to it.
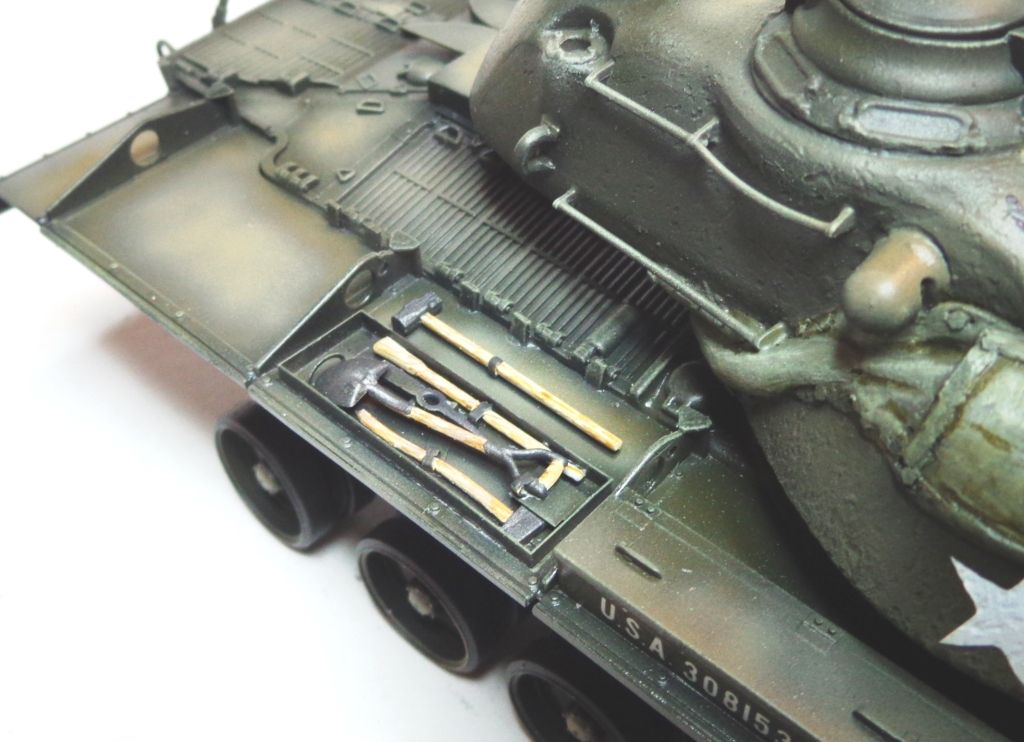
I painted up the tools with craft store light tan and a grayish metallic mix. Streaking them with Raw Umber gives them nice grain.
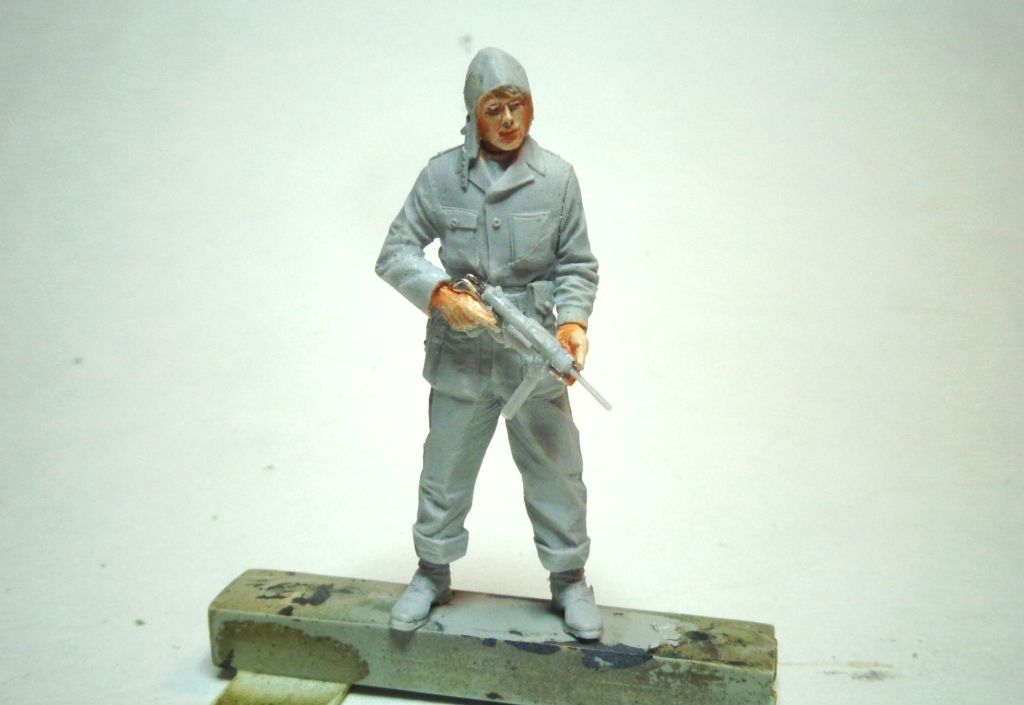
By the way, I also put a "grease gun" into my crewman's hands. Thanks to everyone who set me straight on this proper weapon for the era.
And then it was on to the *shudder* tracks... These AFV Club "workable" tracks have to be cut from the sprue, but they are such a soft plastic that cutting them with a flush cutter leaves a nasty nub on each one--well, TWO, actually.. it sucks. So I tried cutting them with a single-edge razor blade, which seemed to actually work well.
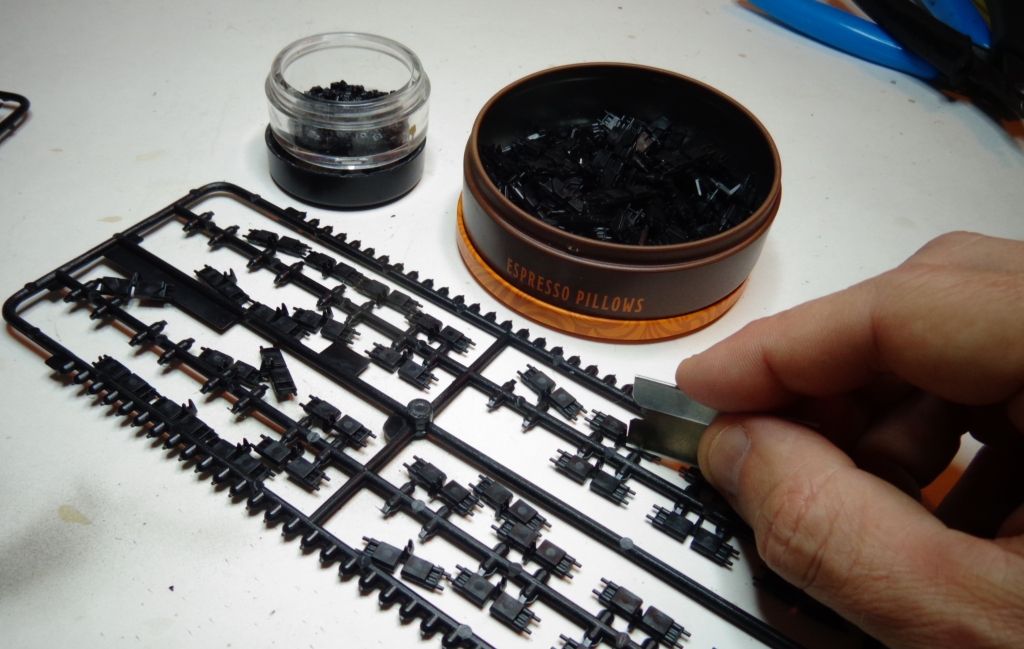
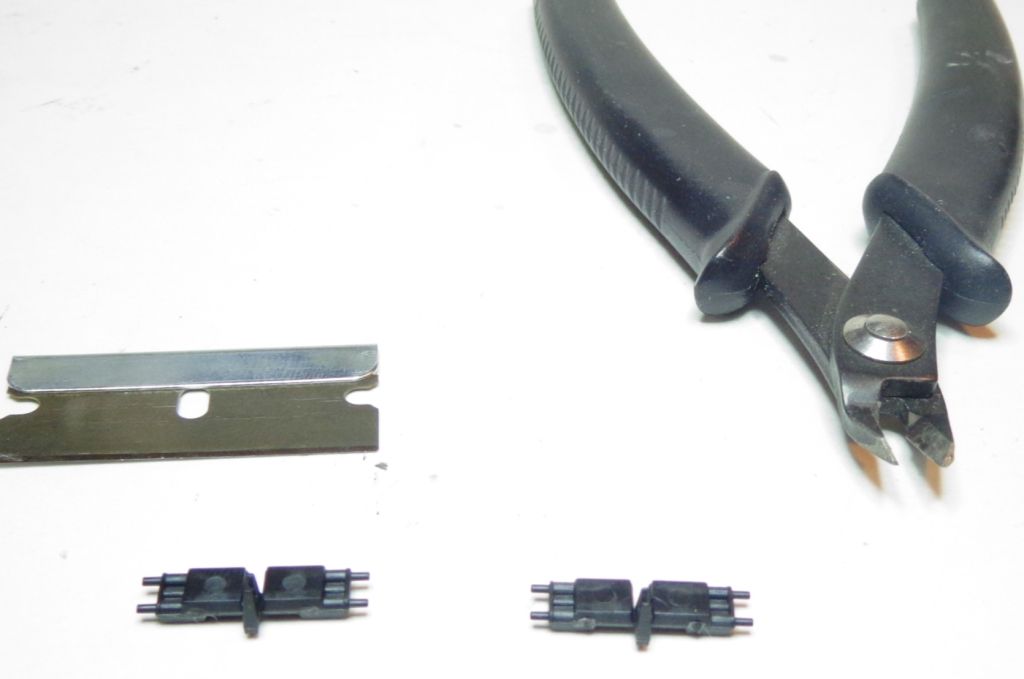
It takes a while to assemble them alll with those tedious connectors, but I didn't do it on the sprue the way they recommend because these tracks are so notoriously fragile (last time I used them I almost had to completely scrap them becasue they broke into so many pieces, but that maye have been because of the wash solvent, which seems to really attack the track pins). I removes them all first, every piece, and then just assembled them by hand so I didn't have to cut them off as assembled pieces and stress the track pins and their connectors.
When they were done, I spray painted them Testor's Dark Tan and then drybrushed them with a blackish Metallic Grey before painting the track blocks with Panzer Grey.
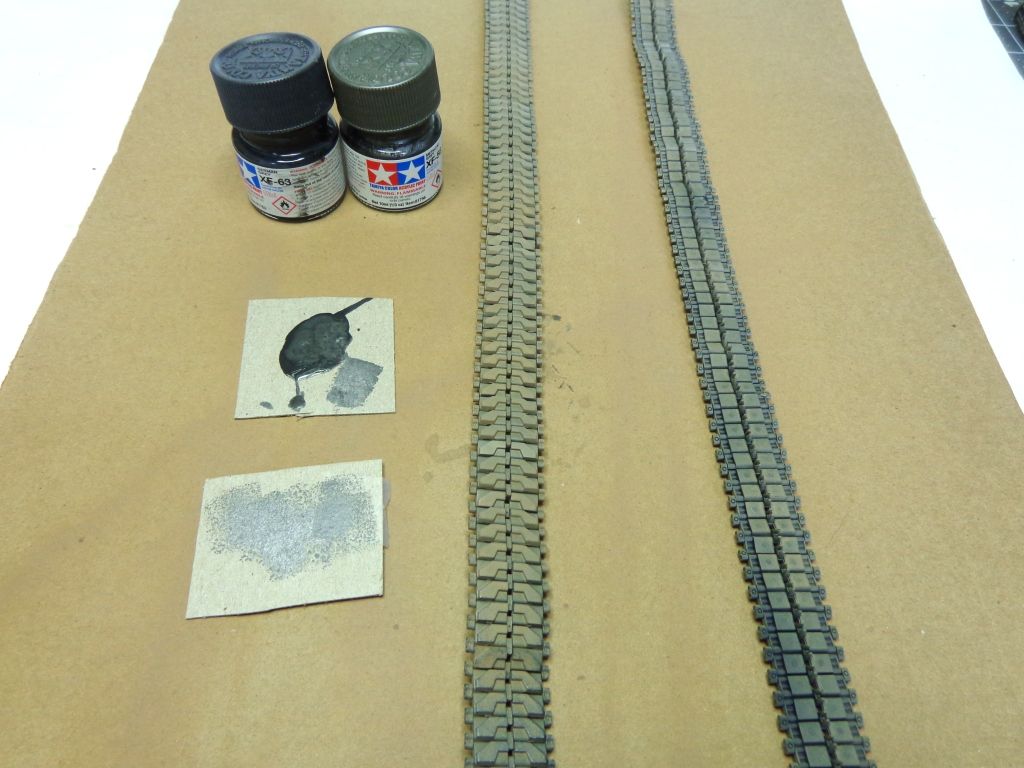
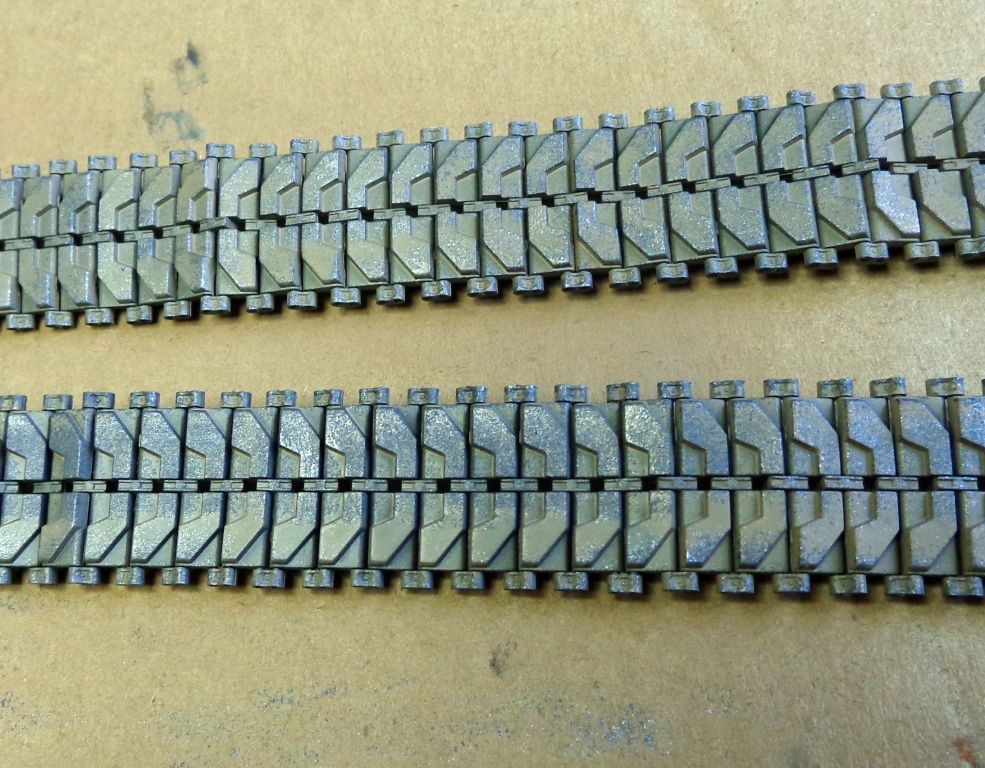
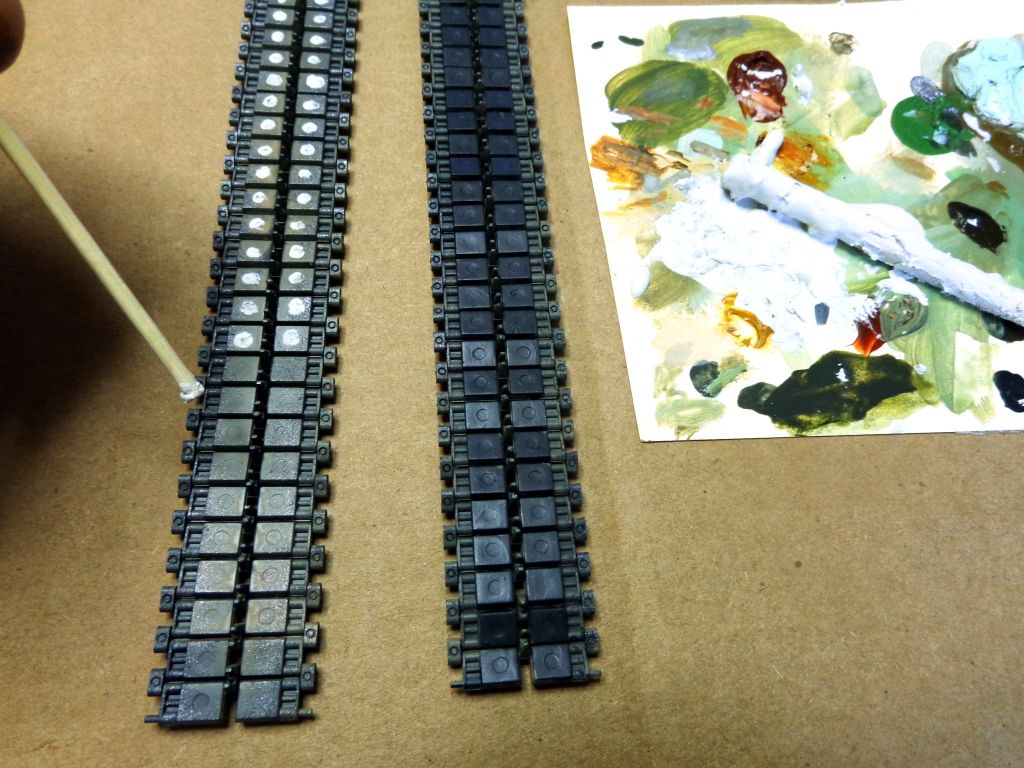
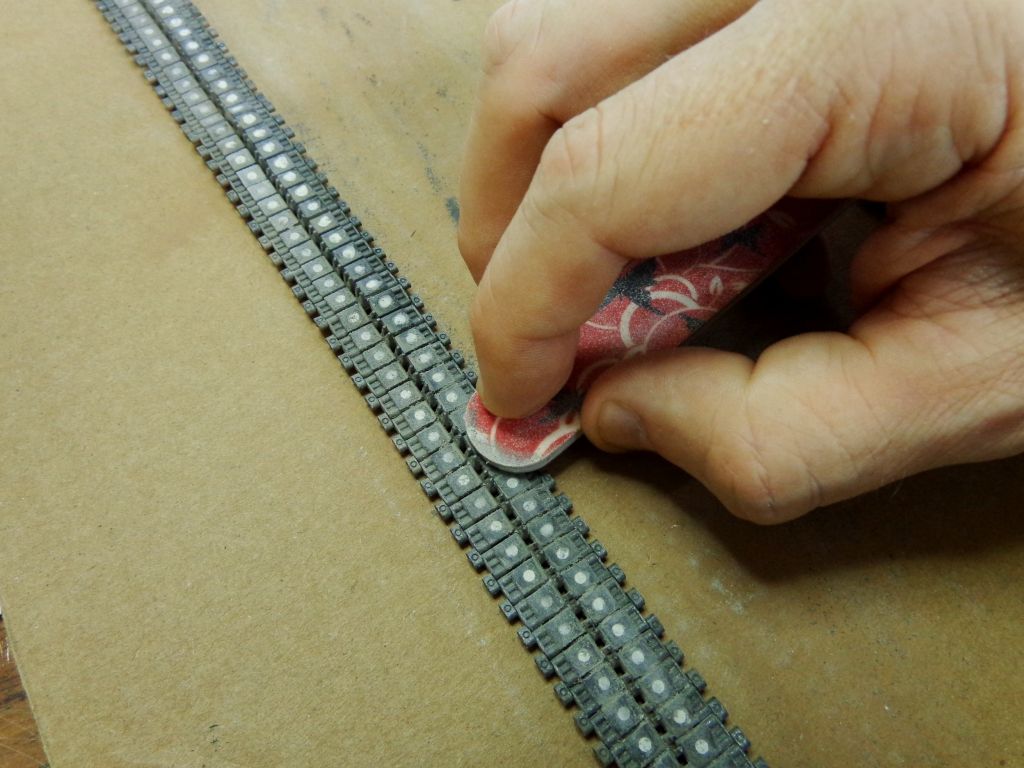
After painting the blocks, I realized that there was no way that I could reasonably leave the knockout marks so visible, so it was back to the putty, to apply small dots with a toothpick and then to carefully sand them out....another delay in the tracks..
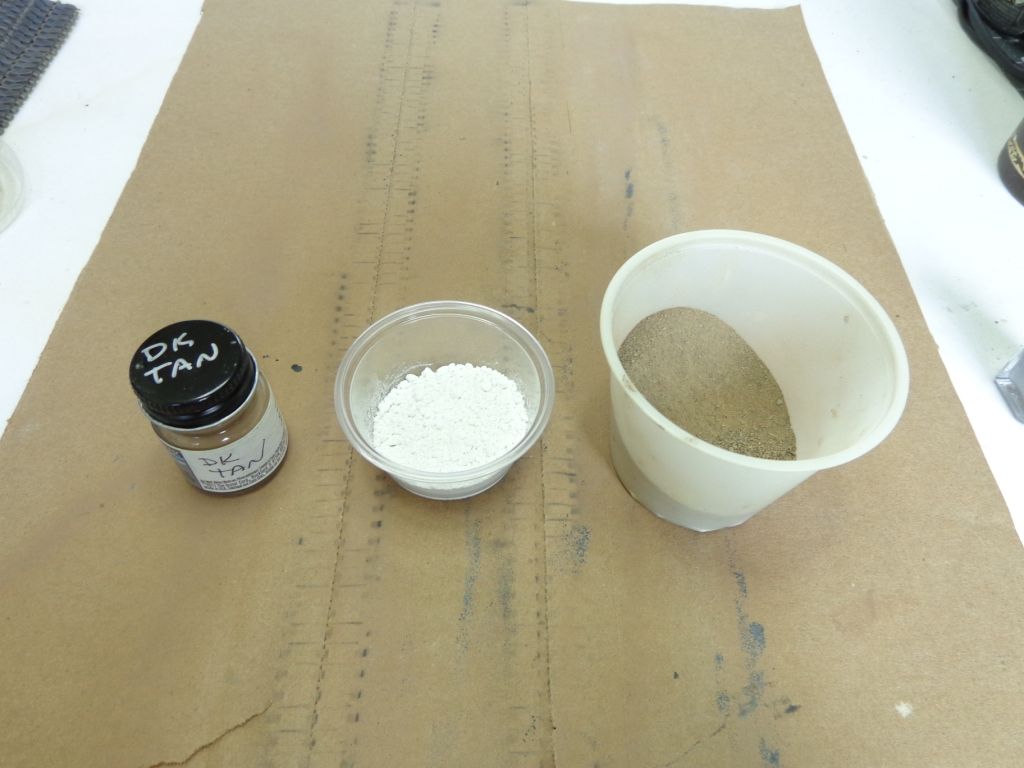
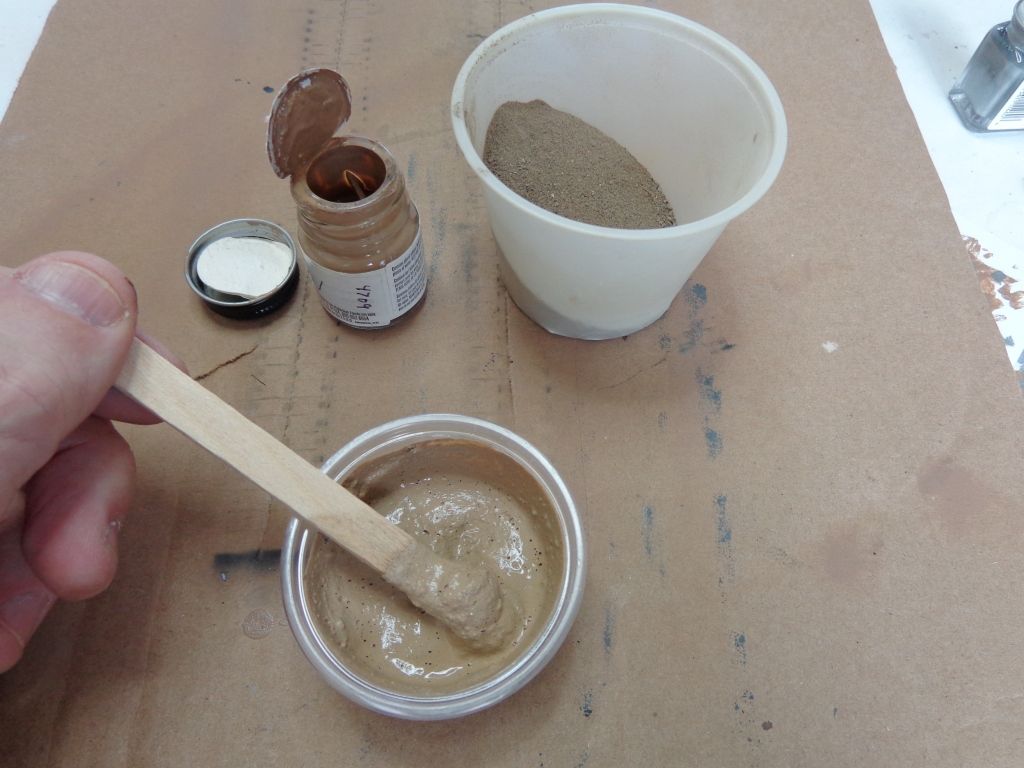
Next, time to add some gunk and dirt. I mixed up some mud with some paint, plaster, and real sifted dirt. I then used a paint brush to just slop it on the wheels and undercarriage.
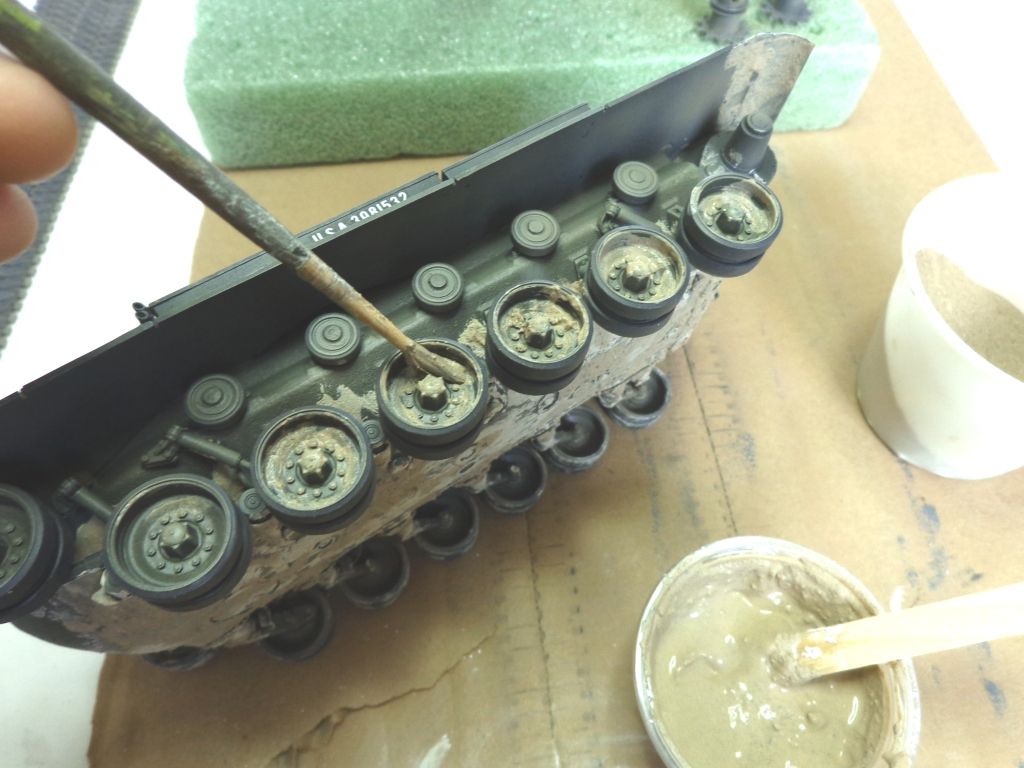
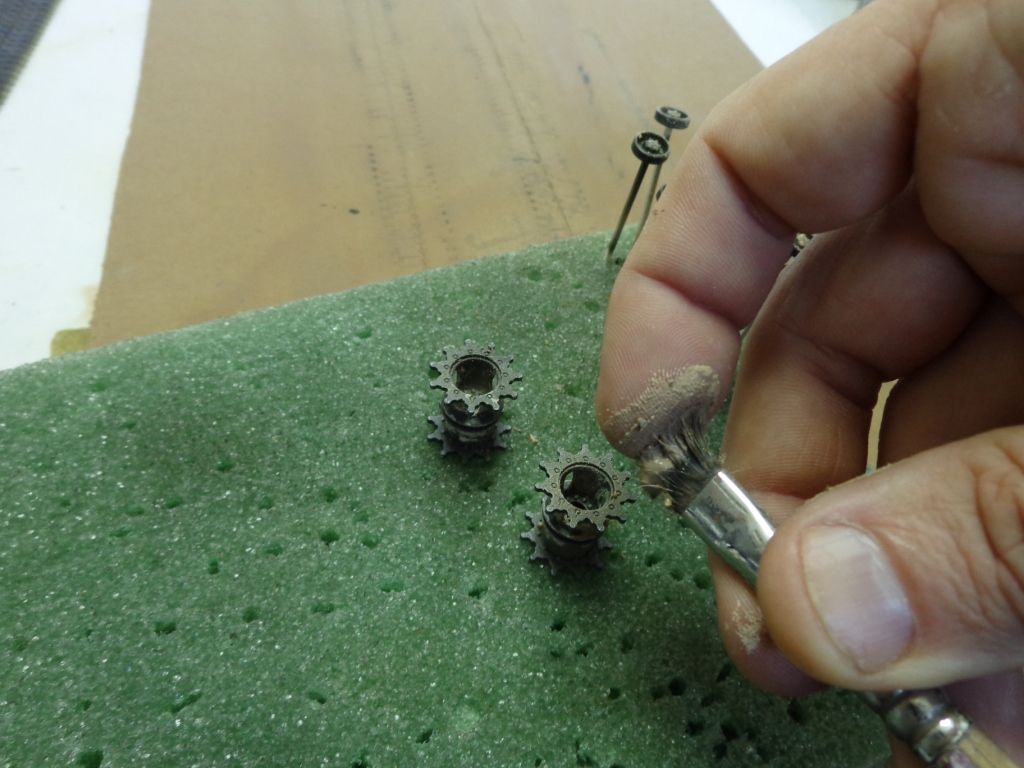
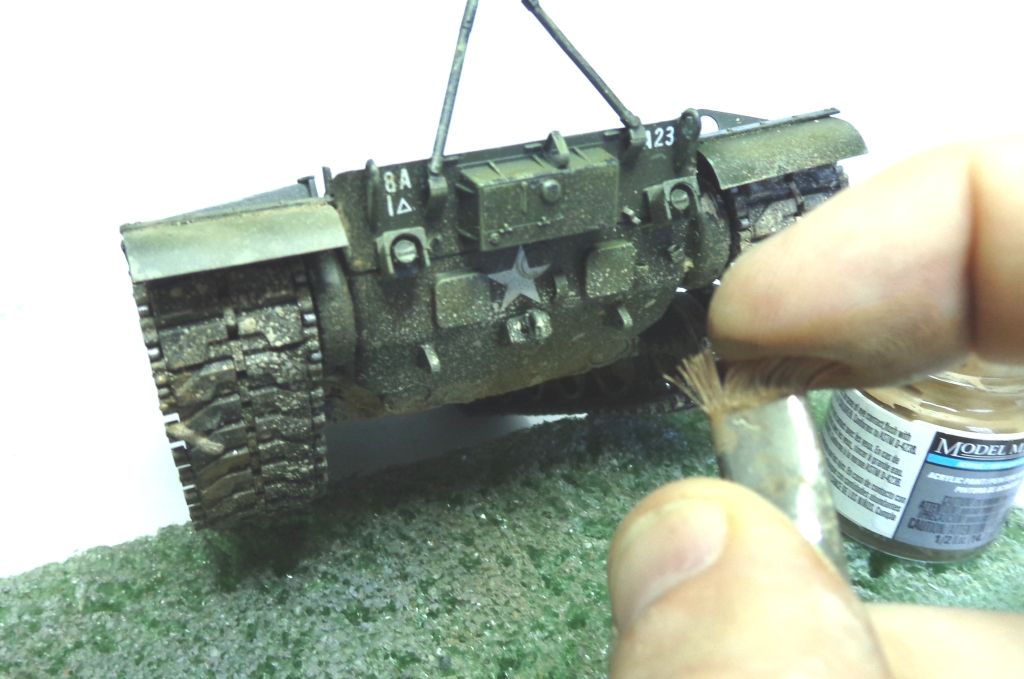
I also used the same mixture to speckle the wheels and sporckets. Use a stiff-bristle brush to do this, and practice before you try it. You have to learn the dispersion pattern of the brush you are using, or you risk it going everywhere.
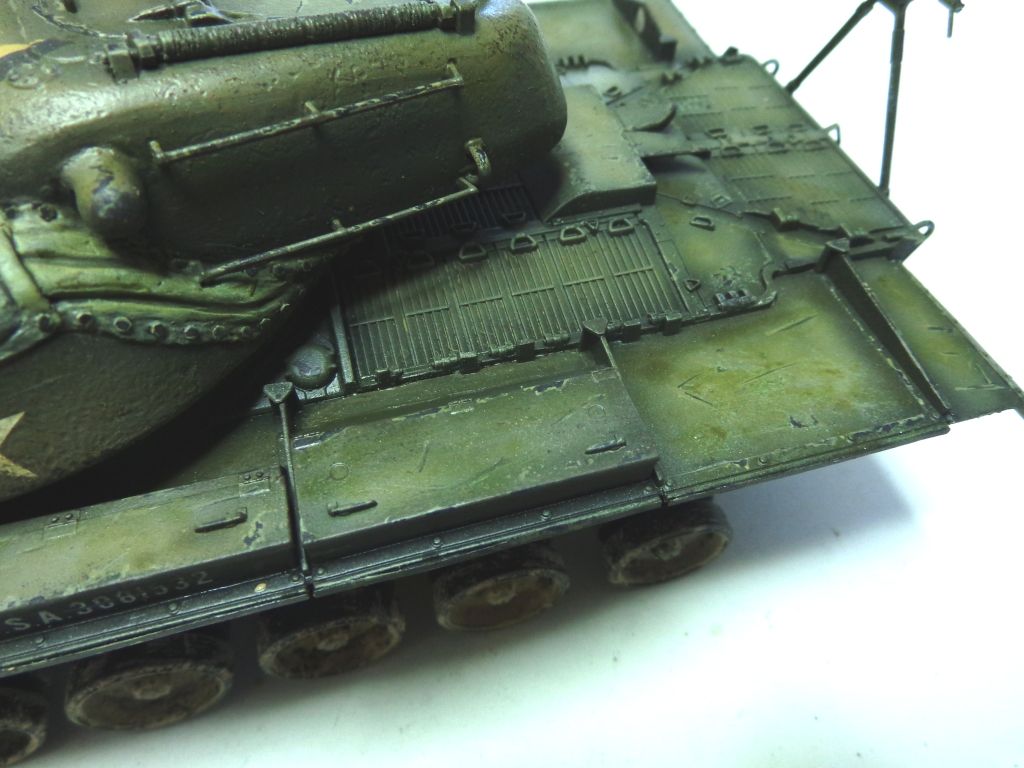
While this was solidifying, I started putting down some light chipping and scratching. I first used a sponge to add light green chips to all the OD parts of the tank. Then I used Metallic Gray to put chips on the edges of the fenders and hatches. FInally, I used some tan, and then also some brown "earth" tone on the yellow parts of the fenders to show wear and degradation on those parts.
![]()
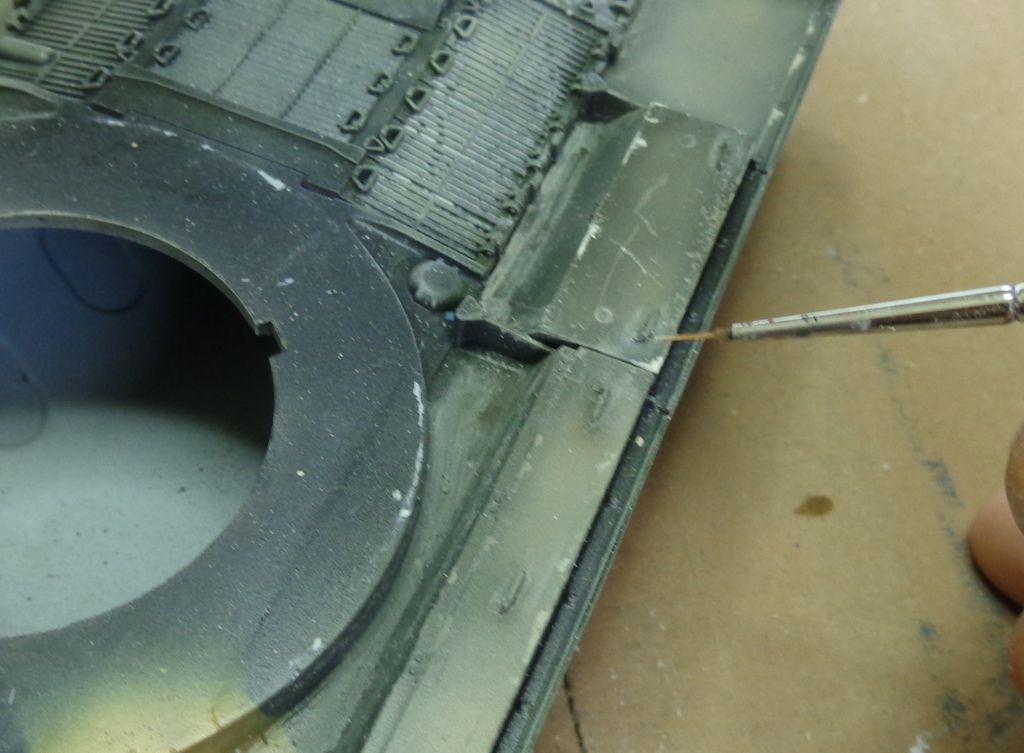
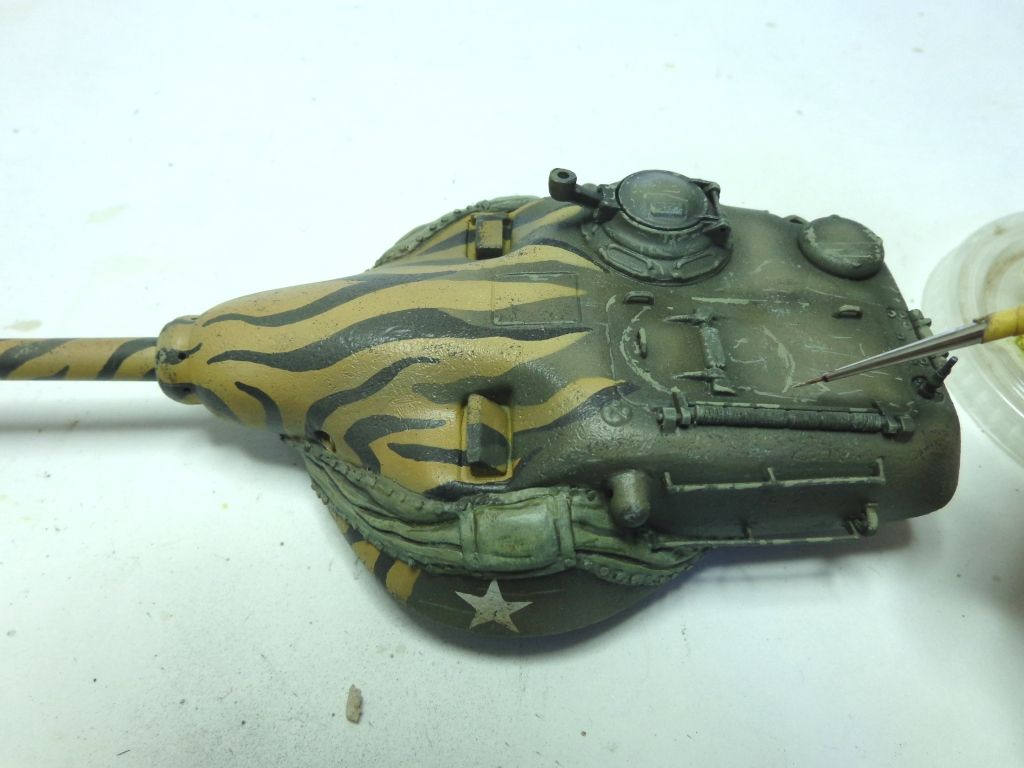
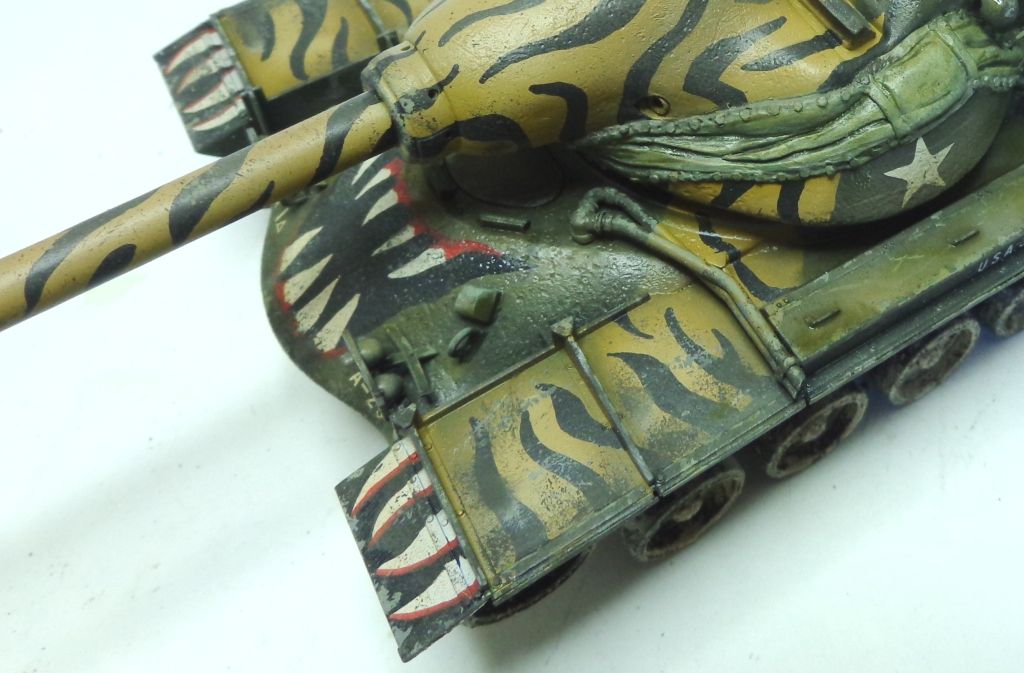
I then used a light wash of Olive Green dulled with Raw Umber to tone down the contrast a bit. You can see the darker wear on the fender area..
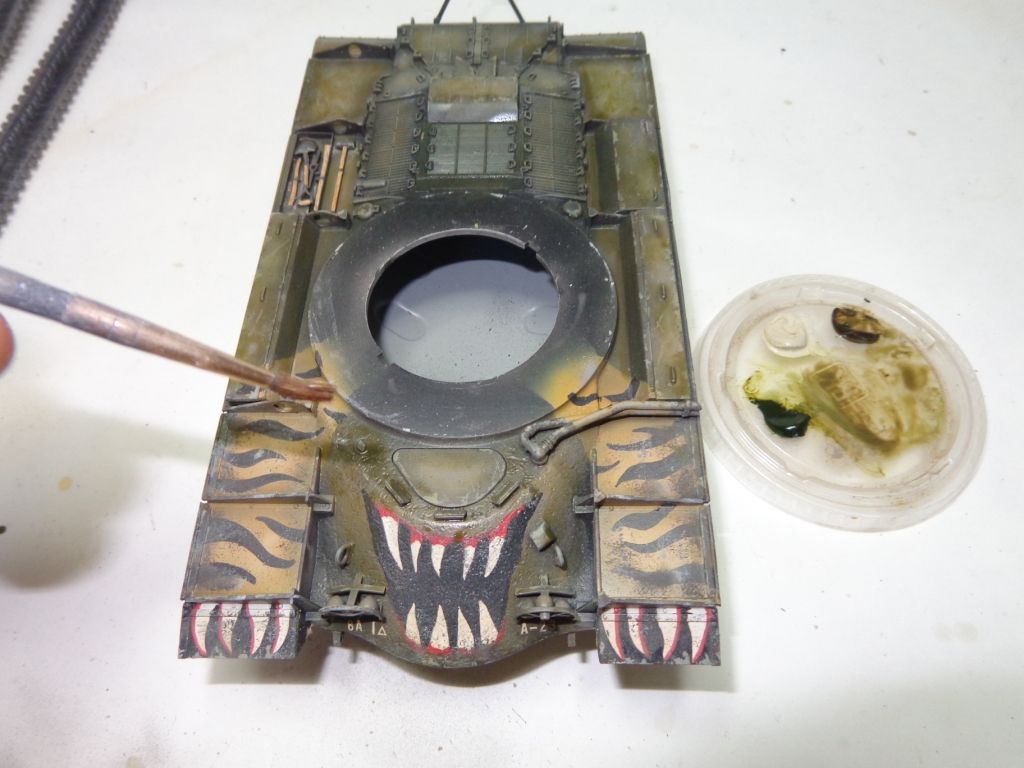
The oil wash also gave the base coat a slightly warmer tone.
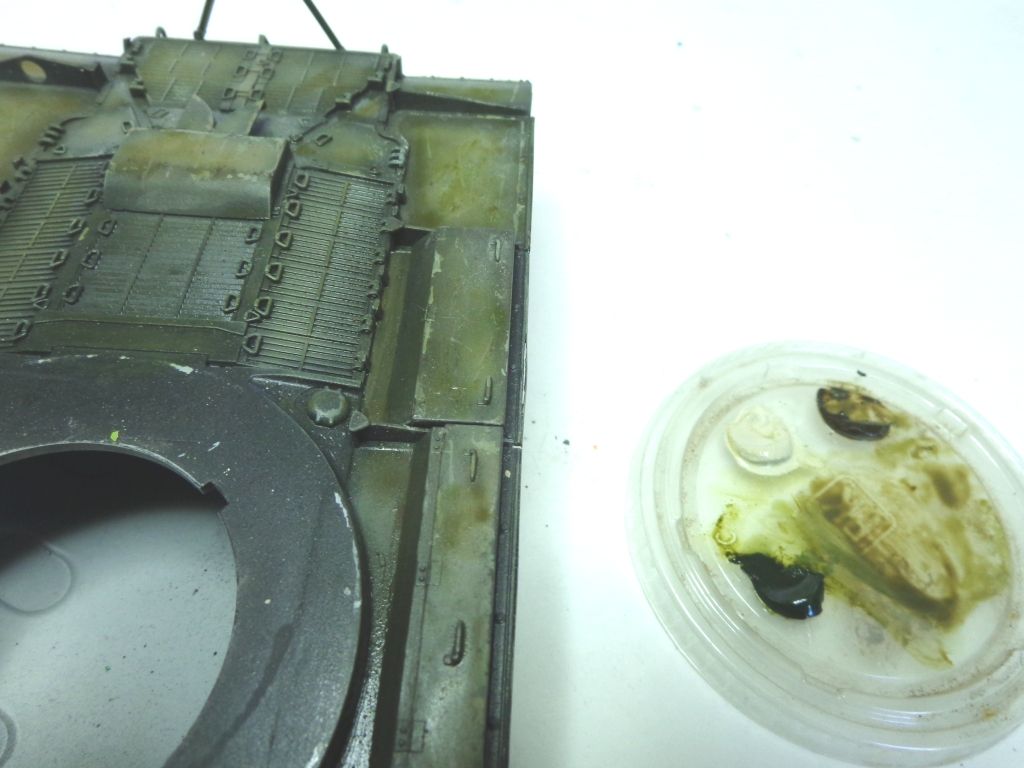
I then painted in some metallic grey chips inside the light green ones to give a 3-D impression.
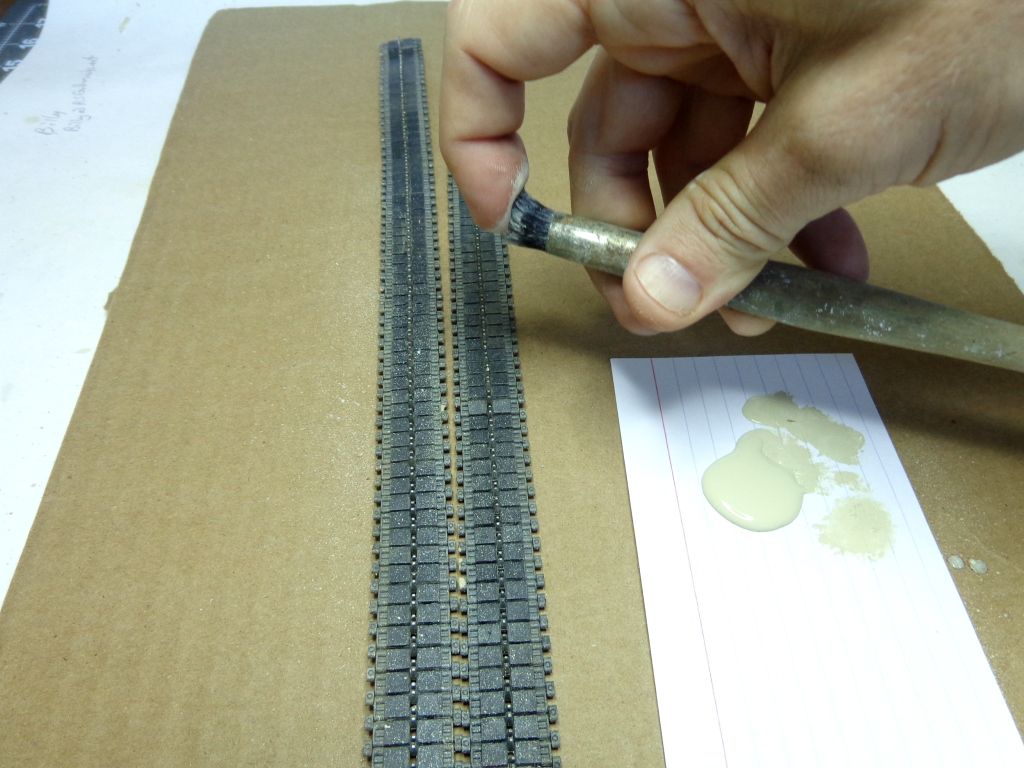
With the tracks now dry, I spattered some craft store light sand onto the track faces, both sides...
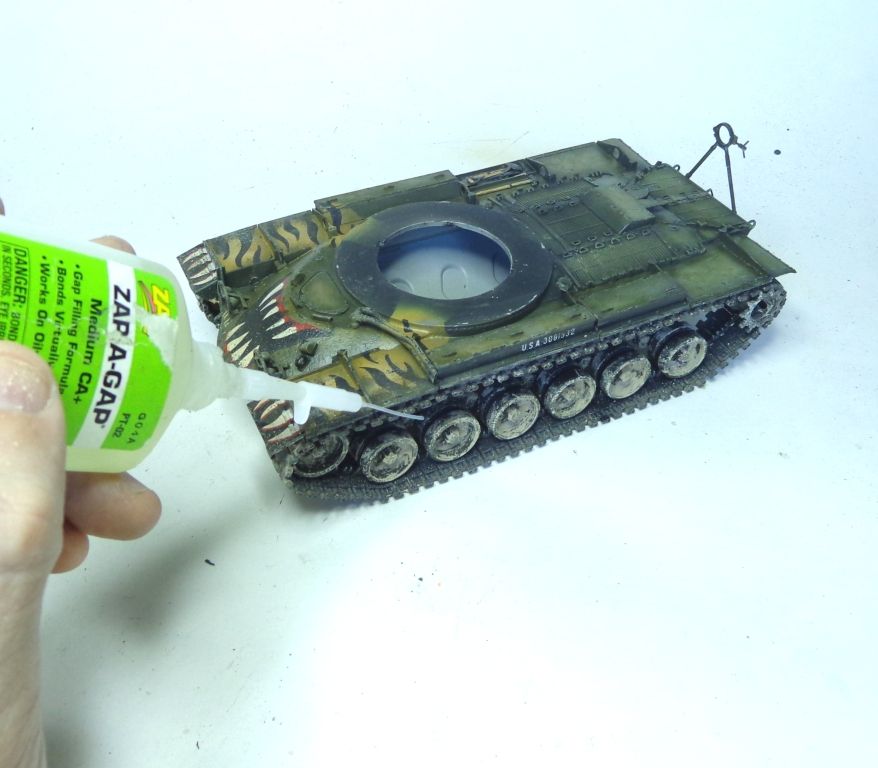
And now the scary part---I was waiting for the tracks to just disintegrate when I tried to put them on, but since I didn't use any washes or solvent-based paint on these, it seems to have really made a difference. I threaded the track through the glued-on wheels--about the only advantage to "workable" tracks that I can think of unless you aticulate the suspension--and placed the sprocket into the ends, and then carefully joined the ends with some connectors. I then used some superglue to strengthen these joints to add strength and reliability to the tracks.
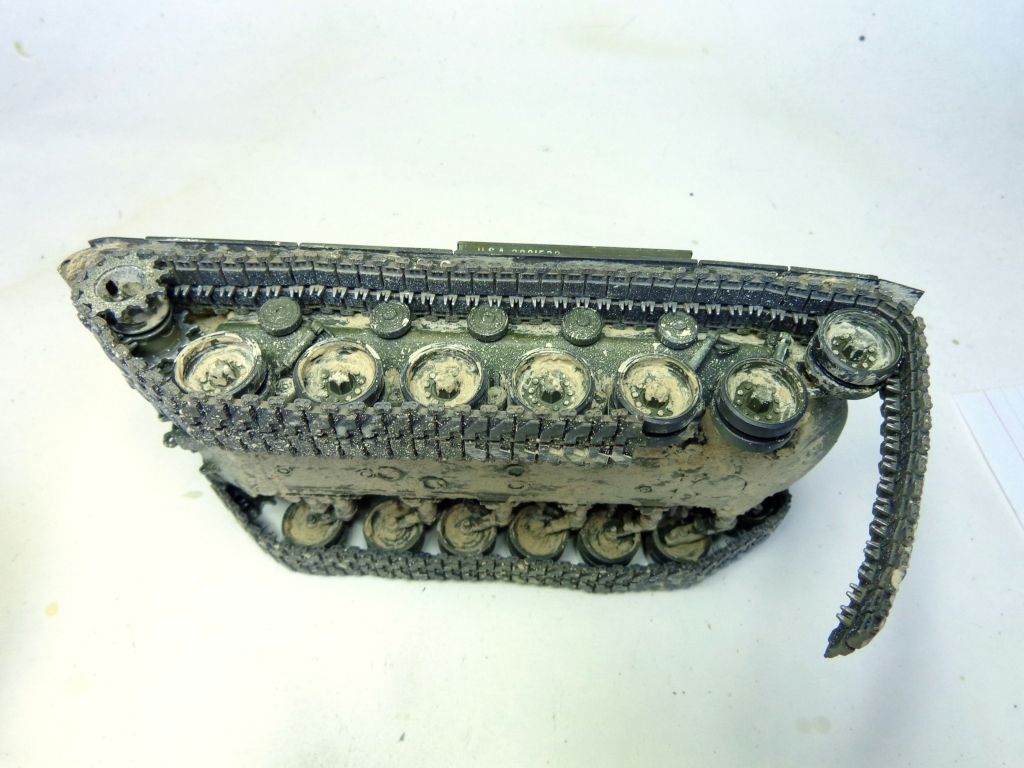
I spattered the rear, and entire hull below the fenders.
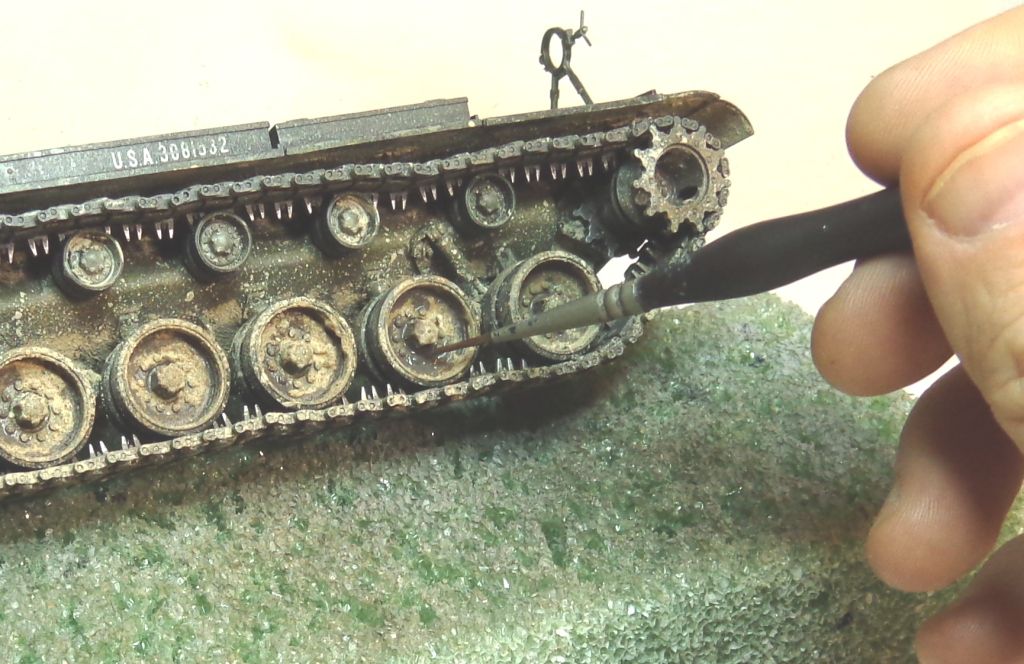
One thing I DIDN'T like was the spattering being on the wheel travel inside the tracks.
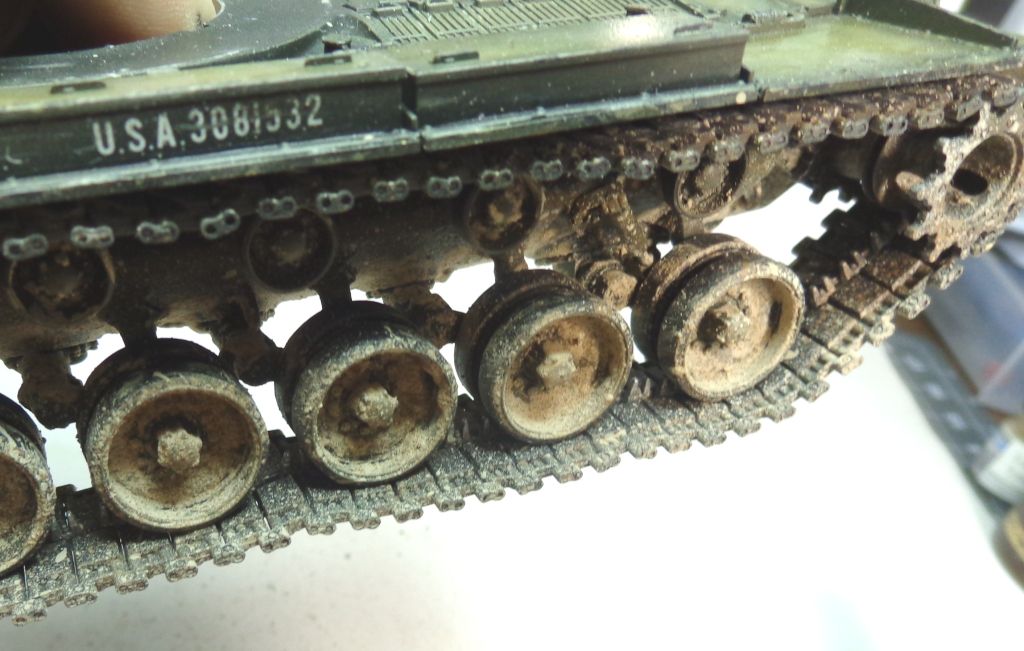
I wondered if I could remove this using some kind of solvent? I wet a brush with lacquer thinner, dabbed most of it off on a tissue, and ran it over the inside of the tracks. It worked like a charm.
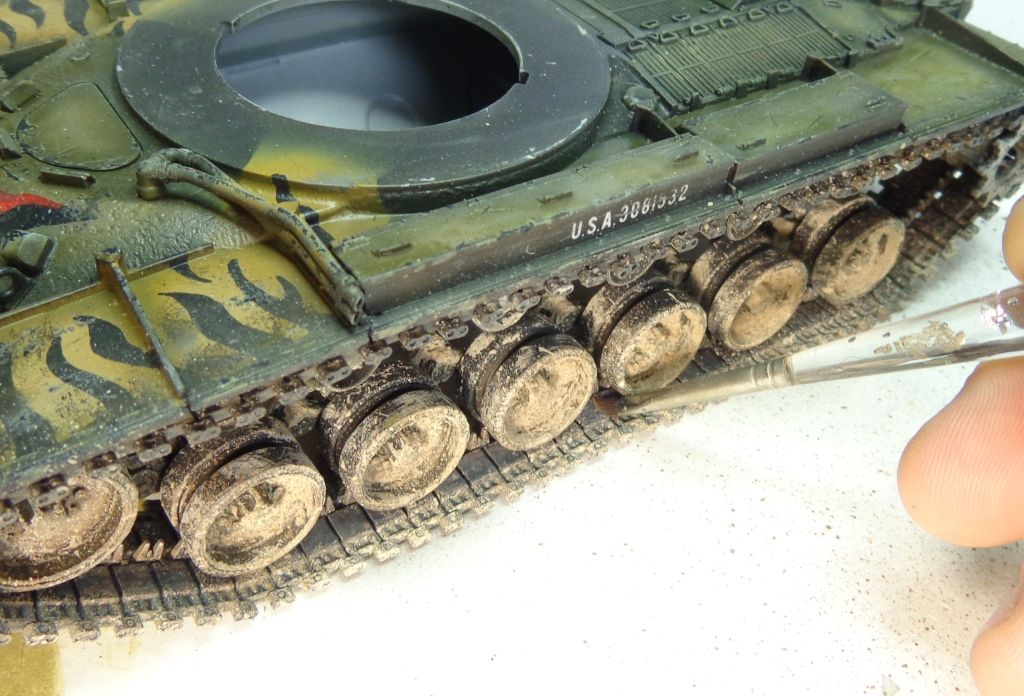
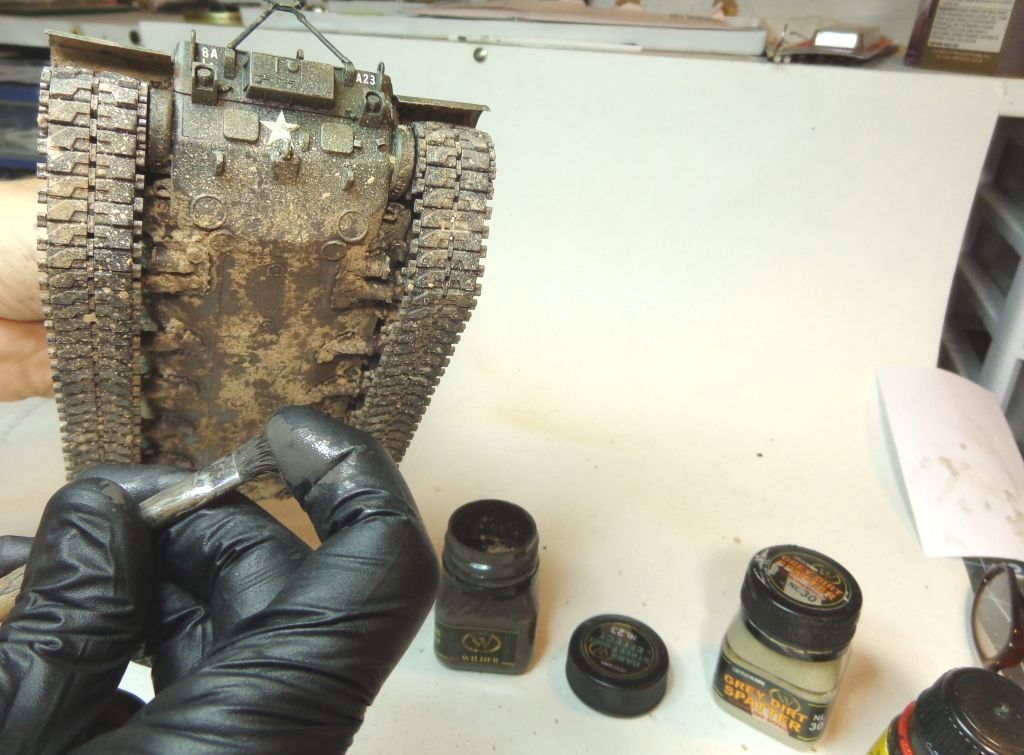
Next, I used some "Gray Dirt Spatter" from Adam Wilder's line to do rain marks and streaks. Thes dry a semi-gloss, so are great for simulating this kind of effect.
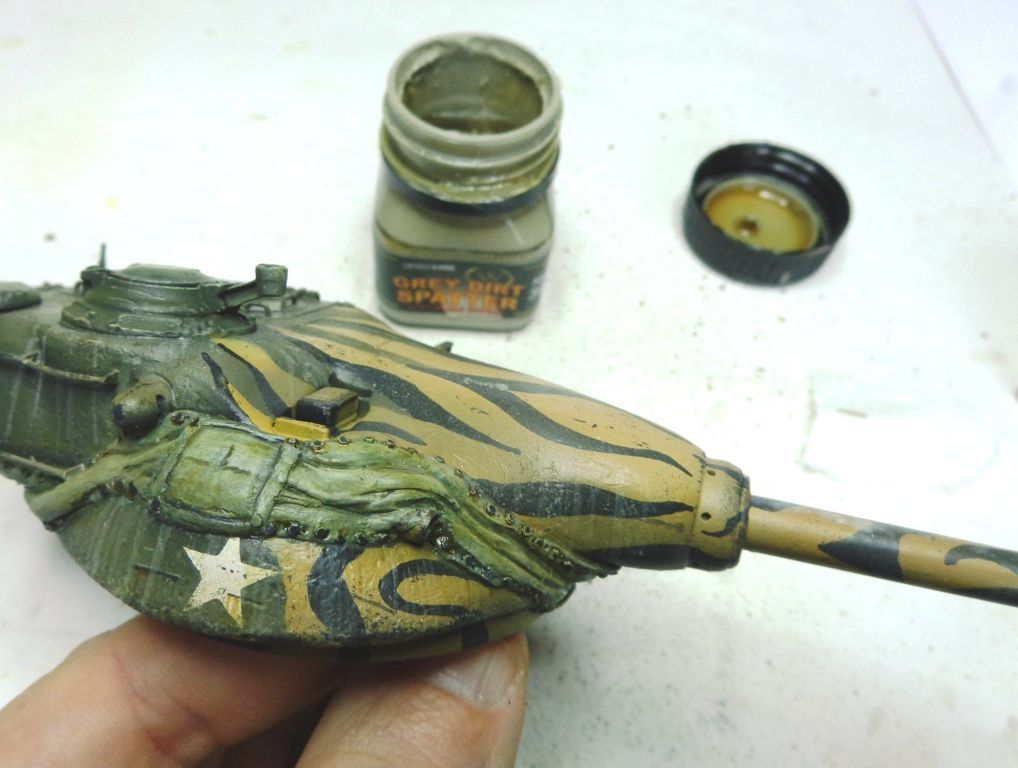
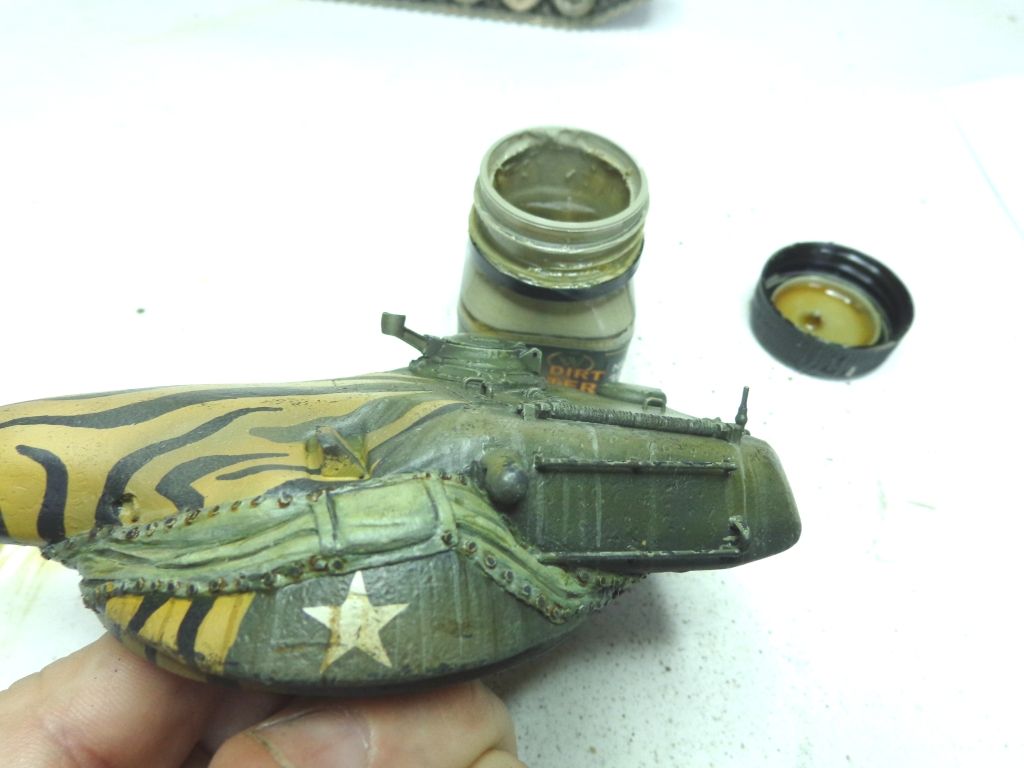
I also did light spattering on the fender tops and sides to tie the effect in to the hull. Wear gloves when you spatter with enamel-based products.
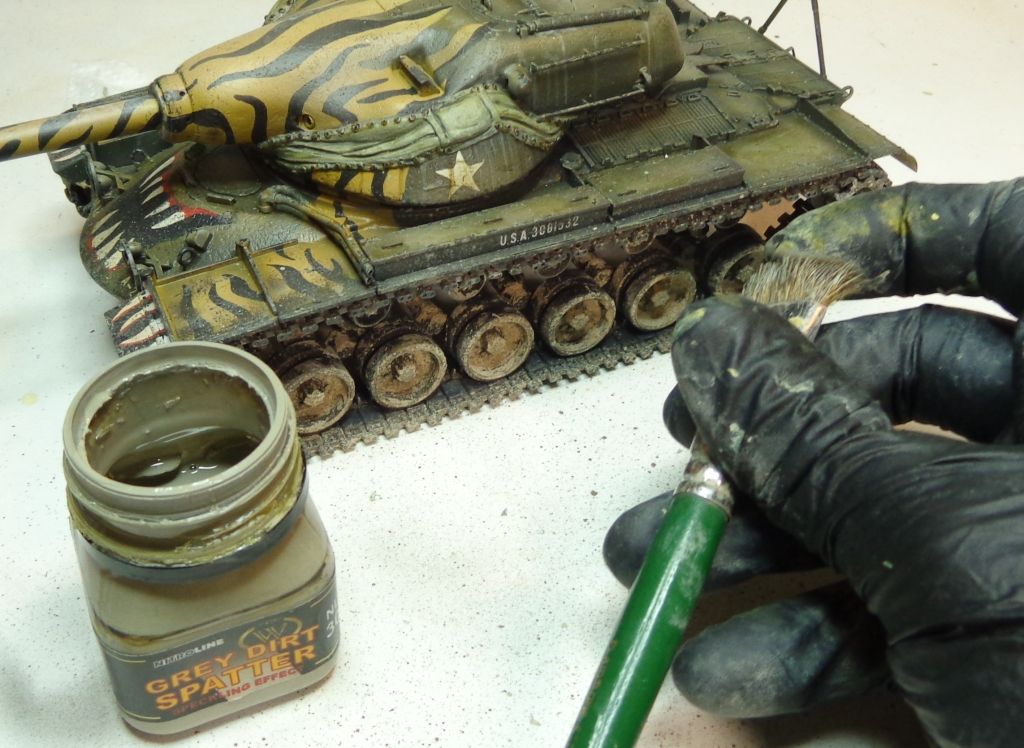
In order to add some depth to the plaster "mud" mix, I then used some WILDER "Dark Street Dirt Effect" and painted this on to the hull and inner wheels. I also spattered it onto the bottom hull.
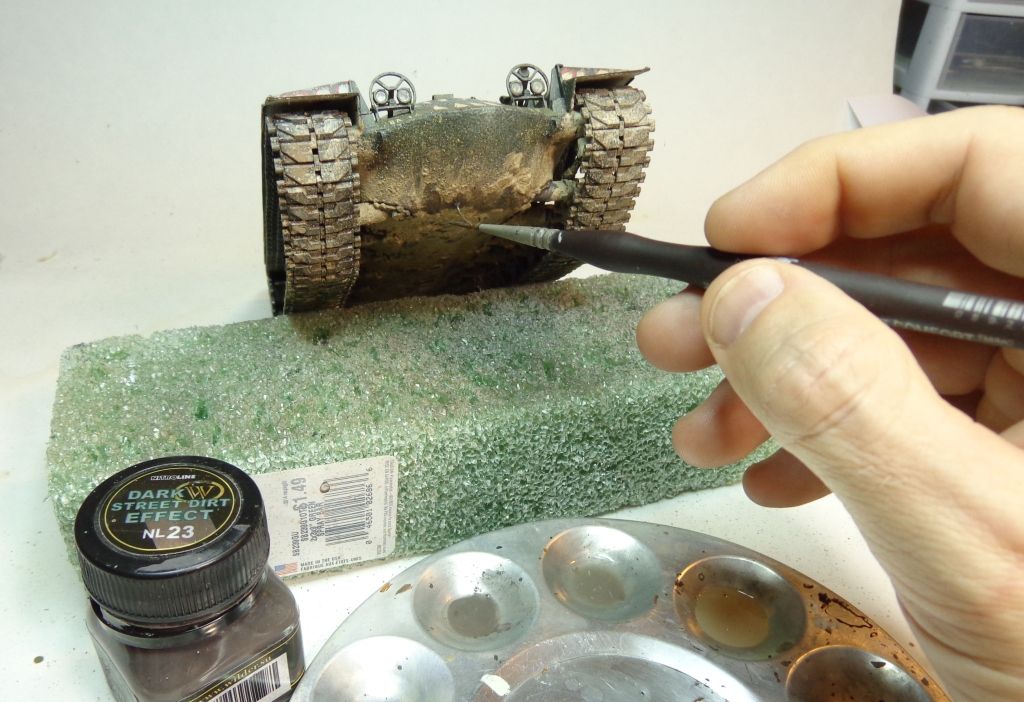
Here's where I am so far----vry close to being done!
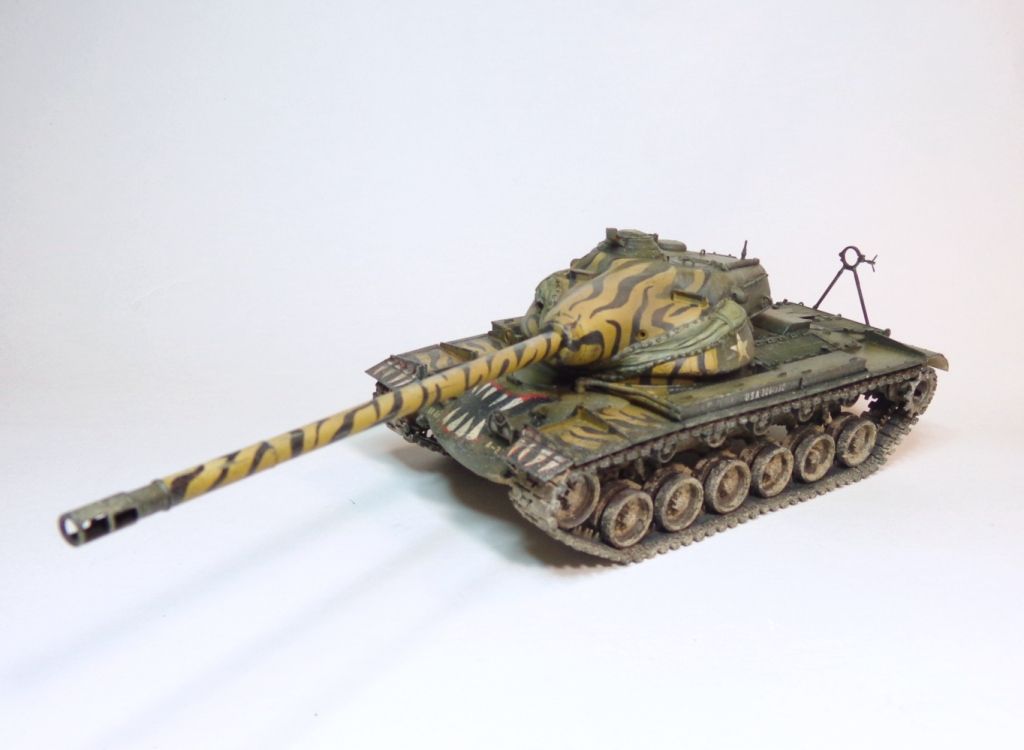
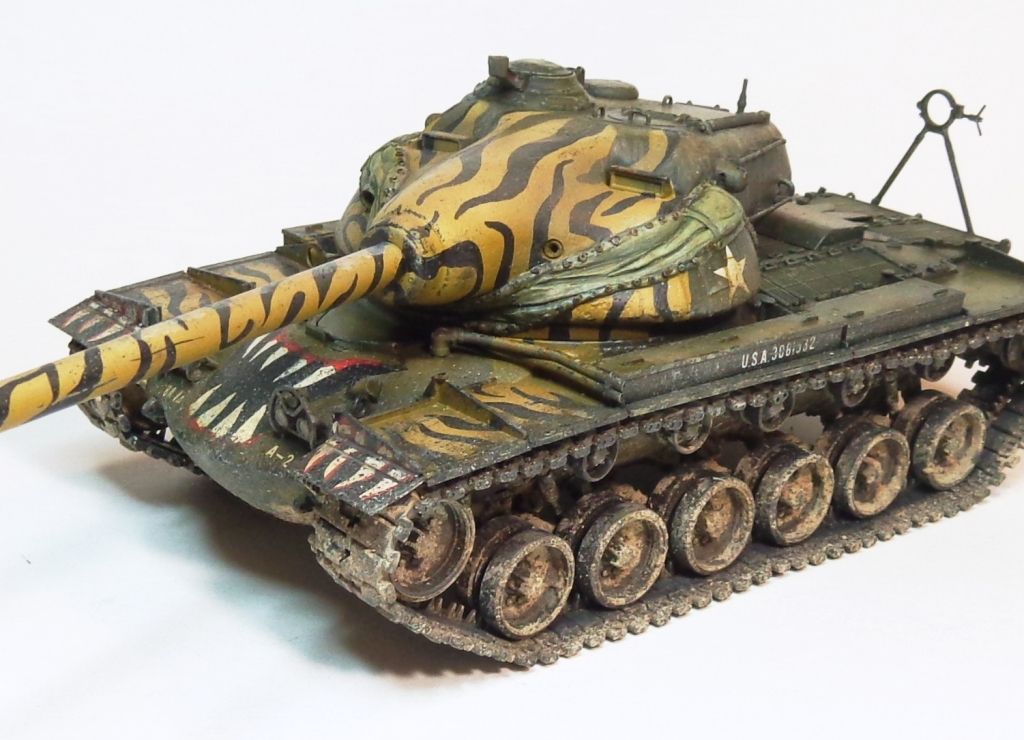
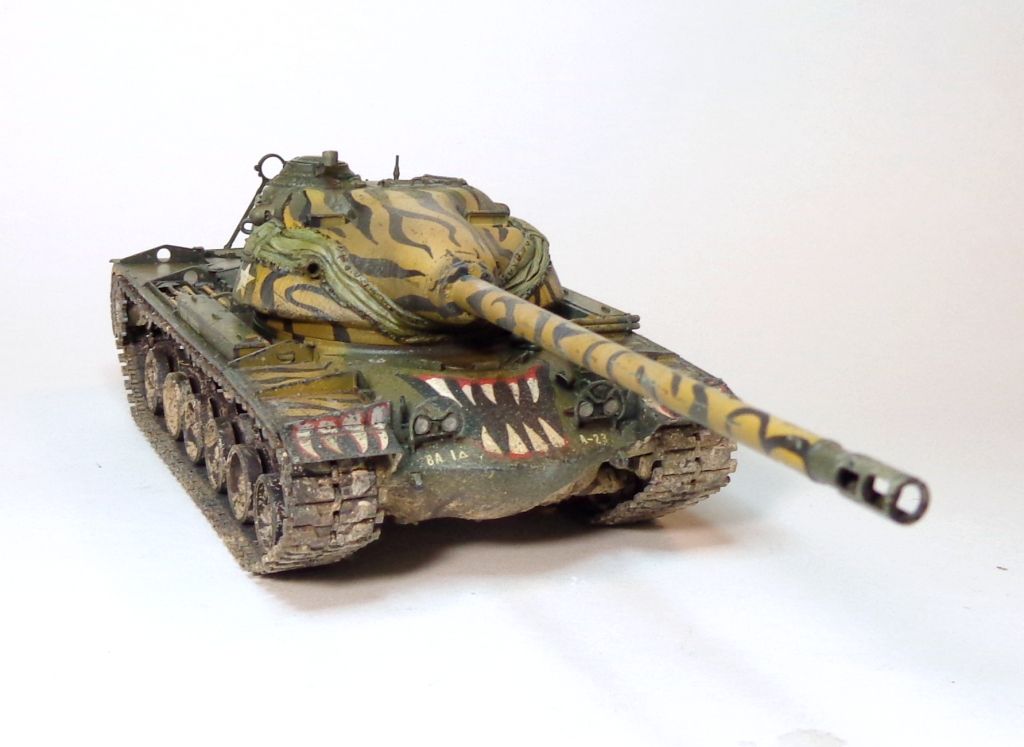
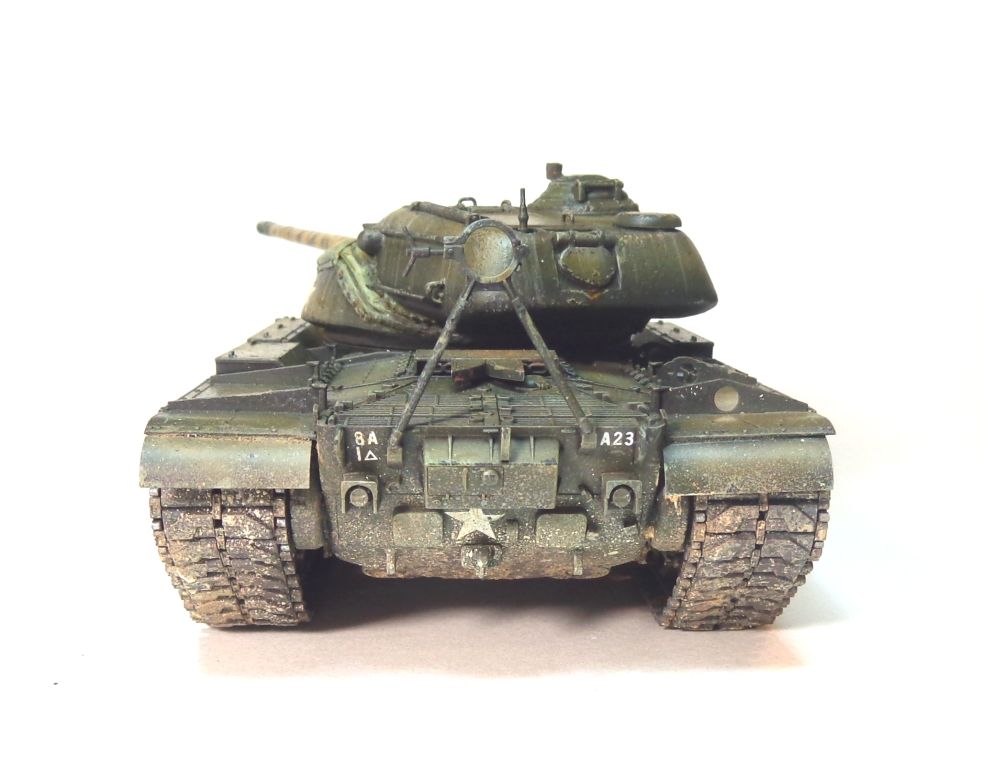
Well, that's it for now, guys! Thanks for looking in. Be watching for the completed build some time next week! :) As always, comments and questions are always welcomed! 