OK, so this post deals wirth the construction of the mantlet cover using Milliput (hereafter referred to as MP) I chose this because I didn't think I could get the necessary bulk using tissue paper, as is the standard method.
I mixed up the two parts of MP into a big ball.
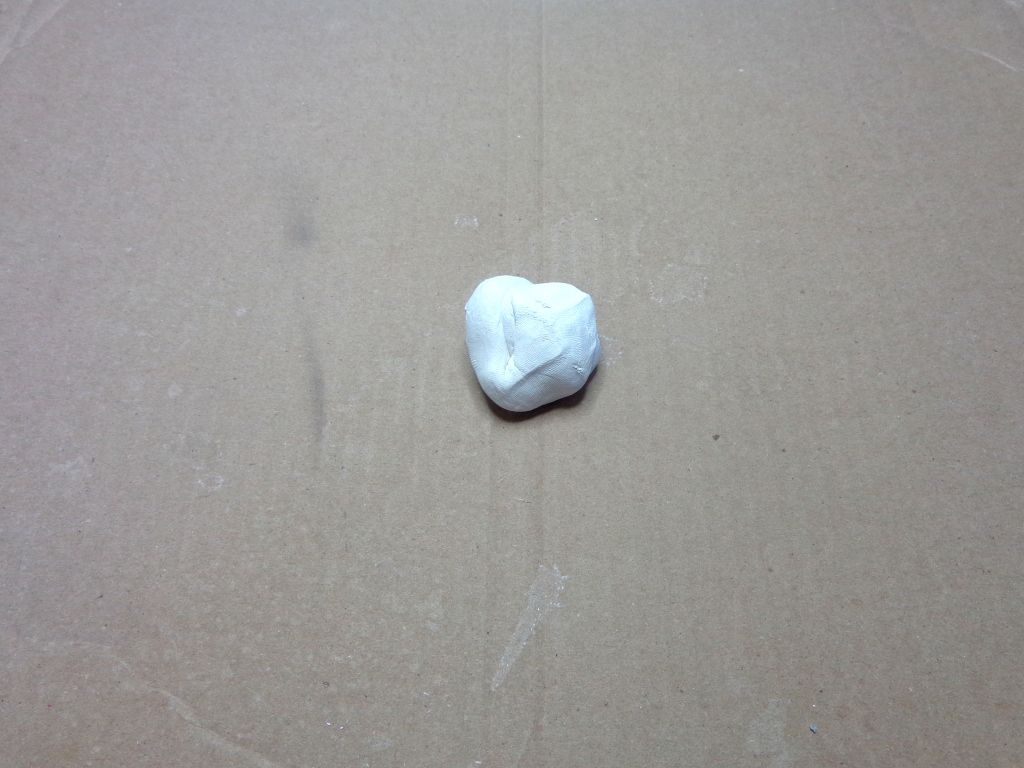
Roll it out with your fingers...
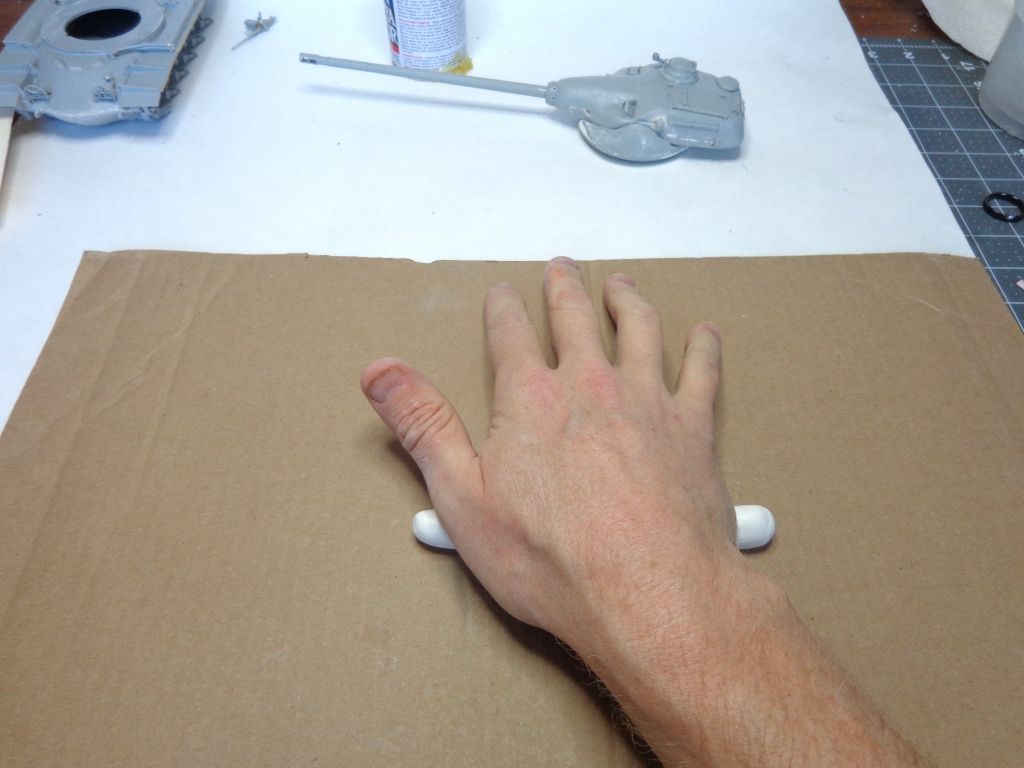
Use both hands; make a long snake of it.
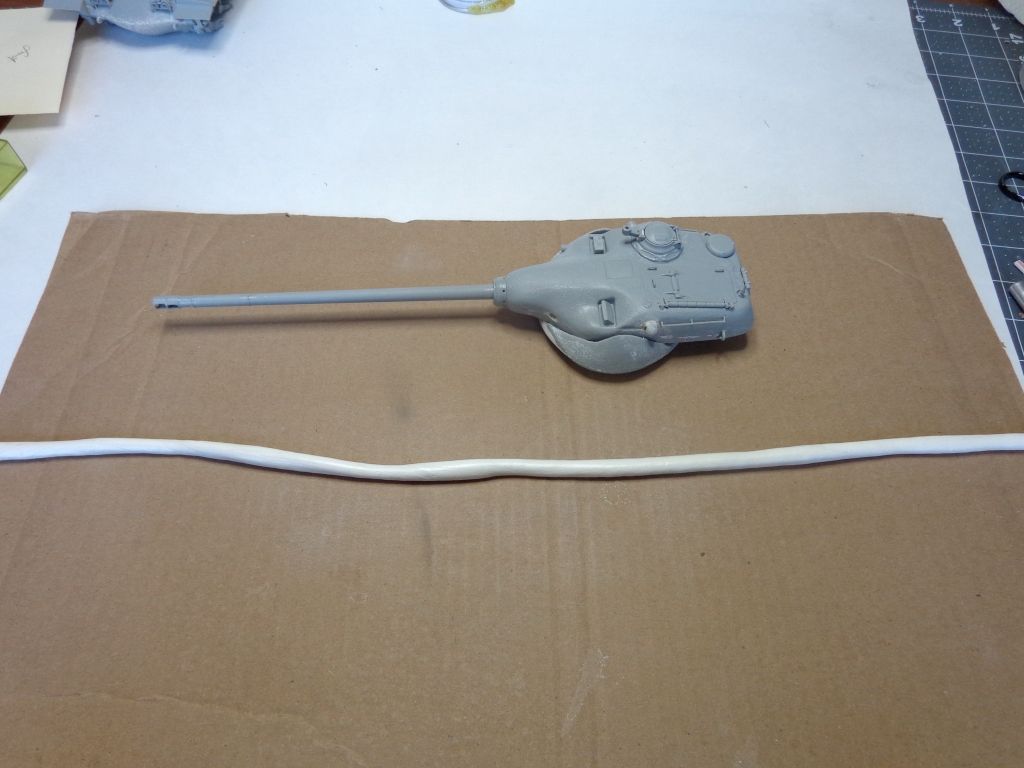
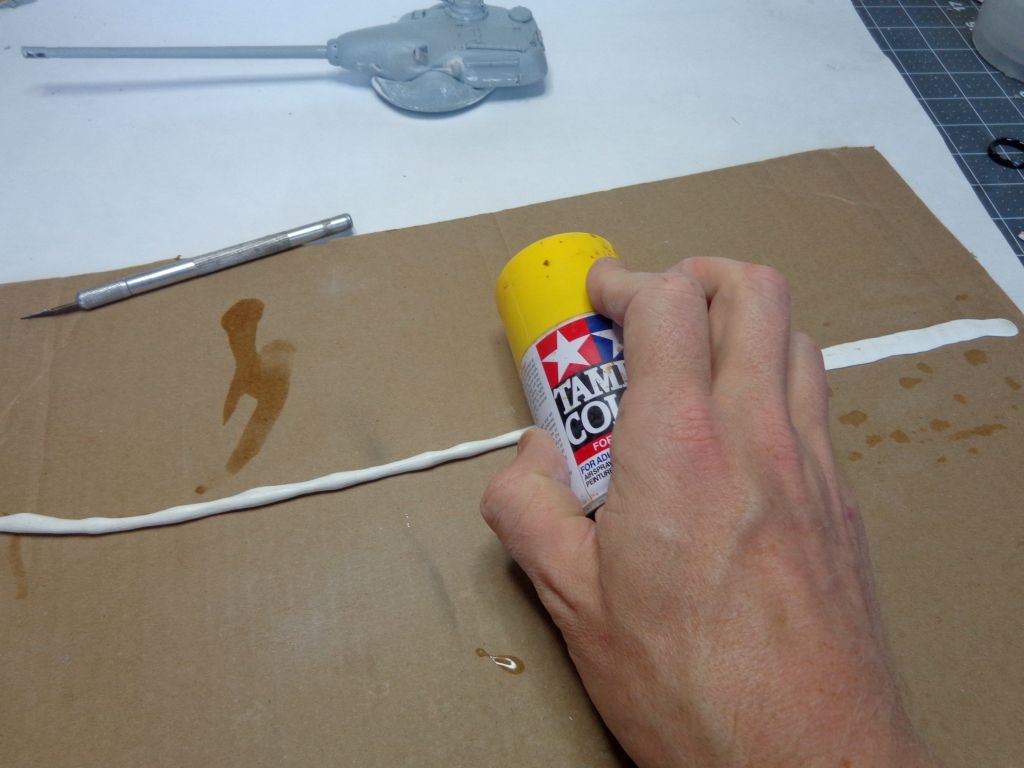
Now flatten it. I used a Tamiya paint can to do this----wet the can to prevent the MP from sticking. Water can be used to shape MP and prevent it from sticking to things.
Now I started shaping it around the turret. I made a decision to leave off the lower rear hand rails, but this caused me problems later because I had to modify the MP when I couldn't fit the rails where they needed to go. Put the rails on before you do this.
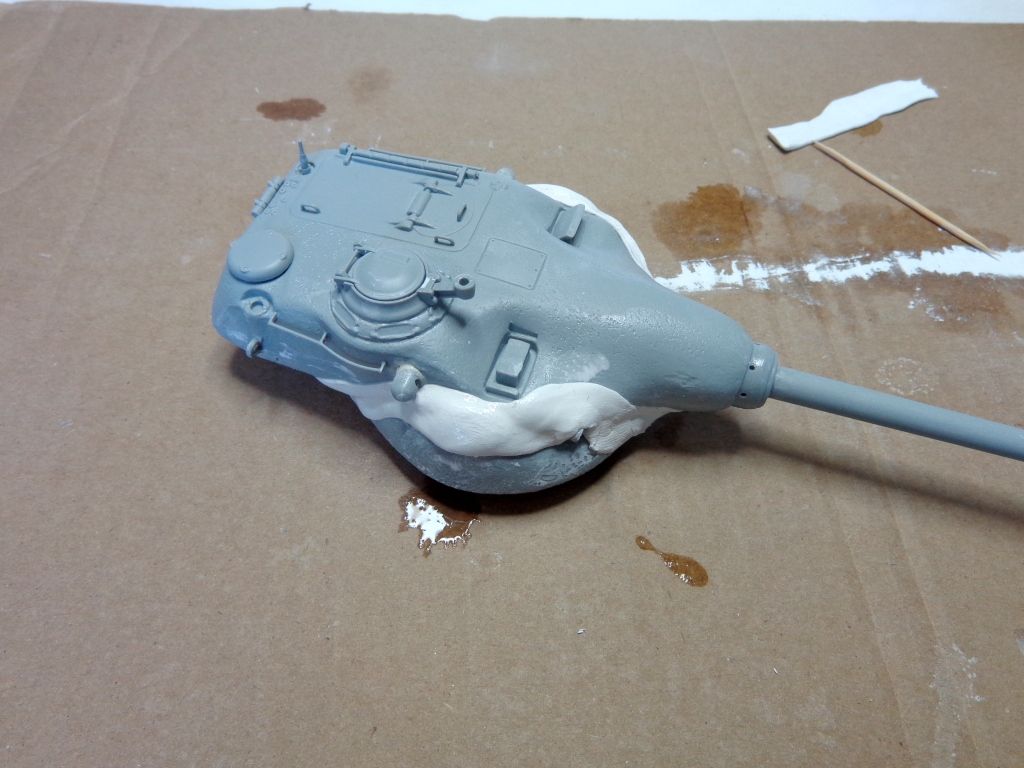
I used the back end of a scribing tool to put in folds and layers. You'll notice some tiny holes in the edges---I mistakenly thought that this cover was laced like regular mantelt covers, but it is actually bolted hard onto the turret. I had to fill this in later with white putty.
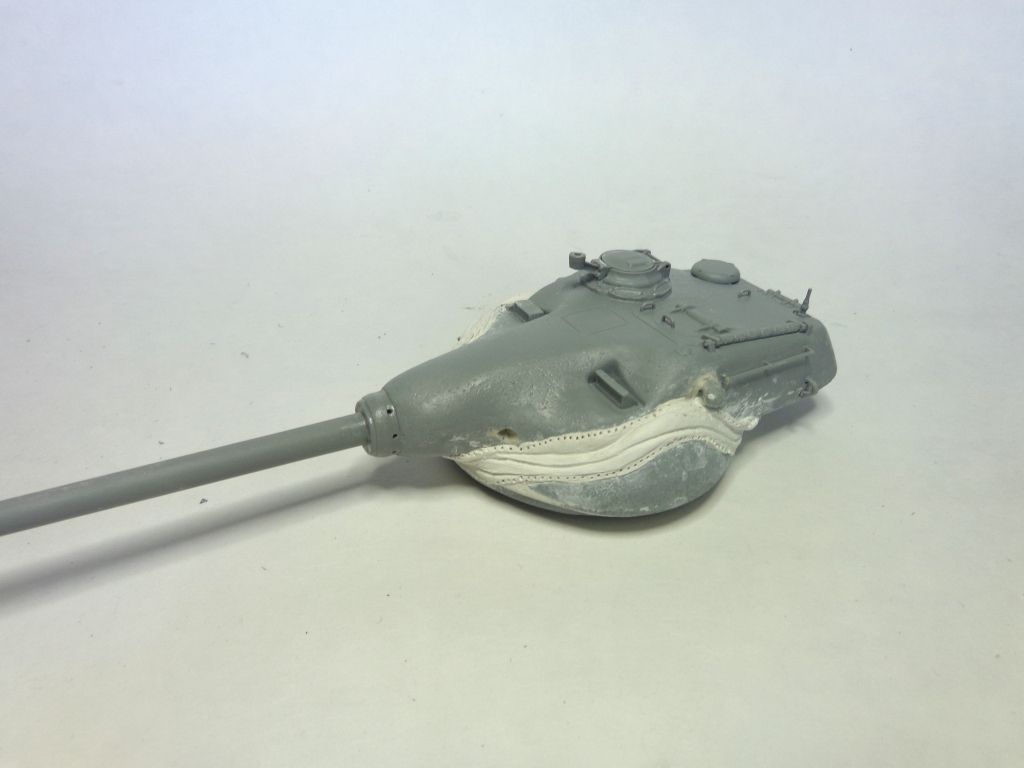
The other side. It's a pain to get the cover around all the projections and contours of the turret, no doubt..

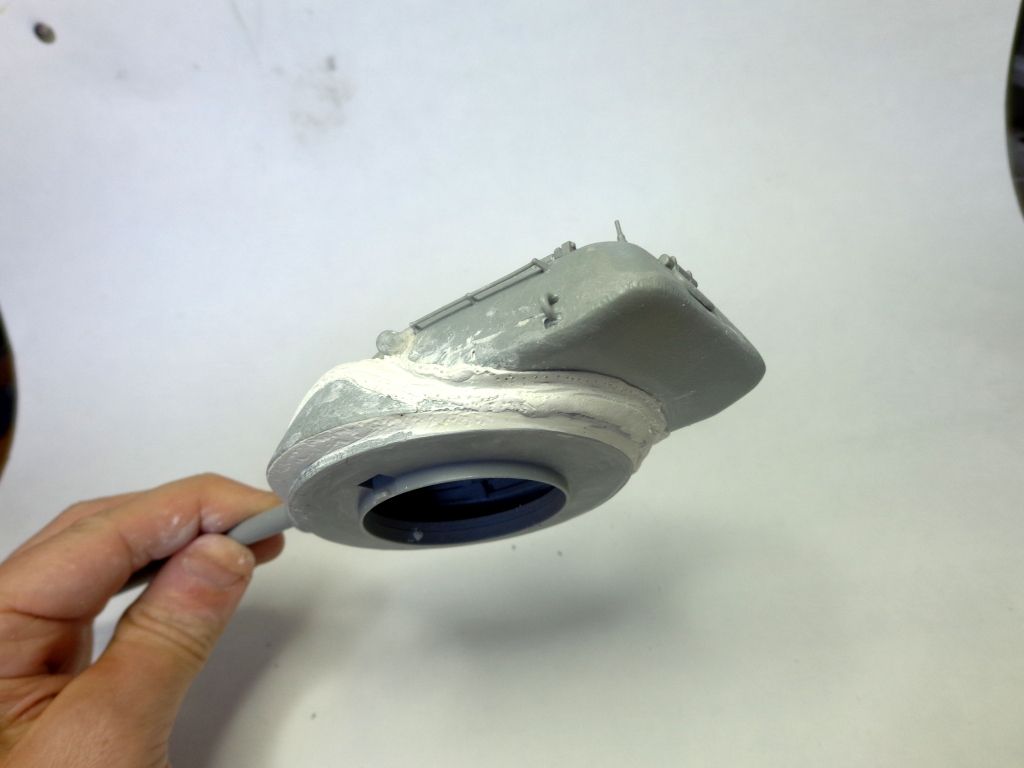
...'round back....
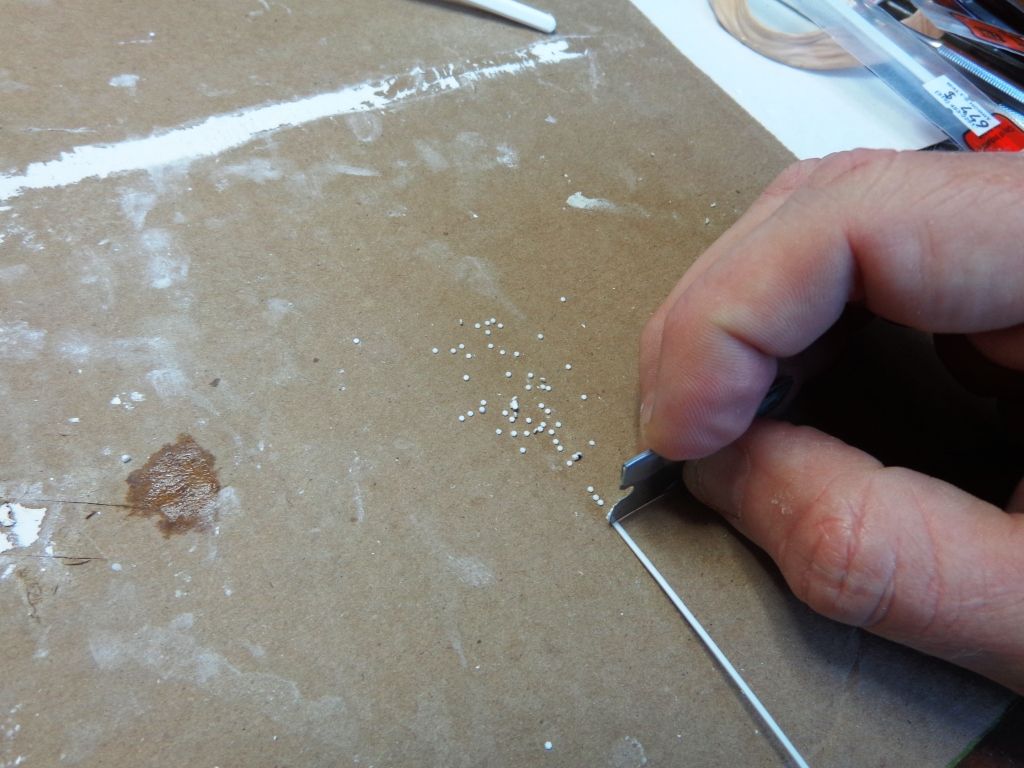
Since the mentlet is bolted on, I cut out a hundred or more little "bolt heads" from a piece of Plastruct 1.5 styrene hex rod using a razor blade.
I used thinned Squadron White Putty to "paint" a line around the edges of the MP cover, filling in those previous holes but also laying an adhesive "bed" for the "bolts". Tediously, I laid in each bolt into the putty after dipping it into some Testor's liquid glue.
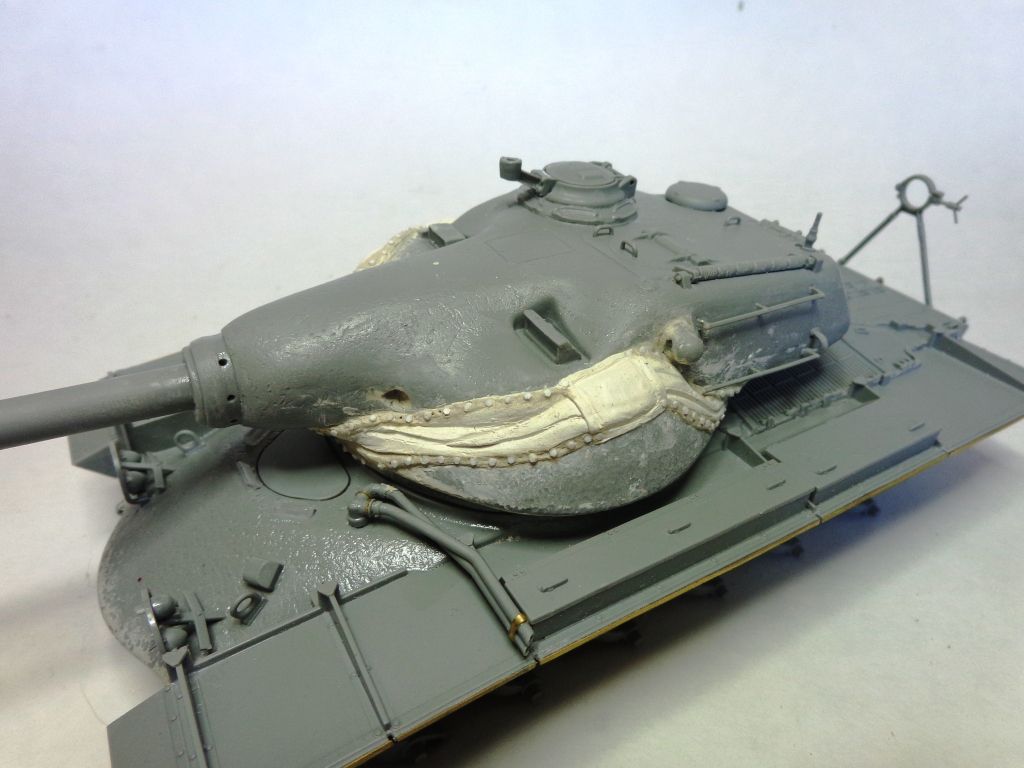
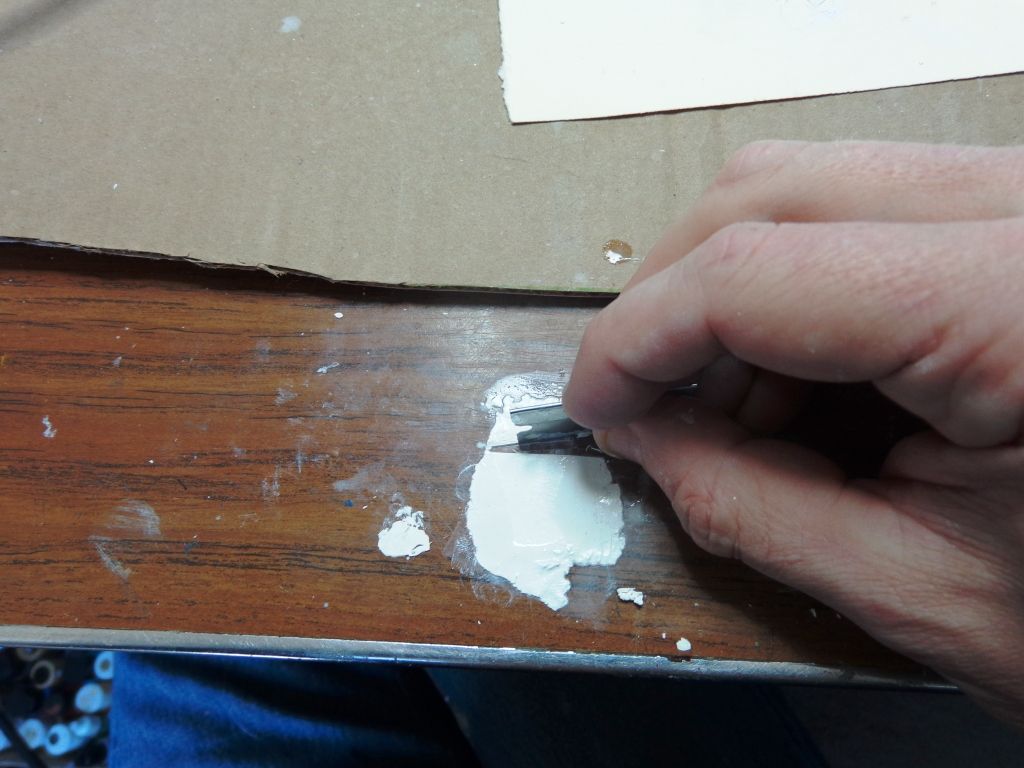
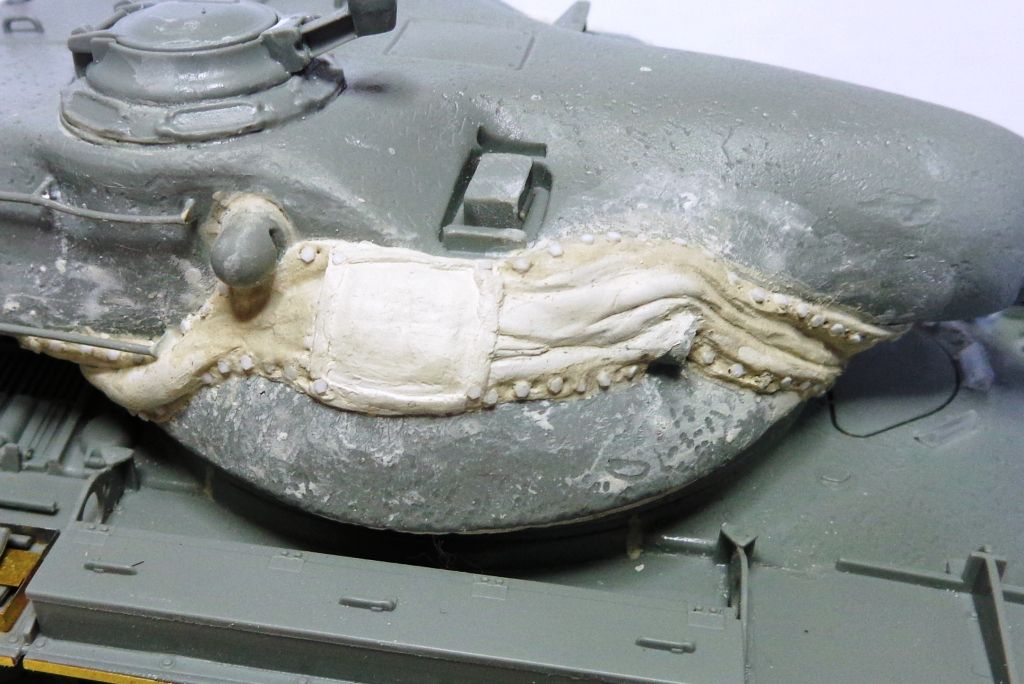
Note the "pockets" on the side of the cover? I made these AFTER the MP had dried, of MP as well. I flattened a ball of putty on the desktop, and then used a razor blade to cut out the square, which I then fastened into a reasonable resemblance of the feature. It's hard to tell what exactly this was, or what it really looked like from photos, but I gave it my best guess. It also seems to have been bolted at the four corners. I'm guessing that it could have somehow enclosed the two stereoscopic sighting "bubbles" on the side of the turret near it?
The other side...
And here's the model, ready for primer. Man, this sucker has a LOOOOOOOONG barrel!
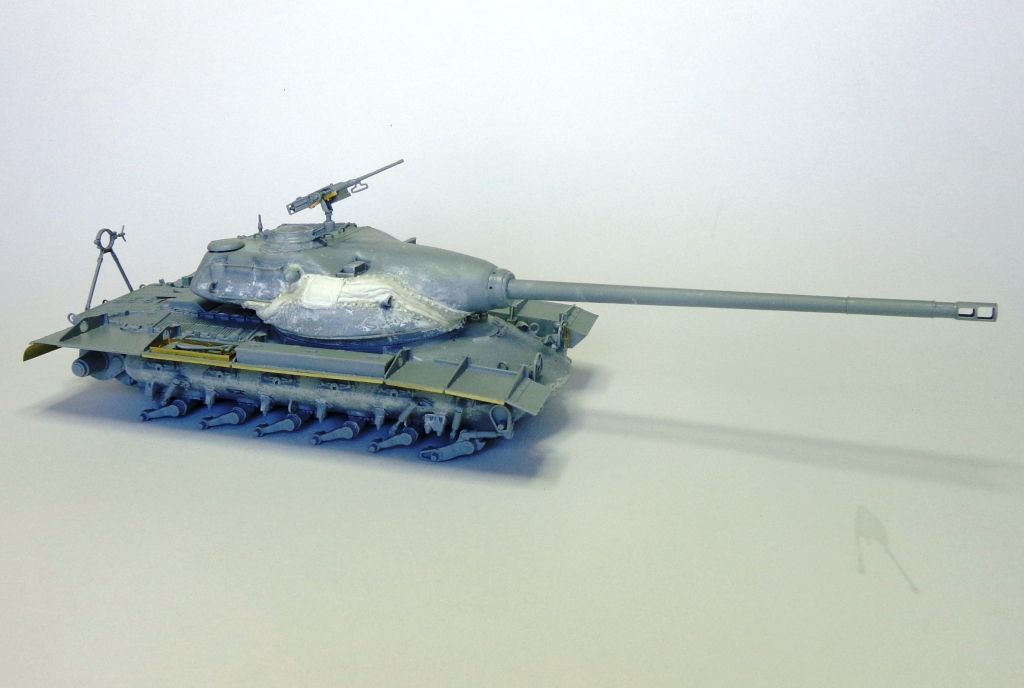
Some more pics of the mantlet and model showing profile and turret corrections.
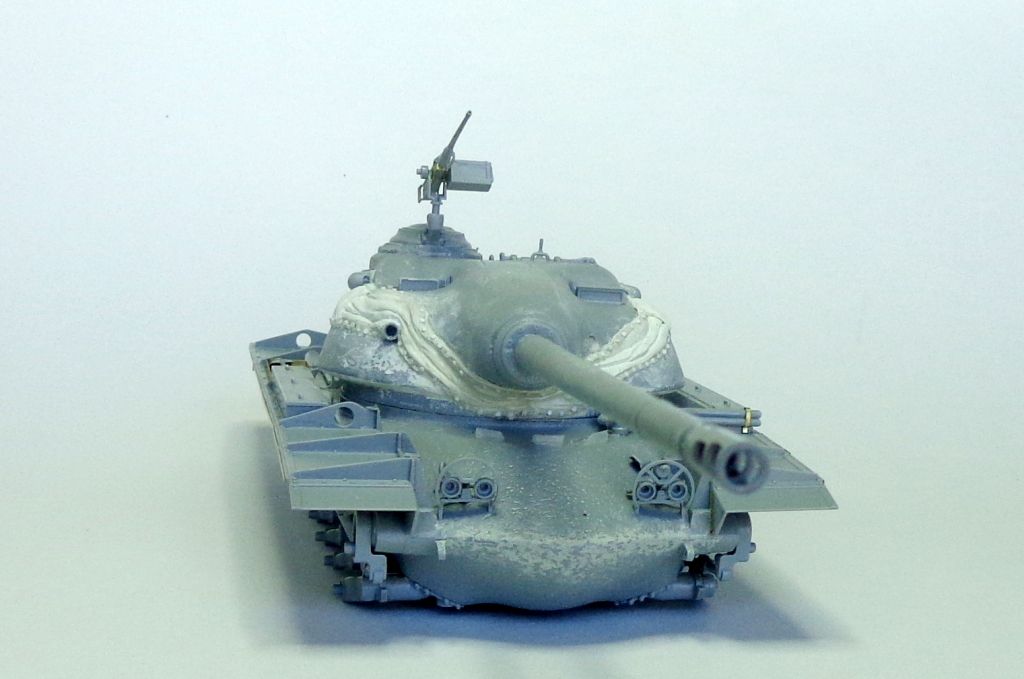
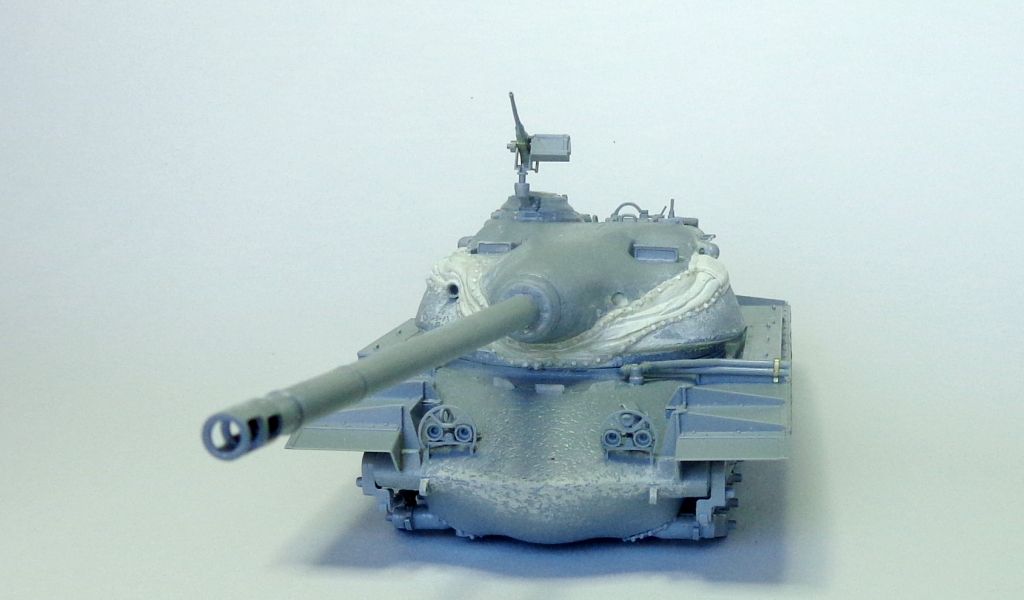
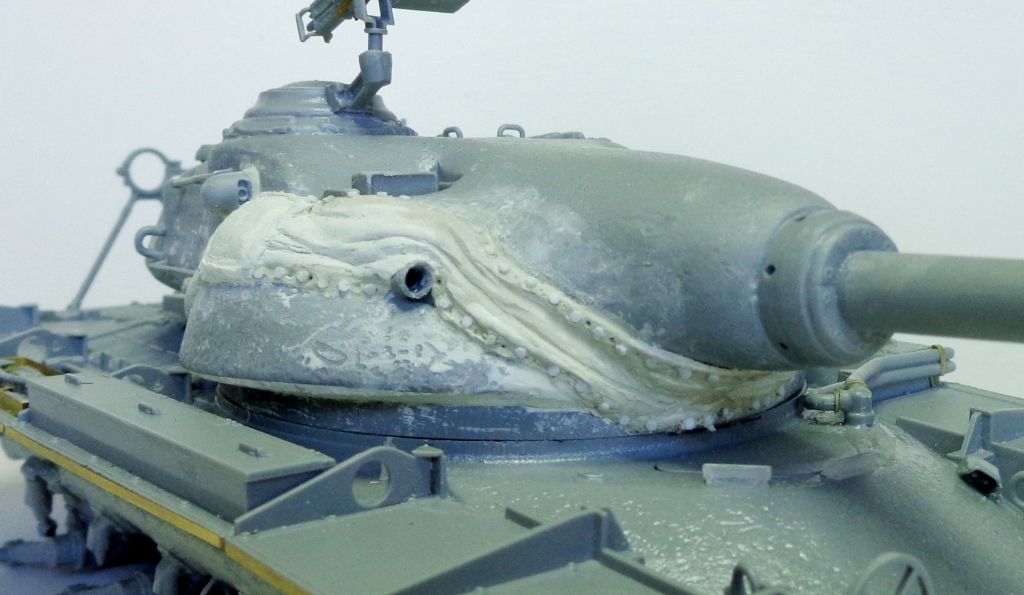
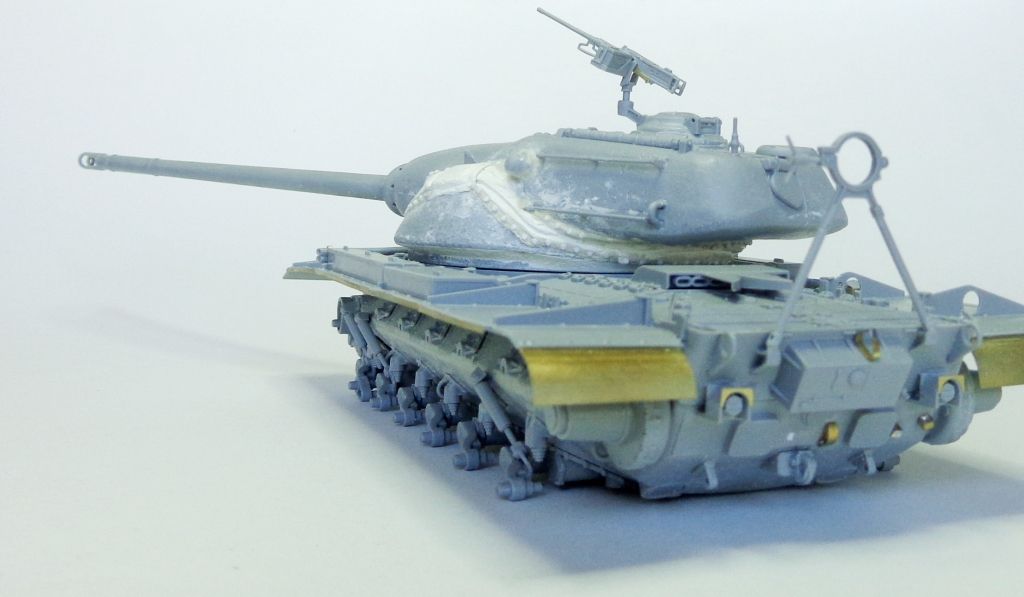
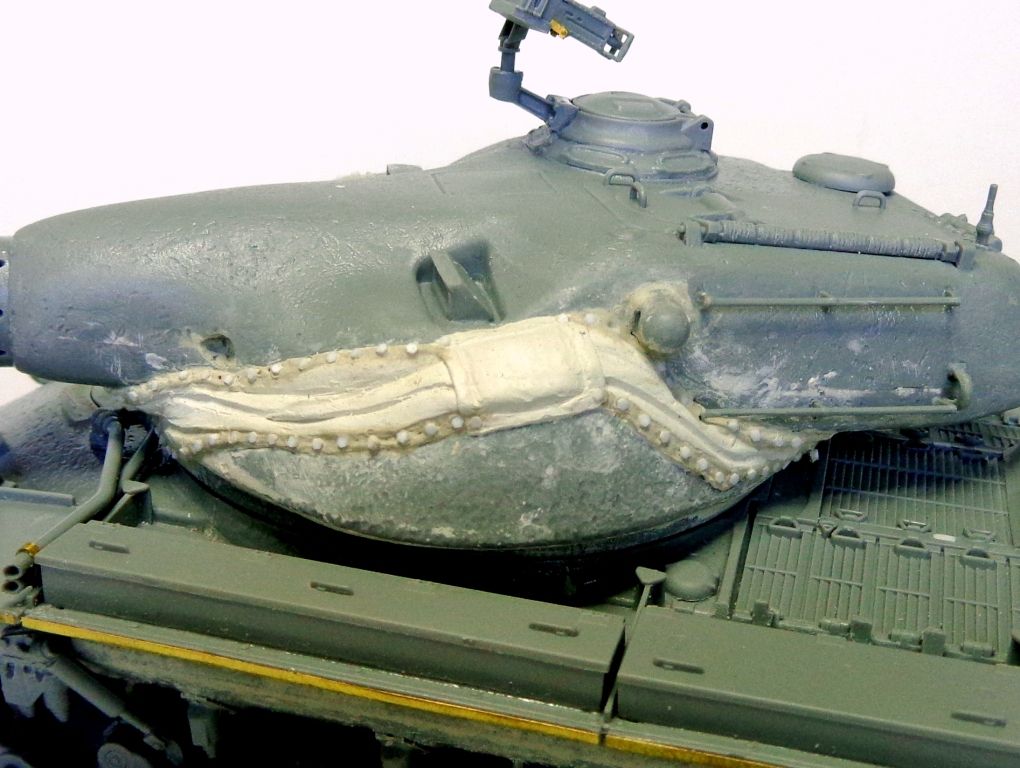
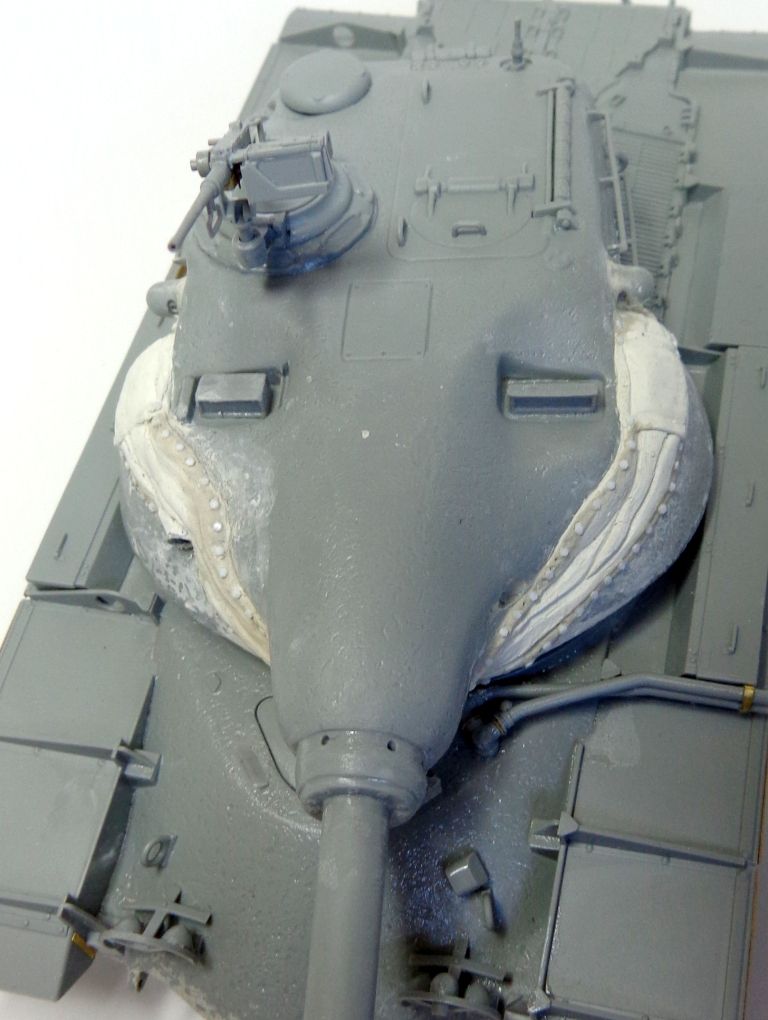
All in all, I'm pretty happy with how it turned out. Now I'll prime it and clean up whatever shows as a flaw, or smooth out the mantlet cover a bit more if necessary. I think that once the primer is on, I'll be able to get more of a sense of what the cover will actually look like---it's kinda hard to see with all the putty residue around. I make no claim to this being 100% accurate, and I can't tell you that it has the correct number of bolts securing the cover to the turret--all I know is that it looks the part much more so than the kit's original design and DS-plastic mantlet cover. I hope you agree. 
As always, comments, critique, and conversation welcomed! 