Hey guys, thanks to evrryone commenting and following along; I've been in New York for a few days so I didn't get a chance to respond, but it seems like all questions have been answered so far. 
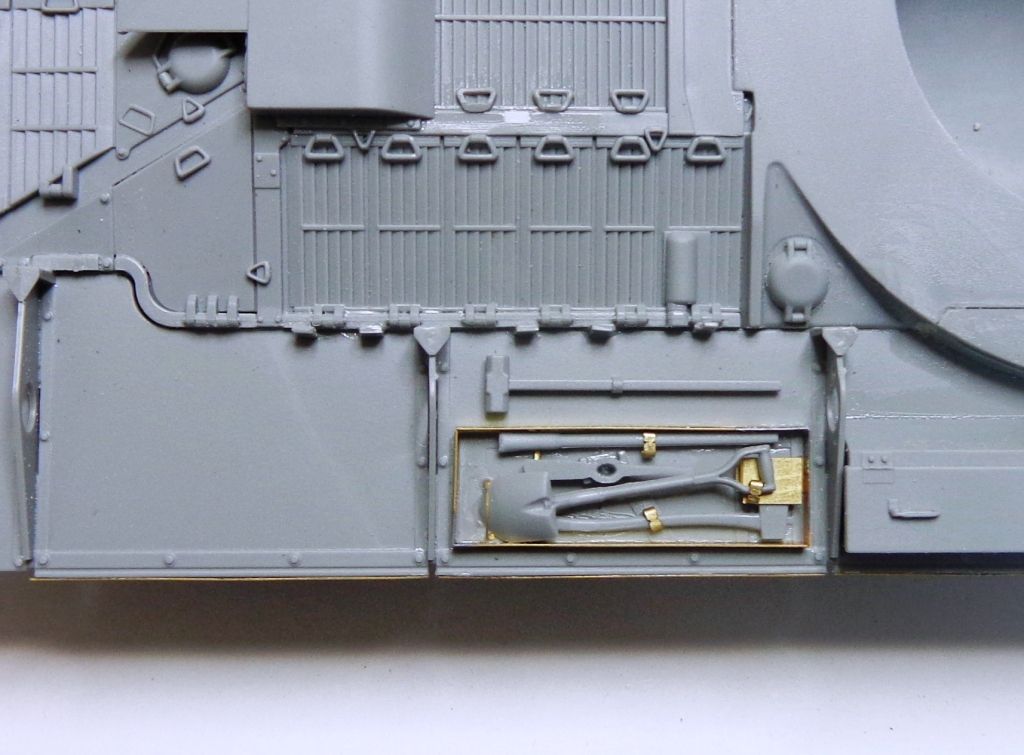
So....here's what that tool box loooks like when you're done with it. I soldered the two pieces that make the frame, but didn't bother soldering the clamps, as they can be just squeezed around the handles where indicated and glued.
Hoooo....kay... ...now for that turret issue...
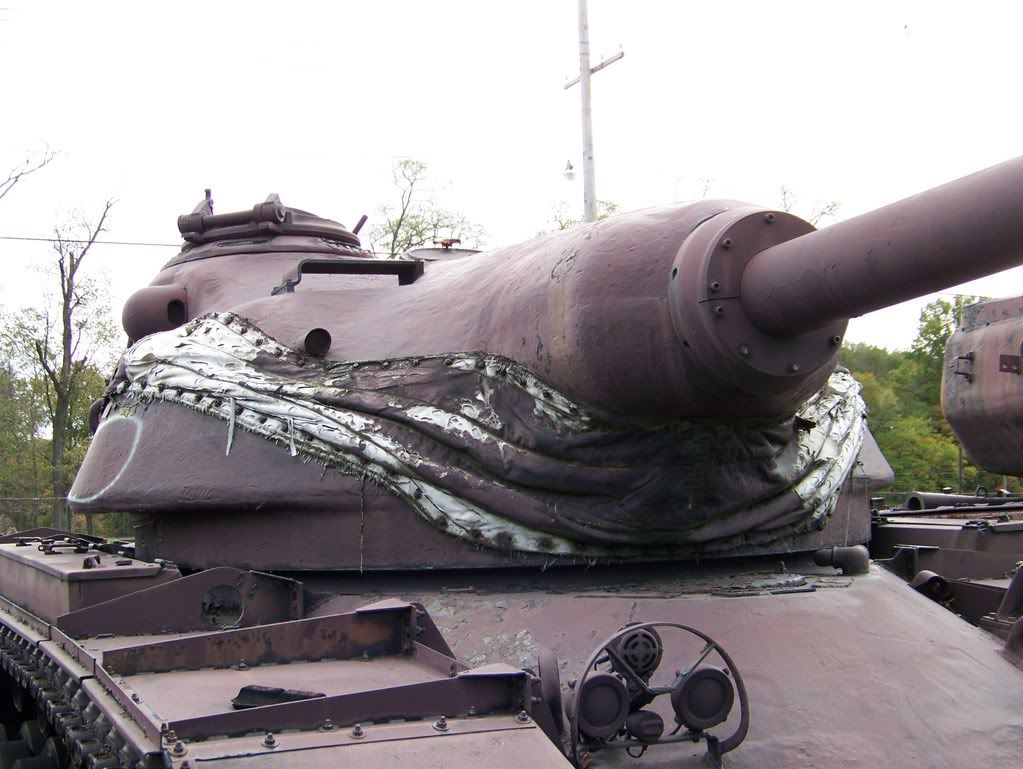
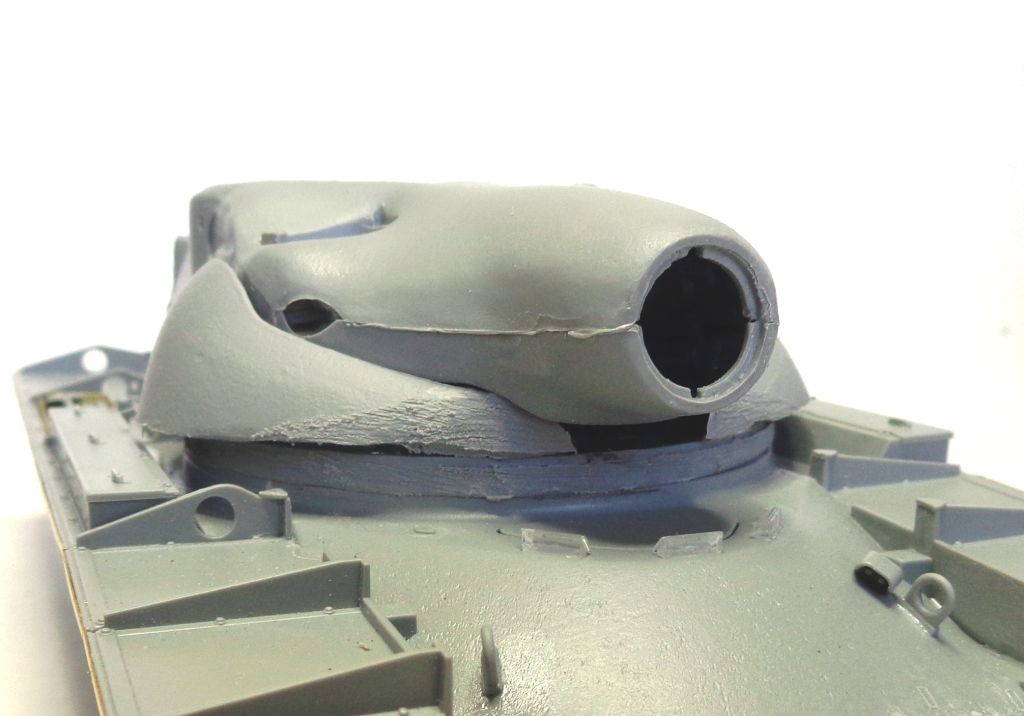
I'd like to credit "jcneel" from Armorama's site for this photo; I found it on a build he was doing on this model. This is an excellent photo of the turret problem area. Specifically, the undercut---or lack of it on the Dragon model...
Side by side, you can see what a flabby pancake is the Dragon version. Like...."Whaaa??"
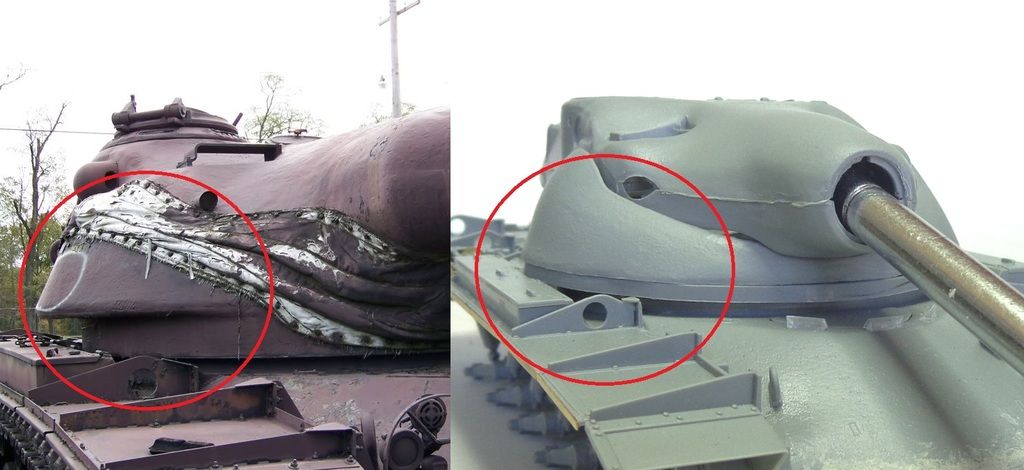
This is honestly pretty shocking, how bungled it is, if you ask me. (No need to post a litany of complaints; I've read them all elsewhere!) But it's not even close.
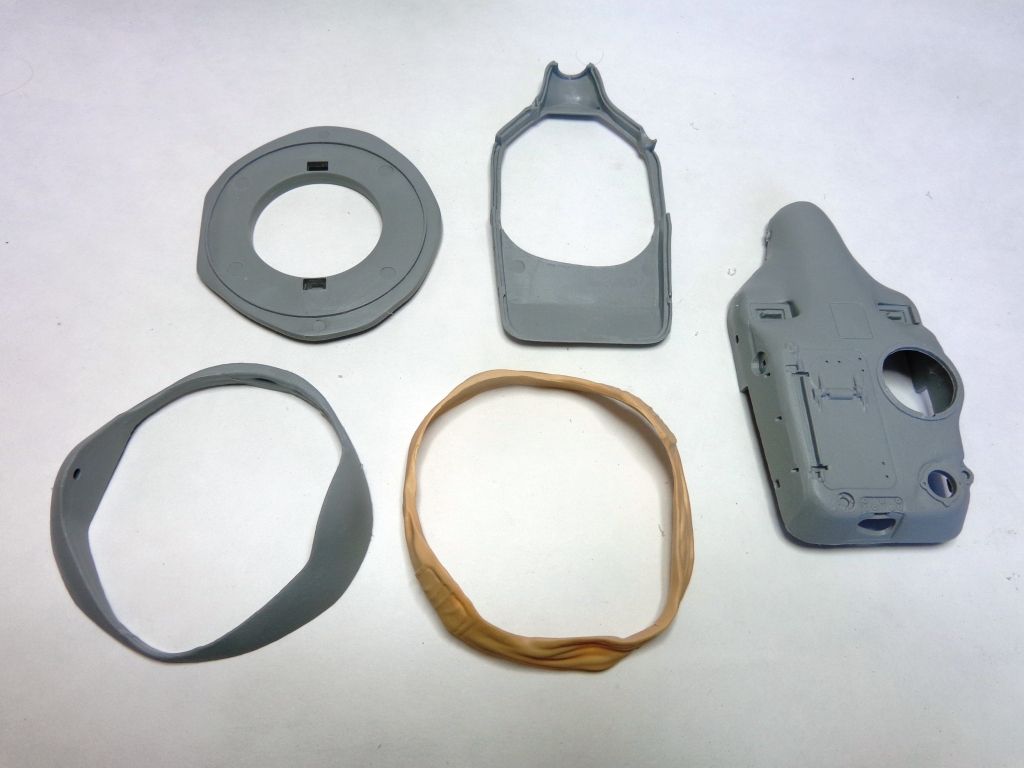
Here's the turret parts, including the "DS styrene" mantlet which I will not be using.
This is the turret bottom---the part that fits in the ring. As you can see, it most definitely impacts the boxes on the fender. Ugh...
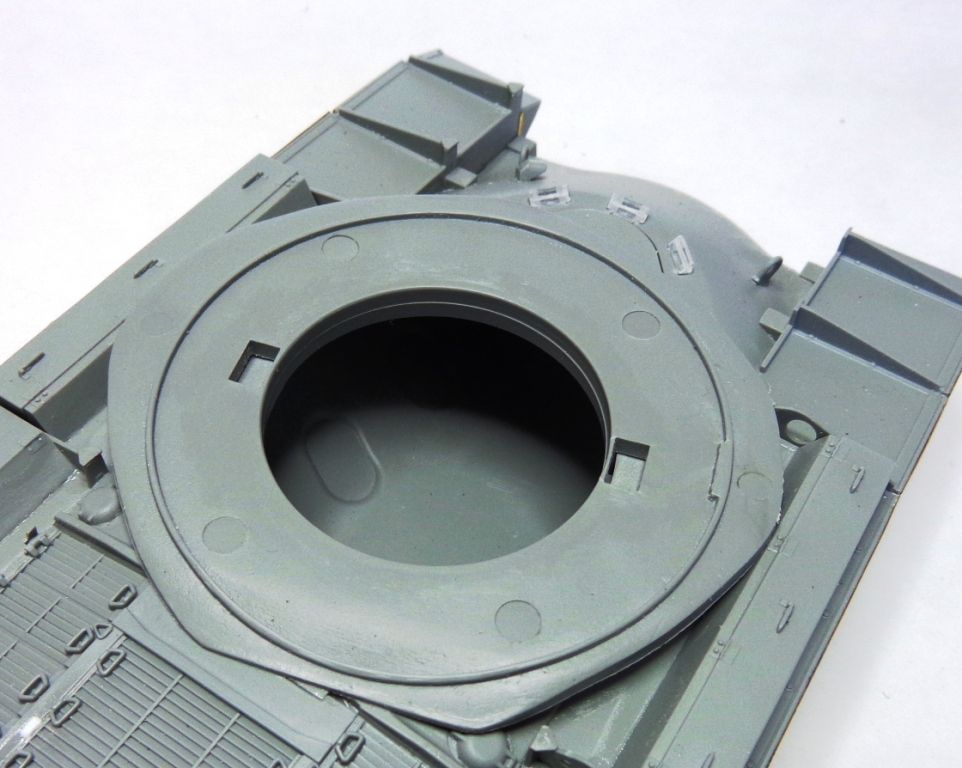
It also barely clears the rear deck. So here's how I tackled a correction for this. Hold onto your Exacto's; this ain't gonna be pretty. Time for some old-school modeling.
First of all, I curse myself for not remembering to take a photo of this before I glued the hull halves together, so I made a crude diagram. BEFORE you glue the top hull on, put a pencil through the driver's hatch and trace a circle around the bottom-turret part "B4". Take off the top pieces and spin it like you're rotating the turret to get a perfect circle on the bottom of the part.
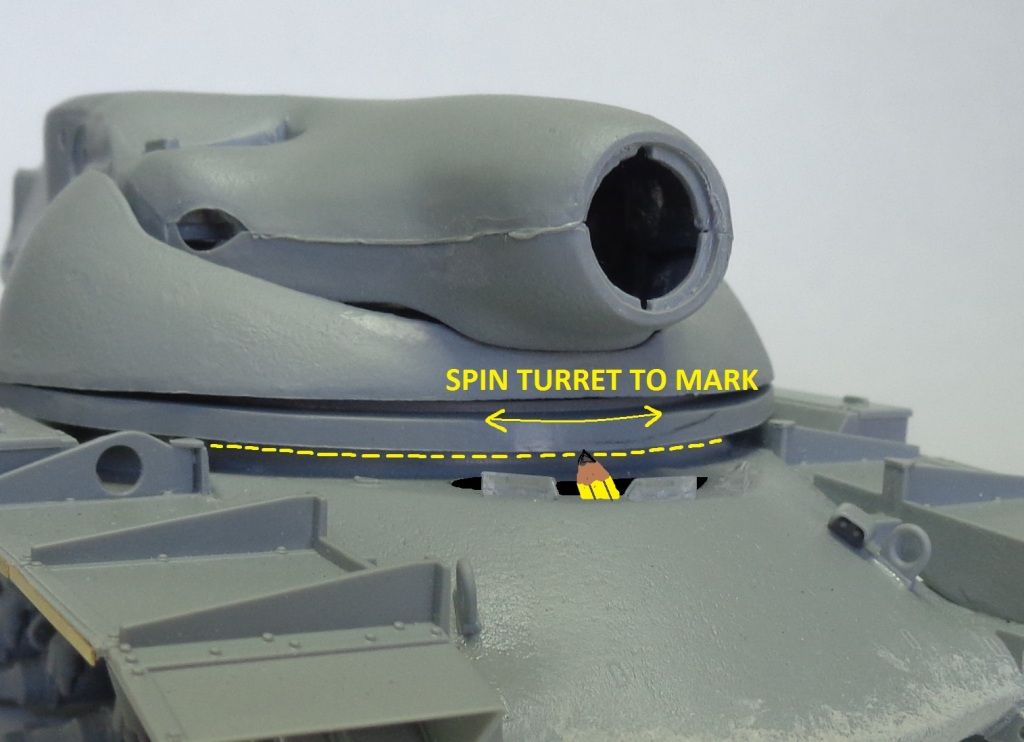
Next, trace or scribe the interior of where part B3 (misidentified in several step as "B4") rests on actual part B4. You'll need this to locate this part later..
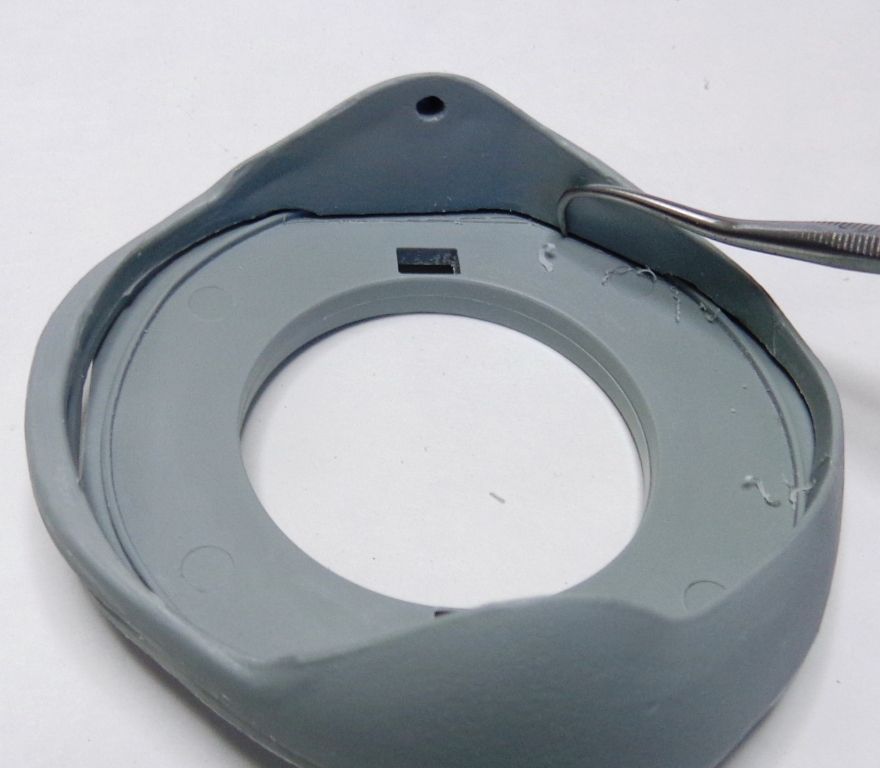
When you put the pencil line on B4, you'll get this---this circle matches the molded turret ring on the bottom hull.
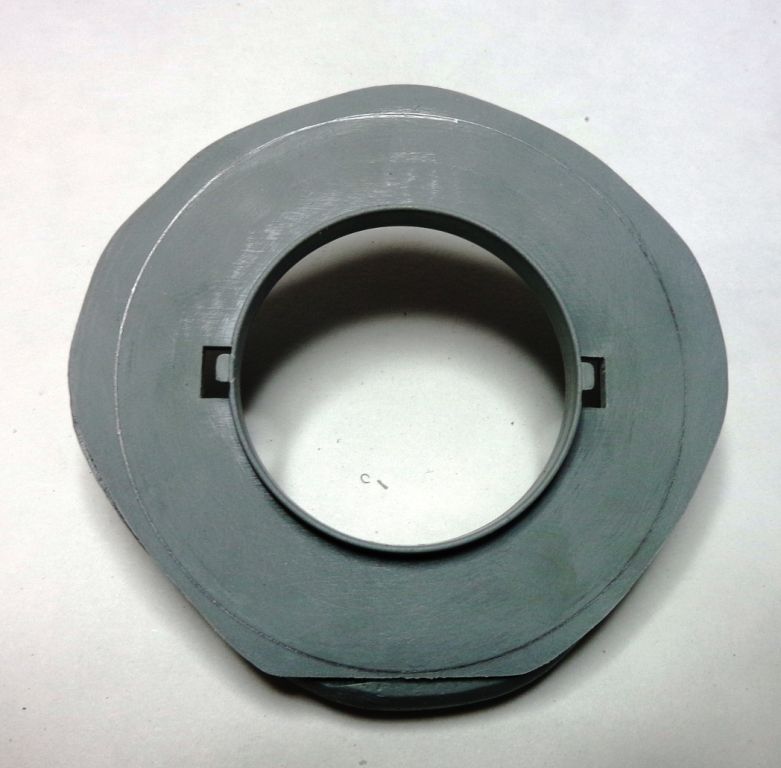
Now, I cut the excess plastic off outside of this pencil ring.
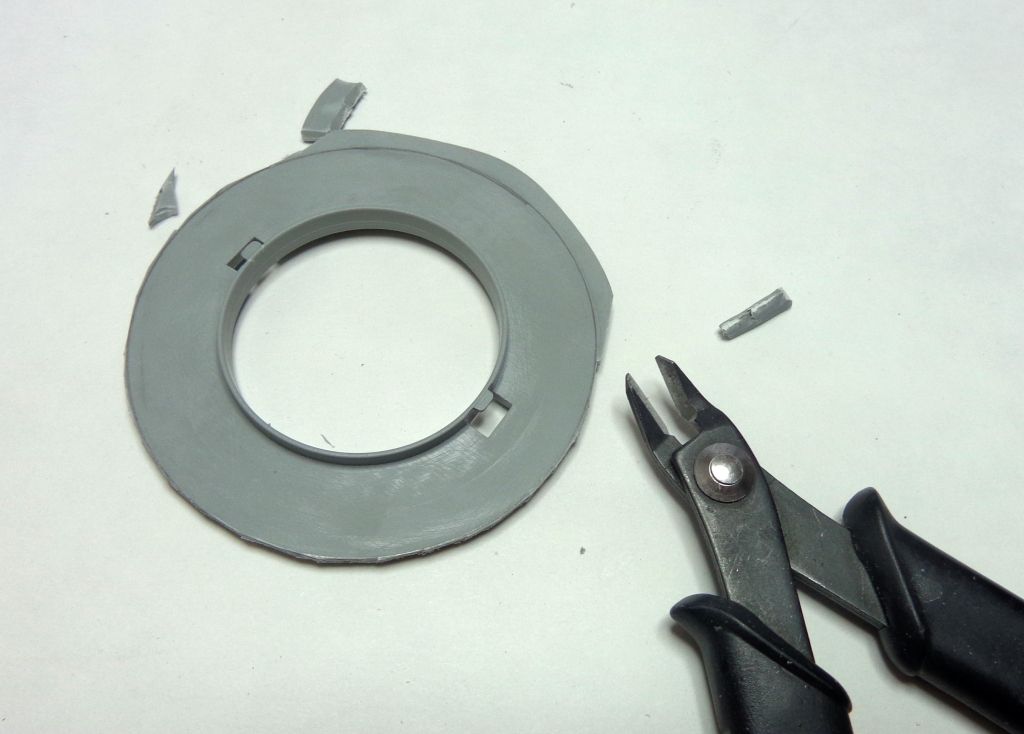
This solves part 1 of the problem..the huge turret ring. I'l refine this a bit in a few minutes to match the ring better.
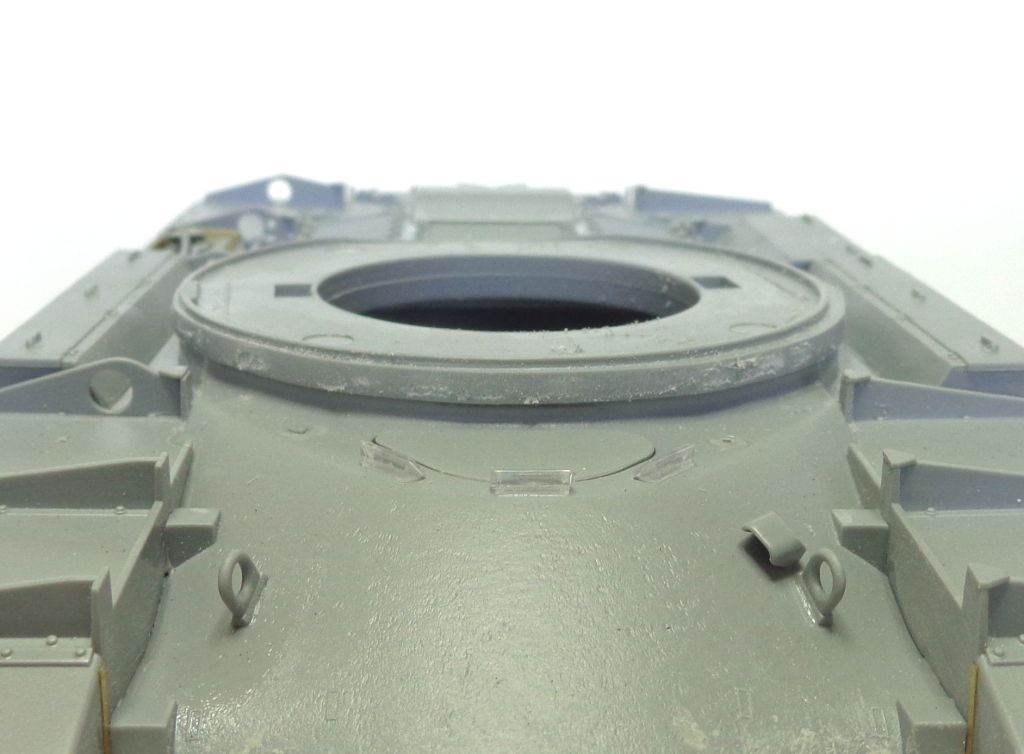
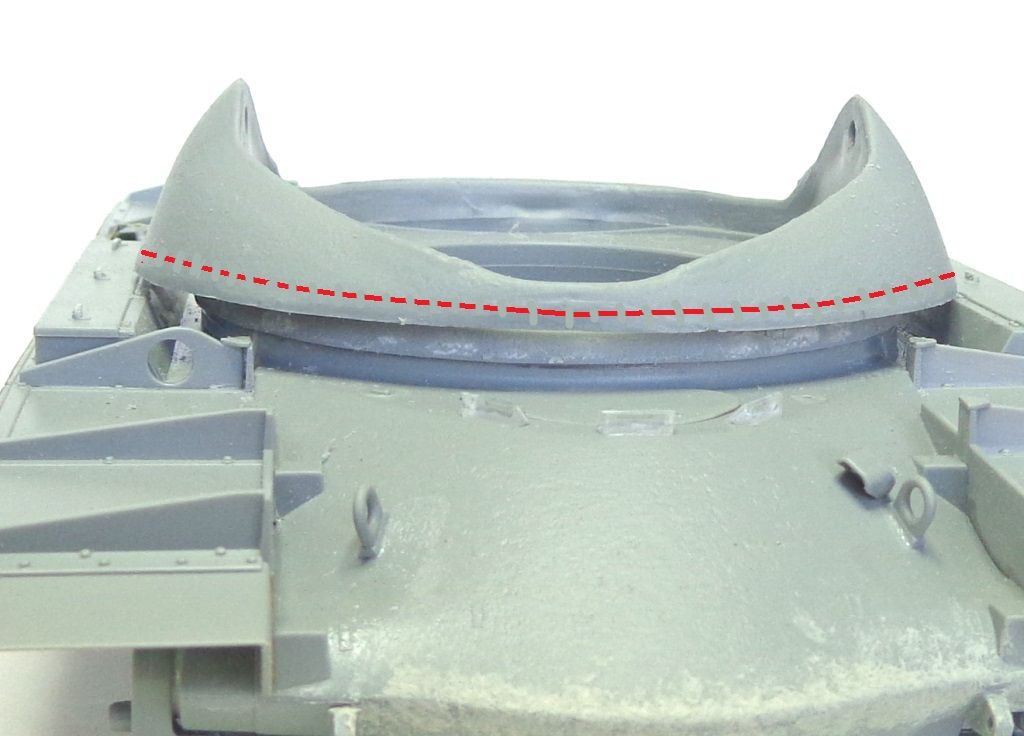
The Dremel is your best friend here...Here's how it sits, so far...I'm going to use the Dremel now to take off all of that flab beneath the red line here...this is "part 2" of the correction...
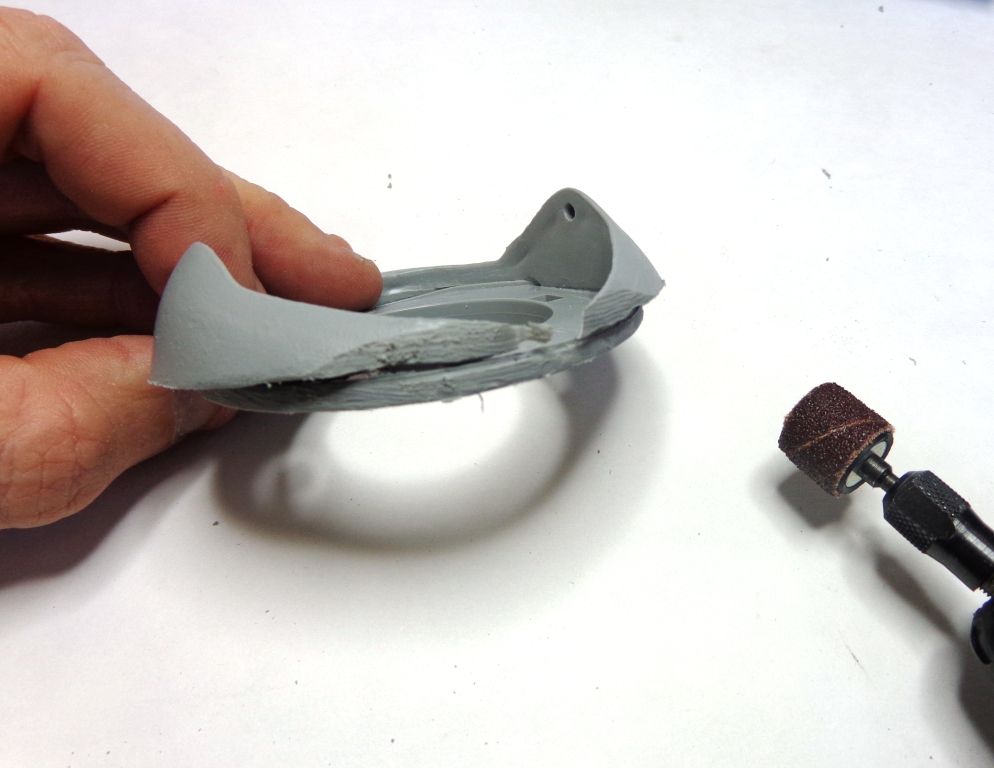
Using the Dremel with a sanding tip, I shaved it down, also contouring the front area to blend in the lines. This front looks pretty rough now--I blew right through the front wall--but this will all be hidden under the expansive mantlet cover.
Looking better as far as the overall contour and undercut....
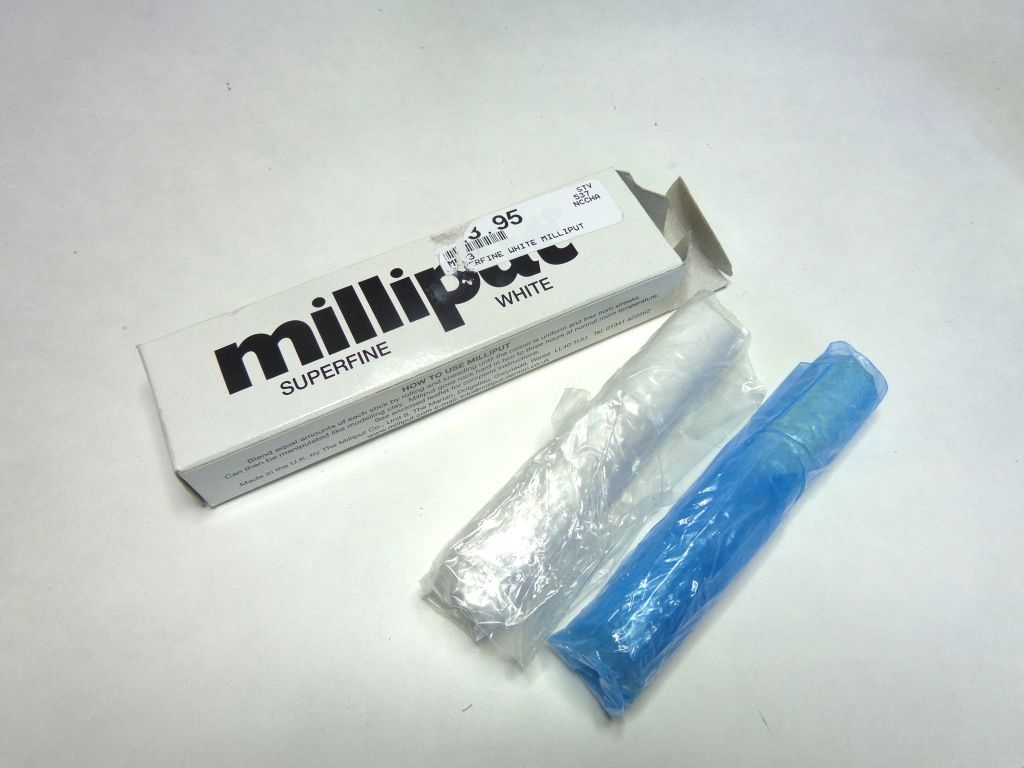
Now I need some Milliput, Fine grade..
After mixing the two parts, part B3 is semi-hollow, so I had to fill the gap in
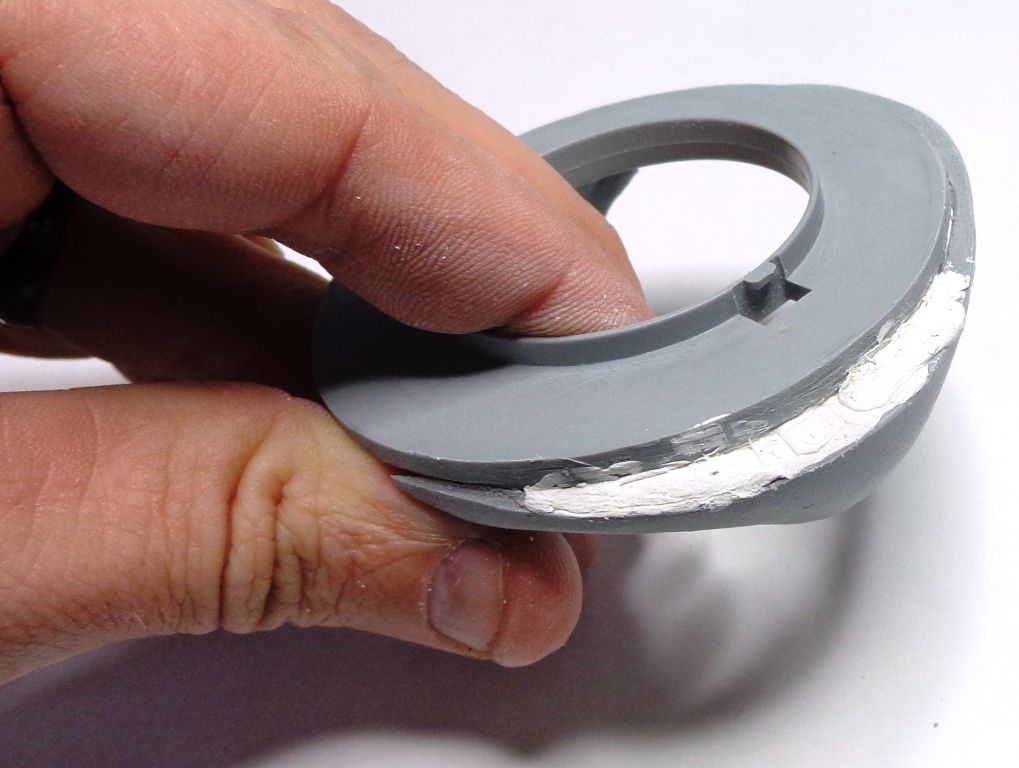
The Dremel-damage will leave gaps in front and in the back. I filled the back in from inside the turret.
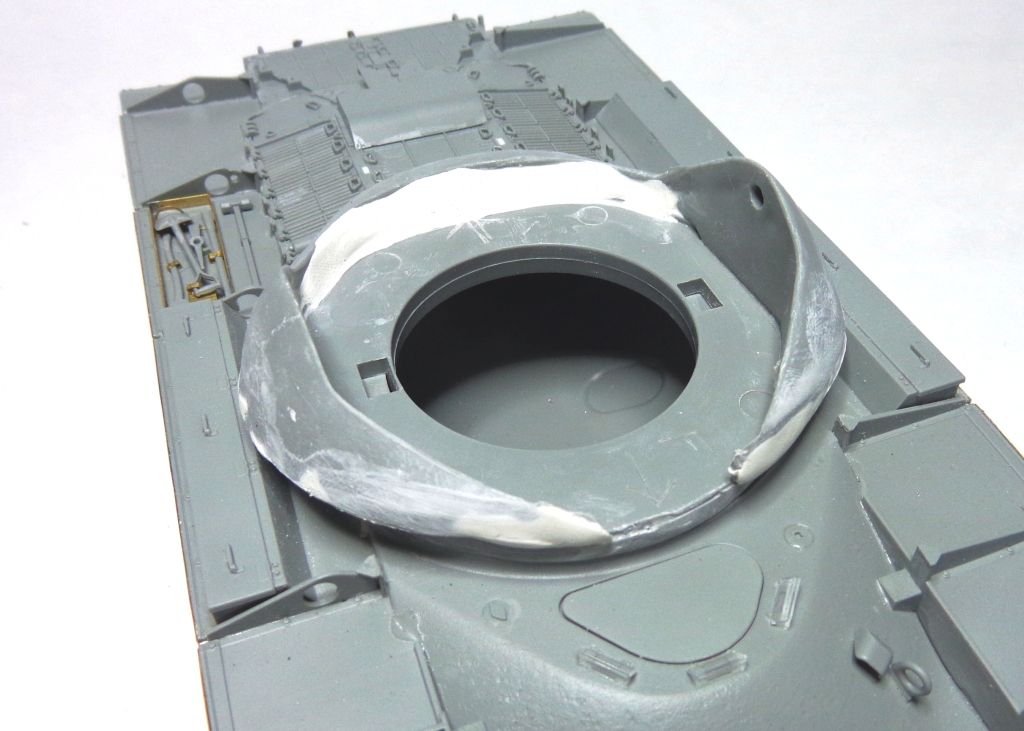
I shaped the underside to look like the real turret, and healed the front somewhat..
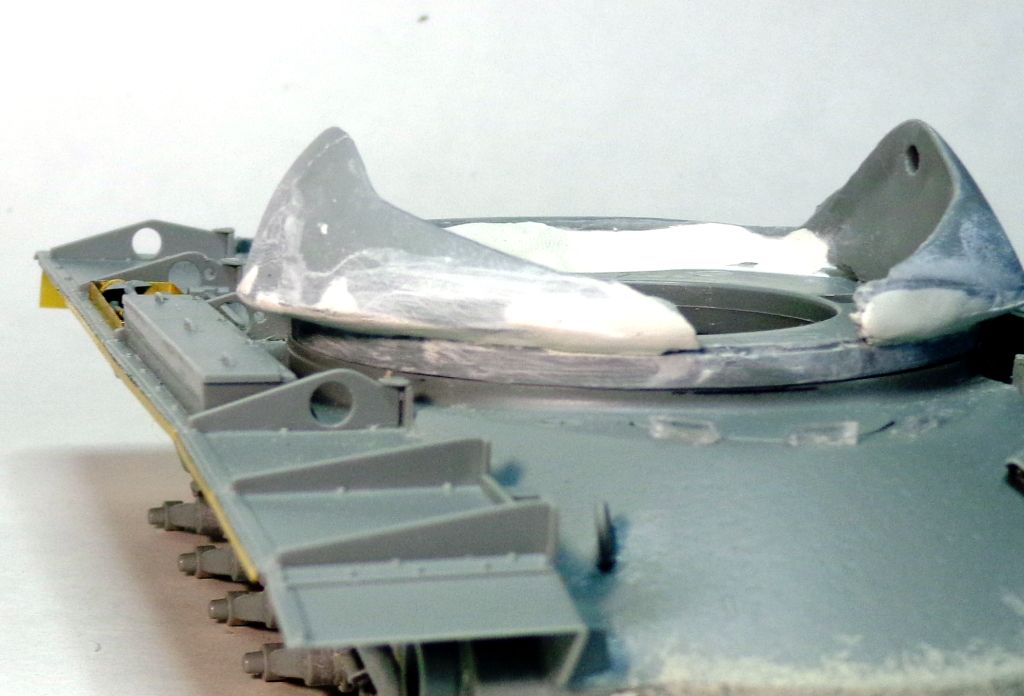
The front of the part with the putty...Milliput can be shaped very nicely with water, so I smoothed under the "undercut" and shaped it with some water. This will also be sandable when dried. It may need some touch up, or re-puttying in small some small measure.
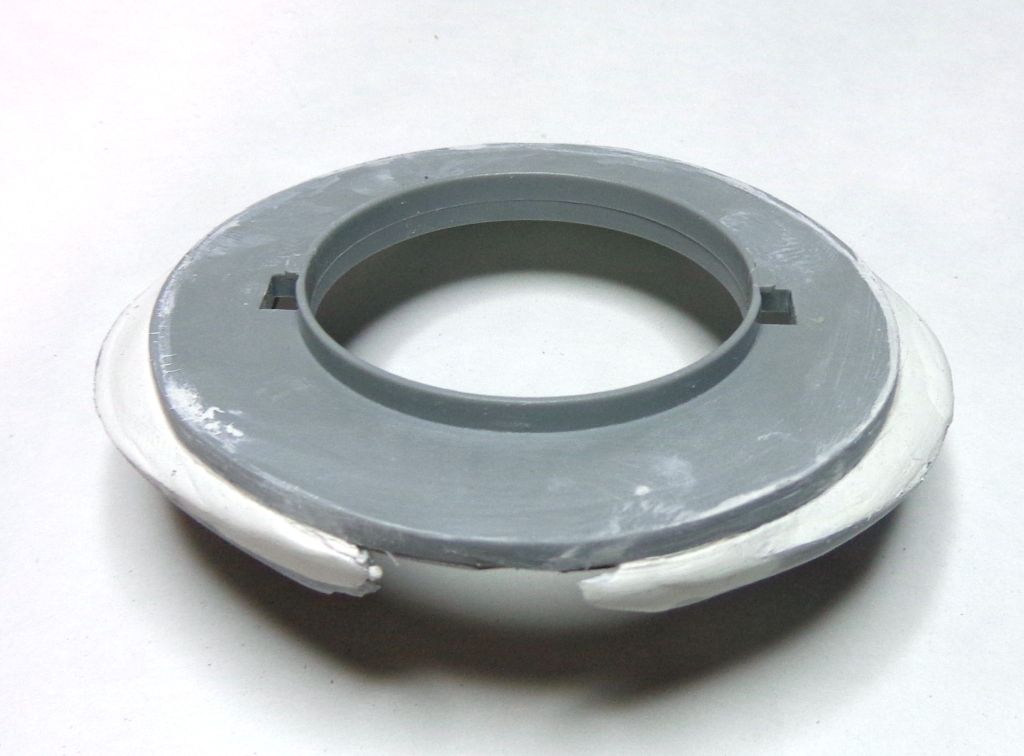
Rear contour.....this too will be obscured by the mantlet cover, whcih circles the entire turret.
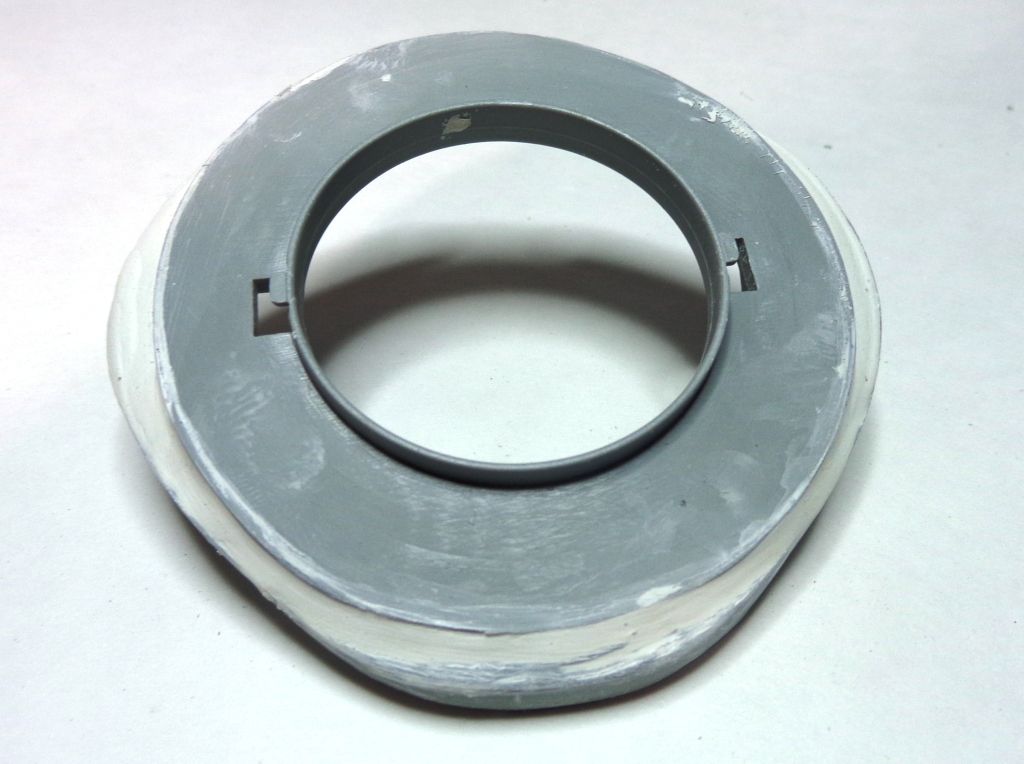
I'm pretty happy with what it looks like at this point. Is it perfect? Dimensionally correct? I dunno---but it looks a hell of a lot better than that flabby pancake that comes in the kit. Remember, the gap under the gun will be completely hidden by the mantlet cover.
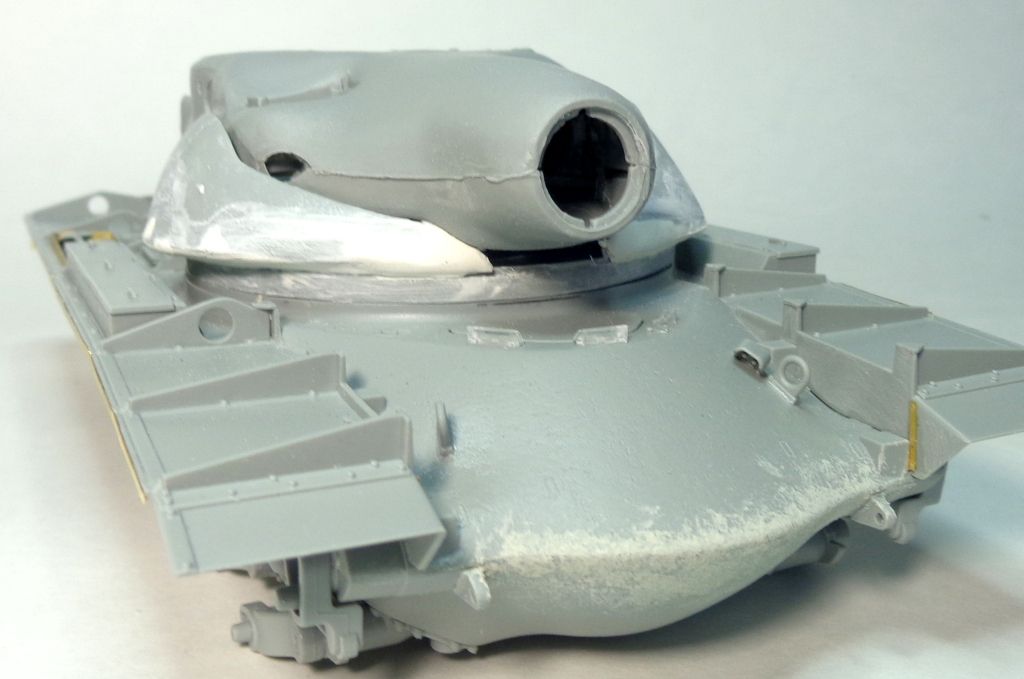
A comparison with jcneel's turret photo.
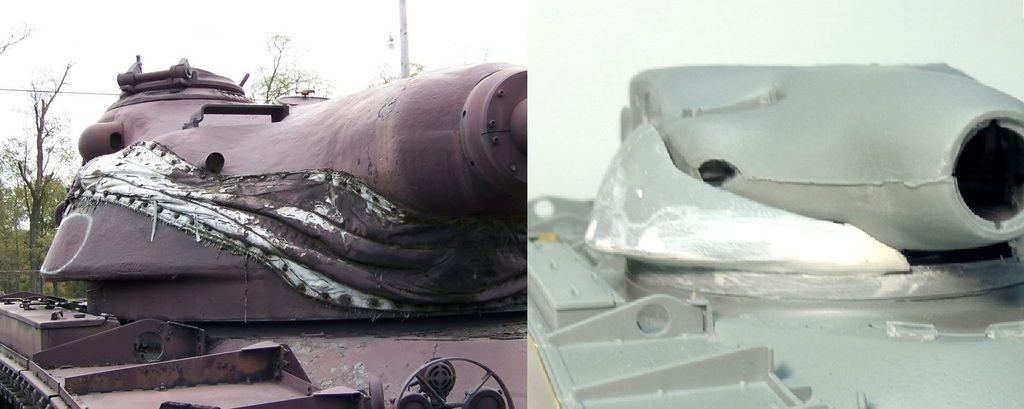
I'm pretty confident that this is going to work just fine. It's a bit of a PITA correction, and the mantlet cover is going to take a bit of artistry, but I think it's going to make this a viable representation of this cool, unique tank. The mantlet cover will be made of Milliput as well, when I get there...
Thanks for looking in guys! Questions and comments always welcomed! 