OK, 2nd post. Things are getting ... interesting.. 
By the way, if you can't see some of these photos in their entirety, some of them are shaped longer than others due to my editing; you should be able to see them if you click on them.
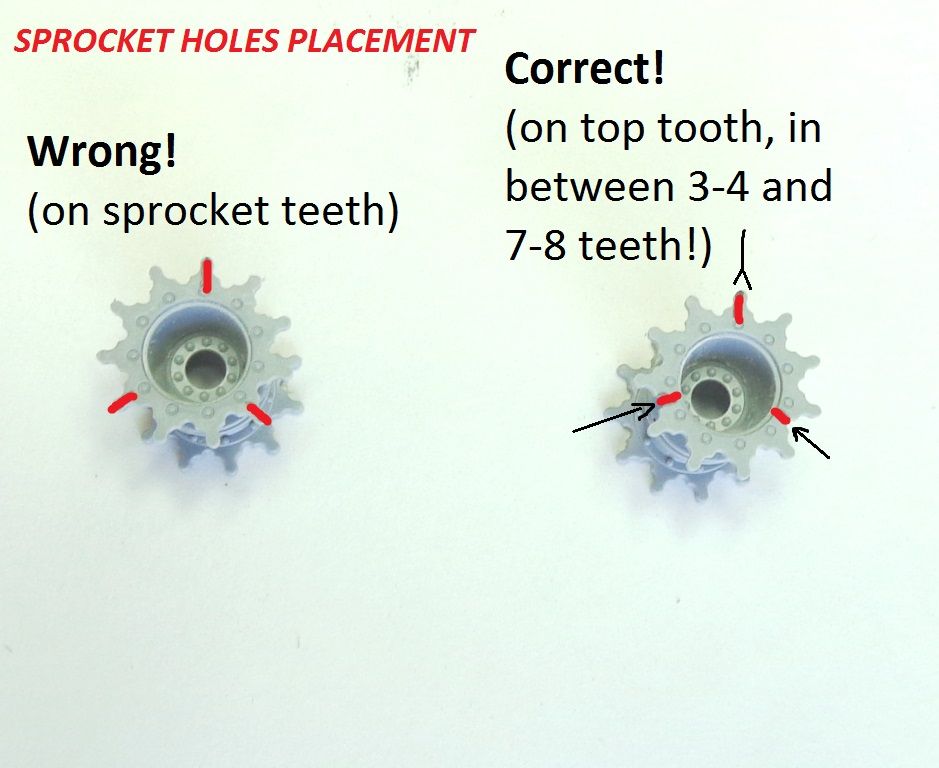
First up: the sprockets. Be careful when positioning the holes at 12, 4, and 8 o'clock. If you simply visually locate them, you could wind up thinking that the 4 and 8 go over the sprocket teeth, but they don't---you must go in between the teeth for 4 and 8. See the photo below.
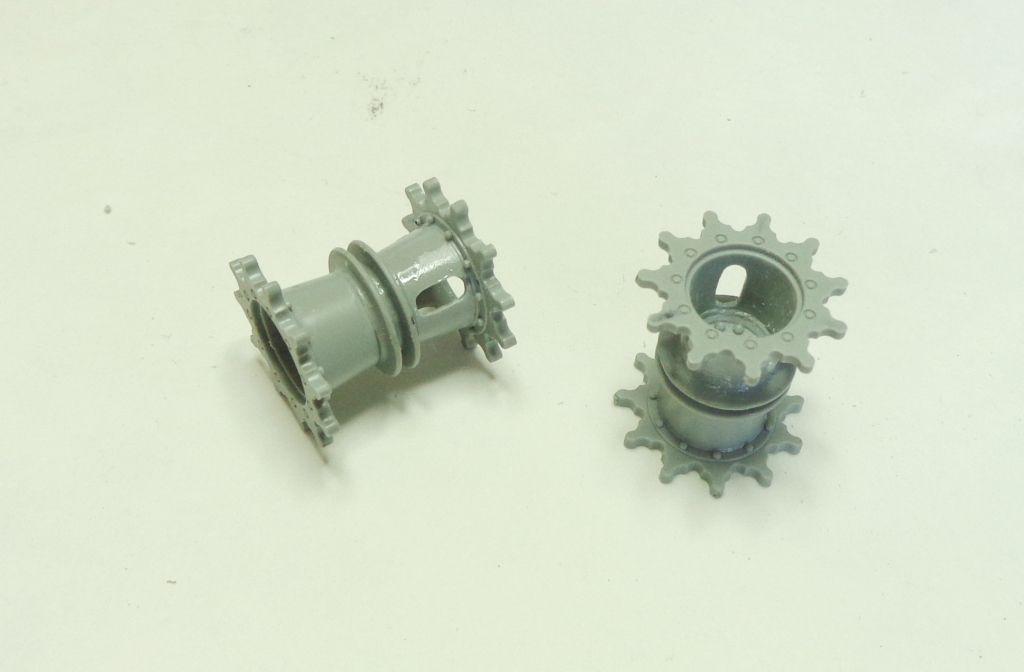
I used a series of drill bits to first locate the holes and then to bore them out with larger bits. Use a good ol' #11 to finish cleaning and shaping the holes.
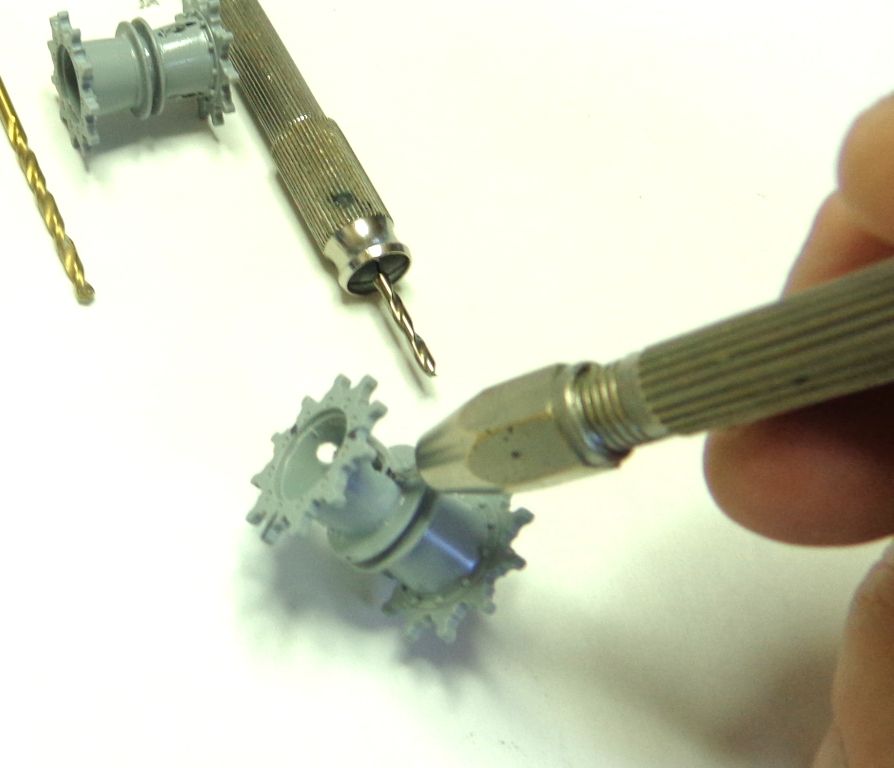
Make sure you only do the outsides!
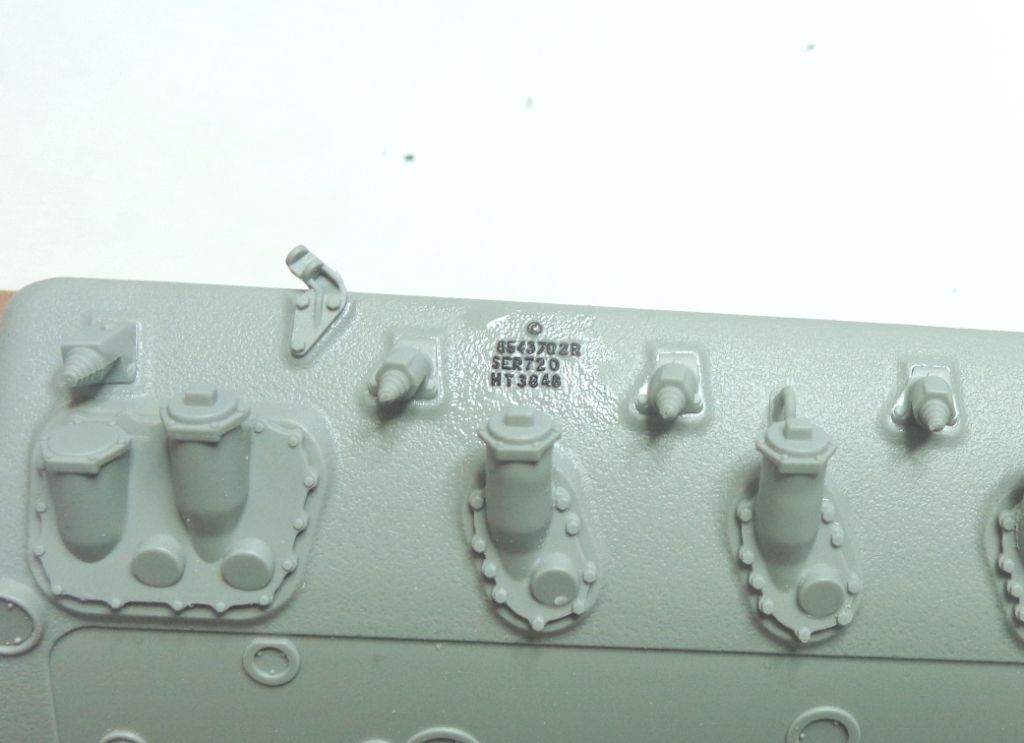
So, things were going so uncharacteristically well that I decided to make some extra work for myself... here, on the bottom hull, these are NOT old manufacturer's marks, like "Revell 1985". lol. These are casting numbers and they're supposed to be there! As a measure of how much I've forgotten about how "plush" today's models can be at times, I saw these and, not paying attention, removed them because I thought they were like license numbers put on there to copyright their molds, liike in the old days. I would up having to replace them with some Archer raised decals!

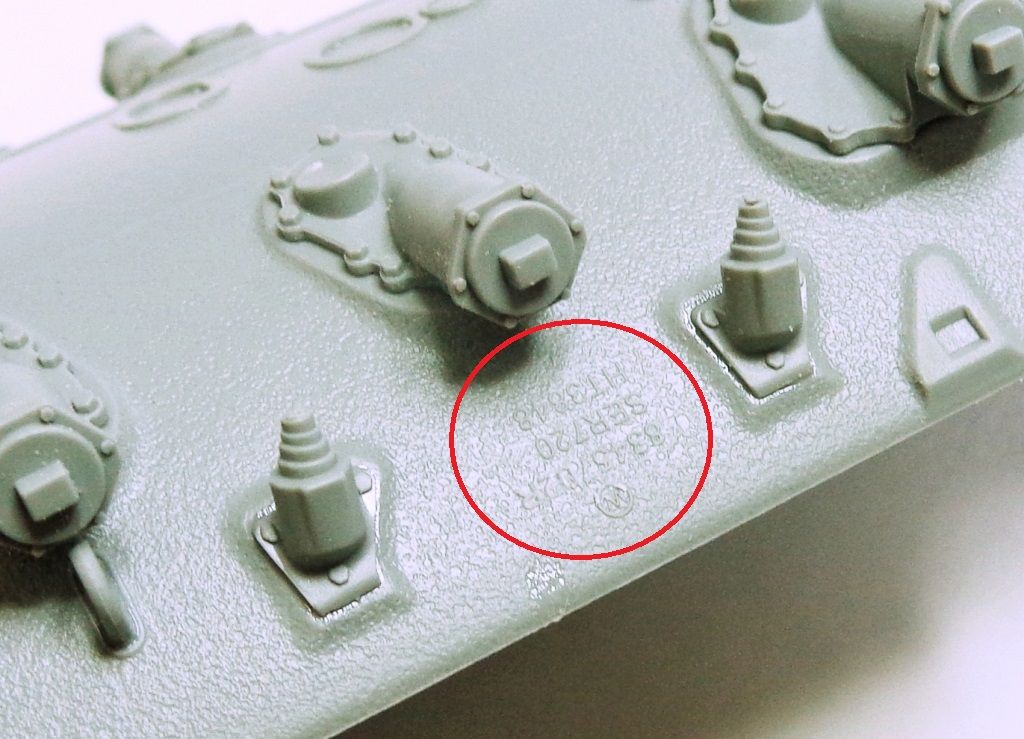
Replaced...
I took the opportunity to tackle the gun barrel, as it will need some time to harden. FOr those of you who can't stand using glued barrels and use metal ones instead, here's how to save yourself some money. 
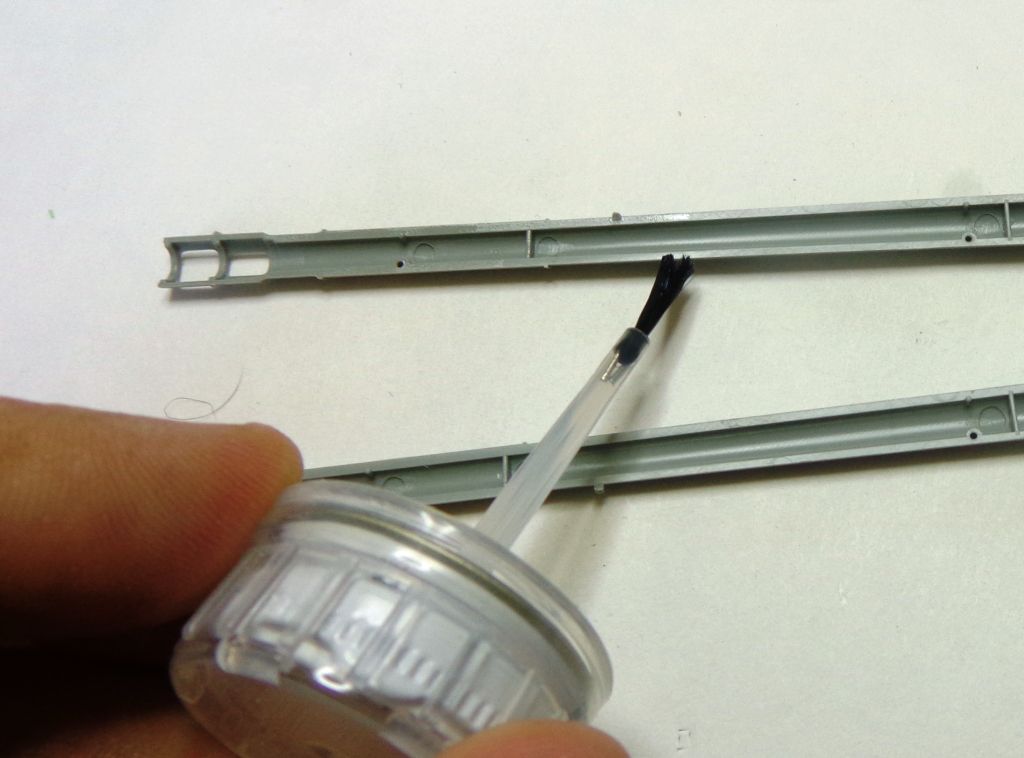
I soften up the plastic using Testor's liquid cement. I like this glue for its low "bite" and working time. I use the lid-brush to put a coat of glue around the mating surfaces of BOTH sides of the gun barrel, twice around.
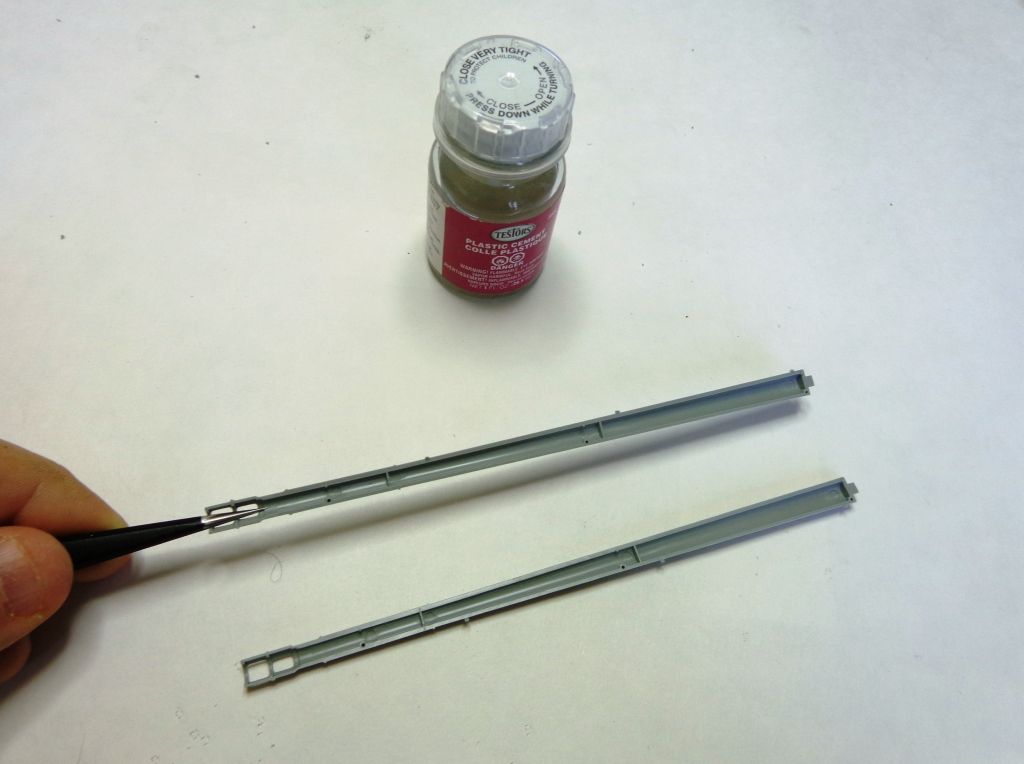

This nicely softens the plastic...
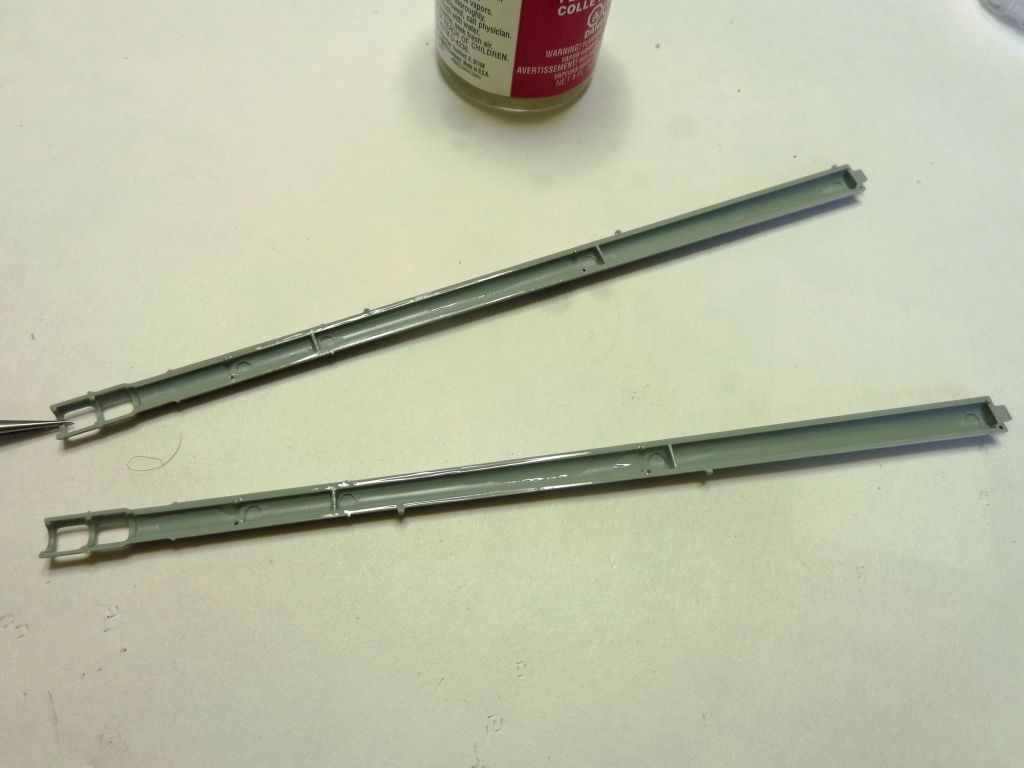
Now join the barrel halves at the bottom, and add glue as you progressively join it upward...
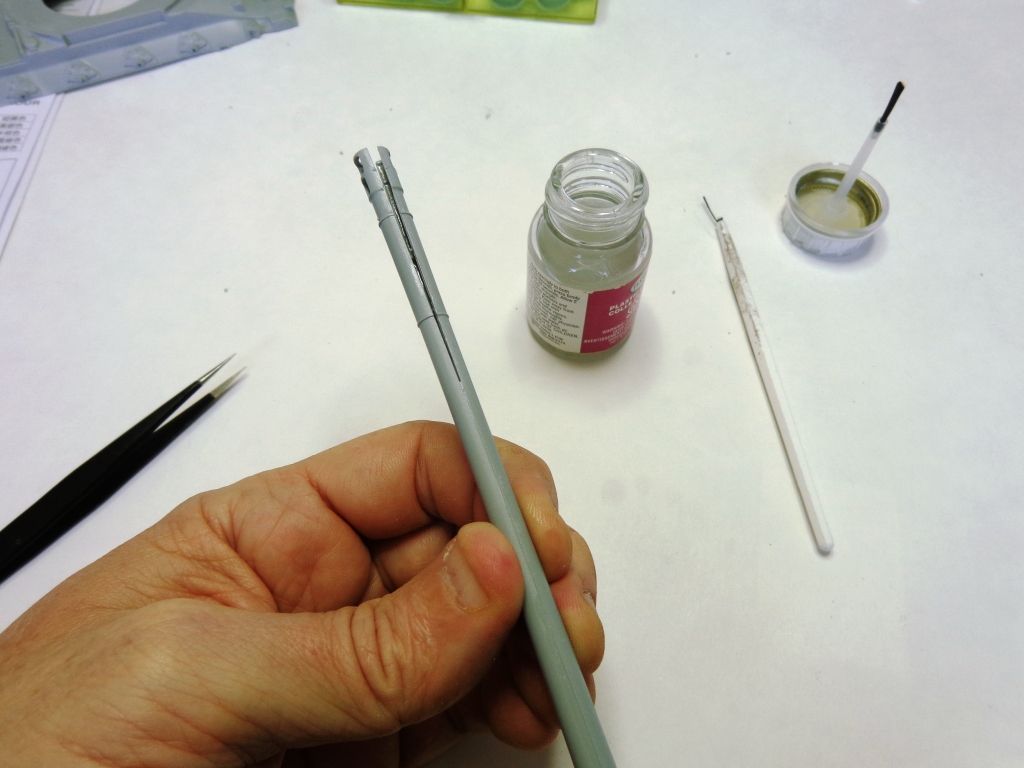
Next, squeeze that sucker like yo' mama....  See how the bead pops up? That's what you want...
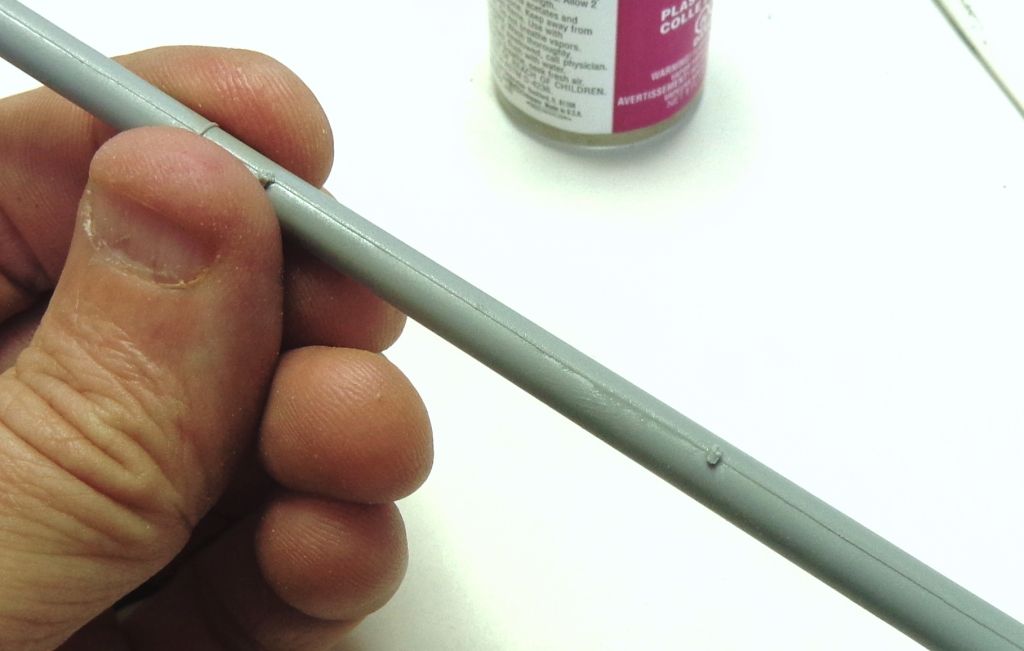
Put a little putty on the muzzle end to hide any seam end...
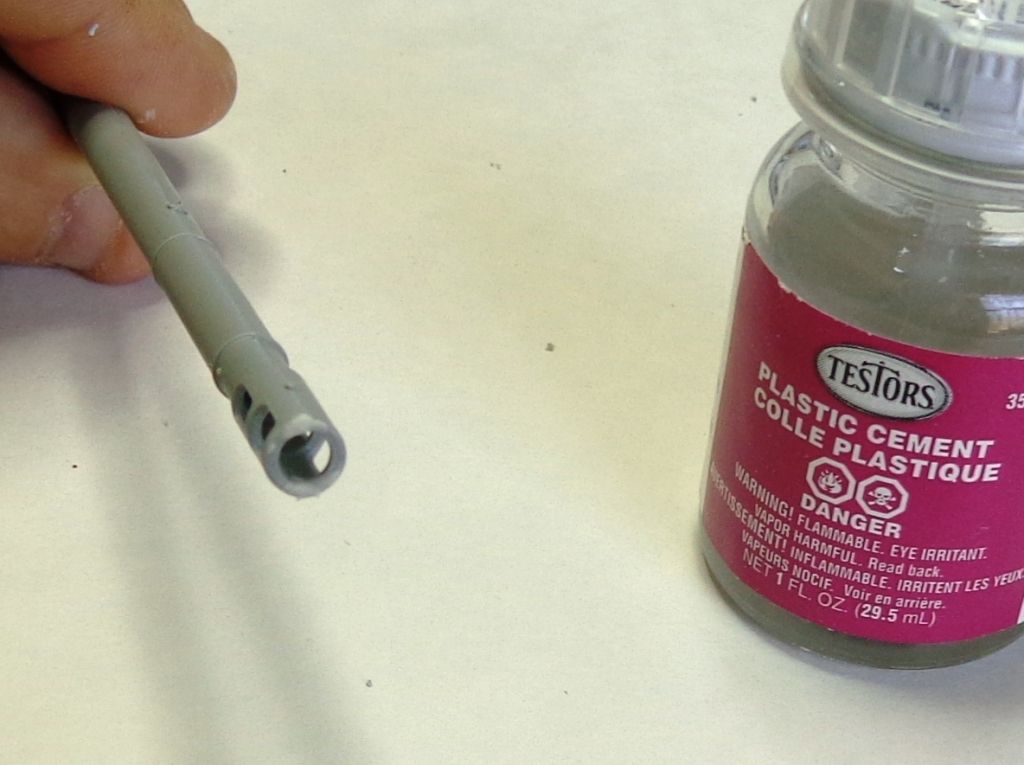
Now just set that aside for 12 hours overnight and in the morning you'll be able to sand it pretty flush.  I'll show you what I do with that later.
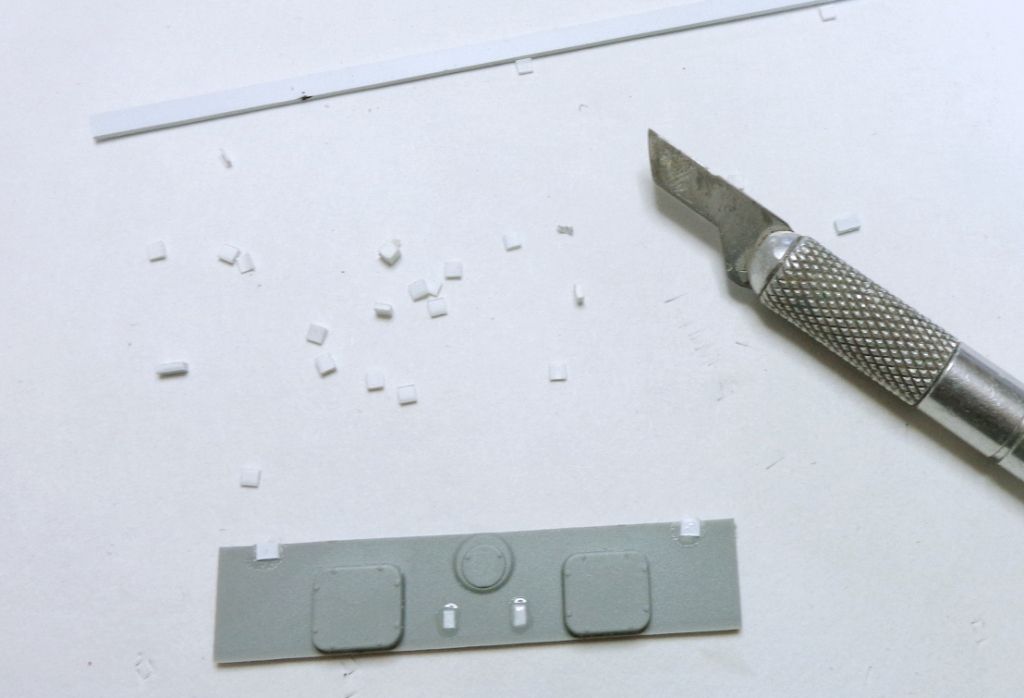
OK, there are some holes to be filled on the rear panel; I just use little shape cut from styrene strip to fill them. Much easier than using putty in a case like this.
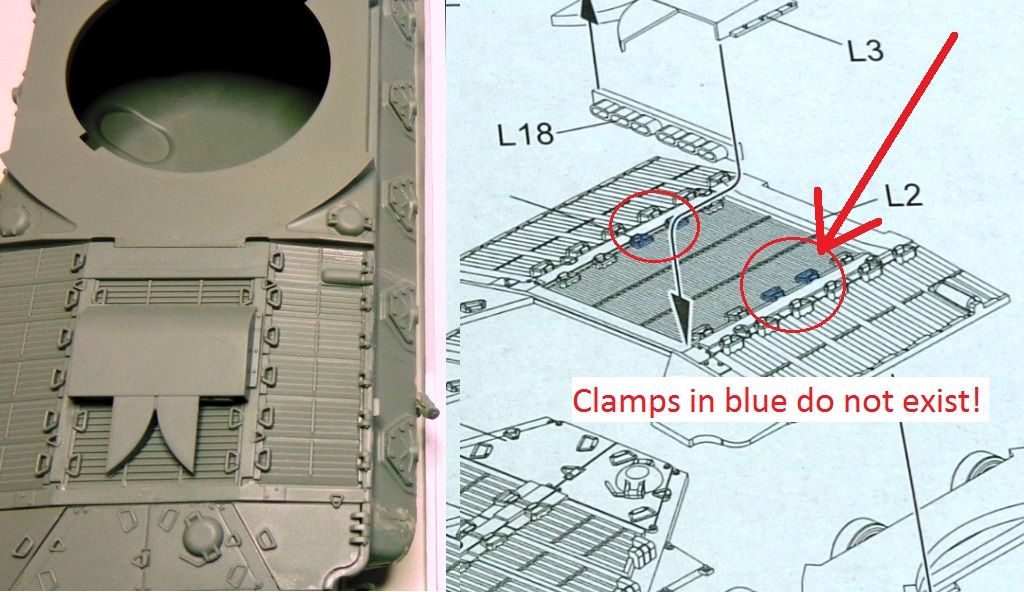
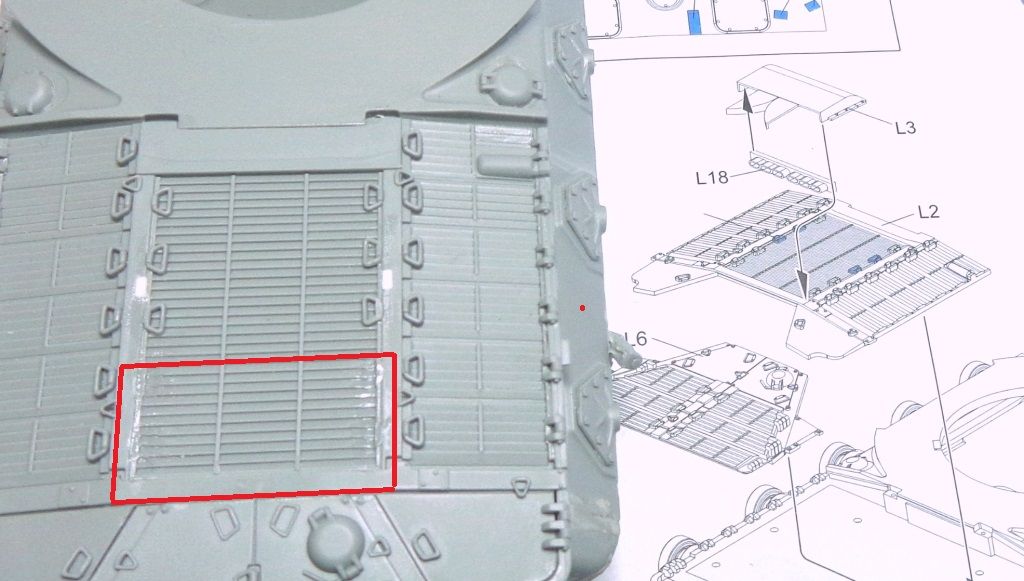
Here's something that is going to require some Olde School Modeling; I can already hear the doogs barking about this one...the rear engine deck has a bit of a problem...you have to glue on this exhaust cover with the deflectors, but not where it actually fits!
In the photo below, notice the handles on the rear deck. In the illustration, the "blue" handles are not actually there at all! I initially thought that the cover rested in that area, but no---it's supposed to go OVER the handles that are molded on near the rear. Oh...bother...
![]()
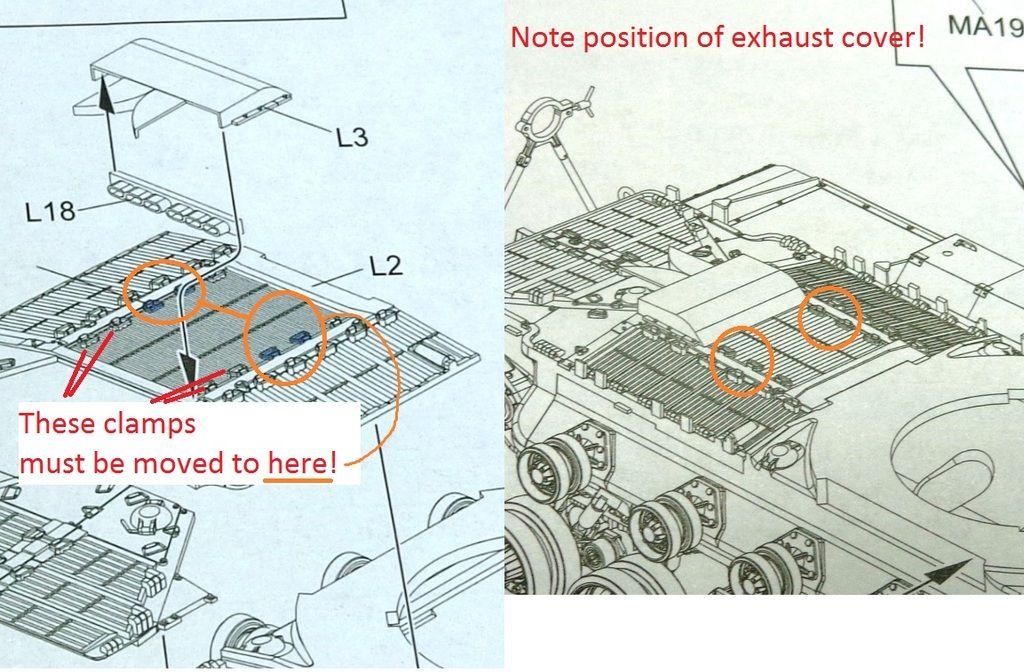
Sure enough--in a later step it shows the correct position of the exhaust cover..so you have to remove four clamps molded onto a spaced louver panel and place them where the missing ones are. WHAT FUN!! 
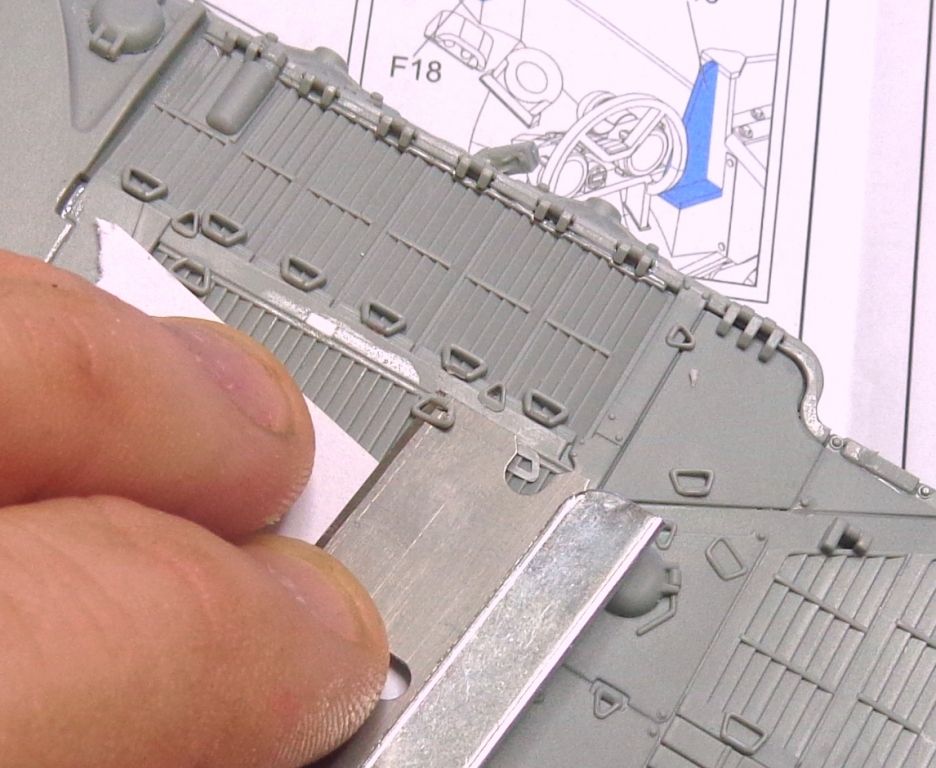
Using a straight razor blade, I carefully cleaved the clamps off. I used a scrap of index card to protect against nicks to other parts.
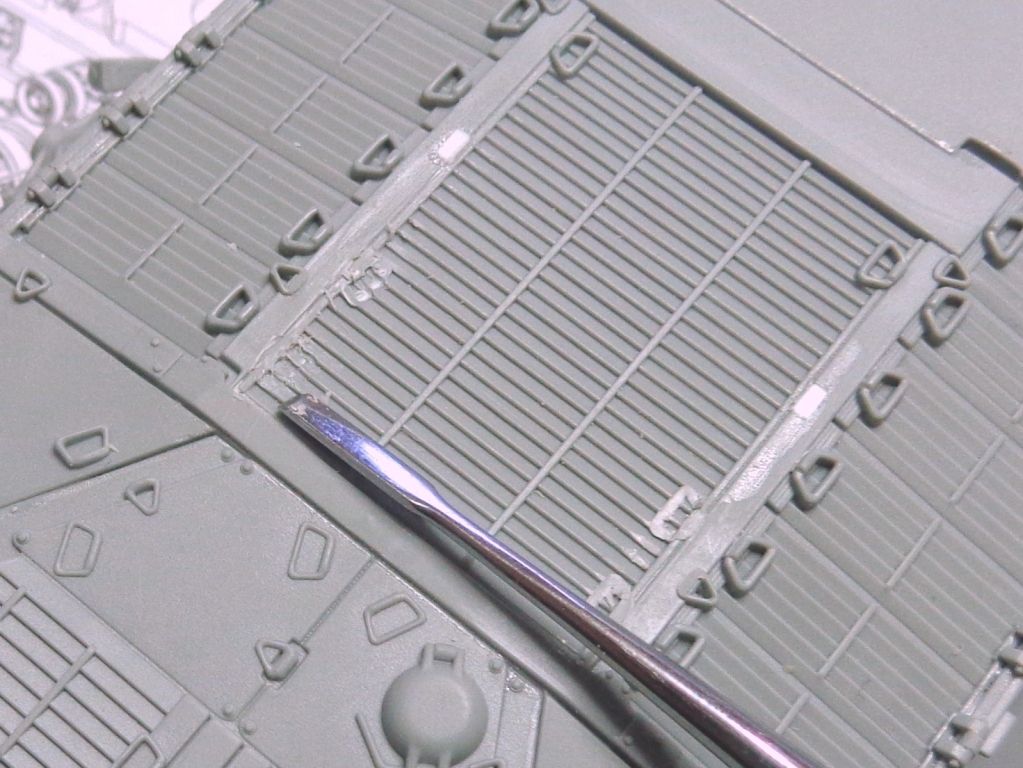
Now you have to clean up the louvers. This MicroMark mini-chisel is your huckleberry.. most of this will be hidden, but it pays to go the extra mile, lest IMPS judges with dental mirrors and mini-Maglights dismiss your model out-of-hand....
The finished deck showing the position of the cover to be glued next...
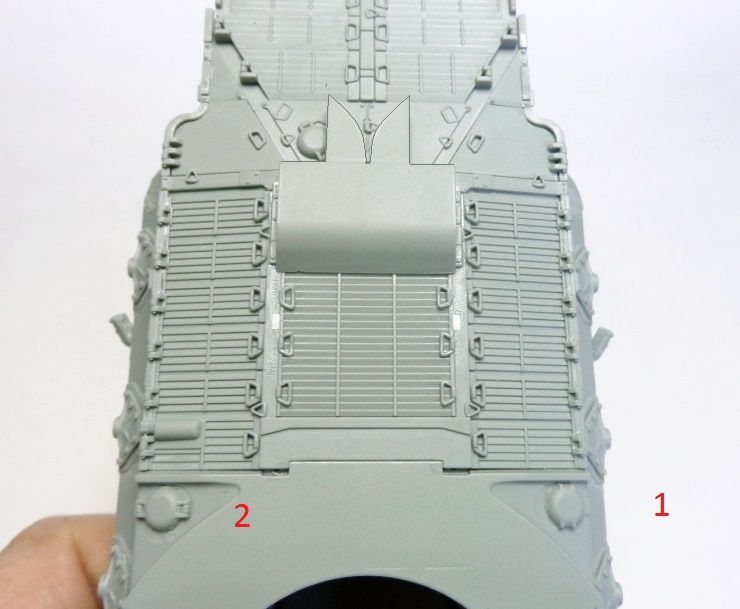
And.....voila'! The exhaust cover finally in place! All grab handles scavenged! Also, notice the two different directions of the gas caps (?). I checked this as well as I could; the directions definitely intend this mismatched directions. Weird, thinks I....
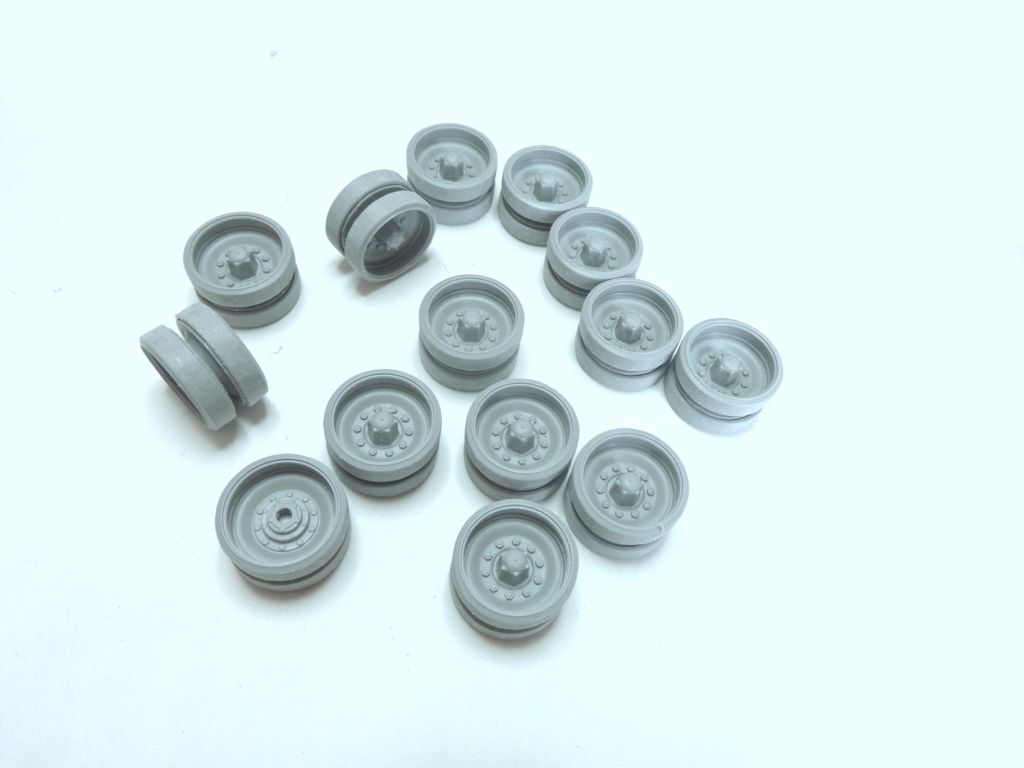
Oh yeah, the wheels are assembled too...
So that's it for tonight.. Still got some suspension component and arms to add, and then we'll be getting to that darned turret... 
Thanks for looking in, guys!