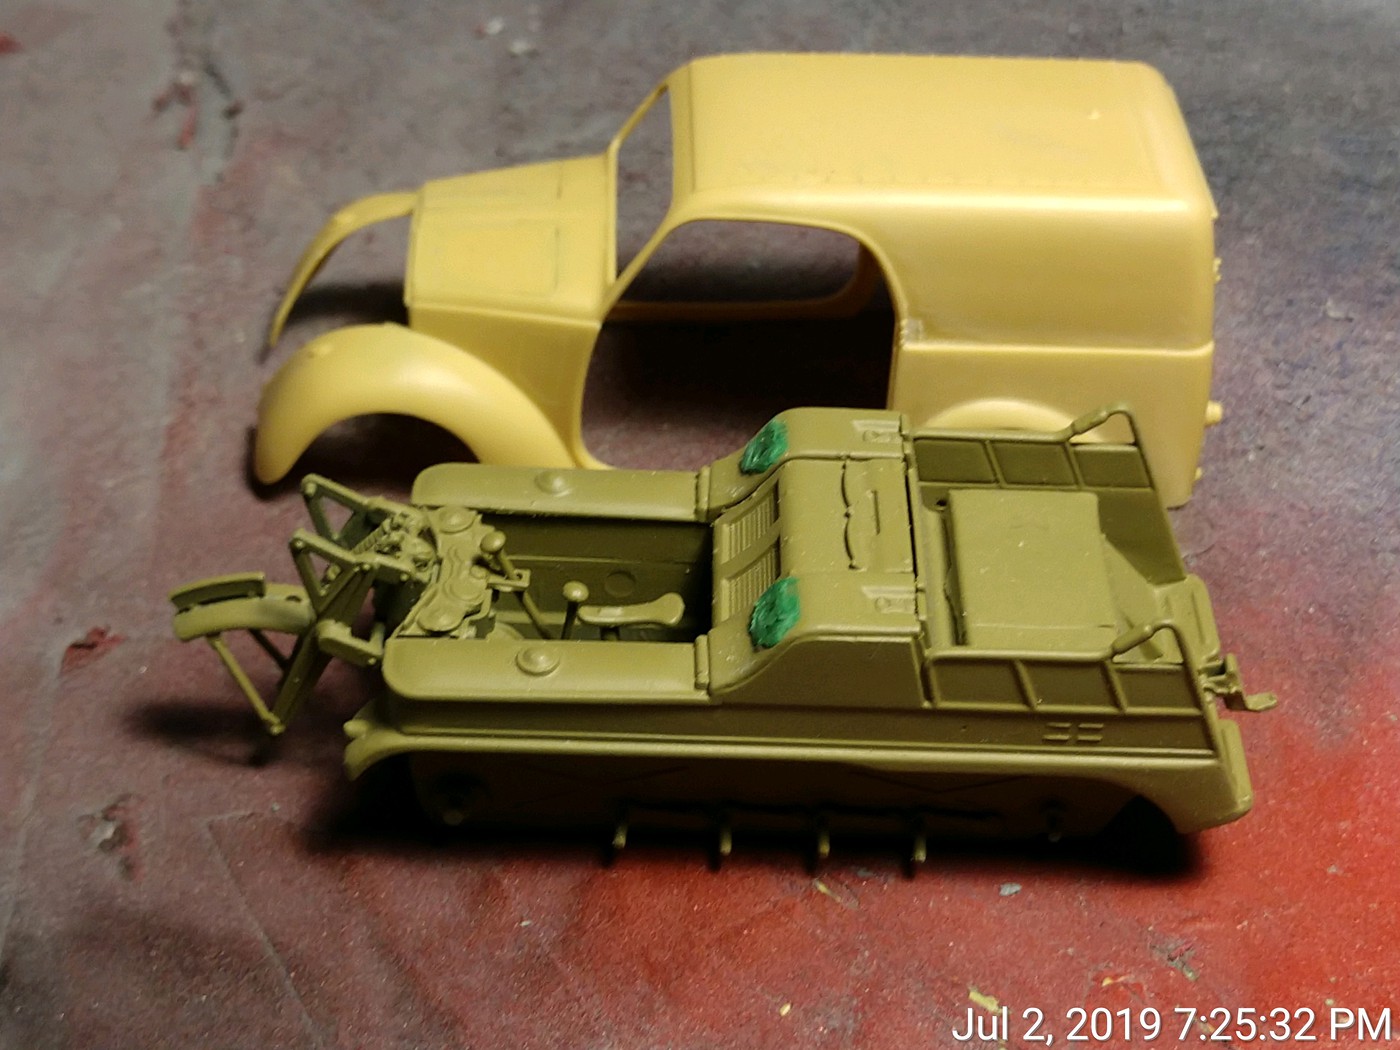
Part 2
I got the bonnet vents glued in. They can be displayed in the open or closed position. However, there is no way to mount them! They have no pins nor is there a lip to provide a gluable surface. I guess you could do a friction fit with tube glue, but that's just a recipe for disaster. Strip styrene to the rescue!
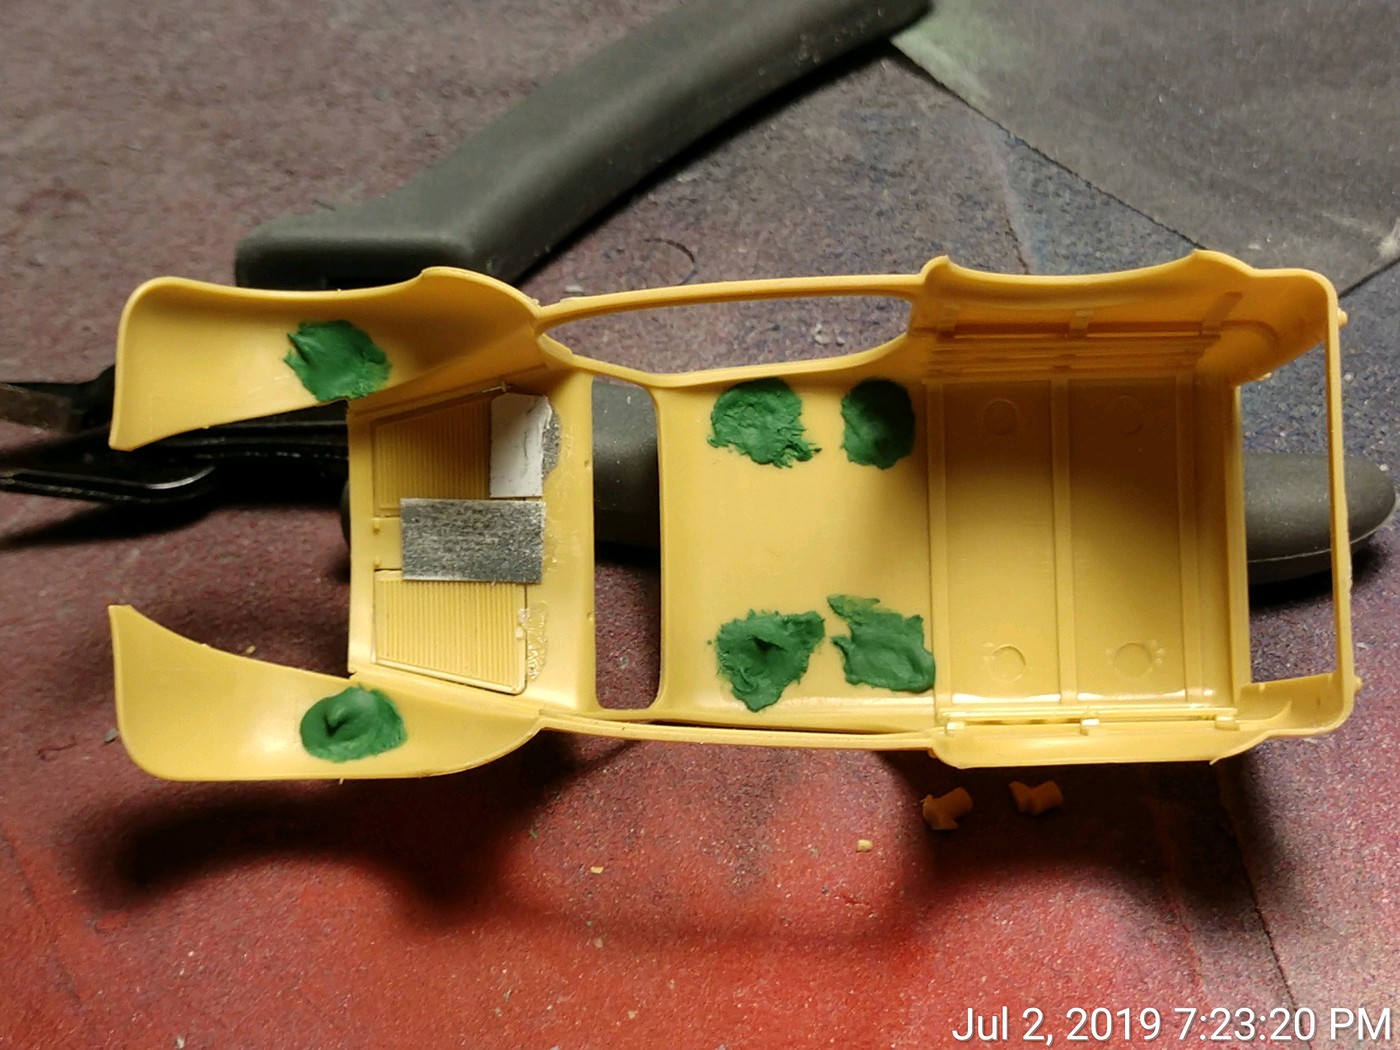
Went a littl heavy on the green stuff, but most of it will go away. Here's what they look like installed.
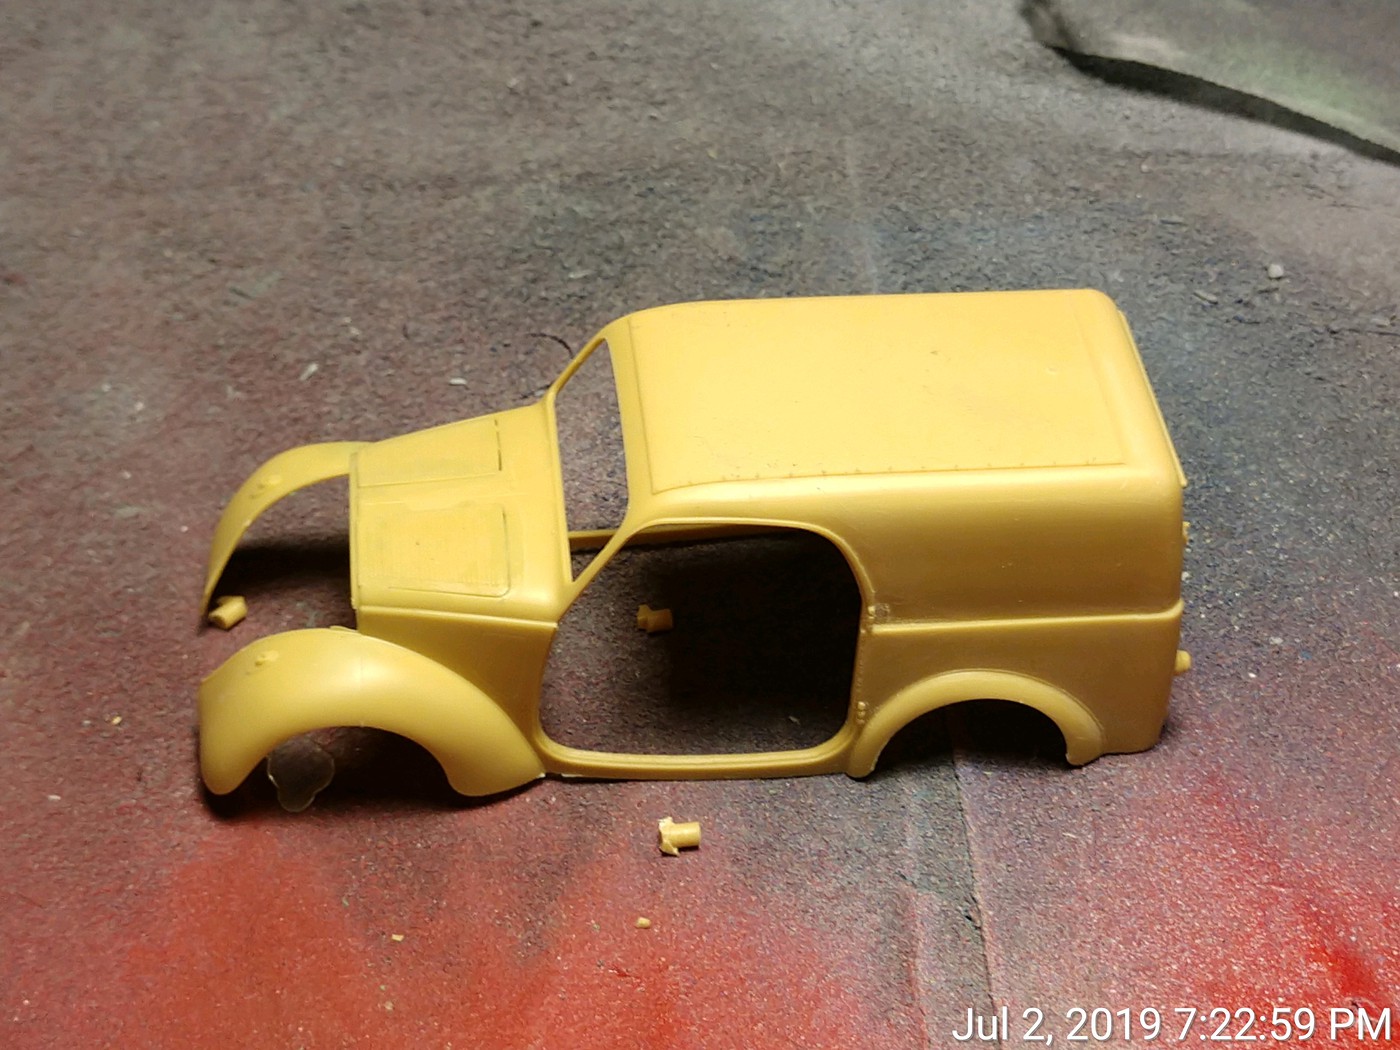
I'll probably have to remove some of the support material to fit the firewall, but I won't know where to locate it until the frame is completed. This is not your everyday car build. I've still got the ejector pin marks to sand, along with a couple of mold lines on the fenders and some flash, then I'm done with the body for a while.
In looking at the instructions, something tells me Bronco found some film from the Fiat factory showing how these vans were built and that's how they designed the kit. So, in a very unmodeler like way, I decided to follow the instructions. I will say this for Bronco, the instructions for this kit are waaaay better than the instructions for my first attempt at a Bronco kit, the Staghound. Step one is the engine. Fairly straight forward, except there are few positive parts locating pins and holes for things such as the intake and exhaust manifolds, air cleaner, upper and lower radiator tubes/hoses. Also, they subscribed to the mantra where if one piece is good, two or three would be better.
The radiator is two pieces, not bad because they are both large enough to find when dropped. The generator on top of the engine is three TINY pieces, one that mounts to the fan belt pulley, a center section, and then the nose which has the shaft to mount the fan. Which piece did the carpet monster eat? The nose, didn't even bother to look for it (the engine won't be seen anyways). So I got everything together and called it a day as it was time to get ready for work. Did I mention this thing is small? Here's the finished engine.
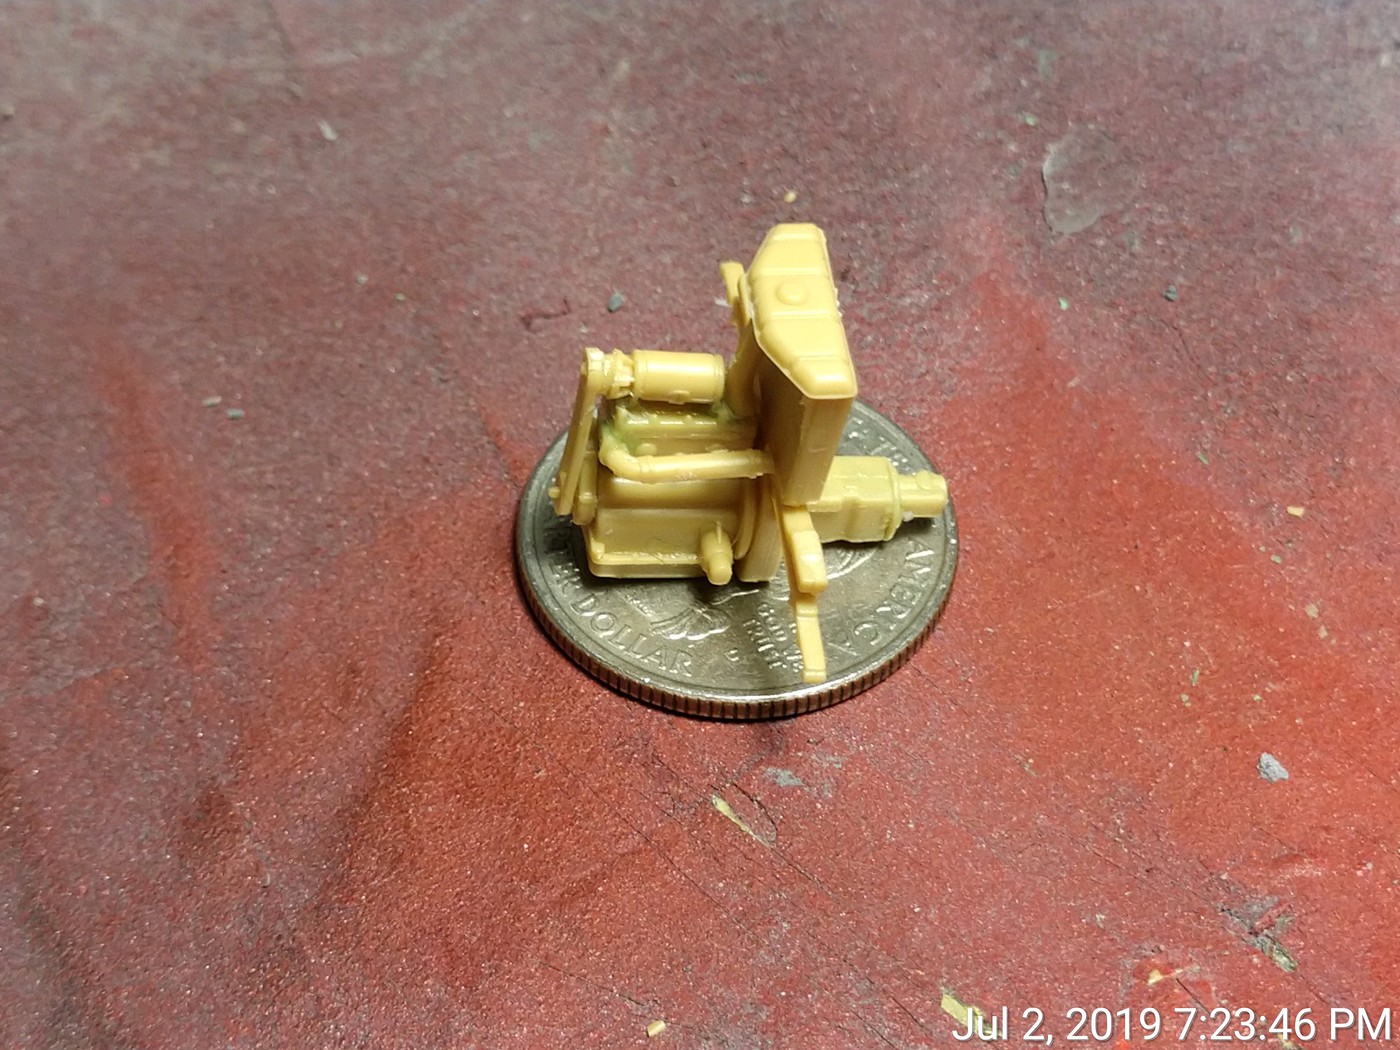
Had I done a little more research, I would have found that the radiator mounts to the firewall and not the suspension as shown in the instructions. Also, the pulley system is a three pulley system with the third driving a water pump mounted where the lower radiator hose is. Part of me thinks I should fix the radiator, part of me says don't worry about it as it won't be seen. I think I'll have to fix it to get everything to fit properly. Time will tell. Tomorrow I begin work on the suspension.
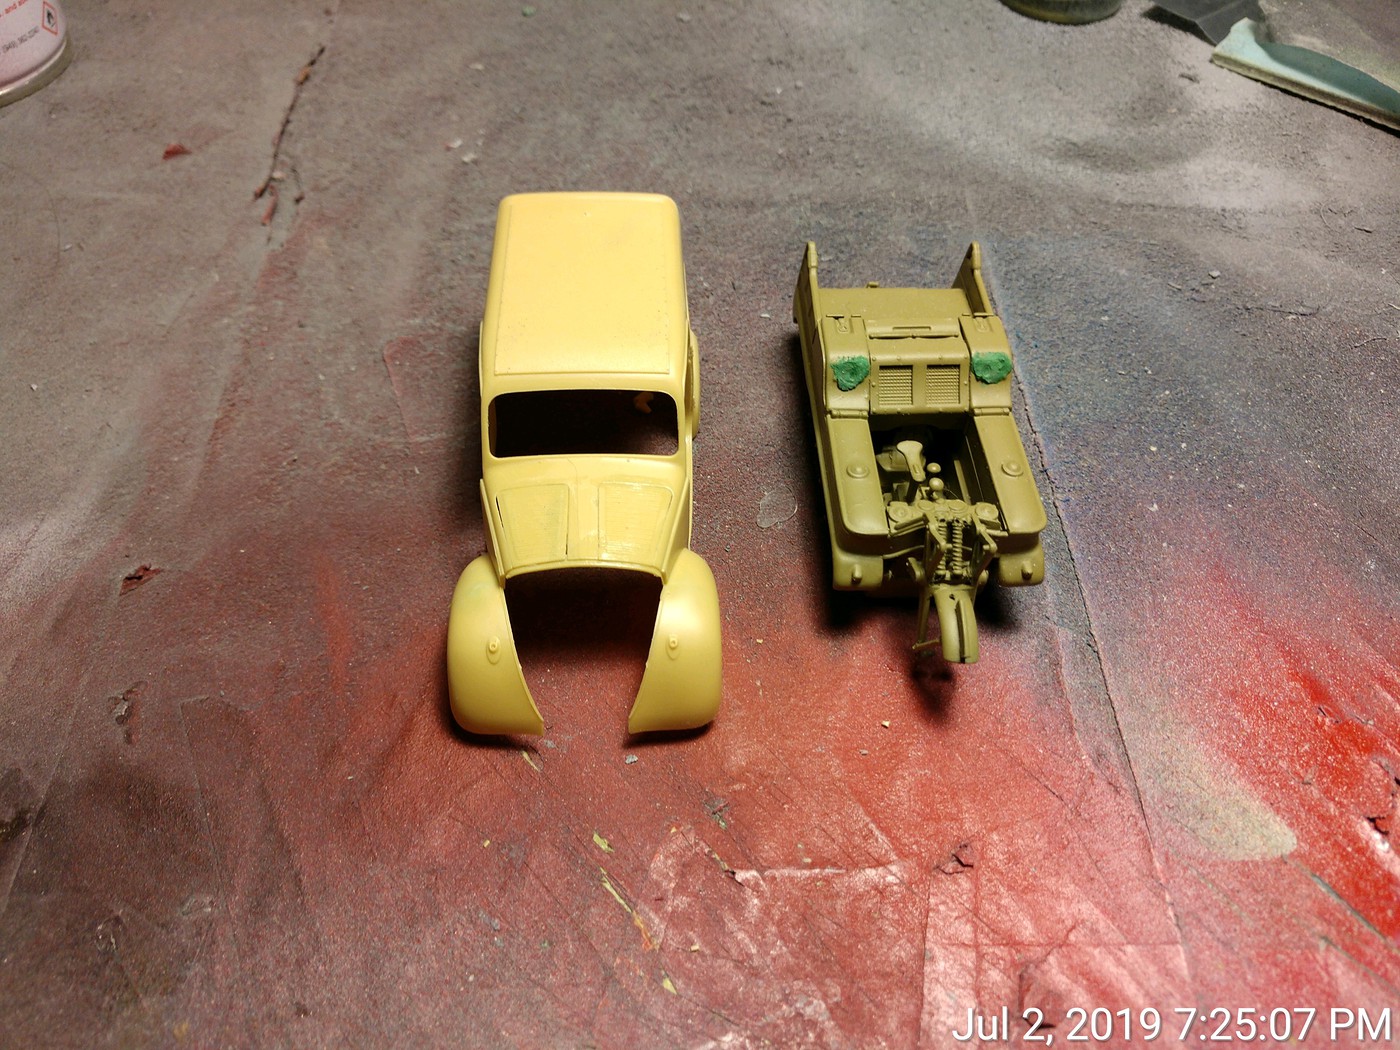
A size comparison between the two builds.
