SEARCH FINESCALE.COM

Enter keywords or a search phrase below:

1966 Beetle Rallye Car

8639 views
69 replies
1 rating 2 rating 3 rating 4 rating 5 rating
  • Member since
    February 2022
Posted by TechEd29 on Tuesday, April 5, 2022 10:56 AM

keavdog
Great details.  License plate gasket?!  Wow.  Funny I don't recal seeing mudflaps on the bugs.


Thanks, John.

Mudflaps for Beetles were a popular dealer-installed accessory at the Canadian dealer where I worked... I did tons of them during PDIs.

They are also a necessity on a rally car. They minimize the muck that builds up on the rear end, especially on the tail lights, and deflect gravel away from the inner fender by the rear fascia.

Case in point: During one of my rainy night time events in northern Ontario (on logging trails up near Pembroke), the Ontario Provincial Police (OPP) were monitoring the rally cars on public road transit stages; checking speeds with radar, safety equipment etc. Several of the newbie competitors that did not run flaps got dinged for "non-visible" tail lights due to mud buildup... embarrassing.

  • Member since
    April 2003
  • From: USA
Posted by keavdog on Monday, April 4, 2022 10:32 PM

Great details.  License plate gasket?!  Wow.  Funny I don't recal seeing mudflaps on the bugs.

Thanks,

John

  • Member since
    February 2022
Posted by TechEd29 on Monday, April 4, 2022 8:08 PM

The weather/temperatures up in this neck o' the north woods keeps me out of the garage for my clear coat airbrushing tests, so I'm stuck with chasing build details.

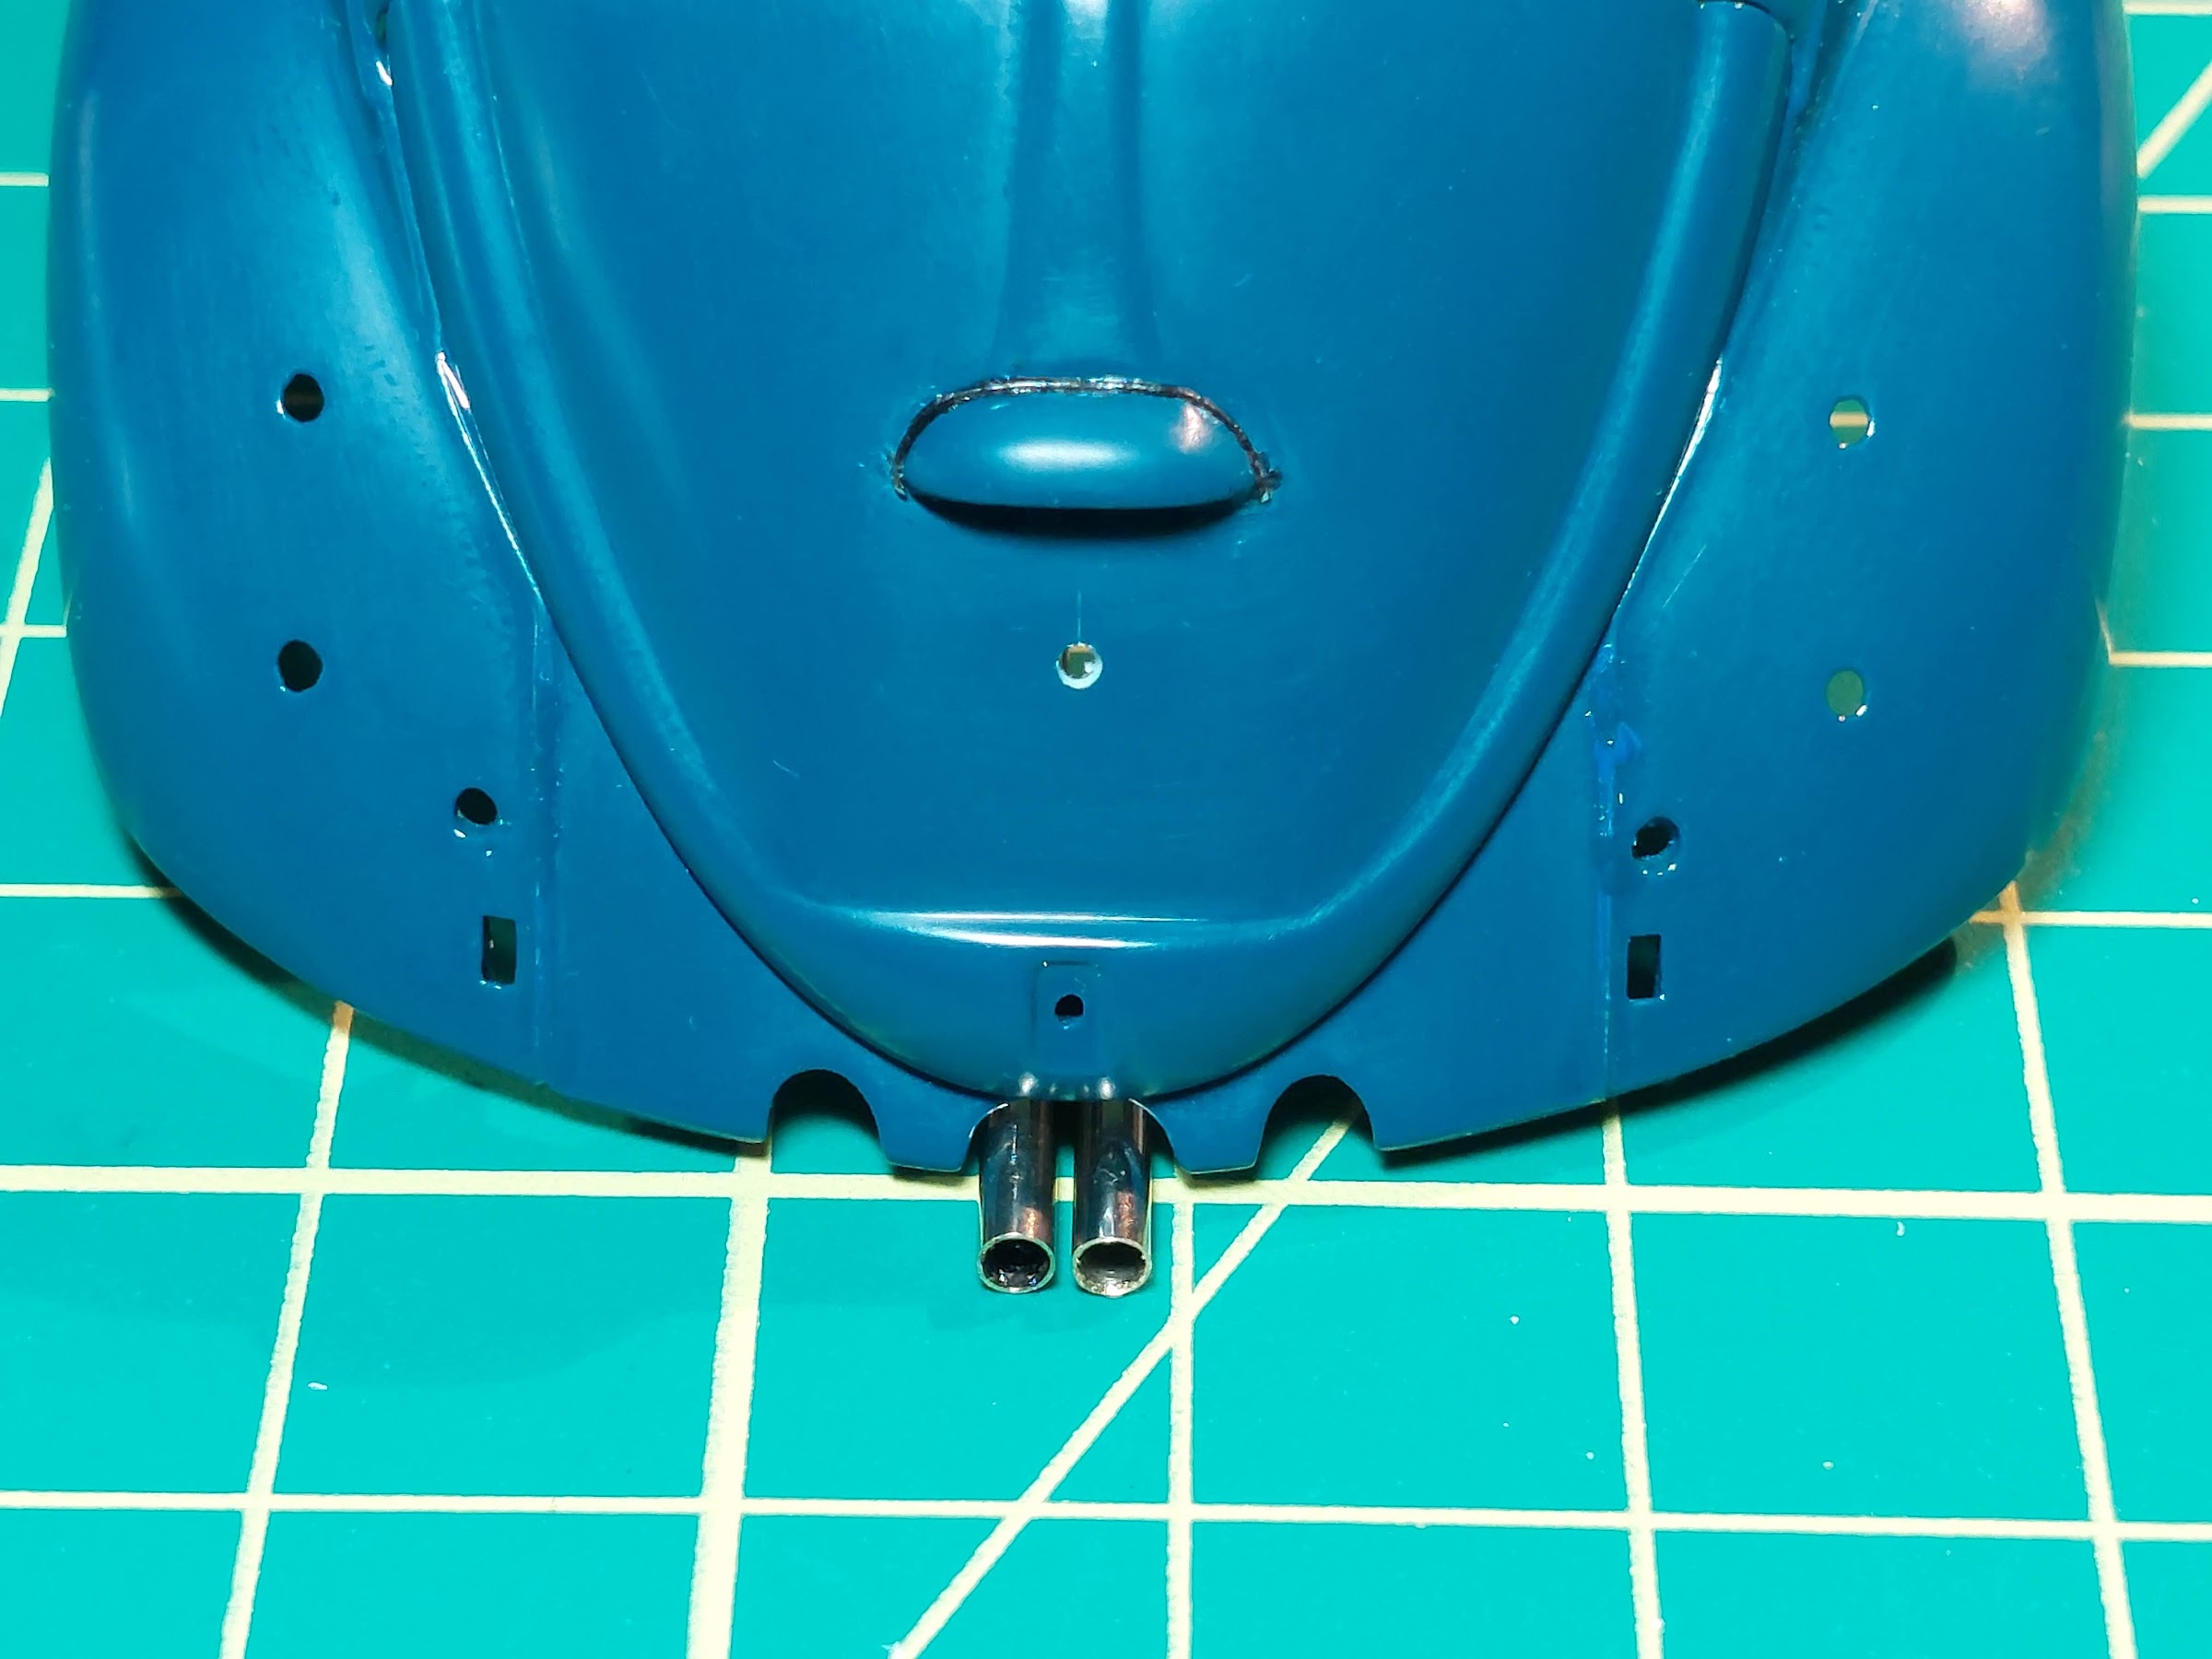
Seemed like a good idea at the time... the oval Busrch exhaust tip got under my skin somehow, especially when I measured it and upconverted it to 1:1 size; seems too large to "be real", so I'm persuing a twin tip arragement instead.

Background: When I was seventeen I bought and installed an EMPI glasspack muffler on my original 64 Beetle. I was in the process with the rear end jacked up in the driveway when my Dad came home from work, and boy did I get a scolding! I was convinced that it added 20 HP... at least it sounded like it did, and it made my girfriend giggle whenver I stood on the gas.

So, here are my WIP mockups of a center twin tip glasspack version:

The size of exhaust tips to use and still stay within "real scale" is of concern. I'm using brass(?) material from old ballpoint pens. The larger ones upconvert to 3" OD in the real world. That's still a bit big, but look great. The smaller ones upconvert to 2.2" OD, and are closer to being realistic. Decisions, decisions...

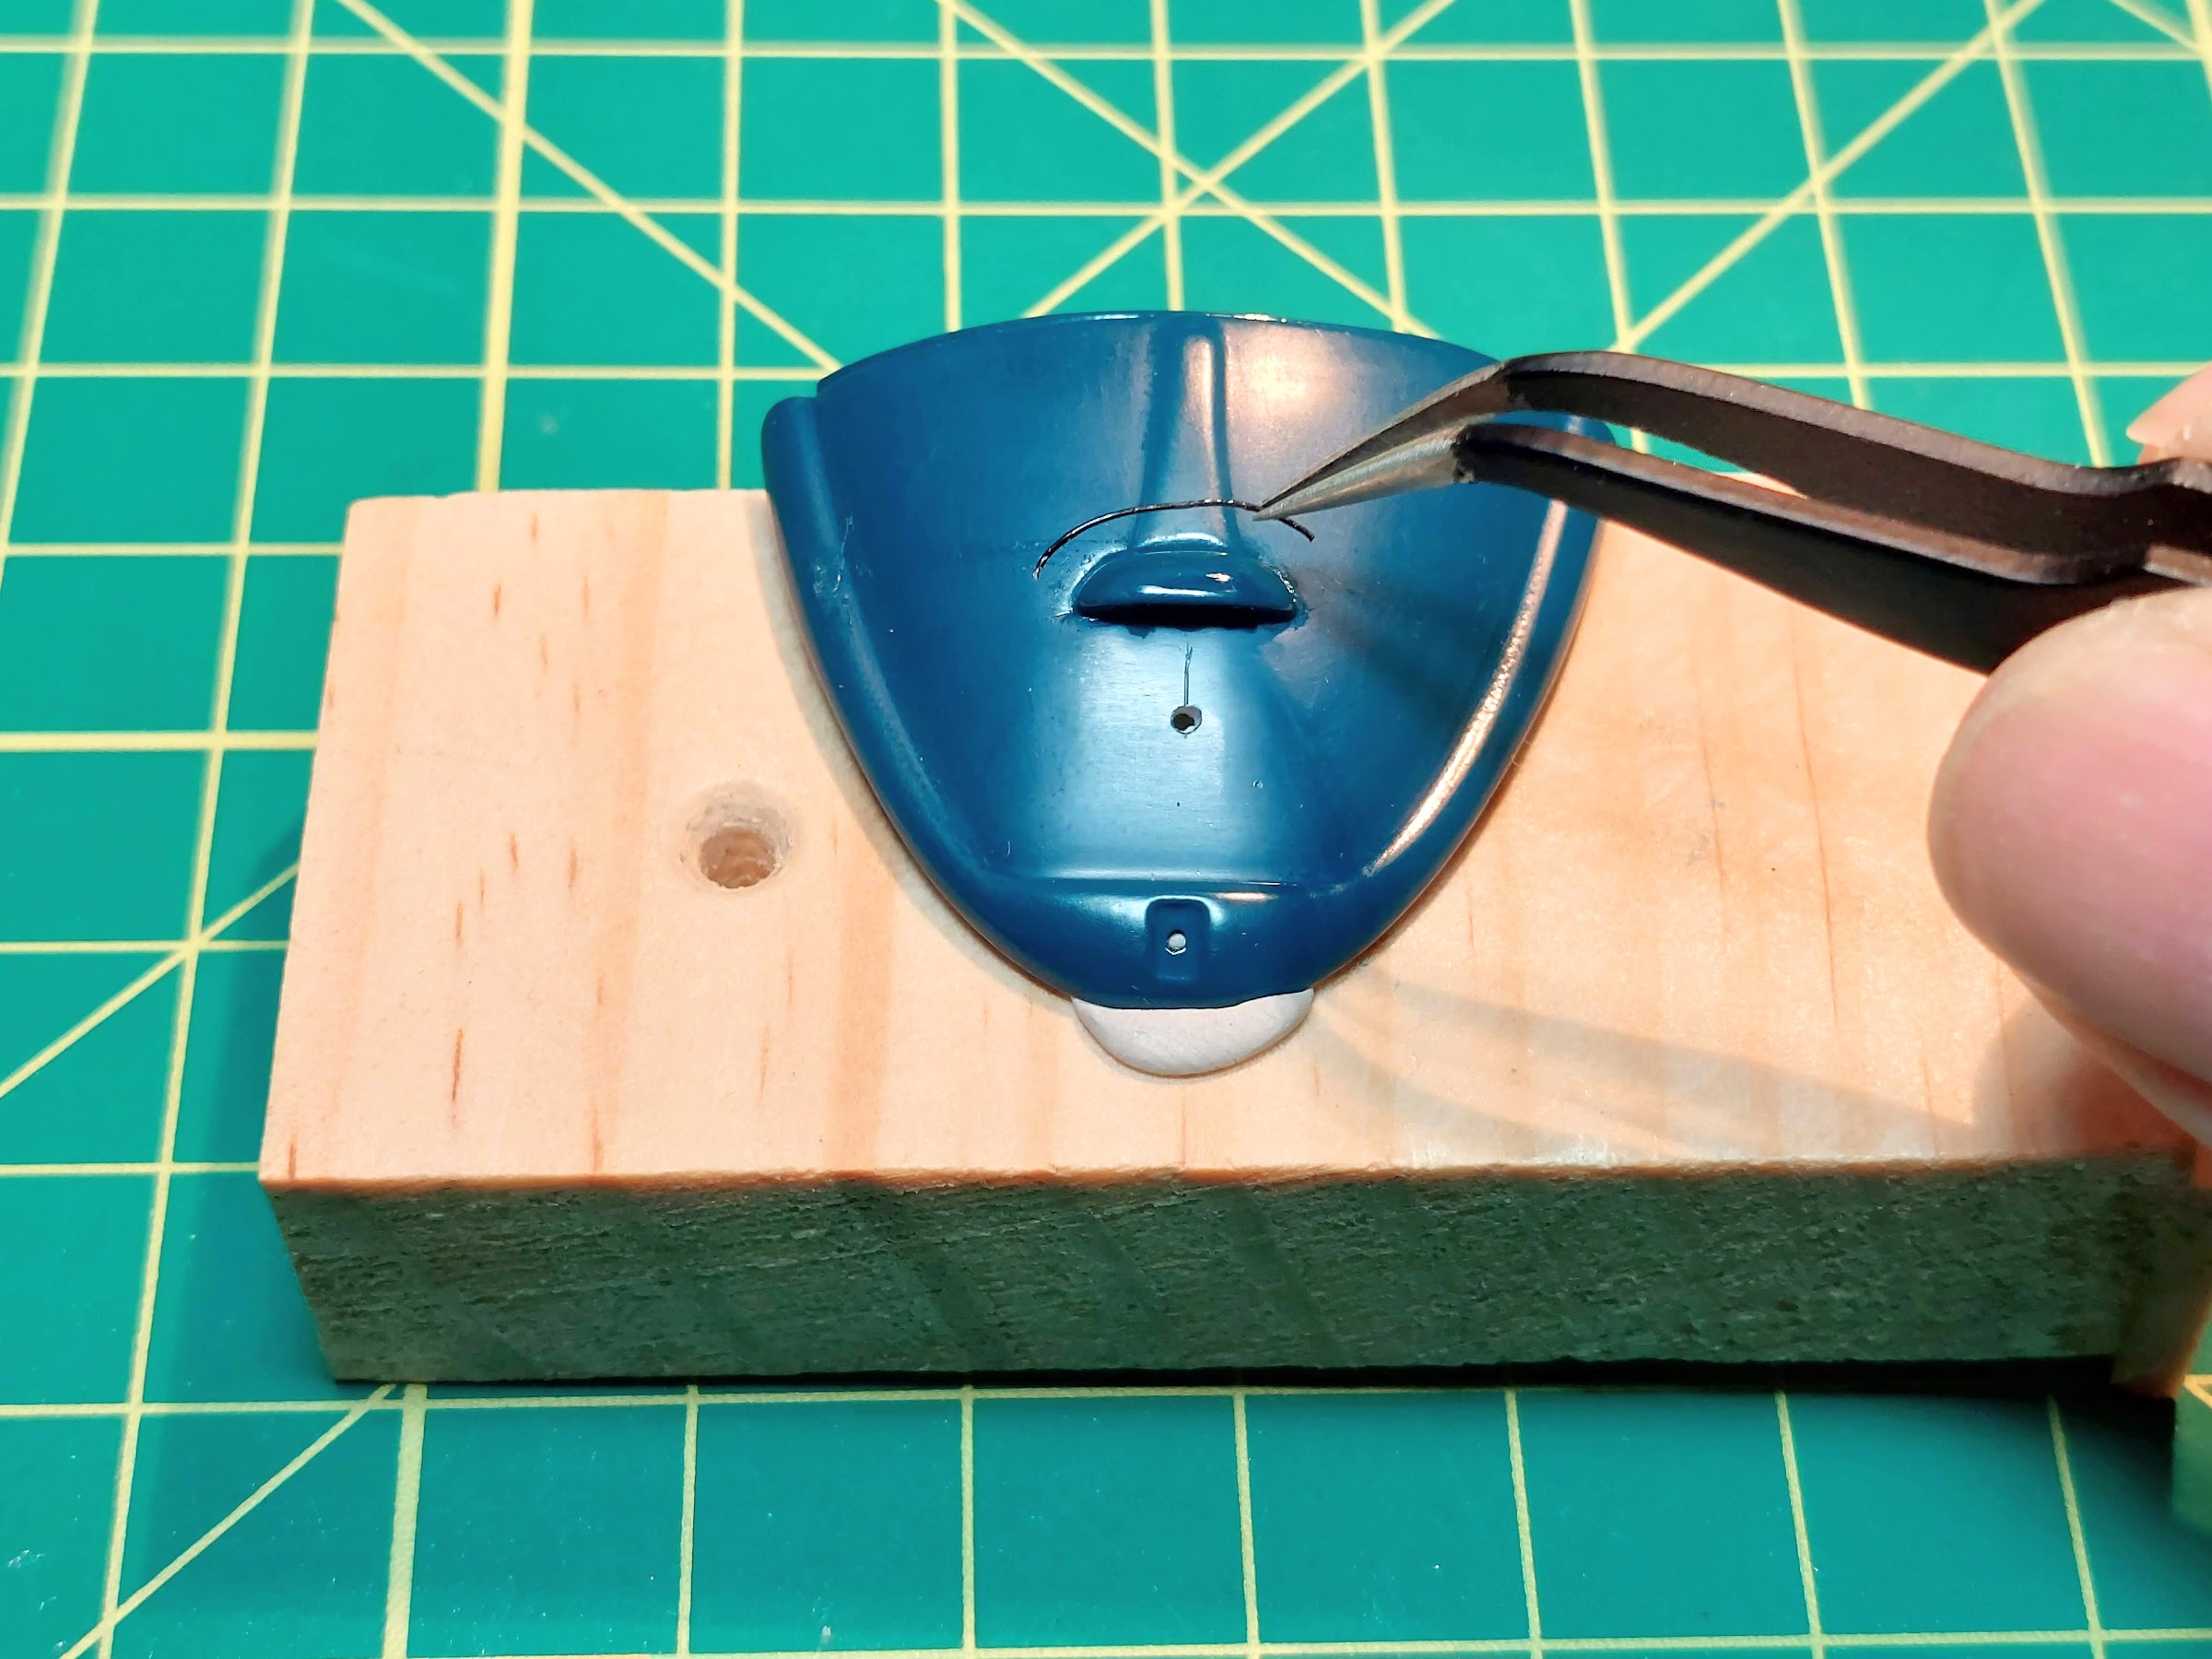
The rear license plate light enclosure needed a gasket:      
Mudflaps finished:

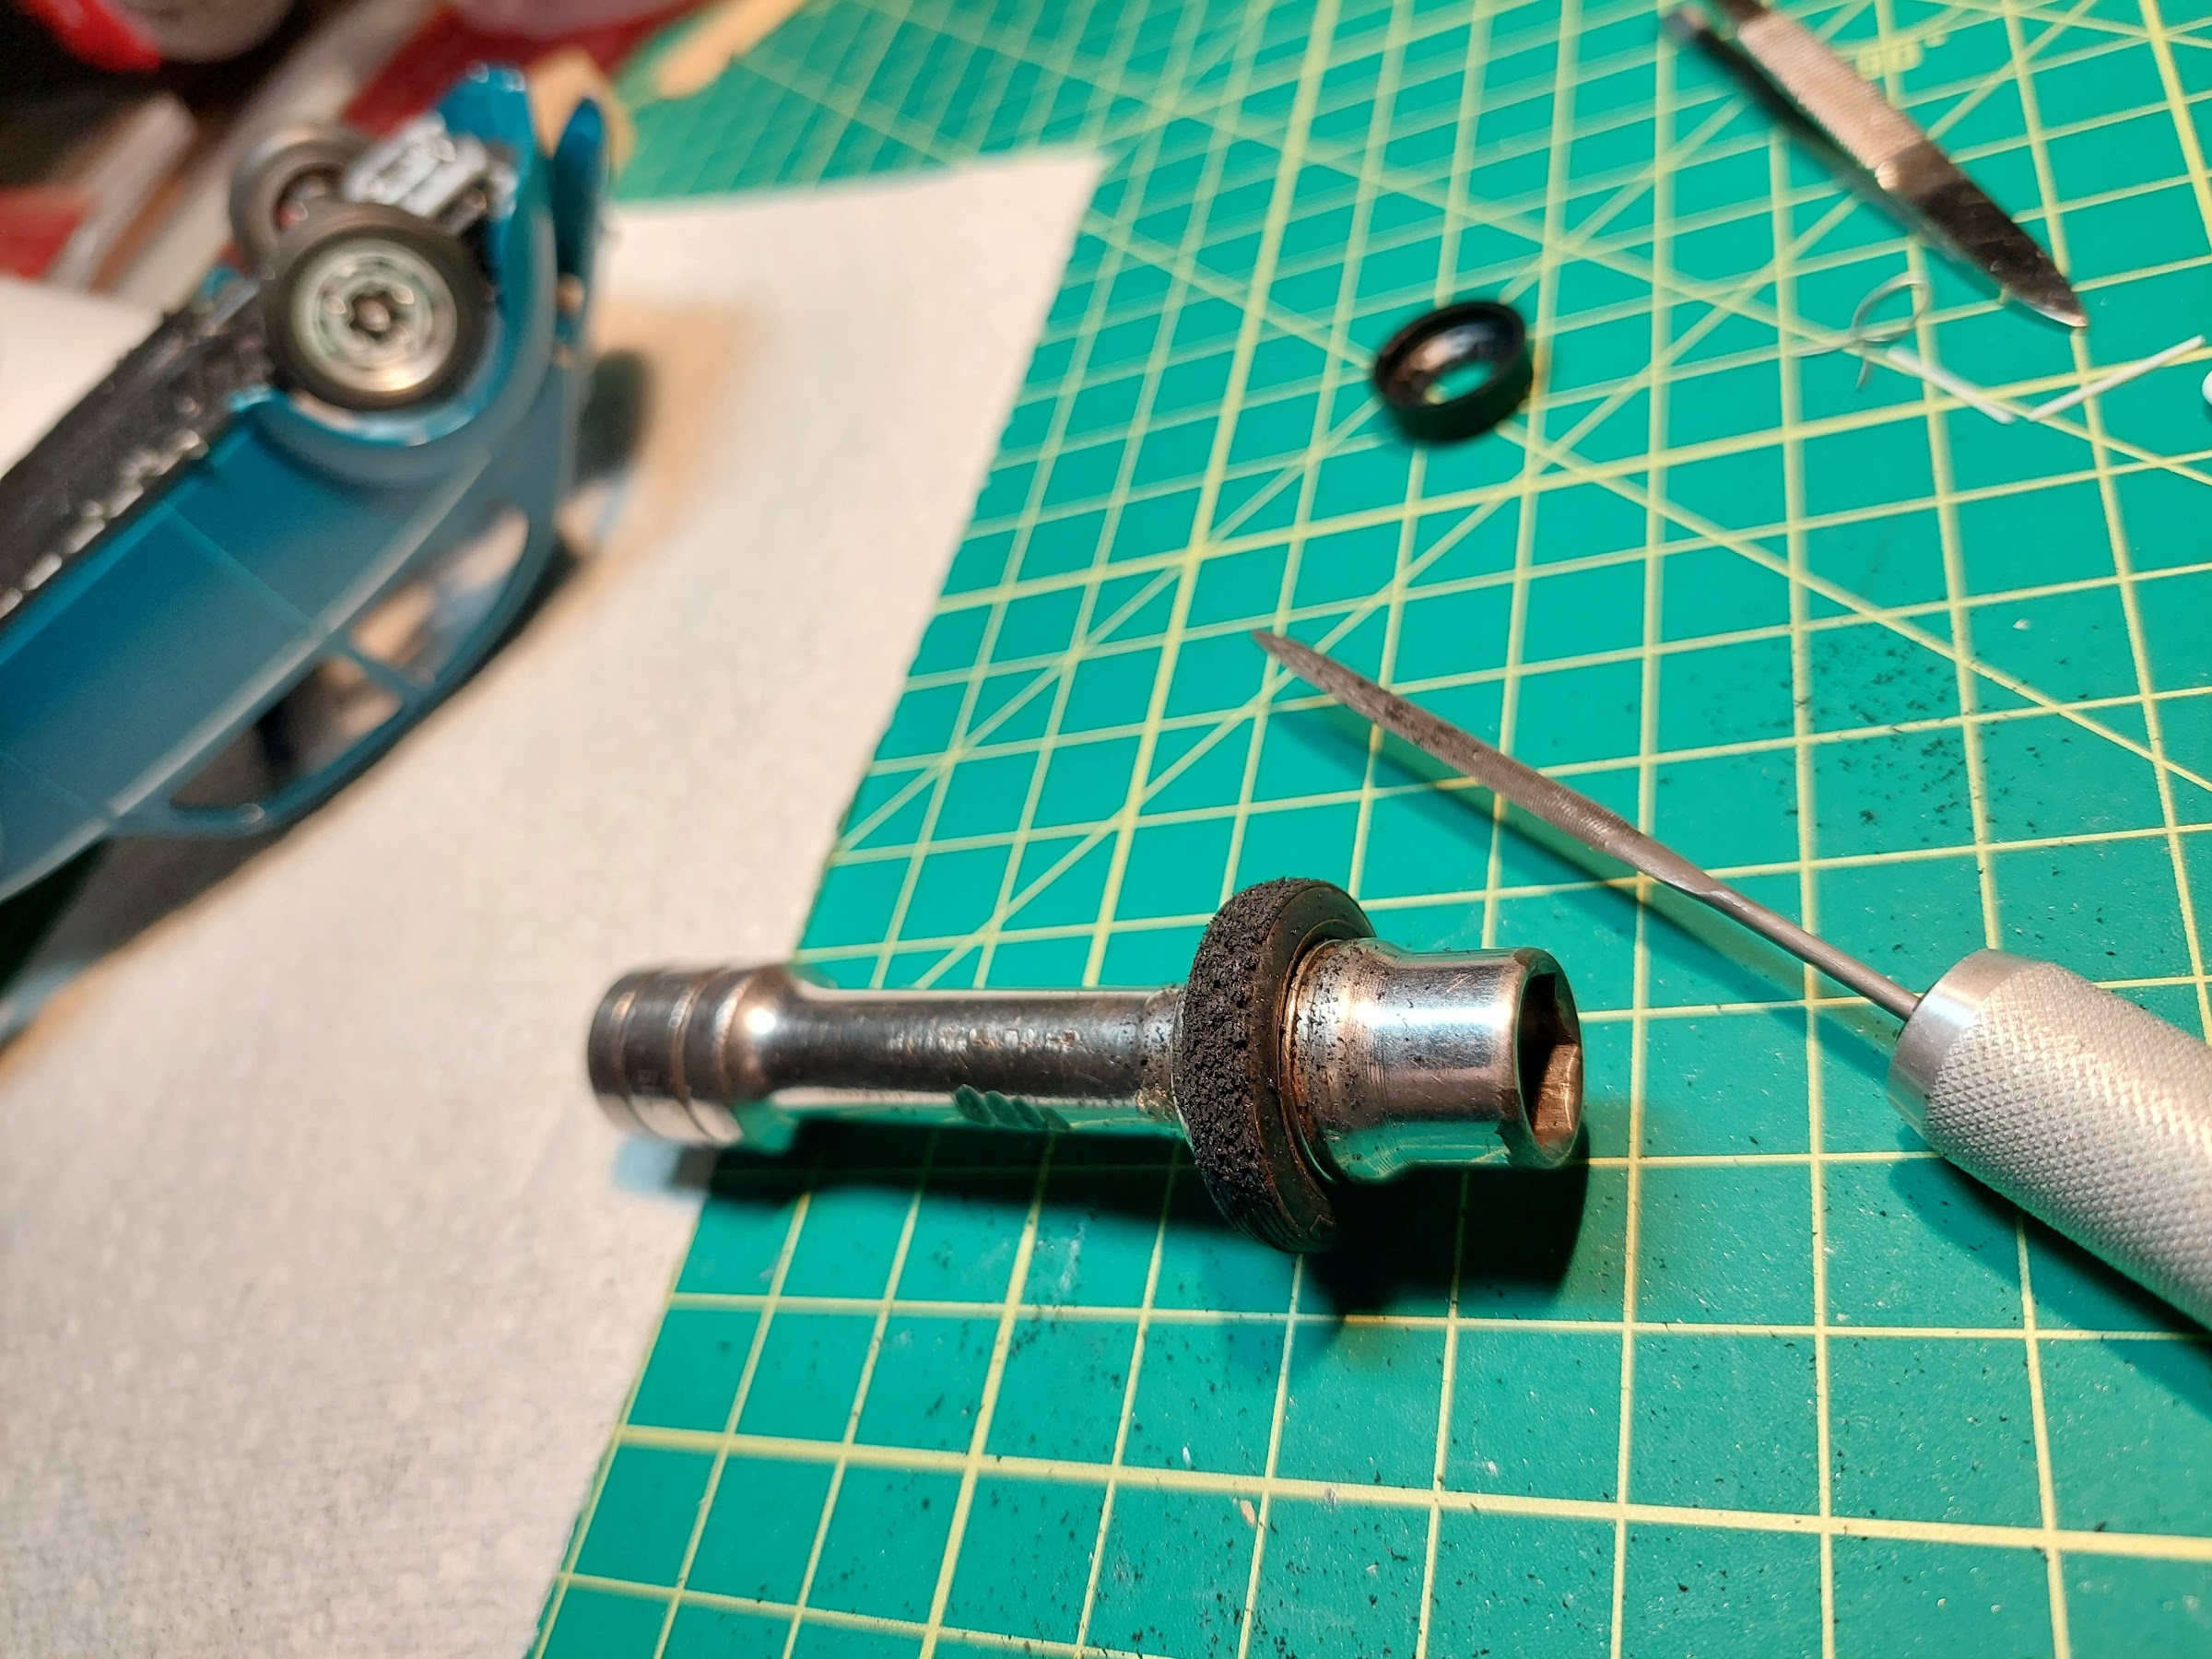
As a starving dealer auto tech in the early 70's, I had to scrounge every penny in order to compete in my Datsun 510SSS rally car. My meager budget for consumables often meant accepting discarded gravel tires from the big budget teams. I'd often regroove a decent set of cast-off gravel tires for use as snows, so regrooving the stock Tamiya Beetle tires into gravel tires is a wierd deja-vu moment for me:
More to come.

  • Member since
    February 2022
Posted by TechEd29 on Thursday, March 31, 2022 3:25 PM

Yup... mudflaps look square to me, and (what was worrying me) they actually fit inside the fenders!:

Not sure I'll keep the oval tip on the Bursch exhaust. It'll be easy to try just a big twin pipe arangement instead at the same location... maybe I'll take a poll.

More to come.

  • Member since
    February 2022
Posted by TechEd29 on Thursday, March 31, 2022 3:03 PM

The old saying that, sooner or later "we all turn into our parents" has come true for me in more ways than one. For a few months now, the tremors and arthritis I seem to have inherited from my father have made any detail work on the Rallye Beetle a real struggle. Some days good and some bad... current Michigan weather isn't helping.

FWIW, following are two short updates. For fun, and motivation on my part, I've included some pictures of the chassis showing some of the detail work before I restarted the project last month.

Pre-paint mockup of the mudflap brackets to make sure they're square:

Resonably happy with how the chrome trim on the taillight housings laid down. Now I'll have to pray for a good day to mask off and get some Molotow on:

Misc. chassis:

One will never see the teeny brake lines, clutch cable and starter wire with the body on... but as I never got to build and race the real car as a snotty-nosed teenager (I eventually did get to build and compete in my Datsun 510SSS), I made sure to fit them on this one.Geeked 

More to come.

  • Member since
    February 2022
Posted by TechEd29 on Thursday, March 17, 2022 9:34 PM

"Honey-do" projects around the house means that only a few hours can be devoted on the Beetle before bedtime, so progress is at a crawl lately.

This coming weekend will also be a wash, what with friends and ex-colleauges coming over for the start of the 2022 F1 "porpoising" season Wink, and IMSA running at Sebring.... GO! #9 Pfaff Porsche 911 GT3R!!!Big Smile. The Sebring venue will bring back memories of crewing on various Canadian Porsche teams many eons ago.

Update: Test fitting a gasket for its tailight housing:

The additional Sea Blue paint I needed for the tailight housings came today... v/tempting to do a late-nighter.

One of my goals with the body was to render the chrome/silver finish on the body side mouldings as sharply as possible. As I mentioned earlier, I'll be applying .040" half-round rod to those locations. I've not settled on what finish to apply, so I prepared a few test spoons with the rod. I got some practice at masking them, and finally airbrushed Testors silver as well as Molotow chrome. The goal here is to see how they compare after applying various kinds of gloss clear, like Tamiya X22, Future etc..

Thing is... the plating on the actual side mouldings of a 64 Beetle was never the super bright chrome found on American makes in the 60s. It was more like polished aluminum, so it'll be interesting to see how much the bright shine on the Molotow dulls after applying a clear coat (might not be as bad as some say if a dull aluminum look is desired. I might just break down and buy the Alclad II stuff If I'm not happy.

More to come.

  • Member since
    April 2003
  • From: USA
Posted by keavdog on Saturday, March 12, 2022 10:27 PM

Great details!

Thanks,

John

  • Member since
    February 2022
Posted by TechEd29 on Saturday, March 12, 2022 9:00 PM

Making the front turn signal housing gaskets from scrap .015 sheet. The gaskets will be airbrushed semigloss black to resemble the rubbers... that all 1:1 VW Beetle restoration enthusiasts know will have craked and disintegrated over time:

Similar gaskets for the rear tail light housings are up next.

More to come.

  • Member since
    February 2022
Posted by TechEd29 on Saturday, March 12, 2022 4:56 PM

Progress has been stalled due to a "honey-do" home improvement project that I could no longer keep on the back-burner.

Just as well becasue I'm waiting for more of the Sea Blue paint from PaintScratch.com... I forgot that the tail light housings needed to be painted body colour, and what little I had leftover had hardnened in the bottom of the bottle.

My old-fart shaky hands are essentially useless for any fine detail painting, so I had to come up with a solution for the chrome trim on the tailights. A test of applying some flattened .010 rod stock seemed to work. I'm hoping to airbrush chrome silver on the rod before mounting:

Rendering the body side mouldings nicely falls into the same detail painting shortcoming I have. As the top and bottom edges of the body side mouldings as cast by Tamiya are not very well defined for a crisp relief (I tried, and failed), I'm gonna test the same procedure as with the tailights by using pre-painted .040 half round stock which will go on top of the side moulding locations that I've already sanded flat. Fingers crossed.

More to come.

  • Member since
    February 2022
Posted by TechEd29 on Wednesday, March 2, 2022 4:33 PM

keavdog
Looks sharp!

Thanks, John.

I've been under the weather lately, so no major progress to speak of.

Between sniffles and a runny nose I worked on some piddly details.

I finalized the period-correct license plates for front and rear.

Before primer and paint, I had filled-in the holes for the European license plate bracket. As I wanted to mount a Canadian bracket/plate with a very slight stand-off from the lid, I made a correct-sized bracket with a mounting pin.

The front plate will be mounted to the auxiliary light mount with an angle bracket:

I also painted some styrene rod stock for the bumper overrider brackets that Tamiya chose not to include:

I'm unable to print white on clear decals with my inkjet for the driver and navigator names on the rear quarter windows. Resorting to two custom made decals makes little sense, so I opted to render the names on a gradient panel that includes the EMPI logo. It's printed on gloss white sticker paper:

Take two aspirins and call me in the morning... Sleep

More to come.


  • Member since
    April 2003
  • From: USA
Posted by keavdog on Saturday, February 26, 2022 6:53 PM

Looks sharp!

Thanks,

John

  • Member since
    February 2022
Posted by TechEd29 on Saturday, February 26, 2022 5:27 PM

Had some fun working on the auxiliary light subassembly today. The Marchal logos are printed on sticker paper. I'll let the pictures tell the story:

WIP mockup. The wiring for the lights was "murder". 

I'll build another set of covers to comapare how the Marachal logos appear when applied with white decal paper.

More to come.

  • Member since
    January 2015
Posted by TheMongoose on Saturday, February 26, 2022 8:19 AM

Super cool. Love the headliner!

In the pattern: Scale Shipyard's 1/48 Balao Class Sub! leaning out the list...NOT! Ha, added to it again - Viper MkVii, 1/32 THUD & F-15J plus a weekend madness build!

  • Member since
    February 2022
Posted by TechEd29 on Friday, February 25, 2022 8:41 PM

Update on a few detail odds and ends, and one fairly big one.

Finished the running boards. Prototyped a process to make gaskets to fit under the turn signal housings (they'll be painted semi-gloss black to simulate rubber. I also sized the yellow 'max psi" decal to place on the washer bottle, as well as simulated vents for the rear lid. Back in the day, a popular upgrade on performance Beetle sedans was to fit the vented rear lid from a Beetle convertible:

I might have bit off more than I could chew by installing the ubiqutous VW headliner. It's cut out from a self-made decal to simulate the white perforated vinyl:

More to come.

  • Member since
    February 2022
Posted by TechEd29 on Friday, February 25, 2022 8:23 PM

MR TOM SCHRY
Can't wait to see it with all of the decals on it!  When I was a teen, I worked in a truck stop, refueling the semis when they came in.  During the winter, when nobody was moving because of the massive snow drifts, there was a gentleman who drove an old VW Beetle to deliver the mail to the rural folks and he praised the ability of his little Bug to get through drifts that would stop the other cars.

TJS

Hi Tom, Lon... reminds me of this classic Beetle advert from the 60s:

https://www.youtube.com/watch?v=qfirnP08FP0

fox
  • Member since
    January 2007
  • From: Narvon, Pa.
Posted by fox on Friday, February 25, 2022 7:57 PM

Great build!

Jim Captain

Stay Safe.

 Main WIP: 

   On the Bench: Artesania Latina  (aka) Artists in the Latrine 1/75 Bluenose II

I keep hitting "escape", but I'm still here.

  • Member since
    March 2013
Posted by LonCray on Friday, February 25, 2022 7:26 AM

When I was a kid growing up in Wyoming, my mom had a 65 Beatle while my dad had a Jeep Cherokee Chief.  I recall one time we all piled in the Jeep during a Wyoming snowstorm to get my mom's car from the mechanic.  My sisters rode back in the Jeep and I rode with my mom in the Beatle - and we beat them home.  Those narrow tires and engine weight over the drive wheels were perfect for winter driving.  

  • Member since
    July 2015
Posted by MR TOM SCHRY on Thursday, February 24, 2022 8:54 AM

Can't wait to see it with all of the decals on it!  When I was a teen, I worked in a truck stop, refueling the semis when they came in.  During the winter, when nobody was moving because of the massive snow drifts, there was a gentleman who drove an old VW Beetle to deliver the mail to the rural folks and he praised the ability of his little Bug to get through drifts that would stop the other cars.

TJS

TJS

  • Member since
    February 2022
Posted by TechEd29 on Wednesday, February 23, 2022 6:40 PM

I admit to having a very bad habit of getting ahead of myself or being distracted by stuff I'f rather be doing. After getting my fingers all wrinkly and waterloged from wet sanding, I decided to work on the decals; namely organize what I want to apply and where.

The jury is still out on this line drawing mockup. I'll be adding self-printed decals for Koni, Continental tires and S.E.V Marchal on the horizontal surfaces:

I decided to fabricate covers for the Marchal auxiliary lights. I found a decent hig-res picture of a cover and stuck it in Photoshop to sharpen and brighten it:

Here's the downscaled image test-printed on photo paper. It'll go either on decals or sticker paper:

The motivation for the above is becasue I used Marchal lights on both my Datsun 510 Rally Car as well the 68 Beetle "winterbeater" car I drove when my Datsun 280Z was in winter storage:

More to come.

  • Member since
    February 2022
Posted by TechEd29 on Tuesday, February 22, 2022 6:22 PM

keavdog
Looks great.  What is you mix/psi with future?

Straight from the bottle (no thinning). Important NOT to shake bottle before dispensing into cup.

0.5 needle at 15 - 18 psi.

I'll plan to shoot entire body with light > meduim > heavy build up coats in one session. Dries fast.

Cheers,

Juergen

  • Member since
    April 2003
  • From: USA
Posted by keavdog on Tuesday, February 22, 2022 5:44 PM

Looks great.  What is you mix/psi with future?

Thanks,

John

  • Member since
    February 2022
Posted by TechEd29 on Tuesday, February 22, 2022 4:59 PM

Castrol Canadian Rally Championship door placards printed:


More to come.

  • Member since
    February 2022
Posted by TechEd29 on Tuesday, February 22, 2022 3:44 PM

I stopped procrastinatting and decided to tackle the orange peel in ernest; a labour of love if there ever was one:

Kinda makes me yearn for the old days when we would shoot a rattle can of Testors gloss onto raw plastic, straight out of the box and get decent "display shelf" results. Wink

Coming along better than I expected. Finsished the roof with 12000 wet. I stopped at 8000 wet for the large areas on the doors and quarters. I still have to chase the tight bits on the fenders and the top of the doors above the trim.

Turns out that I can use some of the decals from the GOFER Racing sheet. I Hope I can find the period correct S.E.V Marchal (auxiliary lights) and Continental Tire decals fom another decal firm. I've already got the art files to make the EMPI decals I need. (FYI, EMPI was the top Volkswagen performance aftermarket supplier in the 60s and 70s... they supplied the famous camber compensator I added.)

Been a long time since I airbrushed Future/Pledge, so I practiced on a test spoon to confirm the psi.

More to come.

  • Member since
    February 2022
Posted by TechEd29 on Sunday, February 20, 2022 3:20 PM

I opted for a lazy no-building-or-painting Sunday... sort of.

I needed to organize and decide on the assortment of period correct decals to be applied. I had a few sheets of 1/24 - 1/25 HotRod decals from GOFER Racing that had the usual domestic brand name stuff (Champion spark plugs, STP etc.). They're missing most of the period correct European brands I need for performance and rally equipment, so I'll render and print them myself.

The above prompts a short background story:

My older brother and I were active in the Deutscher Automobil Club in Toronto at the time we wanted to build our Rally Beetle (1970 - 1975). He drove the course (opening) car at various CASC Rally events in Ontario, and I assisted with pre-event scrutineering. Castrol Canada sponsored the Canadian Championship events for a time, so in order for the model to be period correct, I created the door number placard that we would have used. I'll downscale it and print it on thin white sticker paper. They'll go on the clear-coated doors as they would be on 1:1.

Reference photo:

More to come.

  • Member since
    February 2022
Posted by TechEd29 on Sunday, February 20, 2022 12:18 PM

Front hood outcome was not perfect, but not altogether terrible, either.

Comparison shots of interior versus natural light. The colour in sunlight is exactly what I remember from my first car as a 16-year old:

Here's the only colour photograph I have of my old Beetle:

Interestingly, the best thing about the whole process was a reminder/learning  moment that has made me change my plan for the final finish.

Specifically, I noted that the Novus 2, and even the Meguiars automotive polish I tried are very prone to fingerprints... and even the texture marks from my white cotton gloves if it was held too long! As the body will need to handled quite a bit after colour sanding (to do the chrome trim, install the headliner, headlights/taillights extra bumper brackets etc.) I've elected to apply Future/Pledge prior to final assembly instead of polishing. Past experience has show this finish to be durable, seals the decals well and is almost impervious to final assembly fingerprints and the like.

I also learned from test spoons that the Molotow chrome effect is extremely sensitive to any subsequent contact... dulls the brightness; I had to be careful when polishing the hood to not touch the strip too much, which was okay in this case becsue the trim on old VWs was never super bright chrome anyway. It will be safer when the Future clear coat is applied.

More to come.

  • Member since
    February 2022
Posted by TechEd29 on Friday, February 18, 2022 2:29 PM

Thanks everyone for following along and commenting. I really appreciate the kind words and stories... it seems everyone has a small piece of VW history in their lives.

Here's an interim update:

I know I'm preaching to the choir, but if there's a single thing that tests one's patience and attention span in this hobby, it's wet sanding orange peel and sweating the final finish.

Here's a closeup of the engine compartment lid after the second pass with 3000 wet. Still a long way to go:

Here's the lid after two passes with 8000 wet (I purposely avoided the license plate light dome becasue of edge sand through risks); an acceptable flat outcome. Besides, by this point my patience had ran out:

I friend suggested I try Molotow Liquid Chrome for the Beetle's front hood and side trim. As I've found that testing goes a long way to prevent first-use catastrophies, I used my test spoon to check masking tape effectiveness and drying time of the Molotow.

The first attempt was with normal Tamiya tape, the applicatior with 1mm tip and about a half hour dry time... not so good. On the second attempt I trimmed cut the tape into two strips with a new X-Acto blade to ensure straight edges, and let the Molotow dry overnight. This ended up being the best, so today I went ahead and processed the front hood that way. Fingers crossed for tomorrow:

If anyone here has used Molotow before, I'd like to know of your experience with it. It seems to take a long time to dry before safe handling. I'm considering decanting some into an airbrush and seing how that goes on a larger surface.

More to come.

  • Member since
    September 2012
Posted by GMorrison on Wednesday, February 16, 2022 9:57 AM

Really pro work. i don't remember ever building a Beetle kit, although I've built a window van and a 356 or two.

My father bought a new 1963, with a fabric sun roof. It was an awful light olive green with darker green rim centers. The original engine cover had a T-handle but the lid got replaced after a rear end tap at one point and the latch was replaced with a hook and button type.

About the only mod I ever did to it was to instal a pair of 6V terminals in the glove box to connect my cassette player to for long drives, and a tractor light on the rear fender controled by a toggle under the dash.

Nice car and I drove it into the late 70's. Then I bought a used BMW 1602 and finally thought "what on earth have I been doing all these years?".


Bill

 Modeling is an excuse to buy books.


  • Member since
    October 2019
  • From: New Braunfels, Texas
Posted by Tanker-Builder on Wednesday, February 16, 2022 7:35 AM

Hi;

      I remember those! I had to result to some arm twisting from the V.W. dealer in my town. Seven Bugs and three Vans striped and decorated and only part of what was owed. So he let me pick a car from the used car lineup as final payment.

      I picked a red one and promptly Bobbed the fenders, Removed the running boards and so on. My missus and I had the perfect fishing car.The poles stuck out the sunroof as we cruised the Levees and Bayous in Arkansas!

      Did my share of Embaraassing 4x4 owners in trouble!

fox
  • Member since
    January 2007
  • From: Narvon, Pa.
Posted by fox on Tuesday, February 15, 2022 8:48 PM

Great build! Toast Toast

Jim Captain

Stay Safe.


 Main WIP: 

   On the Bench: Artesania Latina  (aka) Artists in the Latrine 1/75 Bluenose II

I keep hitting "escape", but I'm still here.

  • Member since
    April 2003
  • From: USA
Posted by keavdog on Tuesday, February 15, 2022 8:43 PM

Ditto on the color.  Coming along nicely.  Curious to see how your sanding/polishing comes out with all those curves and raised surfaces like you mentioned.

Thanks,

John

JOIN OUR COMMUNITY!

Our community is FREE to join. To participate you must either login or register for an account.

SEARCH FORUMS
FREE NEWSLETTER
By signing up you may also receive reader surveys and occasional special offers. We do not sell, rent or trade our email lists. View our Privacy Policy.