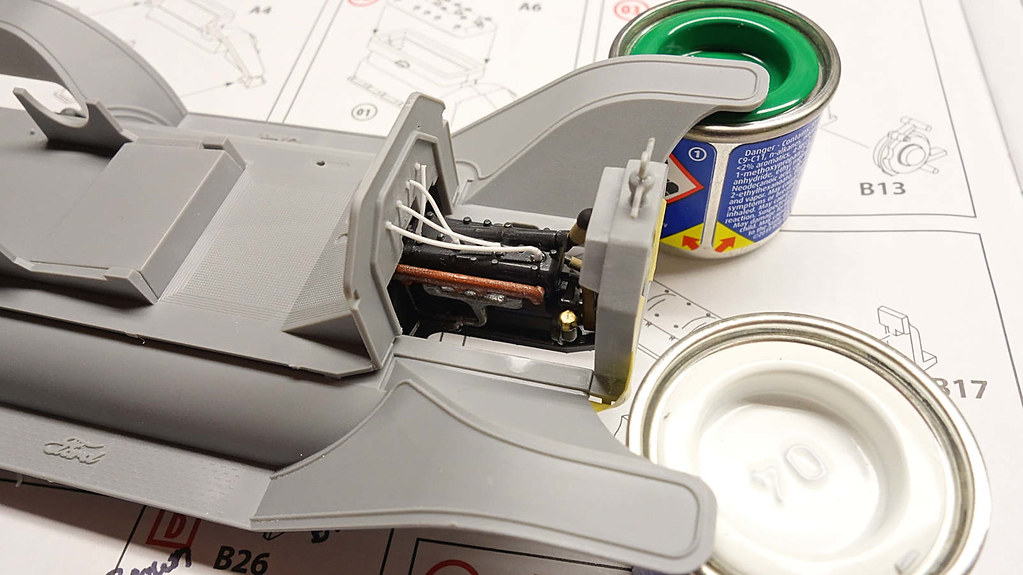
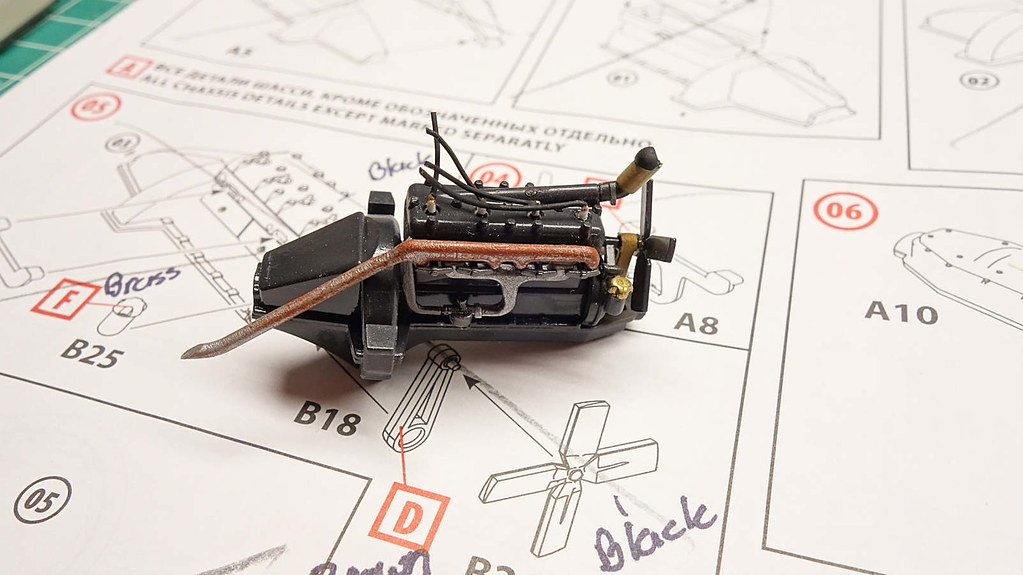
Well-- like I said, my wiring is crude. That said -- as I progressed through this build, I grew to like them.
I was not interested in ordering modern looking plug wires and knowing I'd need to attach them to the firewall, I wanted something that I can fix a shape to them for easy gluing later.
My first go was with trying craft wire. The wire is pliable, it held the shape I set them at, and I had various gauges in stock. The problem? The wire did not stick well to the sparkplugs, and I was using CA even. Any slight adjusting that I did make them pop off. A few times of this and I knew-- I need to use something else before I make a mess of things.
I thought, what sticks better than plastic to plastic. So, back to the Evergreen round stock. I think it is the .020 size. Bingo. They held perfectly and I could bend them to the shape I wanted.
Below: I mocked up the assemblies using tape so that I can form, cut, and attach the wires as I want them.

Below: Wires are painted with Tamiya Rubber Black. The connection points are painted with Alcad Copper to simulate copper wires or terminals.

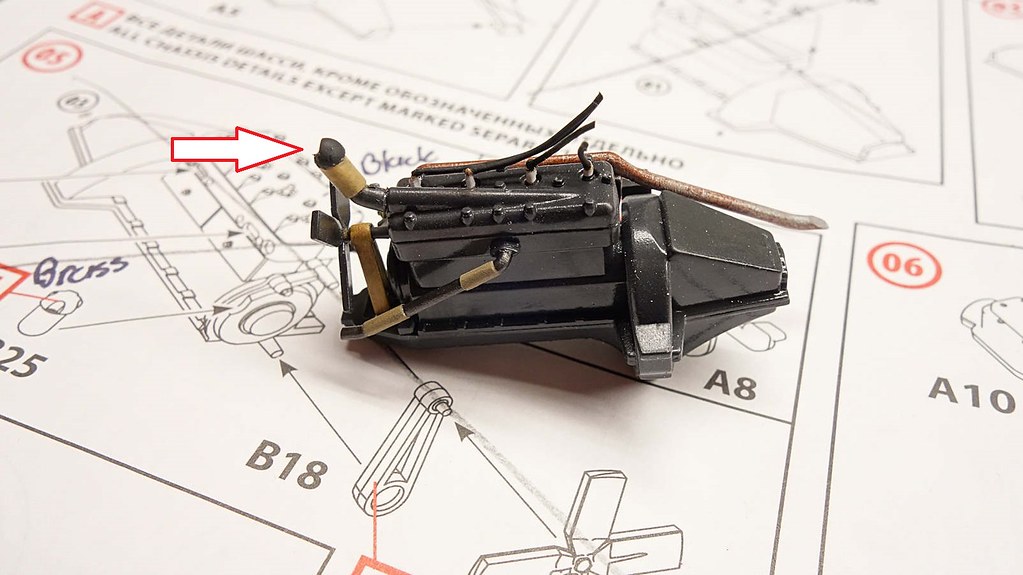
Below: The other side of the engine. Notice the arrow in the image. This pipe leads to the radiator. Unless I missed something, the model does not connect or even meet up with the radiator. It just hangs out there not connecting to anything. I could not leave it that way, so I made the rounded fitting out of sprue.
I could not find any images that show a clear concept of how the radiator ported up to the hose, so, I winged it. I thought that anything will look better than having a fitting going to nowhere. What turned out amazing is that a few weeks after I did that, I found a video where some guys were testing a 1:1 engine. The fitting I made looked pert near exactly like what was showing on their radiator. I don't think I could have guessed it better. Just a fun fact of the build.

End of update.