Hello all,
A final update and then the finished results!
I'd also like to thank the classy individual who gave this thread a "one star" rating. Nice to know that my work and willingness to share is appreciated. 
Anyhoo....all the panels on the model were given a light-gray wash, carefully applied with a fine brush.
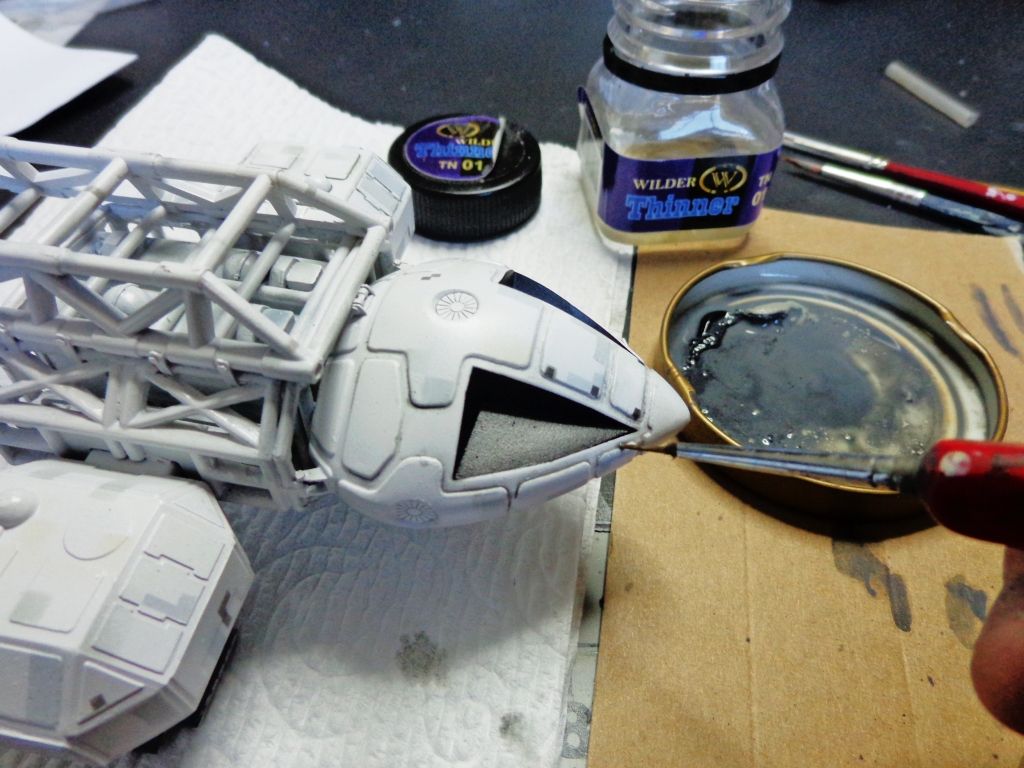
The next day, the excess and heavier lines were removed with a flat brush. You can really shape the outlines into a fine line using this method.
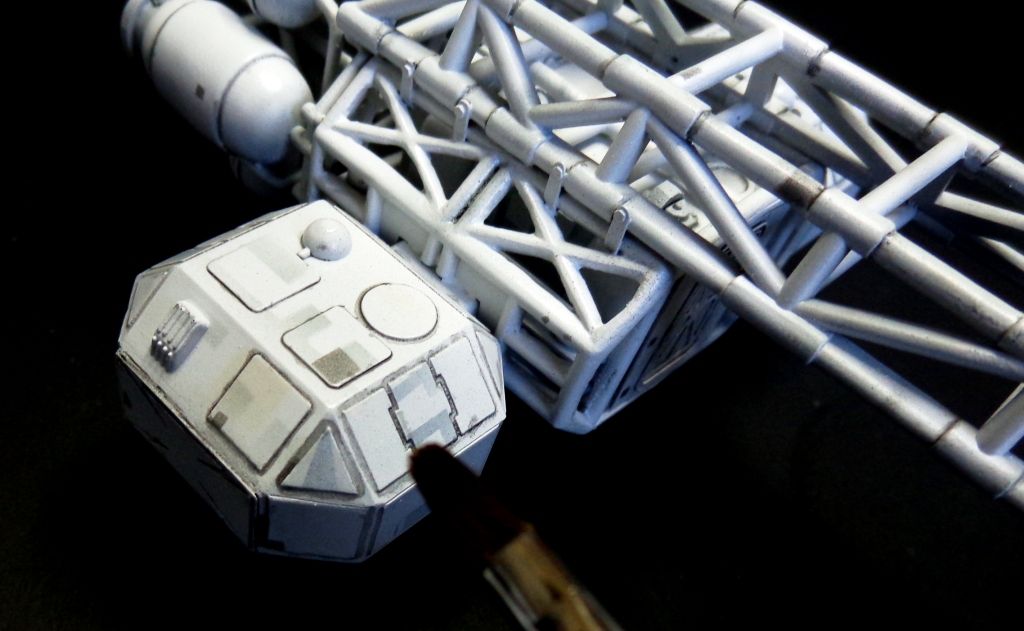
Note how the excessively-thick lines have been cleaned up here. (decals have been added in this shot)
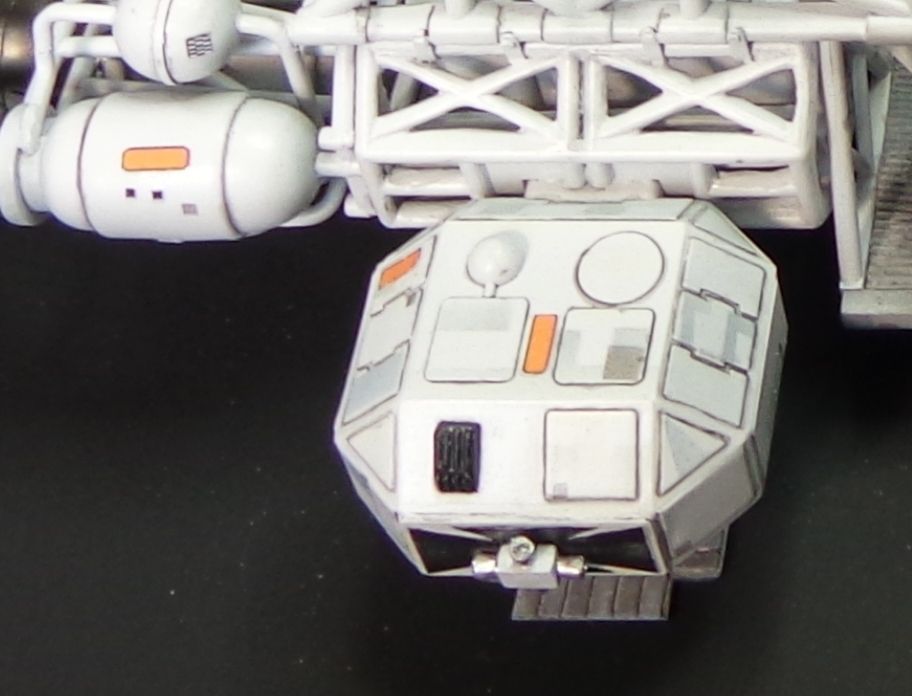
Adding the "decals" which are available on eBay. They are not actually "decals" per se as you would expect, but "stickers" which are actually printed on sticky-backed paper which is quite thick and a genuine pain to pry off the backing when you cut out the small pieces. Furthermore, being quite thick they are hard to cut out without deforming or ruining some of them. They also simply don't last long after you stick them on without some kind of sealing or improvement to the adhesive. I decided here to pry off the backing, and stick them onto the cutting matt, and then cut them out and apply them, each one, with superglue.
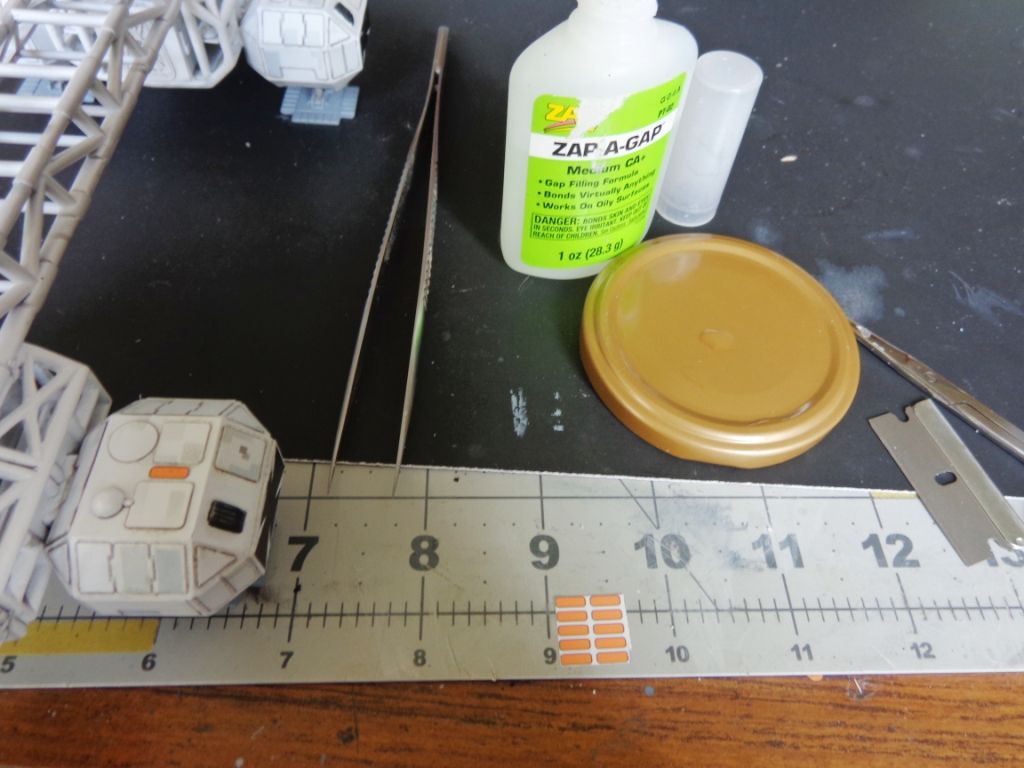
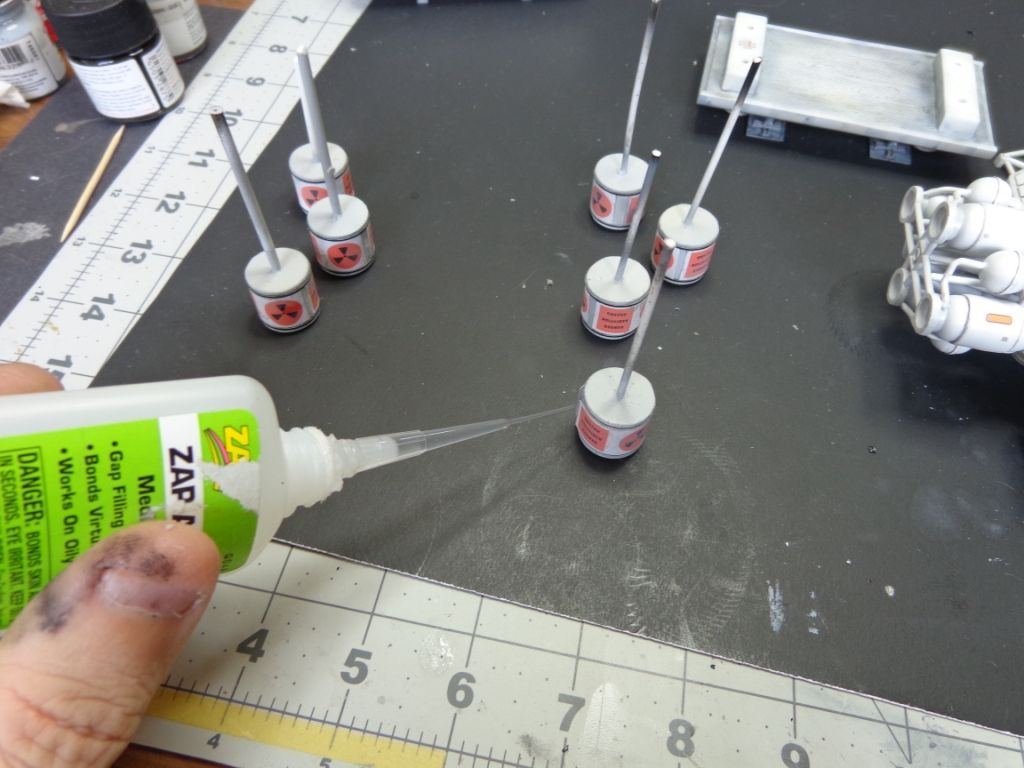
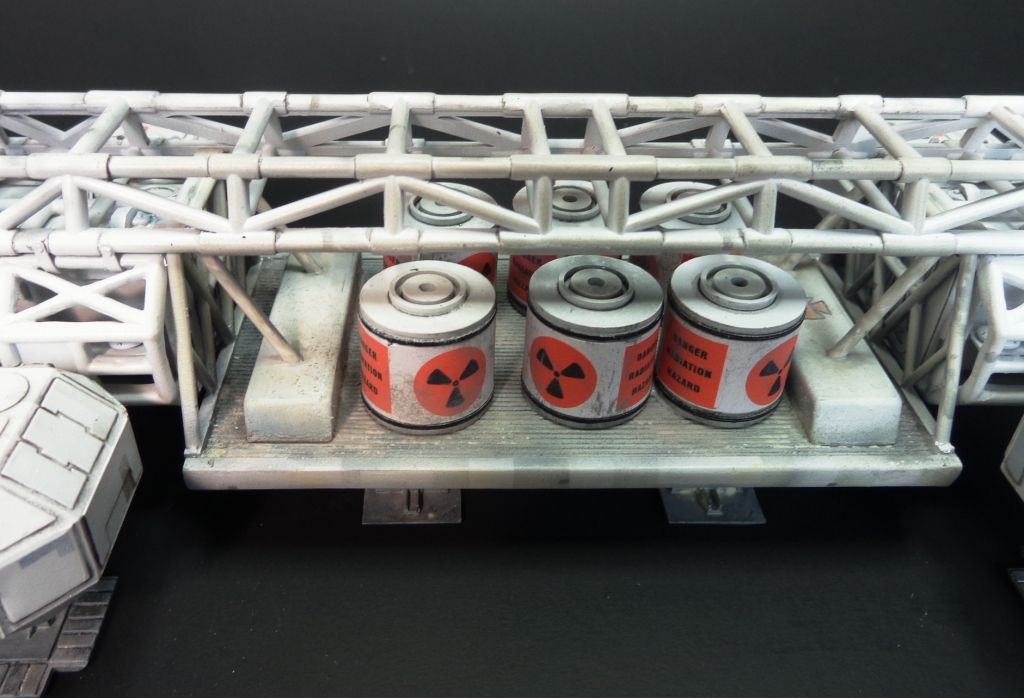
Same with the nuclear canisters: here, you can see how on the day after I applied these "decals" to the nuclear pods, they are already peeling off. And this was even over a smooth gloss coat to promote adhesion. A plea to manufacturers!: -- to WARP models who made this conversion kit, and to the cottage industries which produce "decals" for this Eagle; I realize that cost is always an issue, but I would gladly pay a few dollars more for some real waterslide decals!!
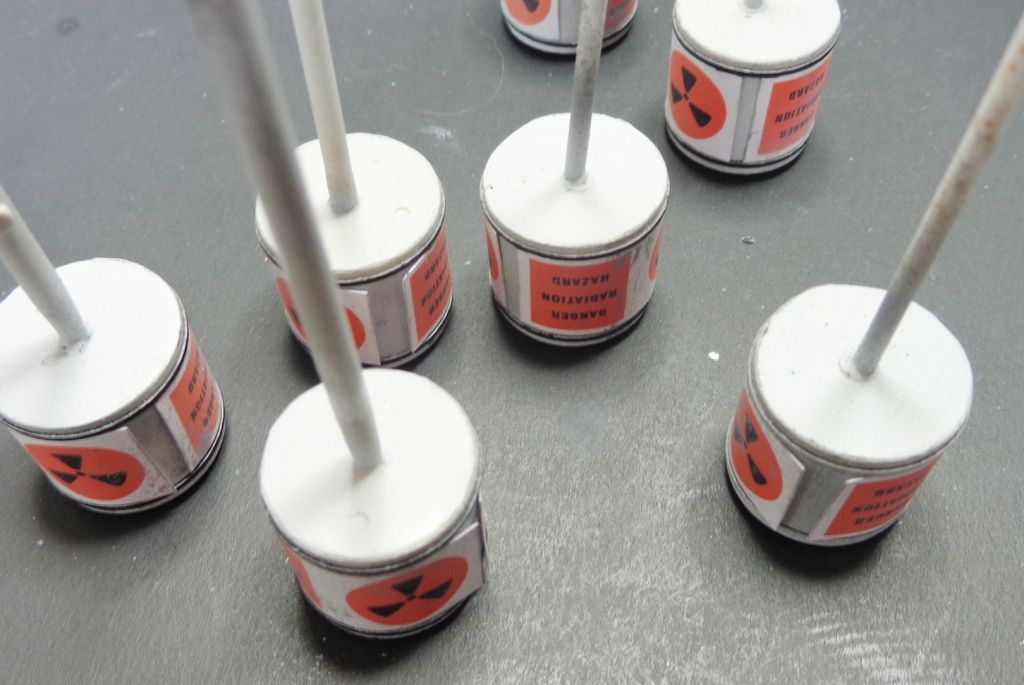
Again, I had to fix them with some superglue, applied with a precision tip.
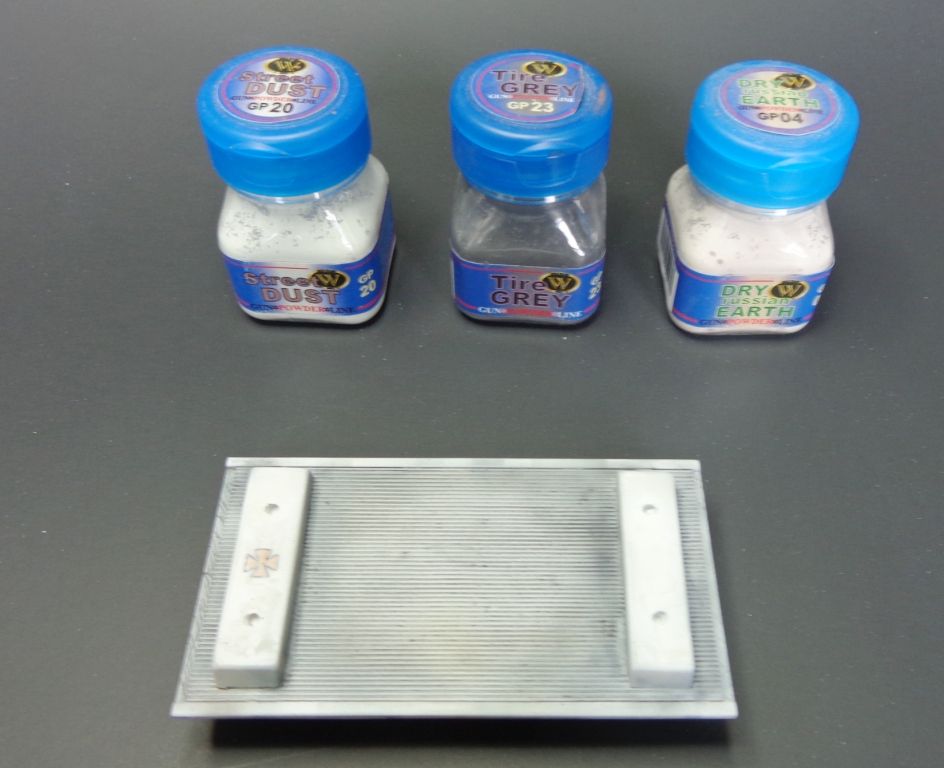
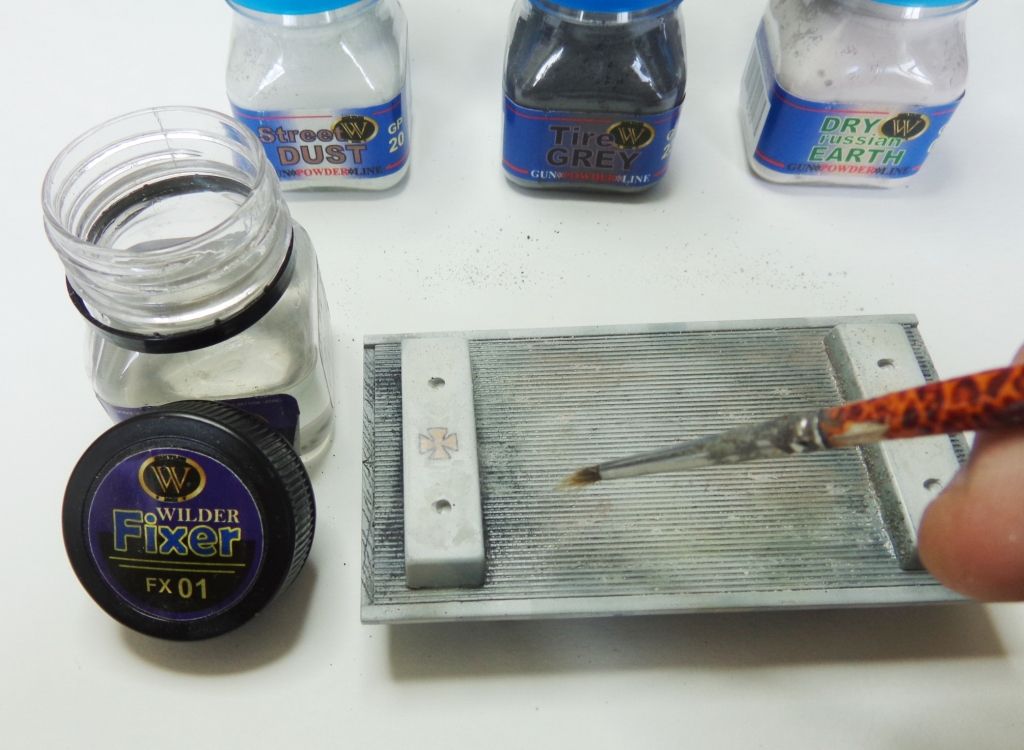
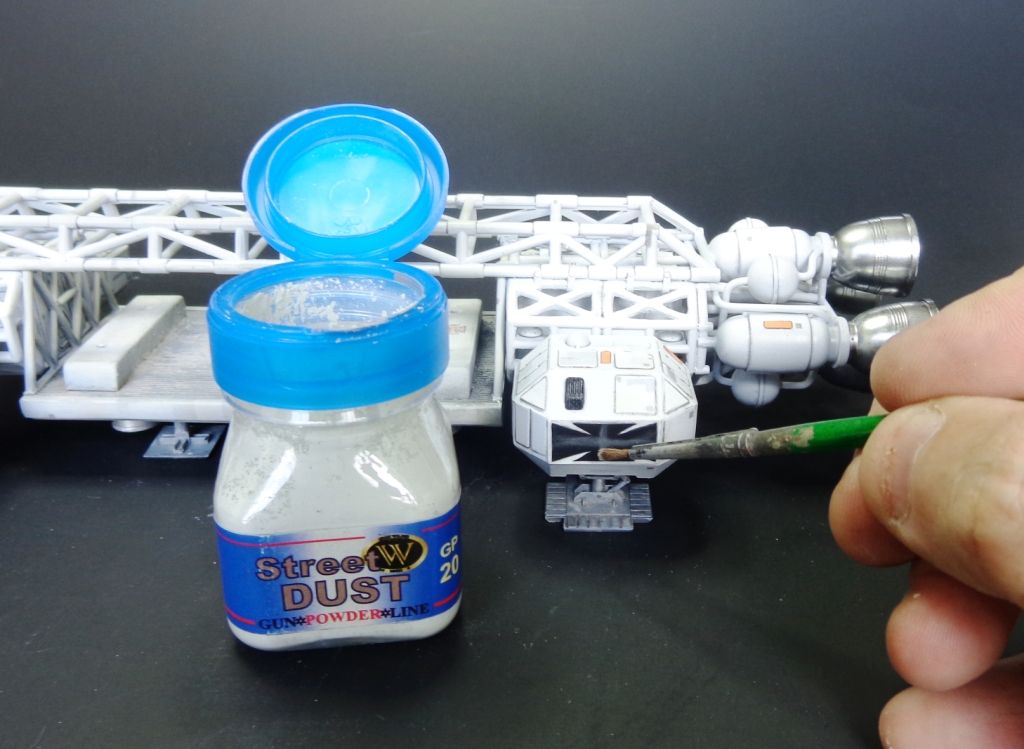
Next, it's time to put some "moon dust" on the cargo pallet. I chose three WILDER pigments: Street Dust (a light gray), Tire Gray (a darker shade of gray) and Dry Russian Earth (a slightly tannish tone, for warmth). This is done after the pallet has been washed with oils in grayish-black.
The pigments are applied with a raggedy paint brush...
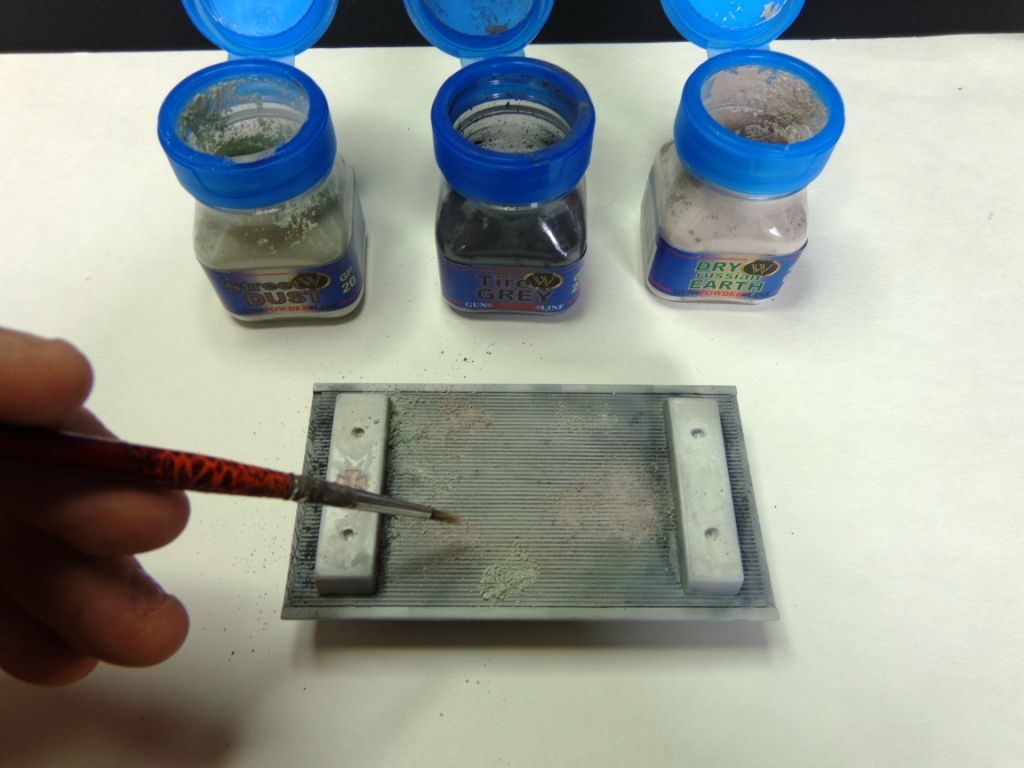
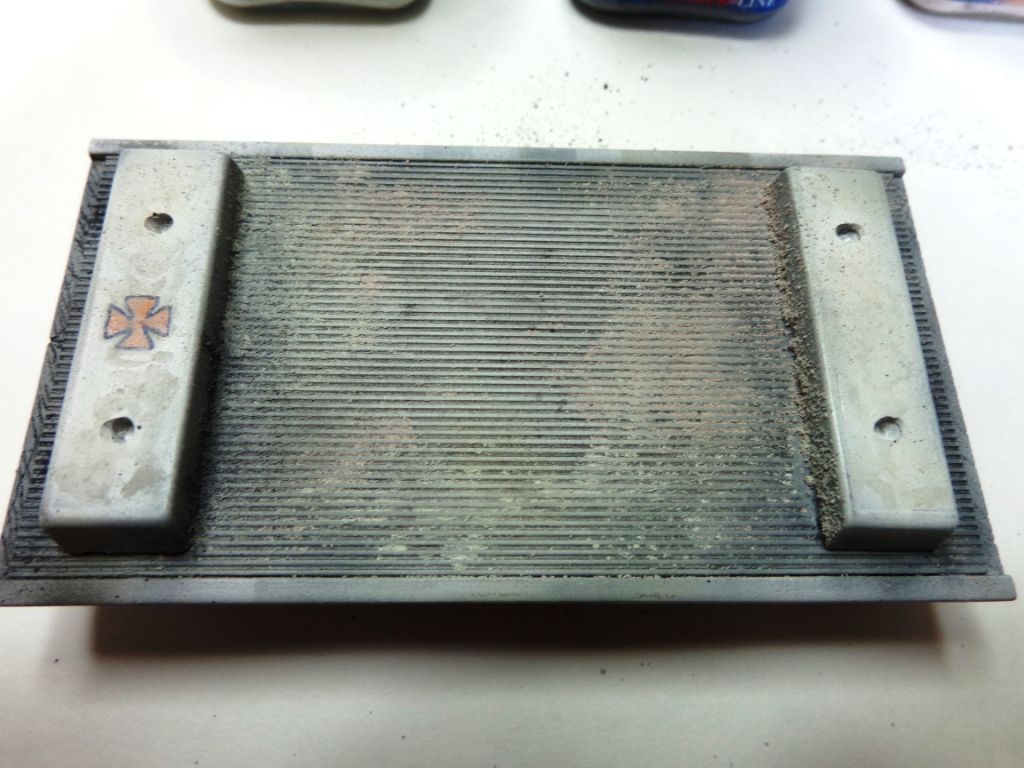
And sealed in with WILDER fixer.
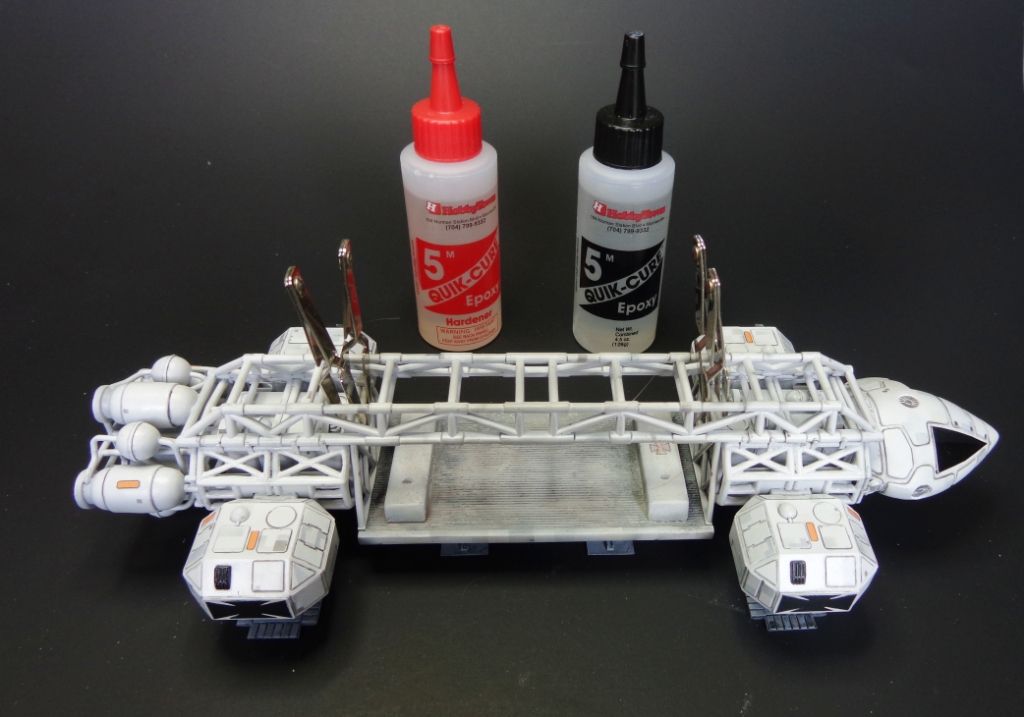
The cargo pallet was then carefully attached with 5-minute epoxy because it is heavier than styrene, being resin and white metal. I added the four diagonal white metal reinforcing bars, replacing them with .080 styrene rod after the epoxy had set.
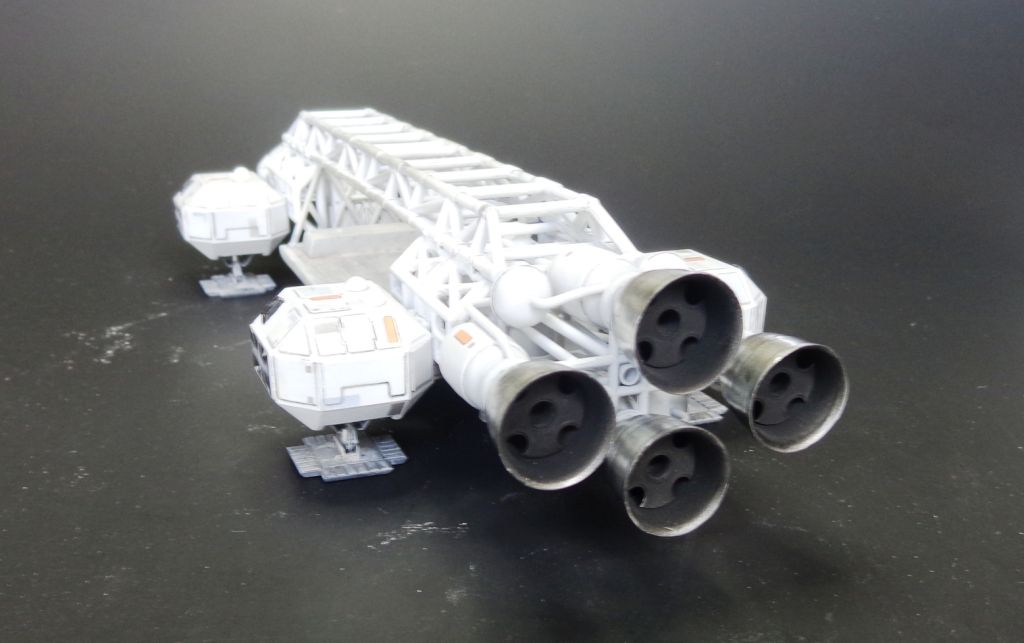
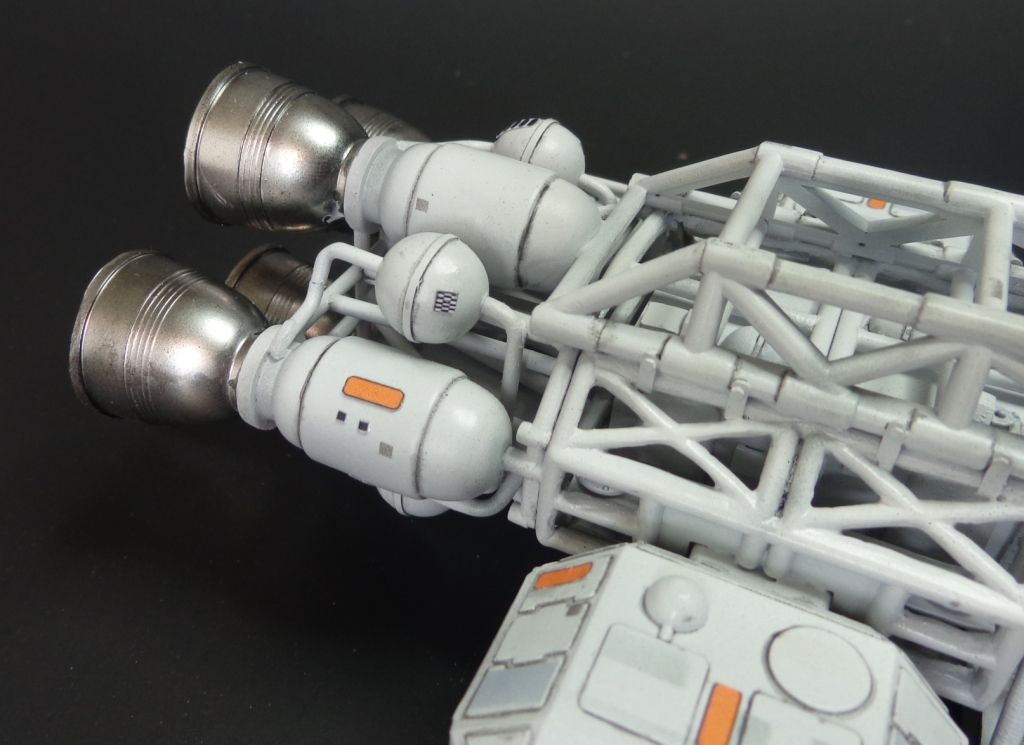
The inserts for the rocket thrusters were inserted and painted smoky black after the thrusters themselves were painted ALCLAD Chrome. I realize that I inserted the baffles wrong; they should be "cocked" with the holes at 3,6,9, and 12 o'clock. I have ordered some superglue debonder and will fix the thrusters' positions when I receive it.
I also decided to add some pigments to the "crosses" to simulate heat-degradation from the side thrusters. I also added some to the landing "feet" which are painted in Testor's Gunship Gray, and washed with Dark Gray oil.
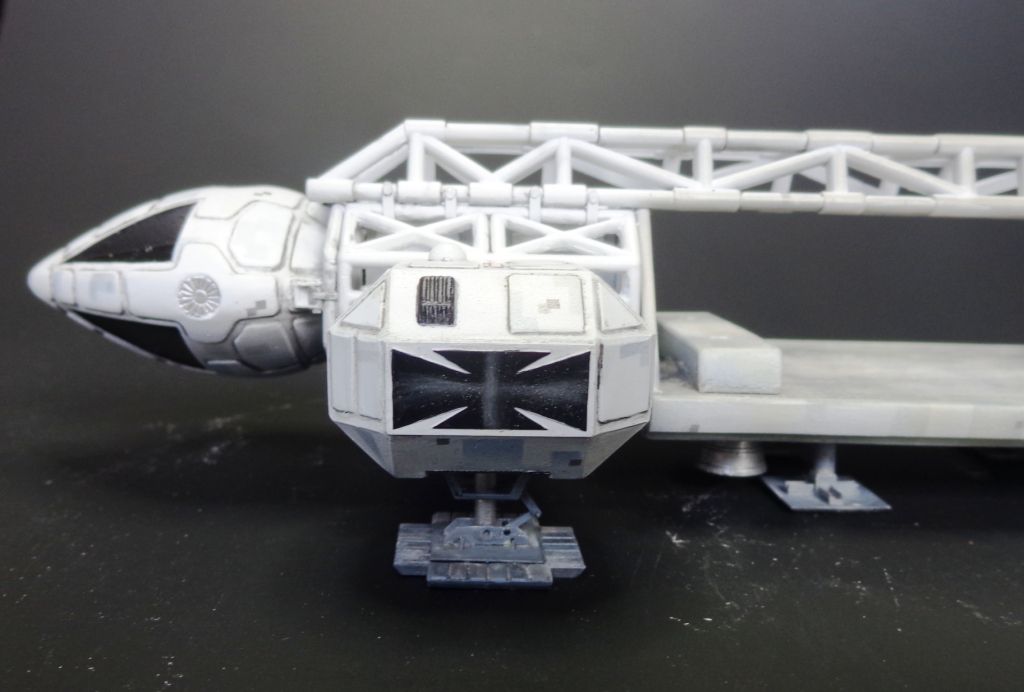
Lastly, I glued in the nuke pods, and tidied up some small detail painting, and these are finished pics. I'm still finishing up the passenger pod; pics of that later..
THE FINISHED CARGO EAGLE:
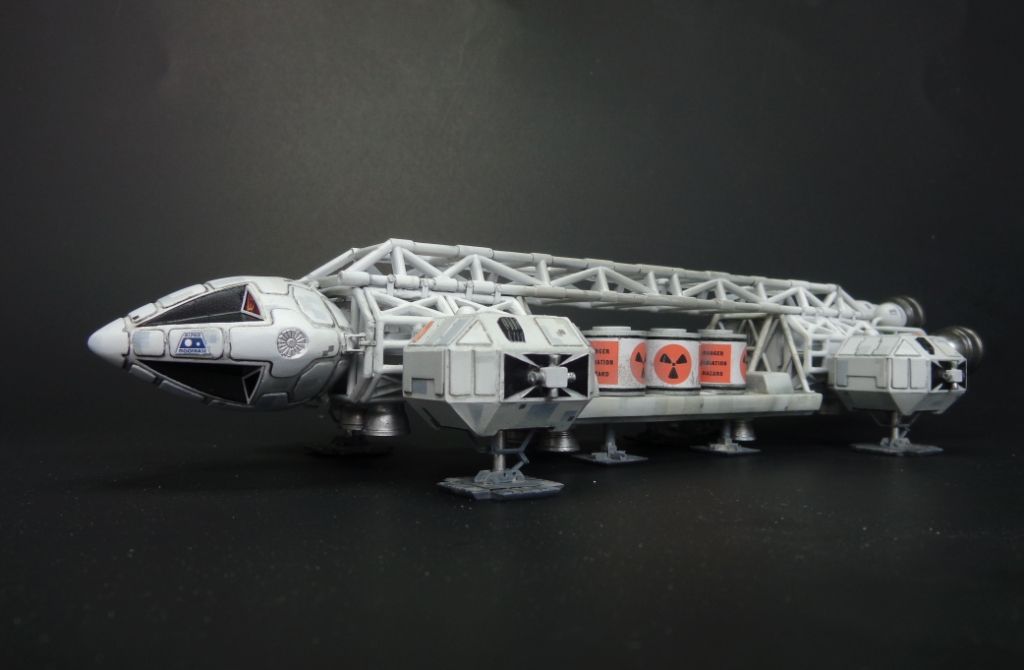
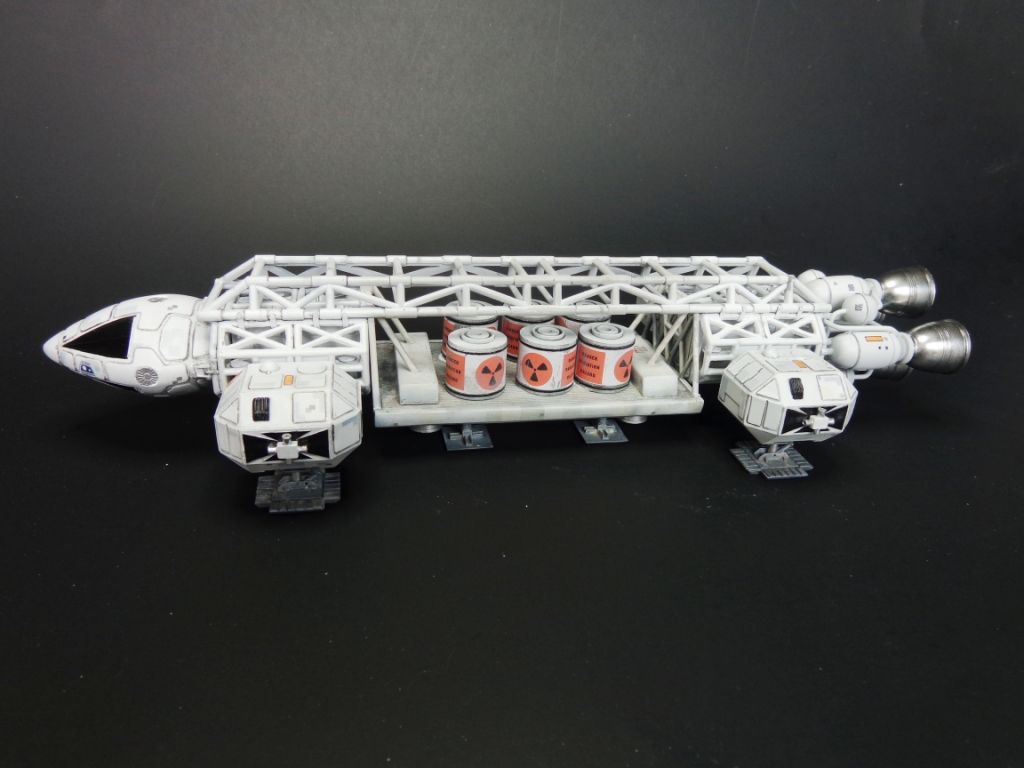
The command module decals look nice behind the PE "frames" which were the last thing I added.
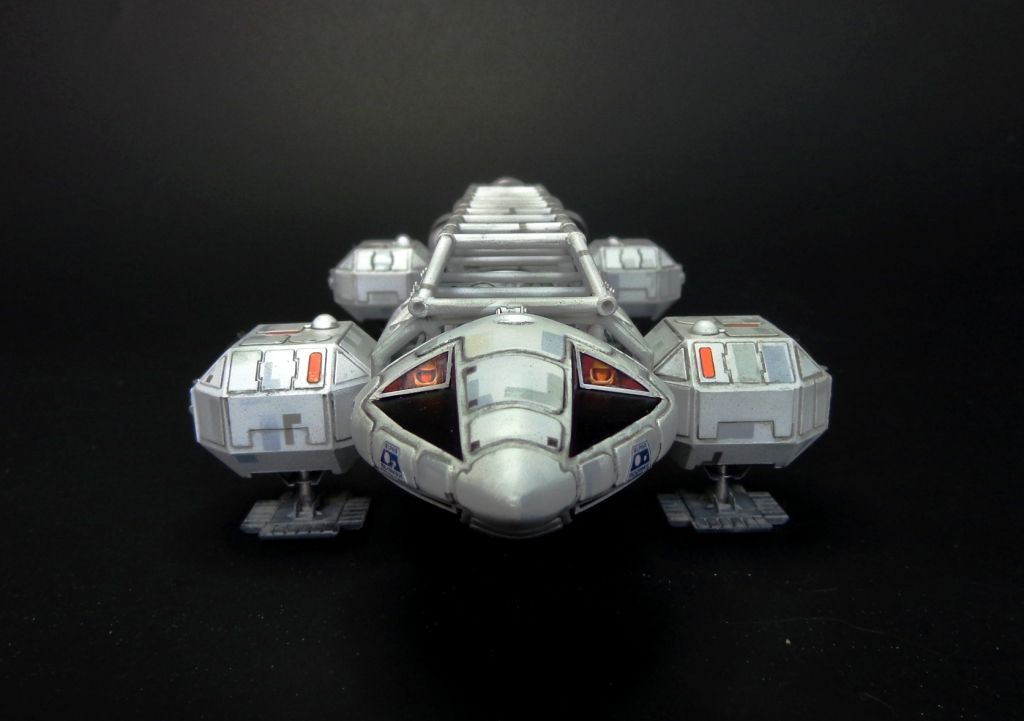
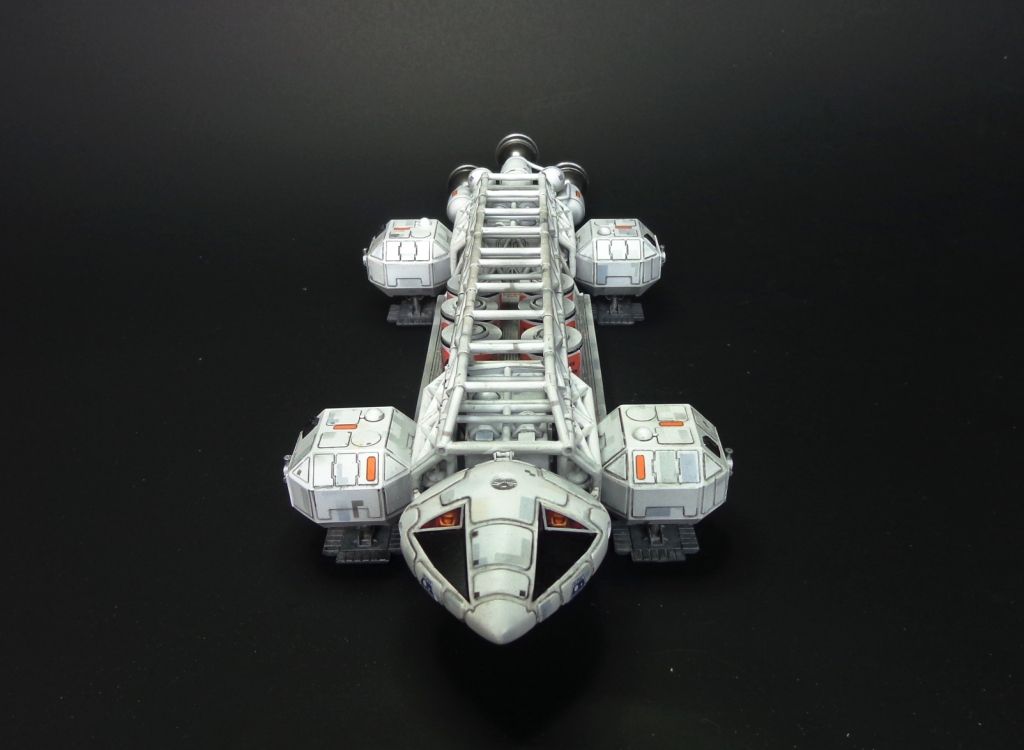
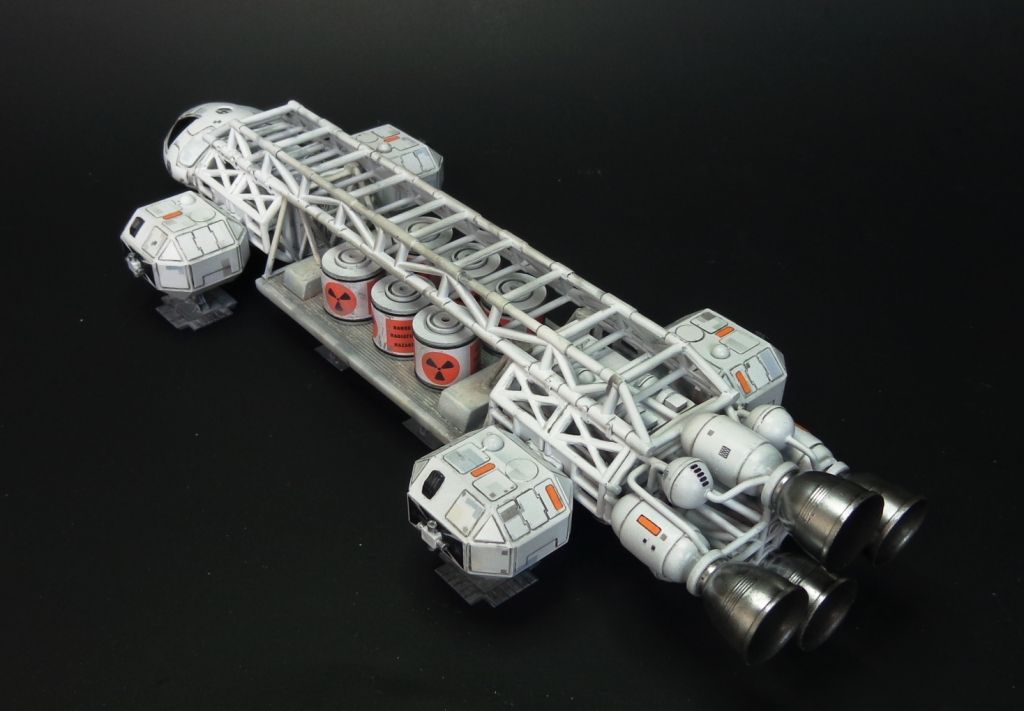
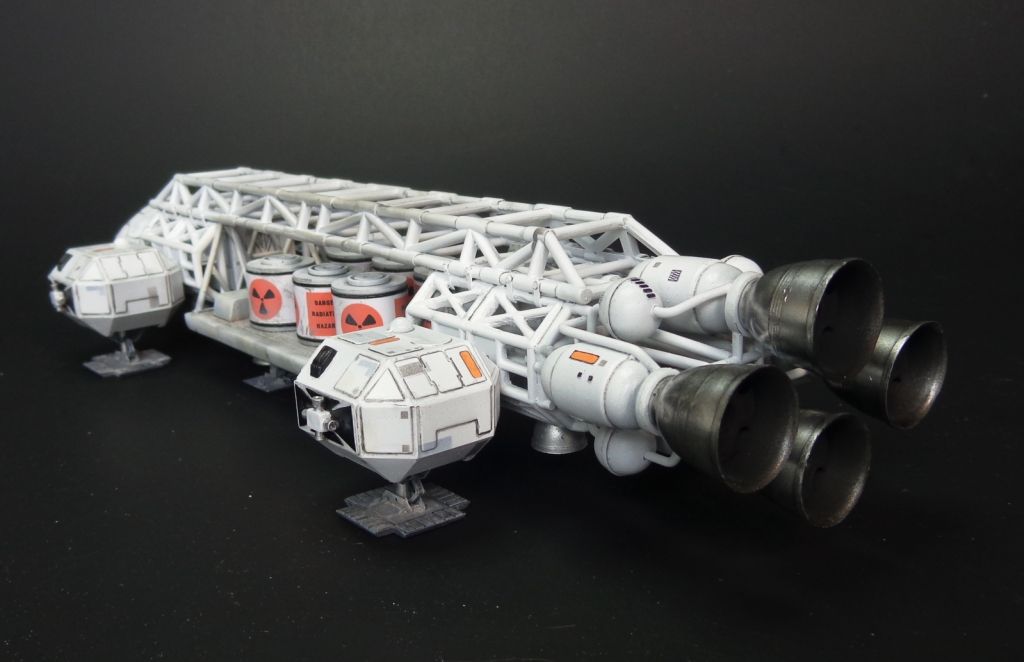
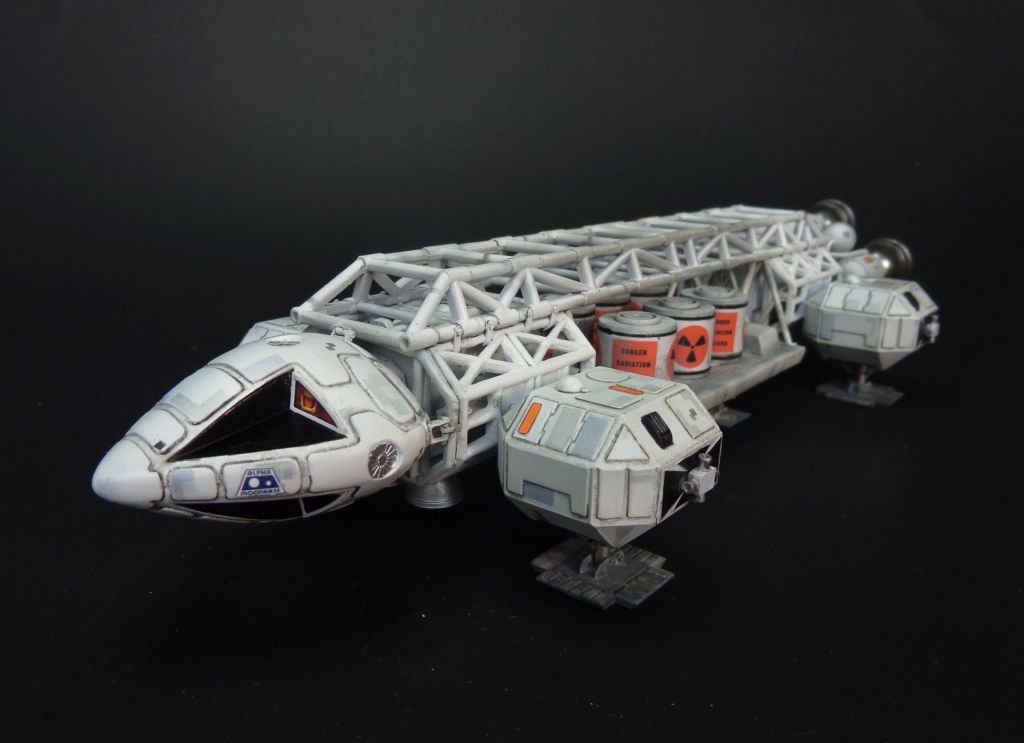
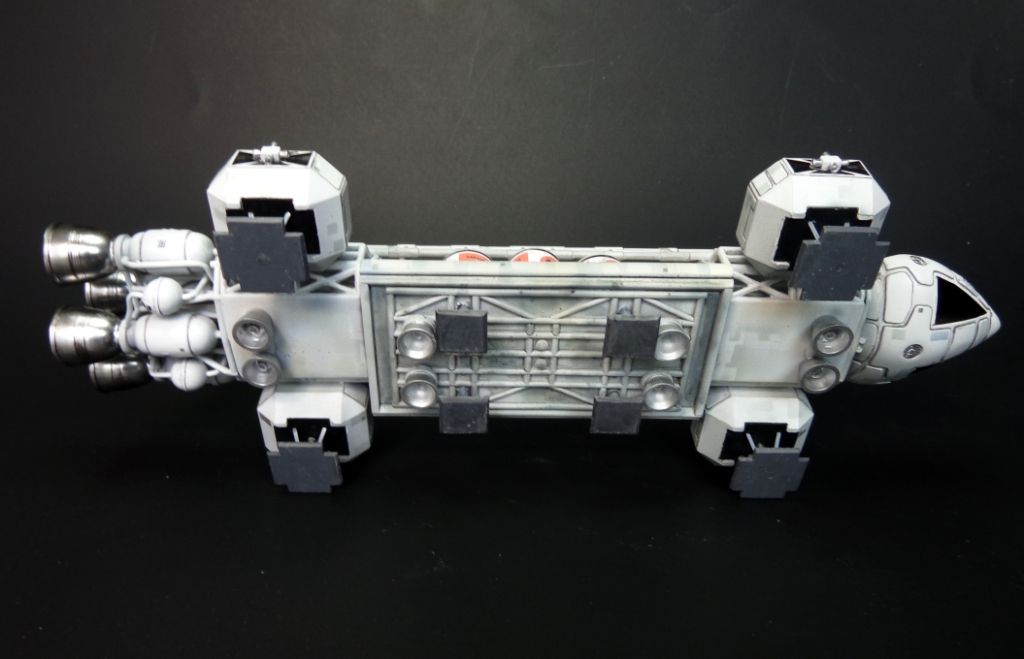
I decided to leave off a lot of the red/black and yellow "spine" decals which you often see, because they were added later in the season and you don't really see them in early episodes, nor on this Eagle. Early Eagles were rather "clean".
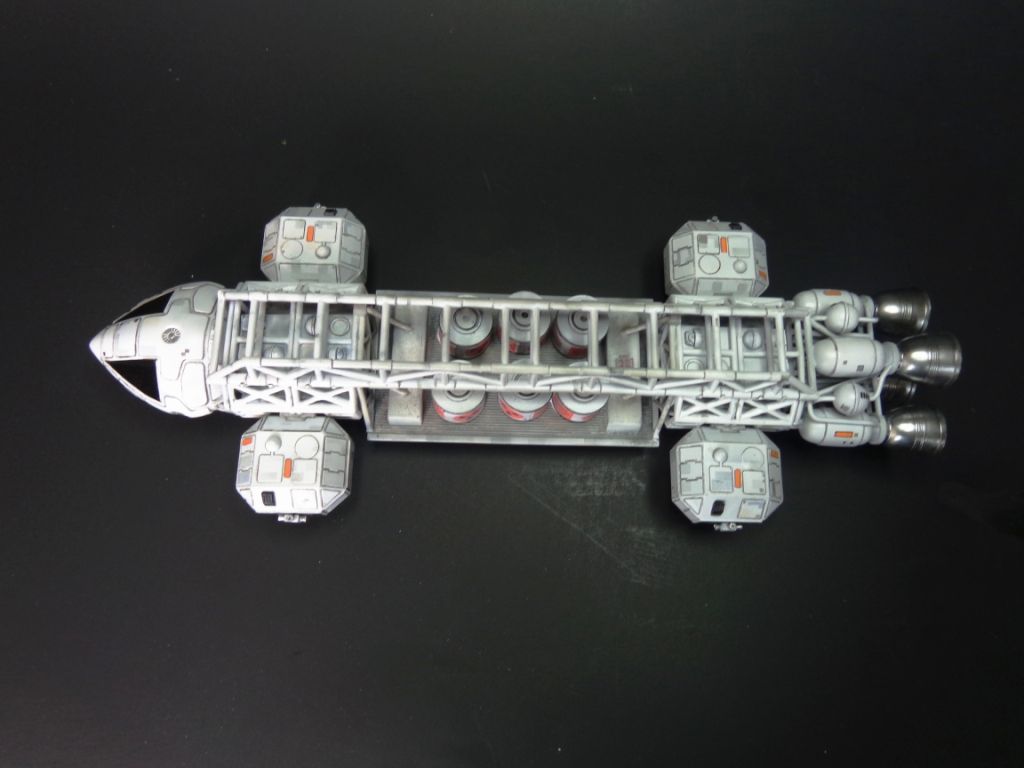
Details:
My two Eagles so far....
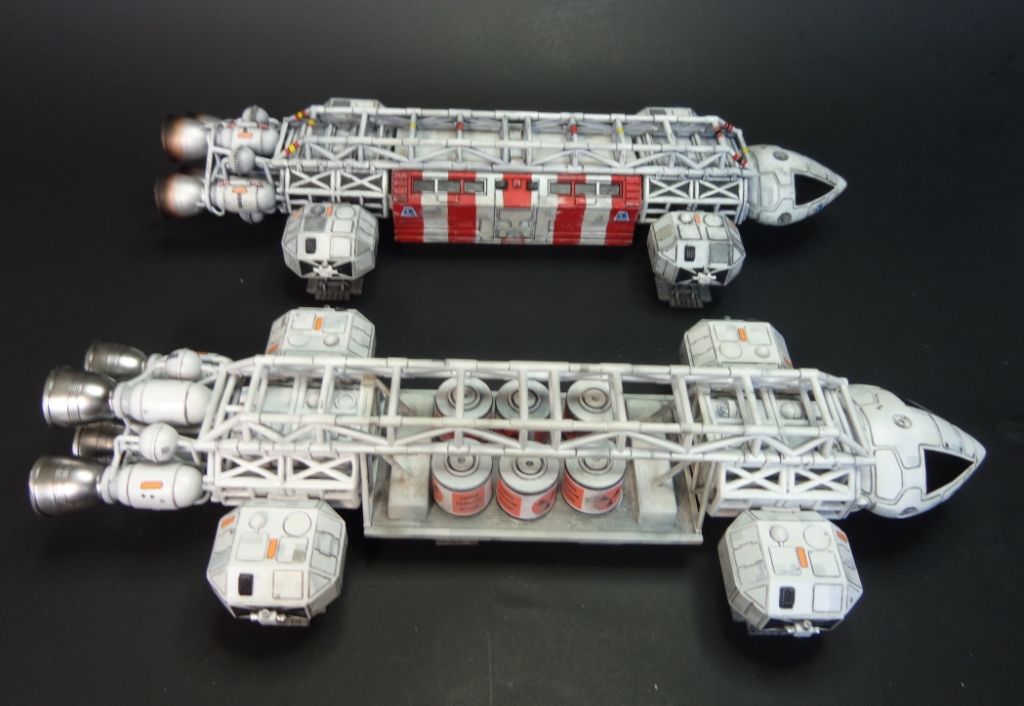
That's it for now! Check back later for pics of the passenger pod, and I'll probably throw in a photo of my finished Mattel Eagle when done! Thanks in advance to Cliff, Bob, Bish, and everyone else who has been following along on this build and showing so much support and interest! Comments always appreciated! 