SEARCH FINESCALE.COM

Enter keywords or a search phrase below:

1/350 ENTERPRISE REFIT BUILD

23065 views
67 replies
1 rating 2 rating 3 rating 4 rating 5 rating
  • Member since
    December 2013
Posted by Jim Kirk on Thursday, January 2, 2020 2:39 PM

Here's a quick video of the completed model on my coffee table...


  • Member since
    December 2010
Posted by danburnsart on Tuesday, December 31, 2019 9:54 PM
gorgeous!!!!!!!
  • Member since
    December 2013
Posted by Jim Kirk on Monday, December 30, 2019 9:09 PM

While taking a much needed break from the bench, I put together this video of my 1/350 Refit.

  • Member since
    December 2013
Posted by Jim Kirk on Saturday, December 28, 2019 4:15 PM

  • Member since
    December 2013
Posted by Jim Kirk on Wednesday, December 25, 2019 11:15 AM

Again, many thanks!!!!


  • Member since
    November 2009
  • From: SW Virginia
Posted by Gamera on Wednesday, December 25, 2019 8:02 AM

That's fantastic! I'd swear it were footage from The Motion Picture if you didn't tell me it was your model! 

"I dream in fire but work in clay." -Arthur Machen


  • Member since
    December 2013
Posted by Jim Kirk on Tuesday, December 24, 2019 11:07 AM

Another tribute video featuring my 1/350 Refit build...


  • Member since
    December 2013
Posted by Jim Kirk on Monday, December 23, 2019 2:01 PM

Many Thanks!!


  • Member since
    February 2018
  • From: North Carolina, USA
Posted by Model Monkey on Thursday, December 19, 2019 4:20 PM

Absolutely brilliant.

  • Member since
    December 2013
Posted by Jim Kirk on Thursday, December 19, 2019 2:43 PM

Some more test SPFX with my 1/350 Refit!


  • Member since
    December 2010
Posted by danburnsart on Thursday, December 19, 2019 10:45 AM
Wow. Beautiful! Bravo!
  • Member since
    December 2013
Posted by Jim Kirk on Wednesday, December 18, 2019 4:02 PM

  • Member since
    December 2013
Posted by Jim Kirk on Tuesday, December 17, 2019 12:02 PM

  • Member since
    December 2013
Posted by Jim Kirk on Sunday, December 15, 2019 5:00 PM
  • Member since
    November 2009
  • From: SW Virginia
Posted by Gamera on Friday, December 13, 2019 9:52 AM

Again, I'd swear it were the real deal if you didn't tell me otherwise! 

"I dream in fire but work in clay." -Arthur Machen


  • Member since
    December 2013
Posted by Jim Kirk on Friday, December 13, 2019 5:14 AM

I did a quick video replicating the launch sequence from The Motion Picture. Nothing fancy, shot in front of a black drop cloth. Once the model is 100% complete, I plan on making another video, much more accurate.
 
It was fun!
  • Member since
    December 2013
Posted by Jim Kirk on Monday, December 9, 2019 12:59 PM

  • Member since
    December 2013
Posted by Jim Kirk on Saturday, December 7, 2019 5:10 PM

Since I have already posted the typical tabletop/ cluttered background pictures, now It's time to have fun!


I put my 1/350 Refit in it's element.


  • Member since
    December 2013
Posted by Jim Kirk on Friday, December 6, 2019 5:39 PM
On the dinning room table...
 
  • Member since
    November 2009
  • From: SW Virginia
Posted by Gamera on Friday, December 6, 2019 9:44 AM

Yeah, your results look awesome! I think even Scotty would be proud. 

I love the Aztec paint work you've done. I've got the kit but it keeps scaring me off. 

"I dream in fire but work in clay." -Arthur Machen


  • Member since
    December 2002
  • From: Fort Knox
Posted by Rob Gronovius on Thursday, December 5, 2019 11:51 PM

Very impressive builds. Great job. I love that your refit Enterprise is not an "-A". Folks forget that the Enterprise A didn't show up until the end of Star Trek: The Voyage Home, aka STIV.

  • Member since
    February 2003
  • From: East Bethel, MN
Posted by midnightprowler on Friday, November 29, 2019 11:48 AM

Both are beautiful but the one on the left, be still my thumping heart❤️❤️❤️

Hi, I am Lee, I am a plastiholic.

Co. A, 682 Engineers, Ltchfield, MN, 1980-1986

1 Thessalonians 4:13-18 1 Corinthians 15:51-54

Ask me about Speedway Decals

  • Member since
    December 2013
Posted by Jim Kirk on Friday, November 29, 2019 10:07 AM

With the 1/350 Original series build...


  • Member since
    December 2013
Posted by Jim Kirk on Thursday, November 28, 2019 10:01 AM

  • Member since
    July 2014
Posted by modelcrazy on Wednesday, November 27, 2019 11:52 AM

Crazy good looking work Jim.

Steve

Building a kit from your stash is like cutting a head off a Hydra, two more take it's place.


http://www.spamodeler.com/forum/

  • Member since
    December 2013
Posted by Jim Kirk on Wednesday, November 27, 2019 11:01 AM

The electronics and lighting have been installed 100%.


Although there is much more work to do, the model is finally beginning to look right. Still need to address several areas for clean up and lighten some of the coloring...However, I am happy with the progress so far.


I also stopped by to see my friends at my local Hobby Shop to allow them to inspect and enjoy the model...

  • Member since
    April 2009
  • From: Longmont, Colorado
Posted by Cadet Chuck on Friday, November 1, 2019 4:45 PM

Beautiful work, Jim!  I am working on one of those right now, and your pics have been very helpful.  I must say that this kit (Polar Lights) is the most poorly documented I have ever experienced.  What they supplied is totally inadequate.  Drawings are incomplete and  difficult to read, and there are really no instructions.  Heck, I worked on it for 5 days before I could figure out where the "VIP Lounge" was supposed to go.  However, I will say, that the parts are well made, and fit together nicely.  So far it has been a fun build.

Gimme a pigfoot, and a bottle of beer...

  • Member since
    December 2013
Posted by Jim Kirk on Thursday, October 31, 2019 7:34 AM


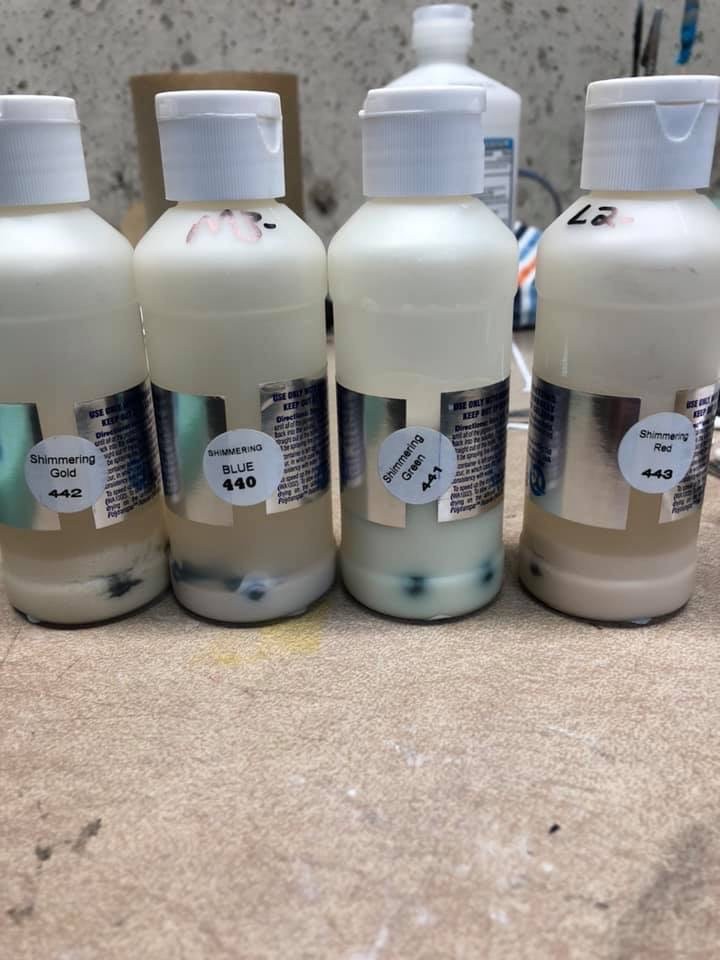
I used acrylic Incandescent paint. Four colors were used on the refit(The fifth is the white Base color). They are Gold, Green, Red and blue.

I highly recommend getting the Trekmodeler paint guide to navigate which colors go where.


The masking set I used/am using is from Orbital Dry-docks . The masks are low tack, but have sufficient adhesion.


I had NO issue with the Iridescent being pulled up. The paint is surprisingly strong and resilient . I used a Hair dryer(DON'T use a heat gun!! It softens the plastic and can damage your paints!!!) after each application to hasten the drying time so I can move along(I have three of these things to build! Ugh!!).


Here are the Paints I used...
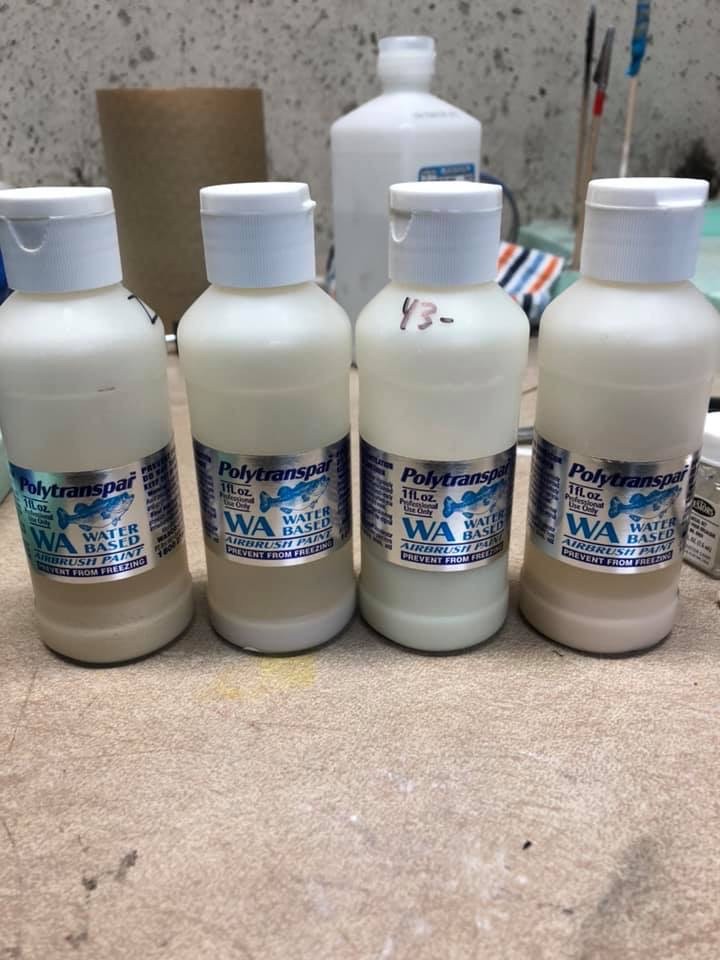
 

More updates coming soon! Hope this info helps!!

  • Member since
    January 2015
Posted by PFJN on Monday, October 28, 2019 4:36 PM

Cool, thanks for the info.  Those images prior to painting are making me dizzy Stick out tongue

Pat

1st Group BuildSP

  • Member since
    December 2013
Posted by Jim Kirk on Monday, October 28, 2019 8:02 AM
My process for the Aztecking. Here is the process for the saucer. If you want your build to reflect the filming mature and have the Aztecking subtle, you need an airbrush. 

A larger industrial paint gun that is used to paint houses or cars... is used for houses and cars NOT a model kit.

Why? Because your going to spray too much paint on to the model. And instead if the subtle texture, it looks more like a quilt Grandma knitted. 

My brush was set at 40 PSI. a little paint goes a long way.


JOIN OUR COMMUNITY!

Our community is FREE to join. To participate you must either login or register for an account.

SEARCH FORUMS
FREE NEWSLETTER
By signing up you may also receive reader surveys and occasional special offers. We do not sell, rent or trade our email lists. View our Privacy Policy.