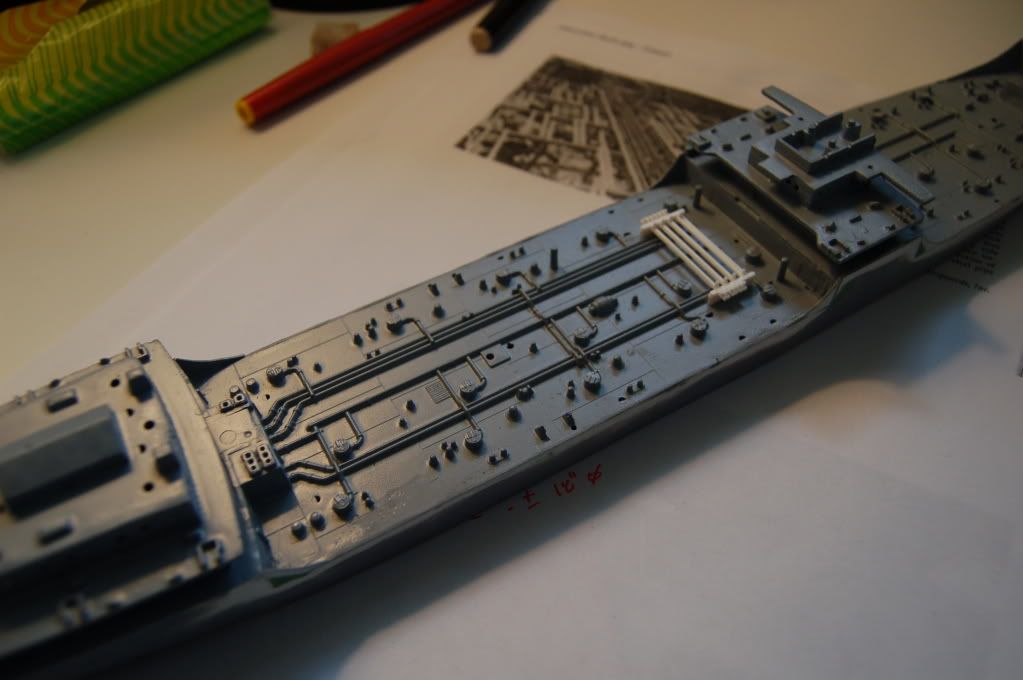
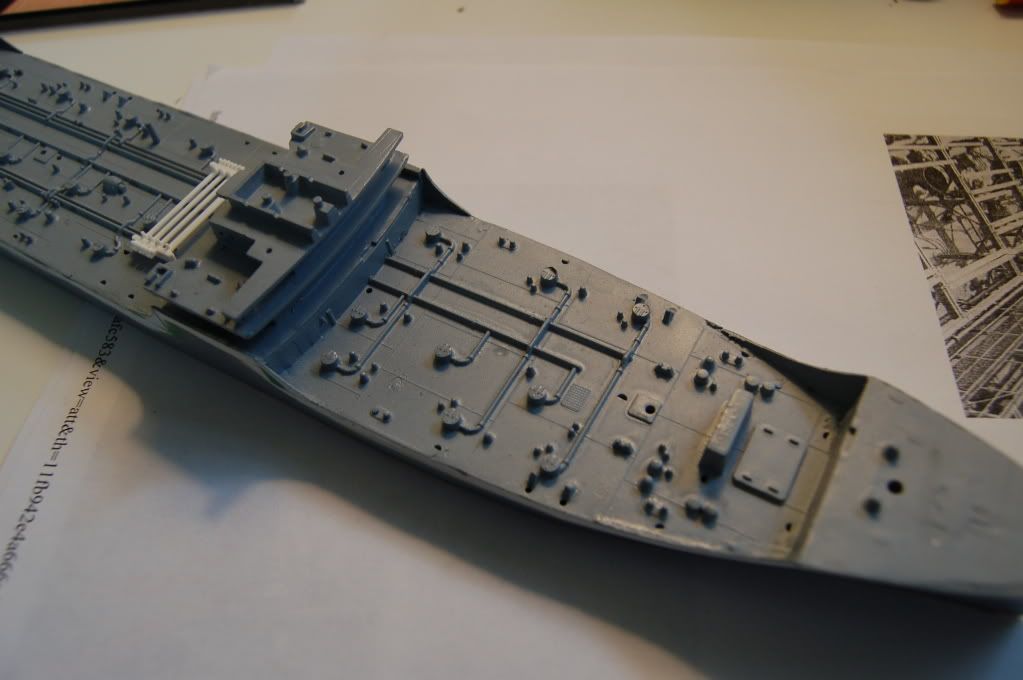
Thanks Fred and MikeyM. The model shot Fred posted earlier of a model at a show has all of the Revell deck detail straight out of the box. Looking at it, I noticed just behind the midship structure what looks to be a rack of pipes crossways, not on my kit's deck. Oh wait- it's a separate part. off to the box, looked at the instructions- it's Part 10 "pipe and valves", and lo and behold there you posted it Fred! So that's that. Nothing forward of the bridge tho.

Nothing forward of the bridge tho.

Next tho looking at the Smithsonian model on the Steelnavy link, the picture called "deck level plumbing"; worth a thousand words. There's the manifold, which has multiple connections to two sizes of pipe that run fore and aft- larger to port and smaller on the other side.
And the shot "forward deck and pilot house" which is a lot sharper than the one zoomed in. There's the forward valve manifold!!! I've spent an hour staring at these, and a pot of coffee, and I'm a little buzzyheaded, but bear with me. Open another tab and get the "deck level plumbing" pic up so that you can ref. back and forth. First, there are three big pipes crossways (athwarts, but I'm going to go off nautical here just to get it spelled out. Each has a siamese valve at each end, each of which has a valve at it's base. Each of these three larger pipes has a connection to a pipe that runs aft. The siamese valve has a side connection to a fourth valve, which runs to a smaller pipe that runs athwart, and has the same arrangement on the other side, at the other end of it's parent pipe. Each of these three smaller pipes is connected to a pipe that runs aft only from this point. Plus there's a fourth small pipe across that is connected to a pipe that runs fore and aft. The kit has three pipes cast on to port on the rear deck, which are correct, and two to starboard, which should be smaller and there should be four. Deep breath- got that. Would the larger pipes be the on/off load system and the smaller pipes the stripping system?
Then you see the smallest pipes that run from the hatches. These would appear to be the vents. On the kit they are well represented, although all three systems are the same size. When you look really closely at the way the pipes were cast, these pipes go up and onto the fore/aft pipes, but they don't really connect- they just end there. I think it was all meant to just dissappear under the walkway.
Forward of the pilot house I think I'll go ahead and use Part 10 again from the second kit, and worry about how to replace it later. There are a pair of fore/ aft pipes on the big model, and the same on the kit although they're spaced apart a few feet. They run up to the forward pump room trunk, and stop a good 50 feet short on the kit so I think I'll add extensions. Thats all for now, I need a nap!
Thanks for all the great info!
The Smithsonian tanker is a really nice model, and I'm wondering if there's one in the Maritime Museum here. I will have to go look.
To attempt to modify the kit to get this right would be futile, it actually appears much easier to scratchbuild new decks and pipes. Not this time!
My N scale valve wheel idea won't work, they're too big. I need another source of tiny round things.