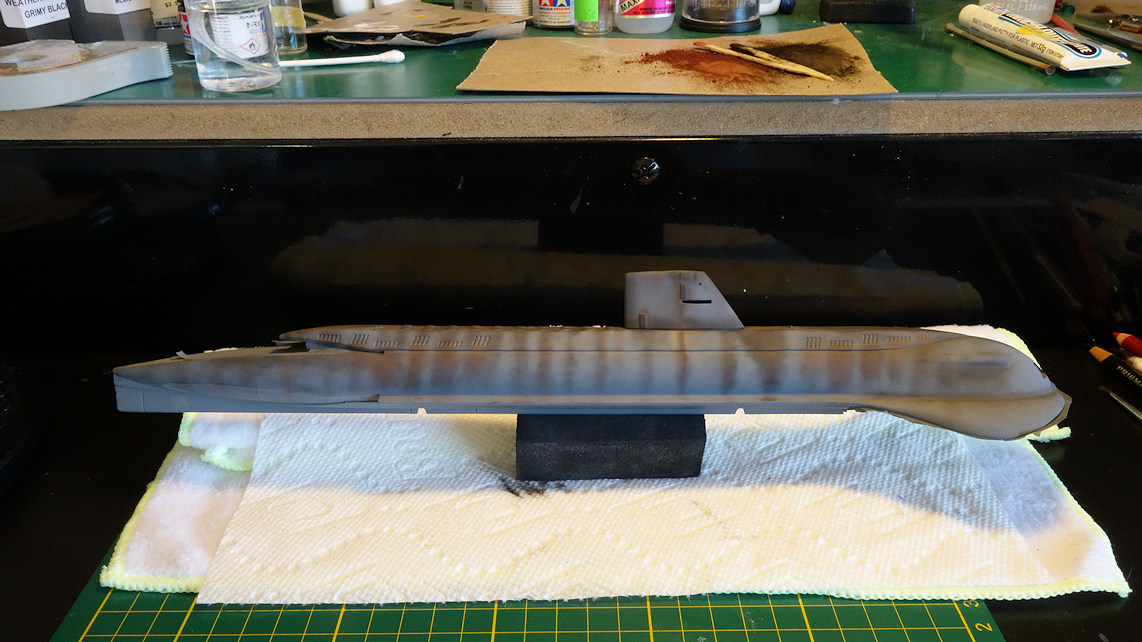
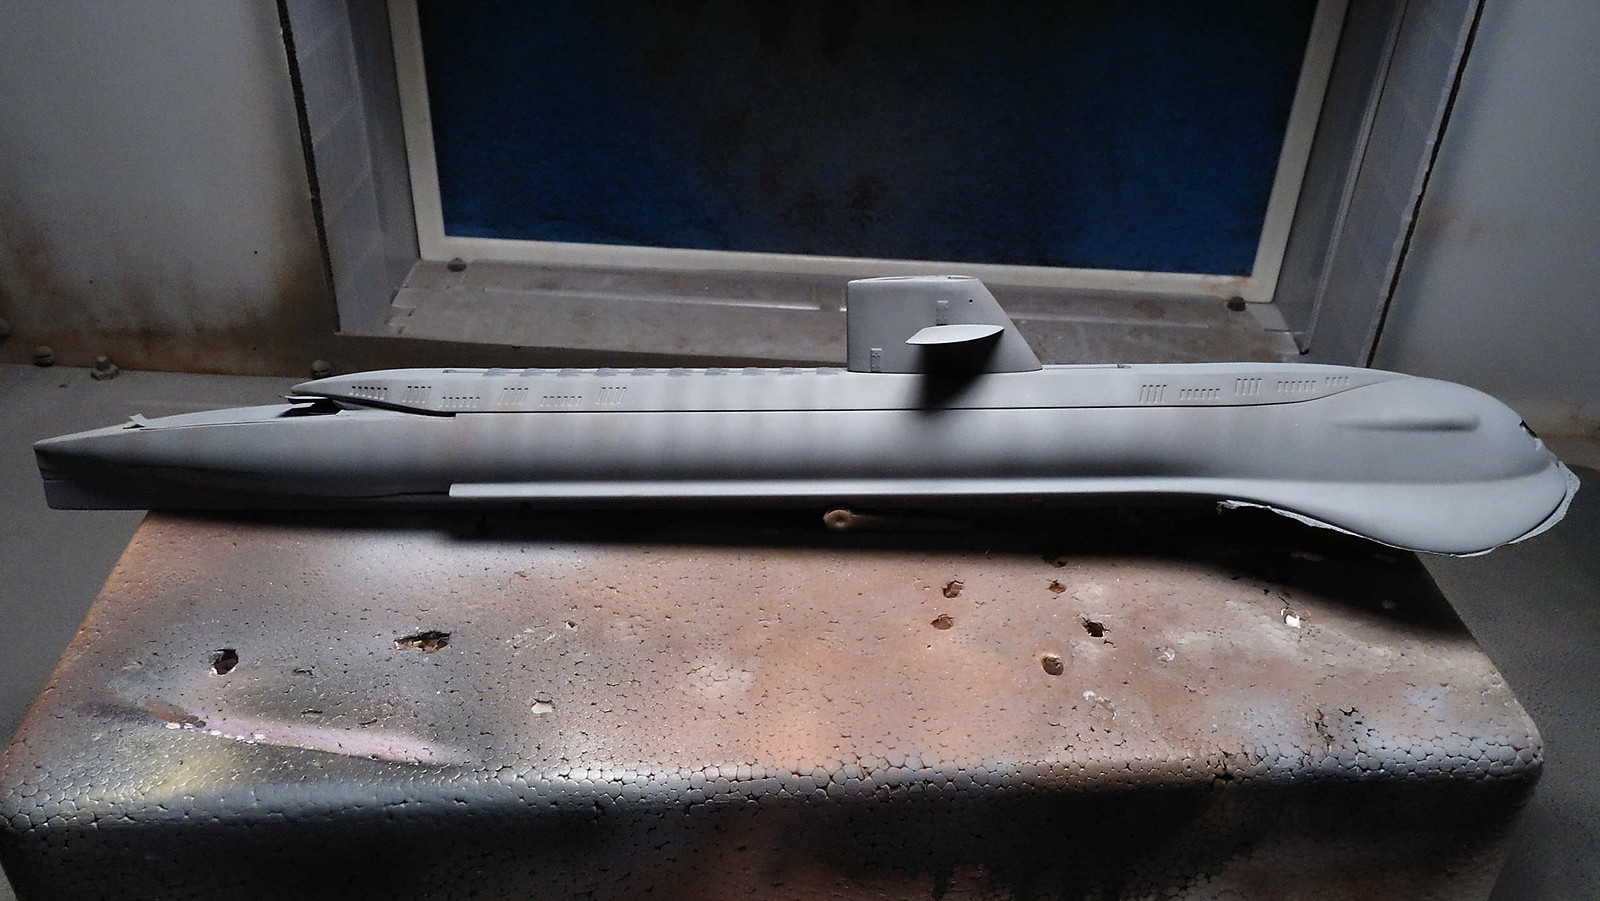
The problem of over-weathering
Why not solve my problem of over-weathering by following the process of pre-shading? Basically, it pushes the weathering back by using the hull color as top coat. At the same time--it seals it in. For the subtle effect that I was looking for... this worked pretty well. It got me very close to what I was looking for.
Below: Here is the finished product. Er...um, NOT. Here is how it looked before top coat. Beautiful isn't it?

Below: Here is how it looks after the top coat.. The sail assembly is not glued; it's placed on the model just for reference. I pushed the weathering way back. I didn't want it to look like a rust bucket. Some of the shading is lost in the image... the camera does not do well to capture the more subtle shades. Anyway--for what it's worth--that's that.

A few things that I learned in all of this:
1. The problem that Greg mentioned of weathering chalk blowing off by airbrushing seemed to be a common theme in my research. Most suggested applying a seal coat by spraying from above, and to let the coating settle on the model.
2. Steve5's suggestion to use decal setting solution is a good one. I tested it--it works. It is something to consider. In fact--Humbrol follows that line of thought as well. I found some excellent videos that Humbrol produced on the subject. I pasted links below for if you are interested. I do not believe that you'd need to use their product line either. I am not pushing their product.
3. The other solution is to use commercial weathering powders/pigments. I purchased a set of weathering powders from a company called AIM Products. They add binders to the powder. Let me tell you... they work. I would have zero problems airbrushing as normal.
Here are the Humbrol links.
https://www.youtube.com/watch?v=Rmgx2IijrCk
https://www.youtube.com/watch?v=9Gmy7mWSBJY
Next up? It is time to black out all of those ballast vents.