Made qute a bit of progress on the Victor over the last couple of weks. Got the interior all together and ready to fit.


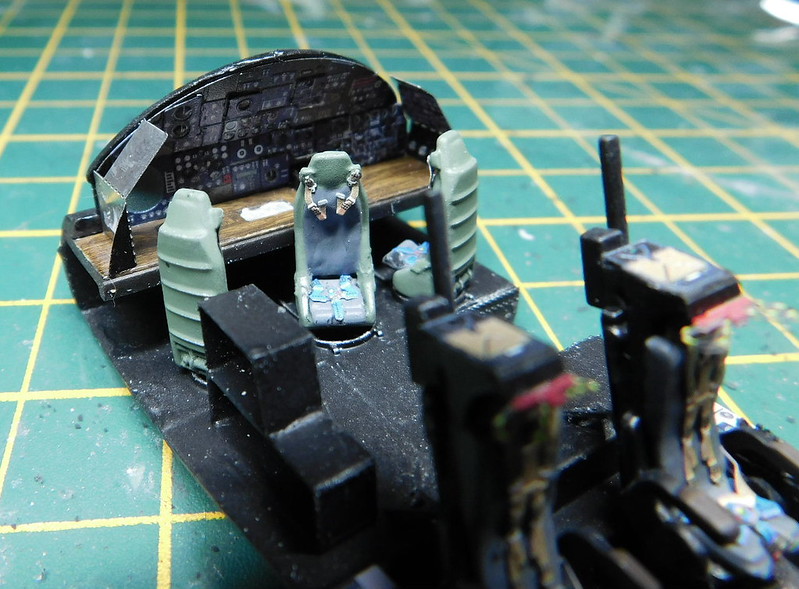
And got that into the fuselage alogn with the forward landing gear.
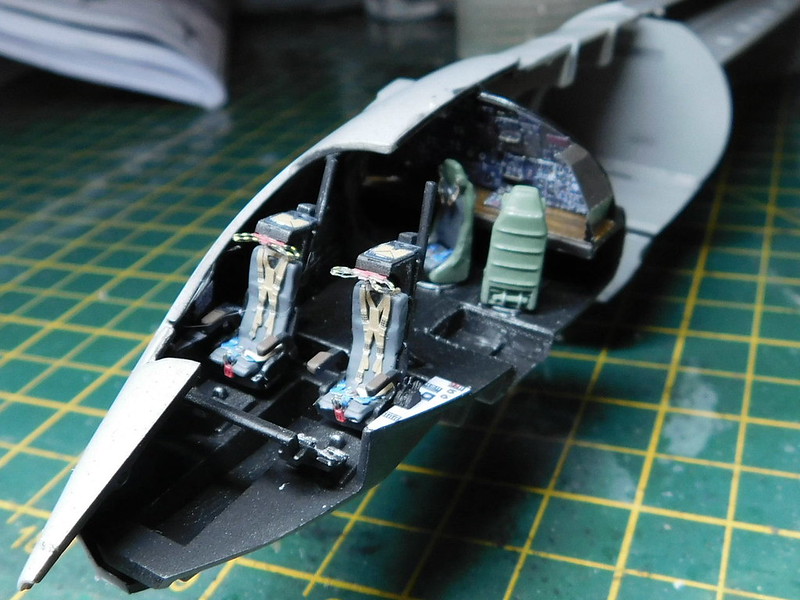

And then the fuselage closed up without to many issues.

![]()
As you can see, i have added the cover over the bomb bay. This is sooner than the instructions indicate and may have been an error


Posted by
Bish on Sunday, October 10, 2021 11:18 AM
Made qute a bit of progress on the Victor over the last couple of weks. Got the interior all together and ready to fit.
And got that into the fuselage alogn with the forward landing gear.
And then the fuselage closed up without to many issues.
As you can see, i have added the cover over the bomb bay. This is sooner than the instructions indicate and may have been an error.
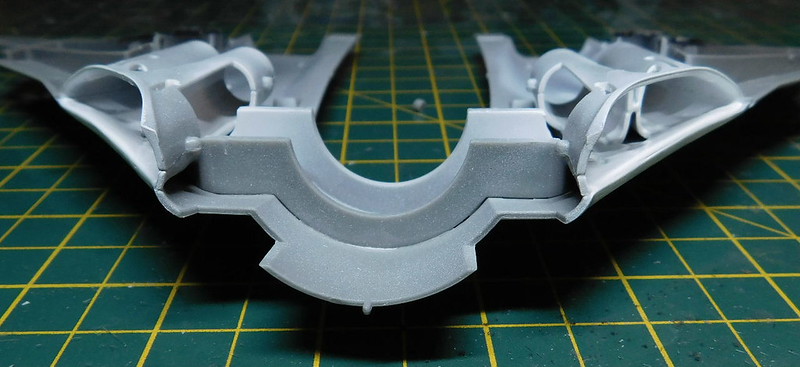
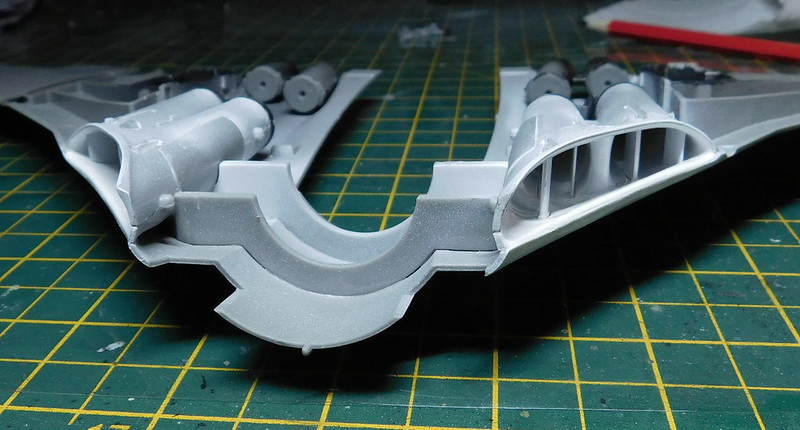
I started on the intakes and it looks as though thise has been designed in a way to ease cleaning upseams and painting. The opening in the sides has a panel that goes over it late, and i did that after painting.


I painted the veins before fitting, once everything was dry, they were fitted and the side panels added.

With that done i got to getting the wings together and fitted. There is a point in the Airfix instructions which confused me a bit. If you want the flaps raised, and as Victors always seem to have them raised on the ground that what i am doing, you are told to cut off the outser fairing (the one on the left in this photo).

But that did not make sense to me, i was looking in the instructions for a point where that part was re-attached. Fortunatly this was cleared up on Brit Modeller. This seems to have been an error on the original bomber kit that Airfix have not correct. The correct procedure is to sand down the ridge on the outer fairing and remove part of the inner one thats attached to the bottom wing secion, so you are left with this.

I think think others have found this out the hard way, so i am grateful for it being passed on.
With the wings on all all the panels and flaps fitted i also got the tail on, this beast is really coming together.


You can see that quite a bit of filler wasneeeded along the wing/fuselage join. I believe this was caused by me adding the doors to the bomb bay to early. I had not noticed at the time, but the door overlaps the bay along the middle, and this is where the gap is. Without the doors, the fuselage could have been pressed out to meet the wing and once in place the doors would have fitted better. By the time i realised it was to late. That wil teach me for thinking i know better and jumping through the instructions.


Thats all for now. Still a bit more to do before she hits the spray booth (assuming she fits). But at least now i can meassure up the board and start getting that together.