It has been a few weeks since my last update and with the combination of short bench time and working on the figures, it has taken a while to give you some news.
Figures were done with Shinsengumi BDU decals, Vallejo Dark Green for the vests, boots were painted Tamiya Black, the helmet uses Model Master OD for the helmet and Tamiya IJA Green for the visor section. The knob on the visor and slide section in the center of the visor cover, were coated using a graphite pencil to give that dull worn metal look.
The boom microphone was made from 28 gauge stainless wire and a small piece of painters tape for the microphone. Then it was painted Tamiya Flat Black. Also coming off the helmet is the connection wire which was also made from 28 gauge Stainless wire.
The face, arms and hands were done with Vallejo Flesh tones and then washed with a mixture of flesh and burnt sienna oils.
The entire figure was coated with clear flat to give the final finish. The binoculars used Tamiya Flat Black and the strap is painters tape coated with Model Masters OD. The binoculars are worn using a graphite pencil.
Seat belts were painted with Model Master OD on the belt, Tamiya Flat Black on the buckles and clips which were worn using a graphite pencil/ After all that....here are the figures in their seats
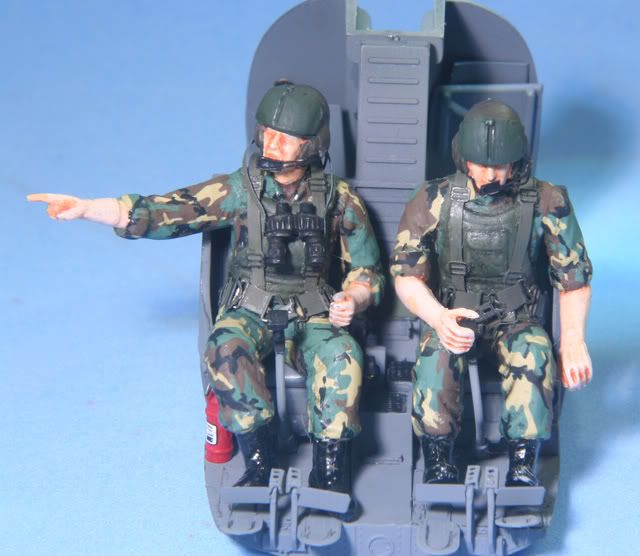
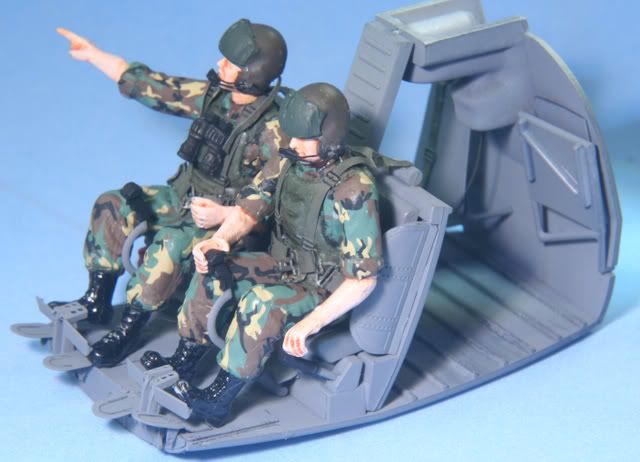
The observer was missing one thing....a map....so I scanned and scaled one of my military maps, folded it and my observer was complete.
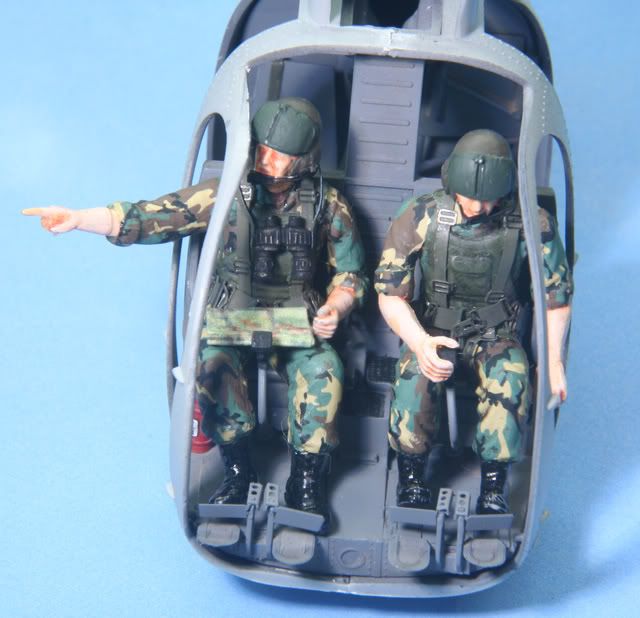
After the figures I weathered the cockpit with MIG City Dust and a graphite pencil for wear on the ribs.
Before gluing the cockpit into the body halves, I mounded some 26 gauge stainless wire to create the grab handles on either side of the front door.
After gluing the cockpit in and the two body halves together I had to do some serious seam filling as the kit has a poor lineup and really no lineup pins this leaves a huge seam all around
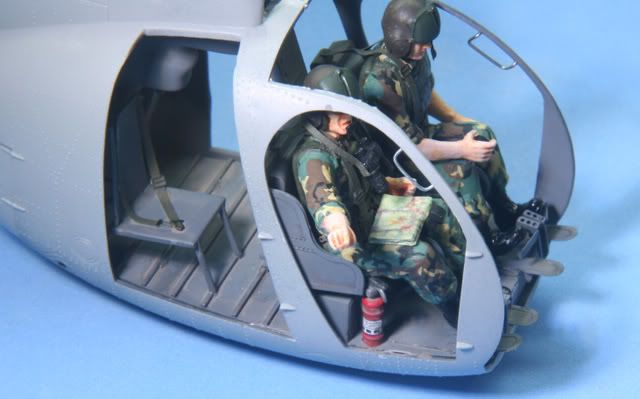
I then applied details to the hatches and access ports using Archer Transfers . I assembled the engine covers and exhaust port which fit fairly well but will need some filling. And lastly, the tail boon was assembled and mounted.
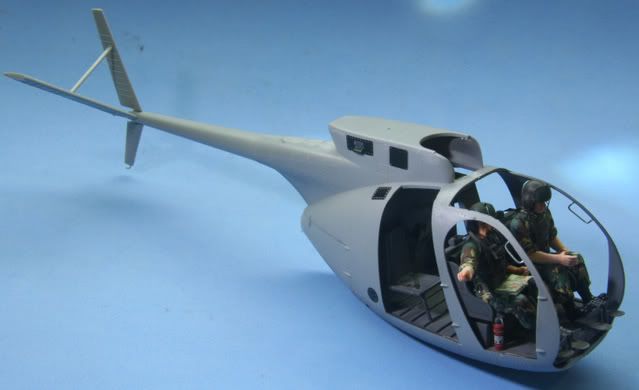
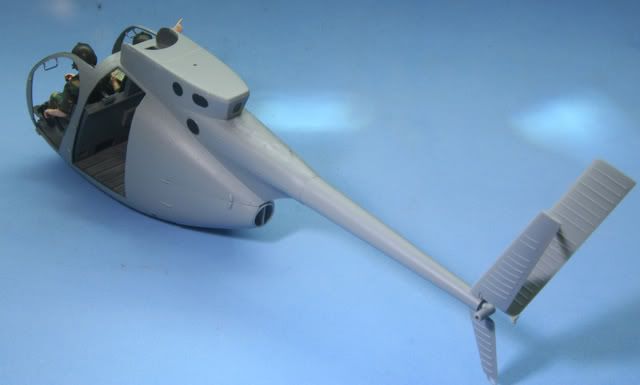
That's it for this installment. Next is the control panel and wiring details along with the canopy and details.
That's where I am at for now. All comments are welcome, thanks for looking.
Rounds Complete!!