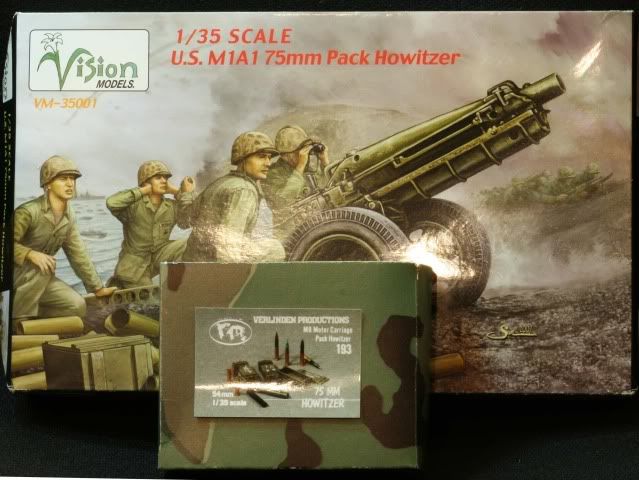
Off onto a new “fire mission”! This will be the M1A1 75mm pack howitzer, the little gun that did. For this build I will use the new Vision M1A1 kit along with the old Verlinden 75mm ammunition set for the M8 and the M1A1 pack.
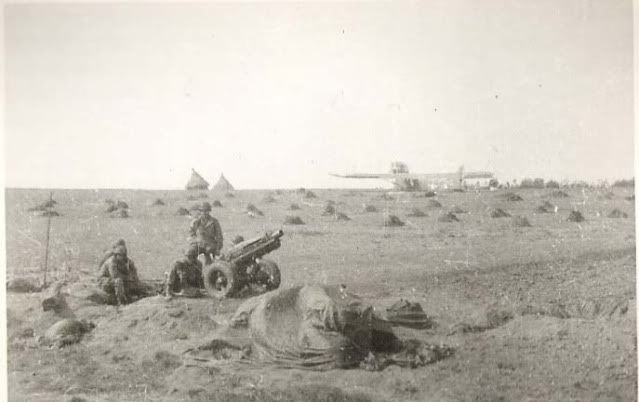
Orejohn was kind enough to send me a copy of a family photo, taken during Operation Market Garden. You can see the gliders in the background. I will be using this as the concept of my build.
The kit is straight forward and consists of one full sprue and a small sprue. Also included is a metal end for the barrel. The instructions are simple line drawings with some written explanation. Also included is a color photo sheet of a M1A1 up close with some details.
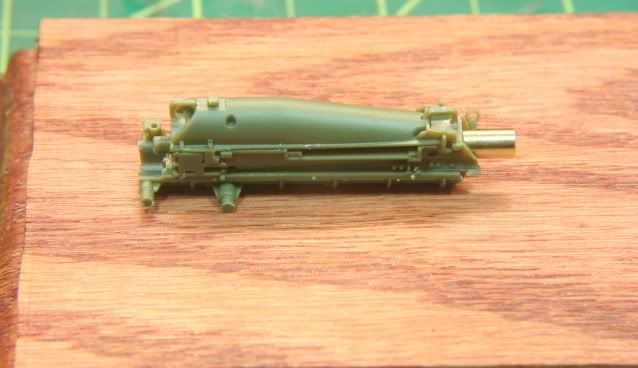
Step one is the assembly of the barrel and recoil assembly. There is a choice of two sights, one if the tube is elevated and the other if the tube is down. I will leave the sights along with the block off for now. Here is the assembled barrel
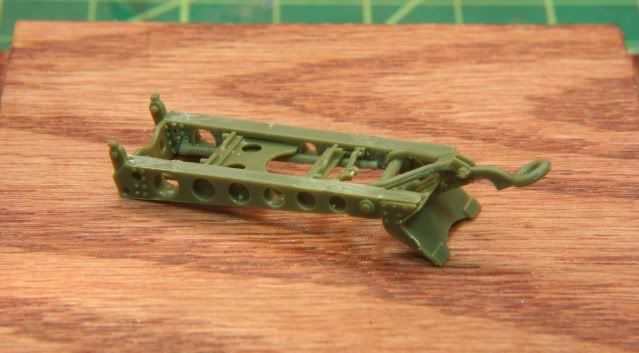
Step 2 is the assembly of the rear section of the carriage which includes the spade. Some of the parts in this assembly have some bad ejector pin marks which best worked on prior to assembly. With the pin marks sealed, here is the rear section.
Step three is for a post WWII modification which I will skip and steps 4 & 5 assemble the front carriage and mate it to the rear section. Here again there are the ejector pin marks which needed to be filled first. With the filling done here is the lower carriage.
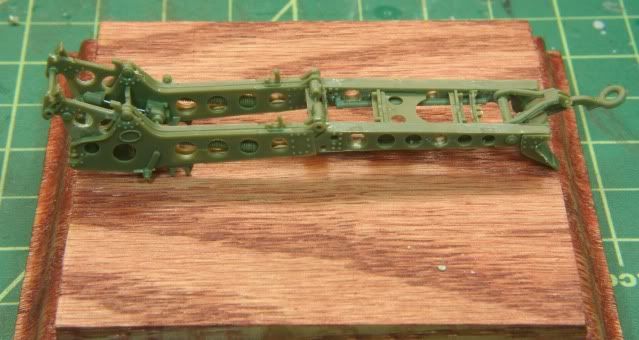
Step six assembles the axel and wheels. I have left the wheels off for painting, but here are the major assemblies.
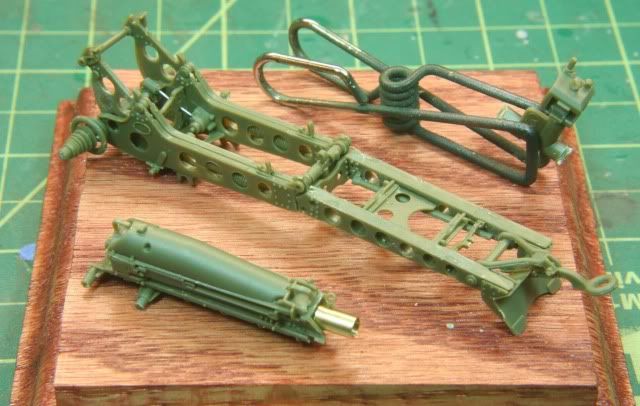
In general the kit is a great little kit and in many ways an improvement on many of the resin copies. There are two sets of wheels, either military tread or civilian tread, both were used in WWII. The kit also comes with ammunition but no crates or fiber cans. That is where the Verlinden set is a must. There is also a resin set now out to convert the kit to British airborne and has airdrop containers both US and British.
The draw back is the molding which reminds me of Renwal from the 70s. The kit is detailed but pin marks and lots of little flash. Even the plastic is much like the old kits, harder and a bit more brittle.
Time for DETAILS…now you did not think I would go OOB!
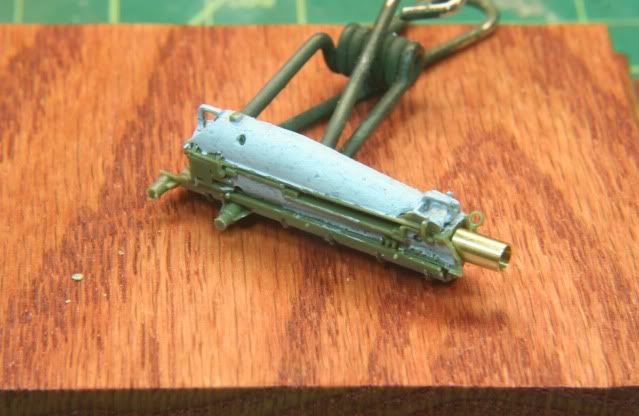
Many parts on the 1 to 1 scale barrel and recoil assembly were cast. With that in mind, I set out to texture all those parts on the model with Mr. Surfacer 500. This is mostly the upper barrel shield and the lower recoil assembly.
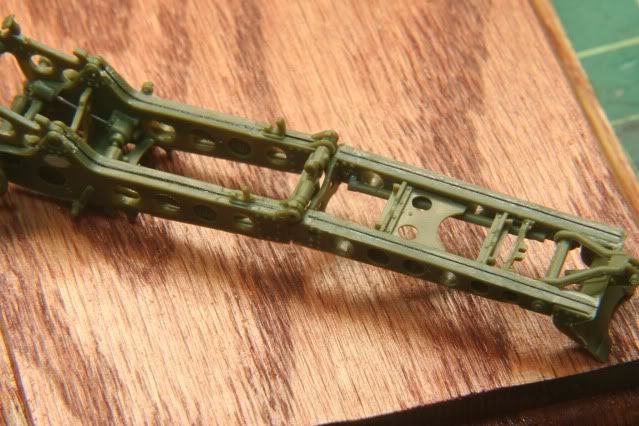
The carriage frames on the 1 to 1 were essentially two C channels welded together to form a box. The front part of the carriage boxes has the equilibrators inside the box which are molded in on the kit. To get the weld bead on the model, I used Archer small weld bead. In the case of the model it solved two problems, putting the weld bead on and coving the seam on the forward halves
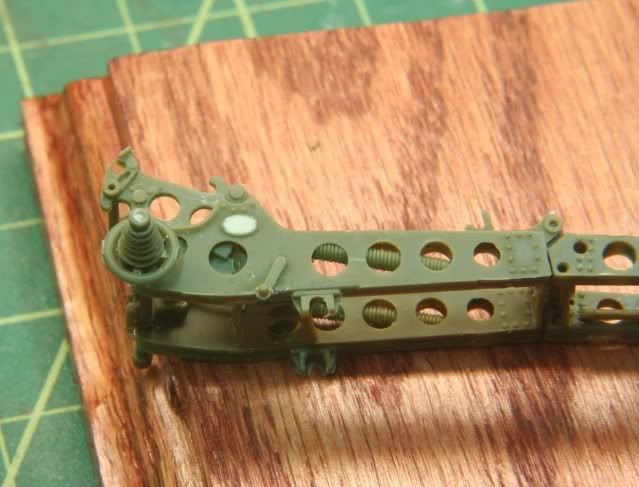
The kit has a molded on the side data plate but the only detail is the outside ring. The actual data plate is a raised oval plate. To create the proper effect, I filled the ring with Mr. Surfacer Liquid Putty. This created the proper raised surface plate.
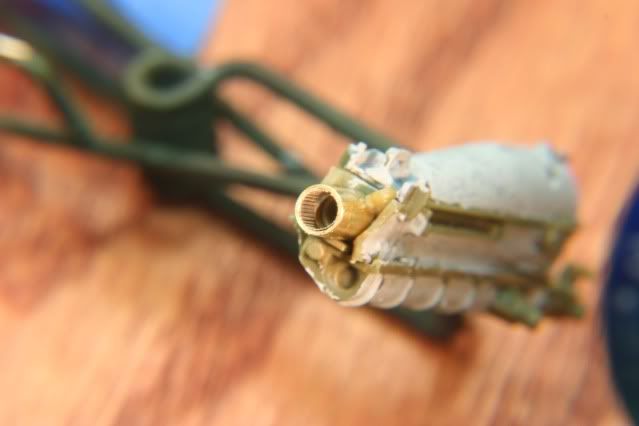
The stub for the metal barrel which comes with the kit is just a small section of brass tube. To improve the barrel, I added PE rifling inside the barrel. The rifling is from an old OOP PE rifling set from On the Mark Models I picked up on e-bay. It comes in handy for these situations.
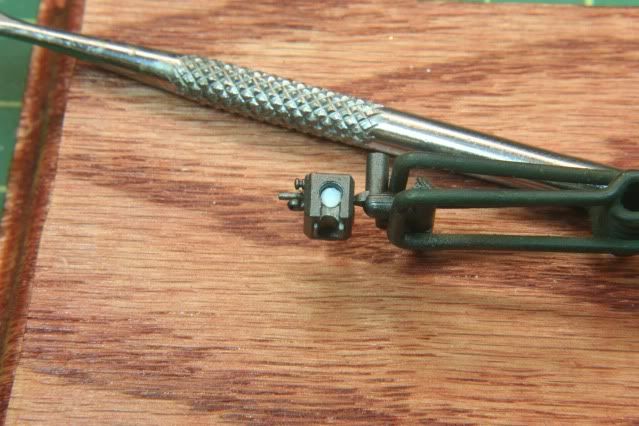
The breech is fairly well made and detailed except for one problem. It is one piece both breech and block and is molded in the closed position. But there is a hole right through the block like it was open. To correct this problem, I punched a disc from styrene sheet and fit it to the hole. Fortunately the real deal has a round cover plate on the block which accesses the hammer mechanism, so this fix also adds to the block detail.
Next up will be priming, painting and then final assembly. This little guy should go fast. I will be in the spray booth but should have assembled pictures next update.
As always, all you comments are always appreciated. Thanks for stopping in
Rounds Complete!!