SEARCH FINESCALE.COM

Enter keywords or a search phrase below:

Now by popular demand..My Flag Toot.

1728 views
9 replies
1 rating 2 rating 3 rating 4 rating 5 rating
  • Member since
    October 2007
  • From: N.H.
Now by popular demand..My Flag Toot.
Posted by panzerguy on Saturday, February 28, 2009 3:56 PM


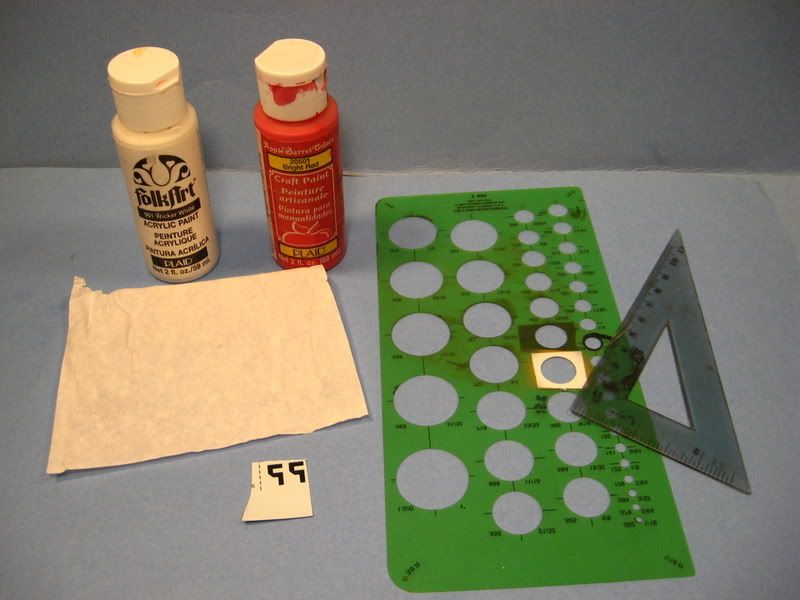
   Besides what's pictured you'll also need tweezers, scissors and an airbrush.

  You will need to use acrylic paint not enamels. The colors I use are wicker white and bright red. The tissue is the kind that you can get in the gift-wrap section of your local dollar store. The swastika decals are two-piece Eduard scaled to 1/48 that were in my decal stash. You can get sheets of them from most online dealers and they come as one piece. The template and square can be found at your local craft store for less than ten dollars. 


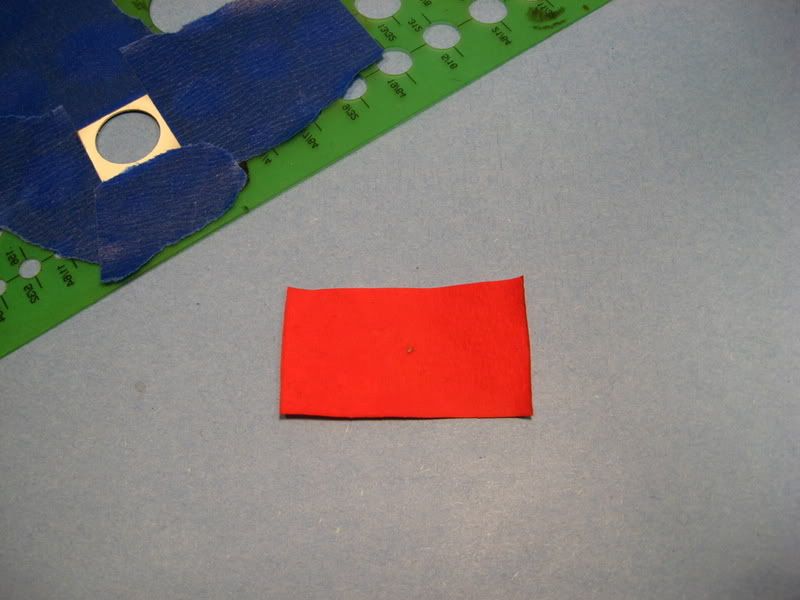
  Using the square draw a 1 ¾ x 1-inch rectangle on the tissue. After you've cut it out paint just one side red. Once that dries find the center and mark it with pencil. Once the white is applied the dot shouldn't show thru but even if it does it will be covered by the decal.


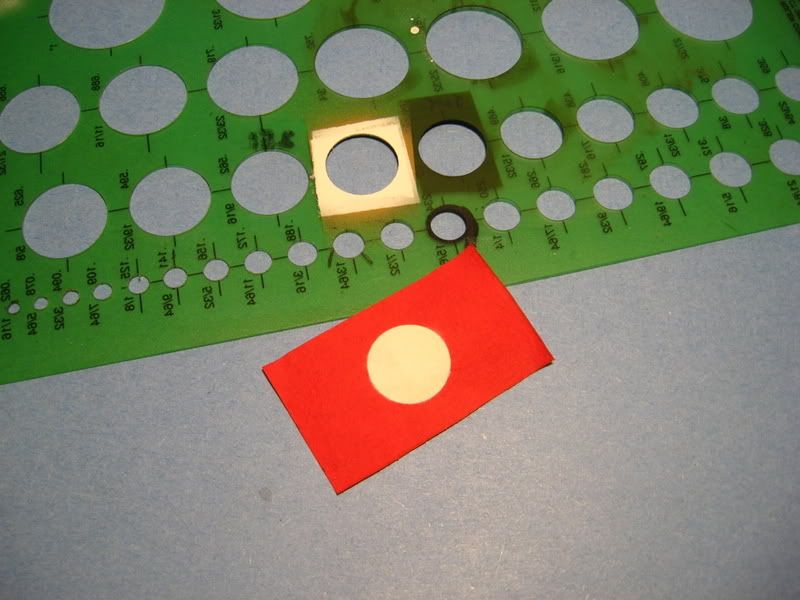
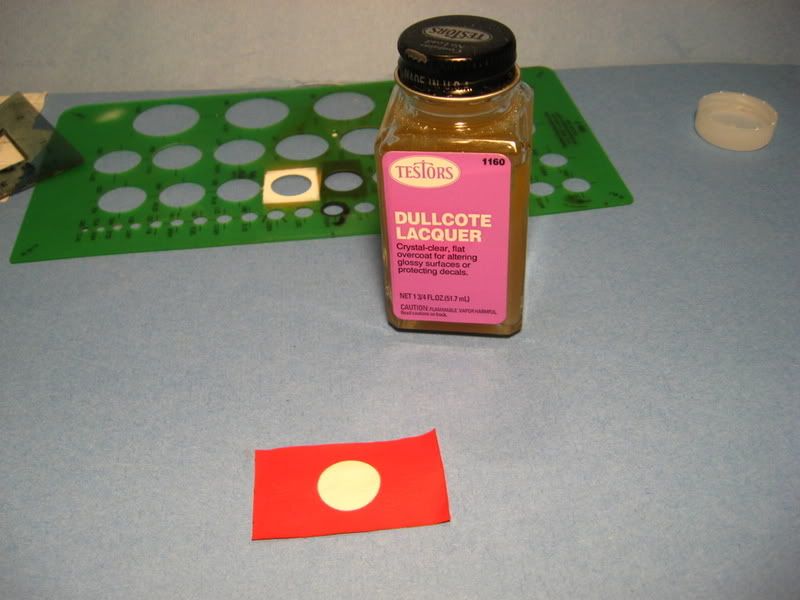
    Now line up the template using the dot to center it. The diameter of the circle I used for this particular flag was 17/32 or .531mm. Using the airbrush with the needle turned way down so that the paint practically dries as soon as it makes contact with the paper give it about five coats of the white or until the red disappears. When dry and the AB still turned down give just the white center a quick shot of Testors dull coat, use the template for this also. This will help the decal adhere to the paper.


  Using the tweezers apply the decal. Since I used a two-part decal for my flag it was a little tricky getting the swastika centered. With a one piece it would be a lot easier. Once on press down slightly using a piece of cloth or paper towel. Now using the template again give the center another light shot of the dull coat to seal the decal. I let mine sit for about 24 hours before I attached it to the vehicle. This way there was no chance of the colors running into each other when I dipped it in the white glue and water mix.


  Now place it on the vehicle and with a soft brush dipped in the water glue mix press down carefully. Once dry give it a coat of clear matt and then weather accordingly


   I hope this was helpful and if you have any questions please just ask.

      Steve   


"Happiness is a belt fed weapon"

  • Member since
    December 2006
  • From: N. Georgia
Posted by Jester75 on Saturday, February 28, 2009 4:14 PM
Sweet!! Beautifully done! Thank you for taking the time to post this!

Eric


  • Member since
    January 2007
Posted by the doog on Saturday, February 28, 2009 4:21 PM
Cool panzerguy; I only wish you didn't have to order the decal for it. It would be cool to cut the swastika silhouette out of a 3X5 card and spray it on?
  • Member since
    December 2002
  • From: Bury St Edmunds, Suffolk, England
Posted by Bish on Saturday, February 28, 2009 5:05 PM

WEll, that looks easy enough. Another option for the swastika is to get a sheet of them. You can buy them for aircraft, at least in the UK where alot of aircraft kits come without them. They come in different sizes so you should be able to find some the right size, and will have enough for several flags.

Me thinks we might be seeing a few more of this in the coming months.

I am a Norfolk man and i glory in being so


On the bench: Airfix 1/72nd Harrier GR.3/Fujimi 1/72nd Ju 87D-3

  • Member since
    October 2007
  • From: N.H.
Posted by panzerguy on Saturday, February 28, 2009 5:18 PM
 

  Eric no problem


   Thanks Karl. I'm sure it wouldn't be to hard to copy one on to a 3x5 card using a printer and cutting it out.  When I first tried making one of these I used a home made stencil there were two problems; the edges were not as sharp as the decals and I could never get it centered it was always off.    


   Bish thanks for looking in and yes the sheets can be found at most online shops.

"Happiness is a belt fed weapon"

  • Member since
    July 2004
  • From: Texas
Posted by wbill76 on Saturday, February 28, 2009 5:54 PM
Simple and easy and a great how-to description Steve and the end result speaks for itself. Thumbs Up [tup]
  • Member since
    December 2008
  • From: Las Vegas, Nevada
Posted by model maniac 96 on Saturday, February 28, 2009 6:12 PM
great toot!! thanks!

Jim
"Veni, Vidi, Vici" Julius Caesar: I came, I saw, I conquered.
  • Member since
    April 2003
  • From: 41 Degrees 52.4 minutes North; 72 Degrees 7.3 minutes West
Posted by bbrowniii on Saturday, February 28, 2009 6:19 PM

That is awesome!  Thanks Steve!

'All that is necessary for the triumph of evil is for good men to do nothing' - Edmund Burke (1770 ??)


  • Member since
    November 2006
  • From: Coastal Maine
Posted by dupes on Sunday, March 1, 2009 10:12 AM

Sweet! Big Smile [:D]

I have a feeling you're going to see a LOT of aerial recognition flags around here for the next few months...Laugh [(-D]

  • Member since
    November 2005
Posted by Anonymous on Sunday, March 1, 2009 11:45 AM
BRAVO, excellent technique and excellent toot...you 'da man...flag-man, that is...
JOIN OUR COMMUNITY!

Our community is FREE to join. To participate you must either login or register for an account.

SEARCH FORUMS
FREE NEWSLETTER
By signing up you may also receive reader surveys and occasional special offers. We do not sell, rent or trade our email lists. View our Privacy Policy.