My Dad flew SAR Labradors out of Comox in the early 80’s. When I saw Academy’s KV-107 kit, I decided to build it for him for Father’s Day this year. After asking a question on here about colour, a member requested pictures, so here they are.
Rather than post progress frequently, I’m going to give you one big build log.
My Mom did some prying and learned that 301 was Dad’s favourite Lab, and he found his time at Comox to be the most fulfilling in his career, and I had my specific subject.
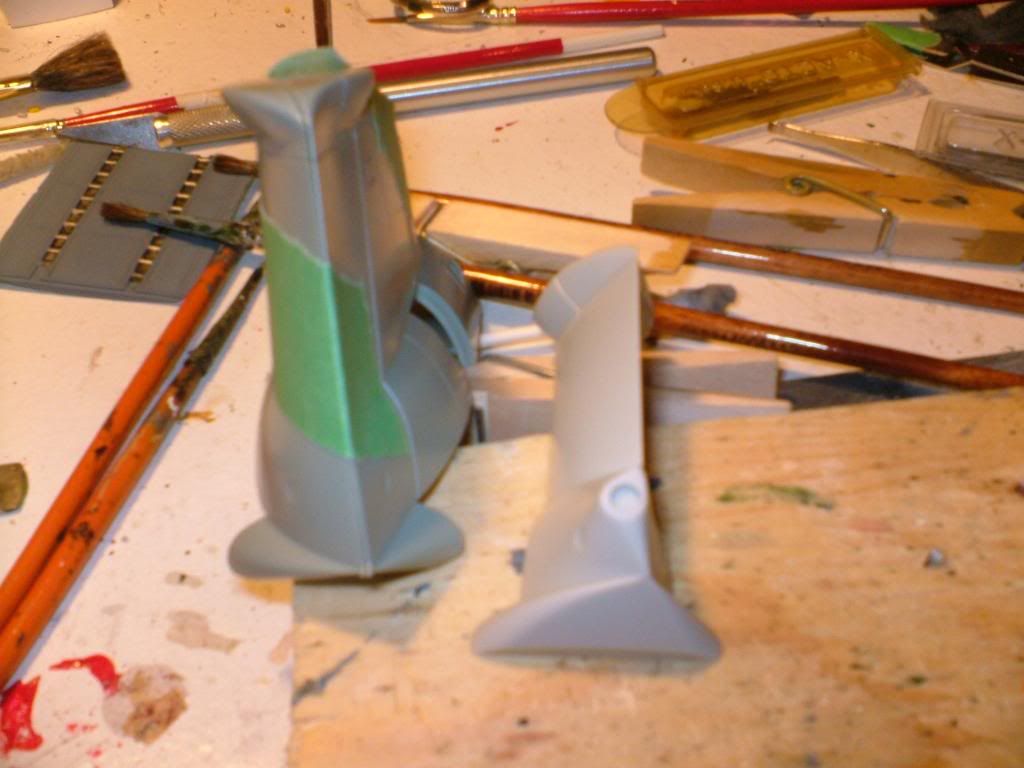
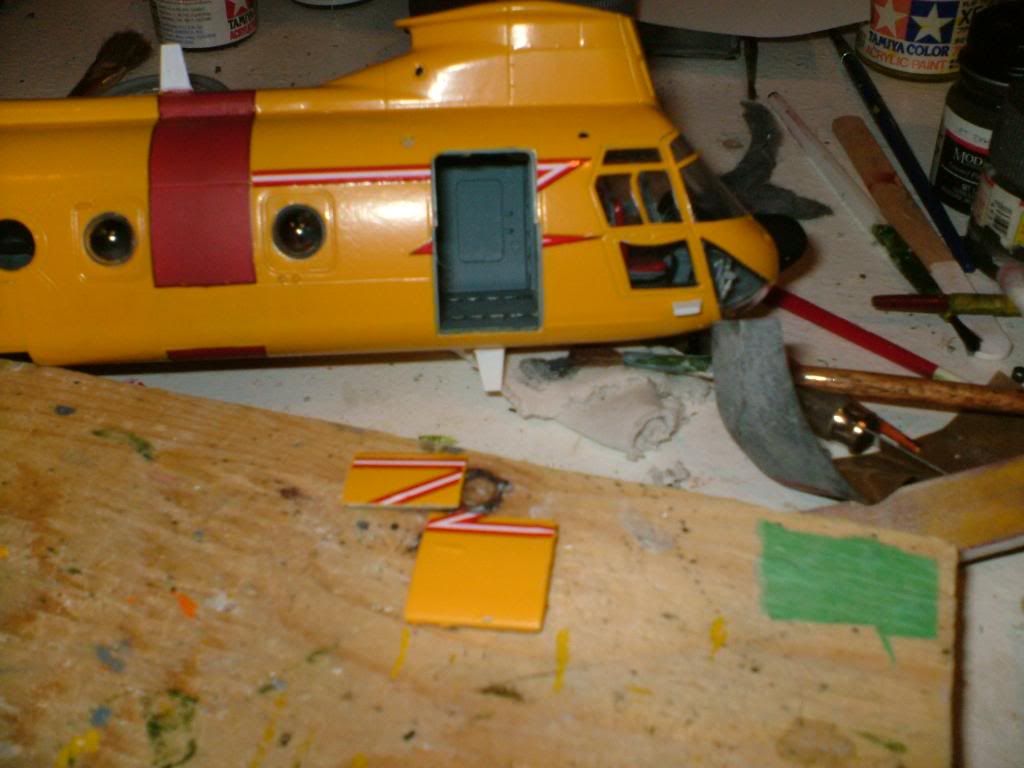
I started with what I expected to be the biggest challenge; the original Labs had fuel tanks about 8” shorter than those on the KV-107 and Voyageur. This meant having to cut about 5mm out of each tank. I used 5mm tape to mark out the plastic to remove and shot a quick coat of white; notice where I had to jog around where the tank attaches to the fuselage.
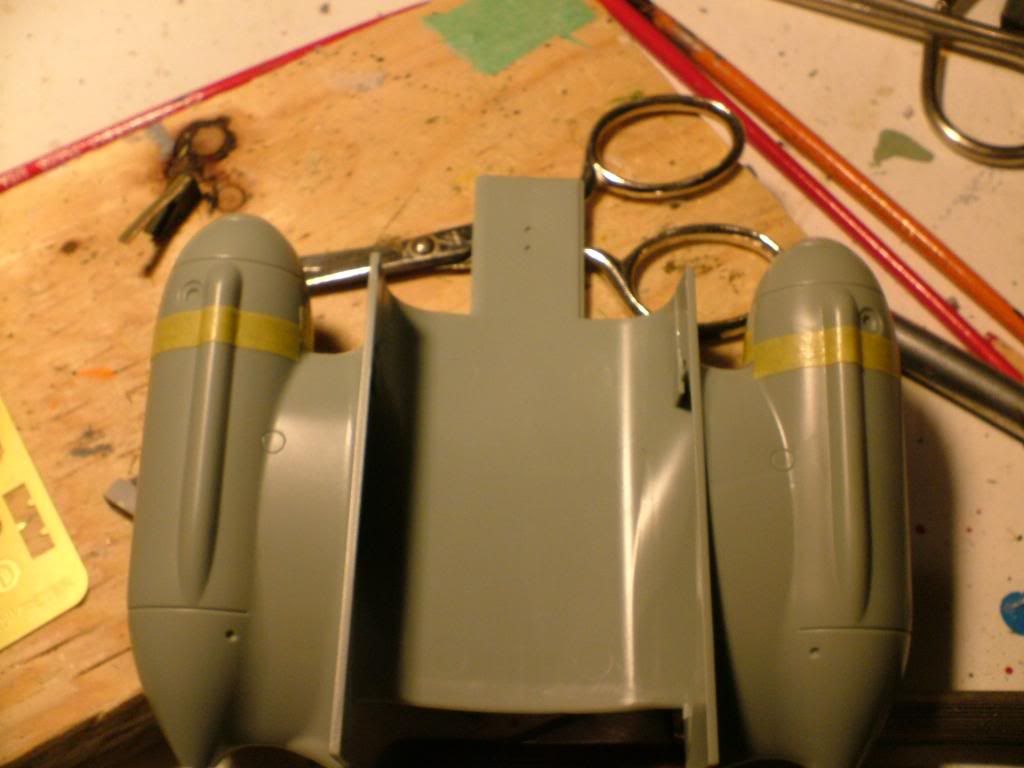
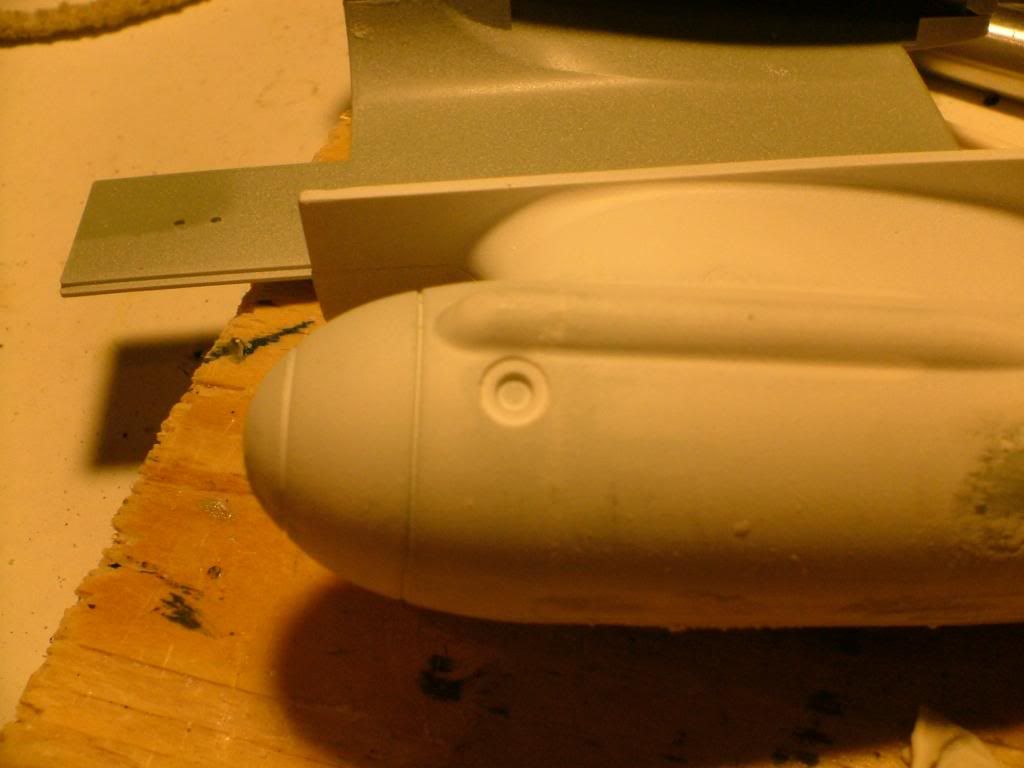
After removing the tape I cut out all the unpainted plastic. It took a lot of faith in myself to put a saw to the tanks, but I did. Then came cementing, filling, priming, sanding, and repeating.
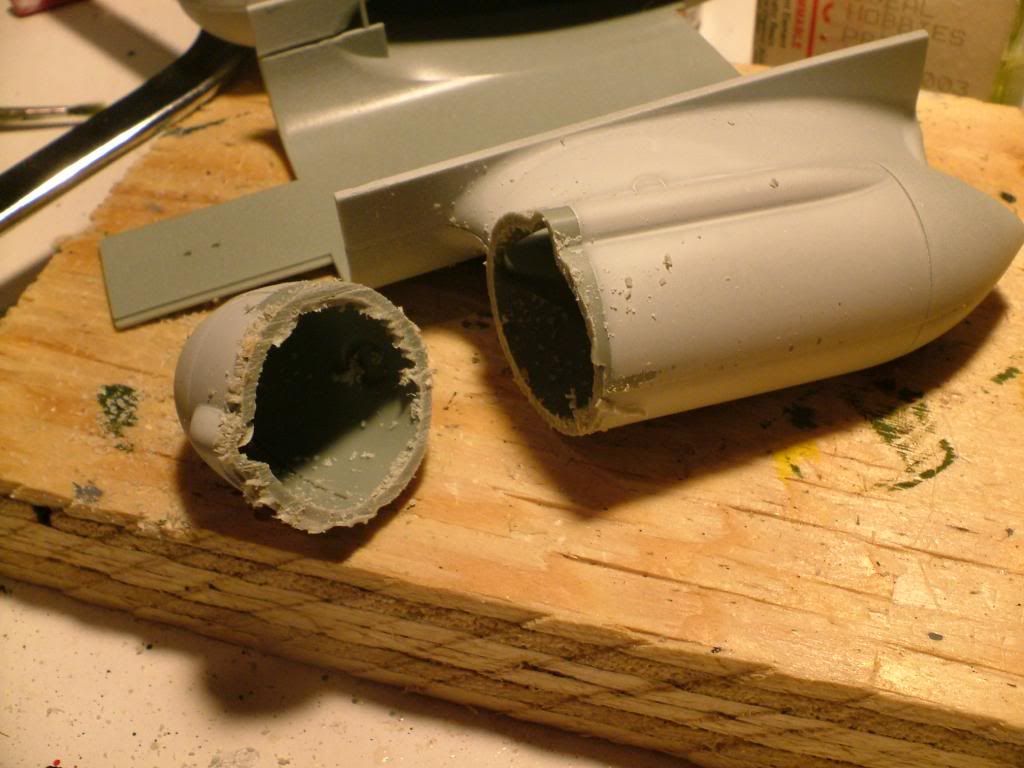

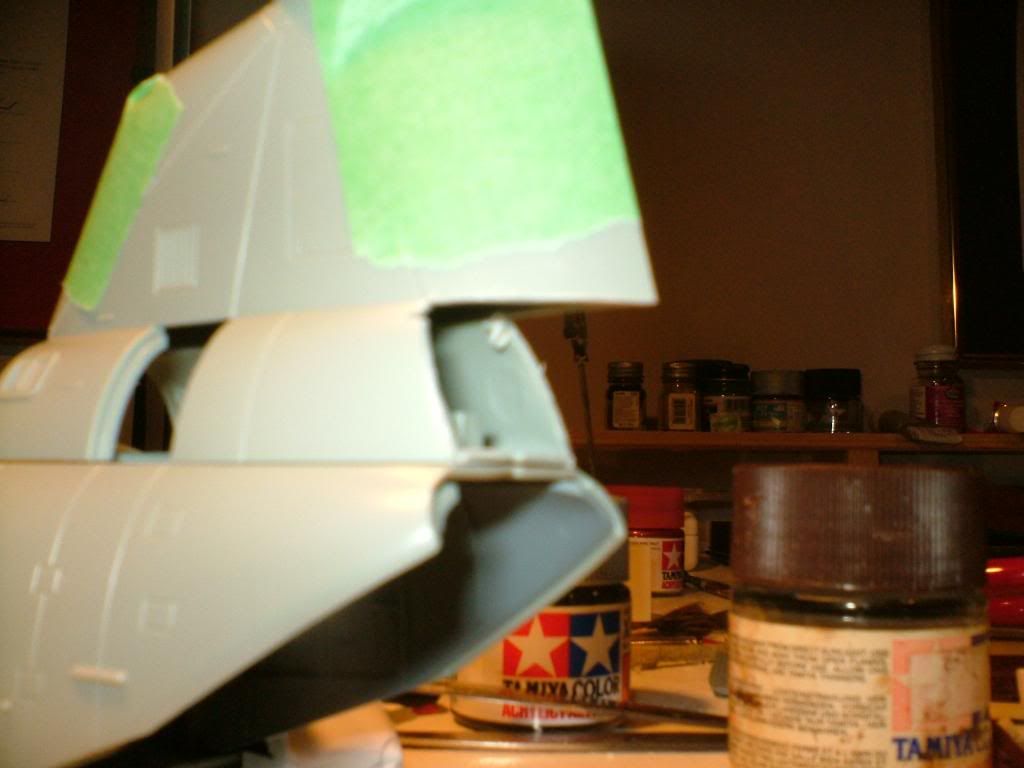
I really impressed myself with the results! My first major surgery was a success!
I used online sources for interior details; what to install and where, colours. http://hedgehoghollow.com/buzz/walkarounds/lab.html I wracked my brain to figure out how to replicate the interior insulation, but decided that it was too dark inside to see enough anyway to justify the time investment. I likewise opted out of ordering the Eduard photoetch because I don’t yet have the skill to use it effectively. The CH-46D set is best for the exterior, but the CH-46E has the closest match to CH-113 interior details, in my opinion, if anyone is interested.
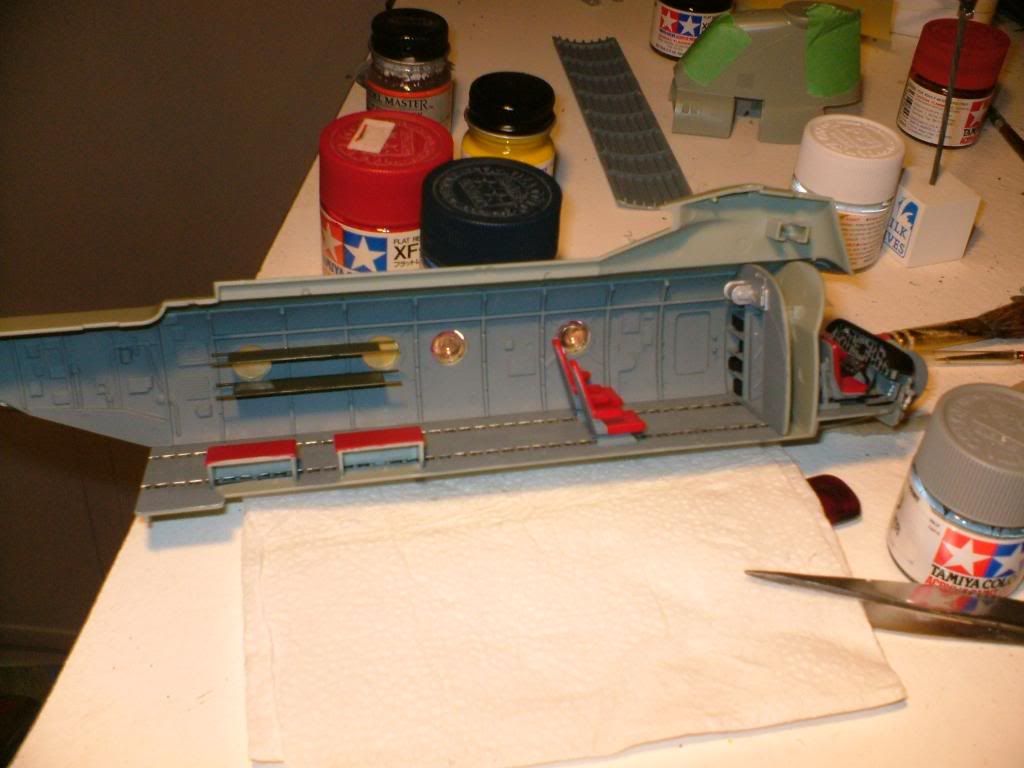
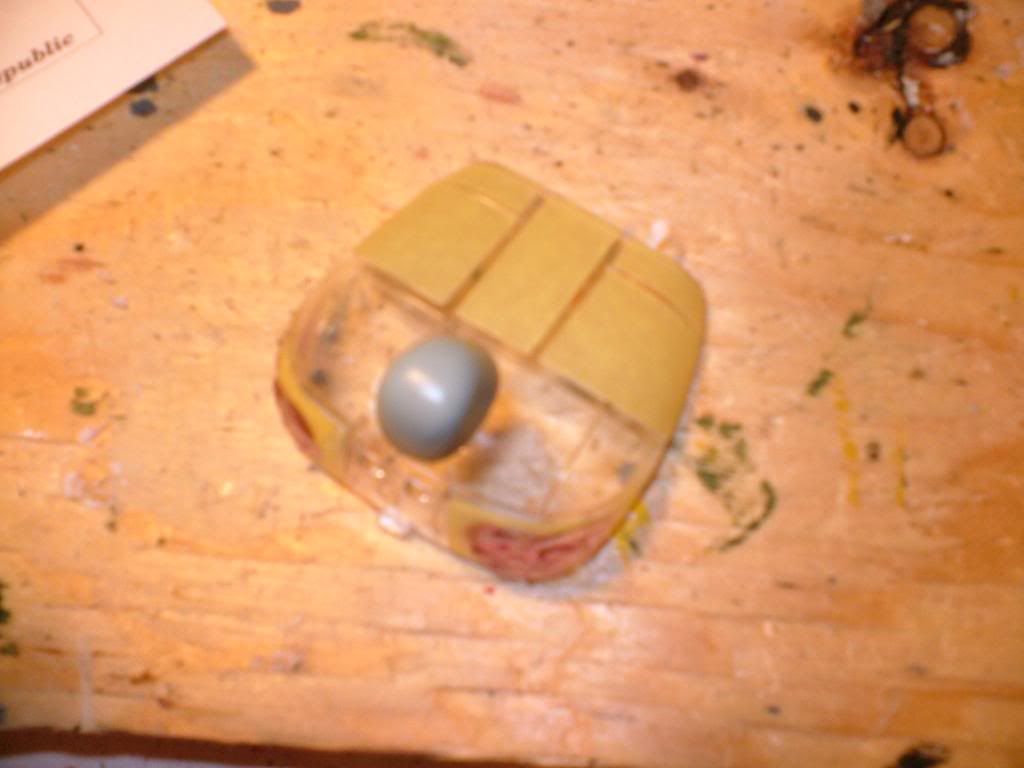
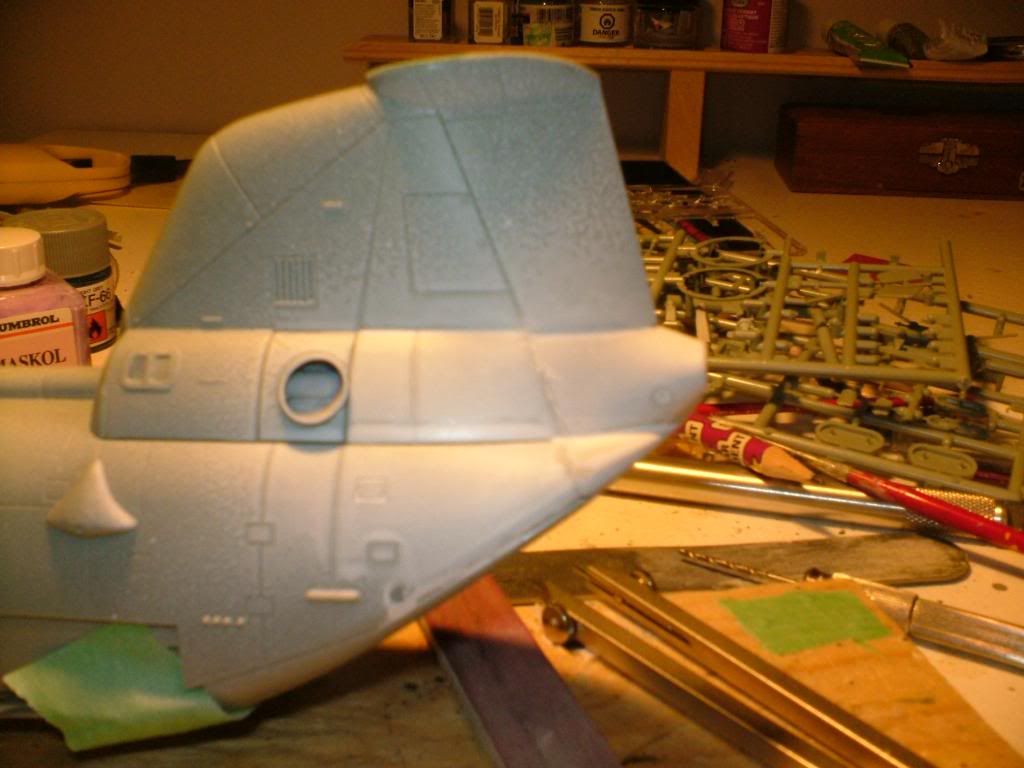
This is also the first time I’ve used an Eduard mask and liquid mask. Pretty happy with both.
The majority of the assembly went as per instructions. I used the APU tail from Belcher Bits. http://www.belcherbits.com/
I decided to do extra surgery and only used the bottom section of the resin tail, so that the rotor could still turn.
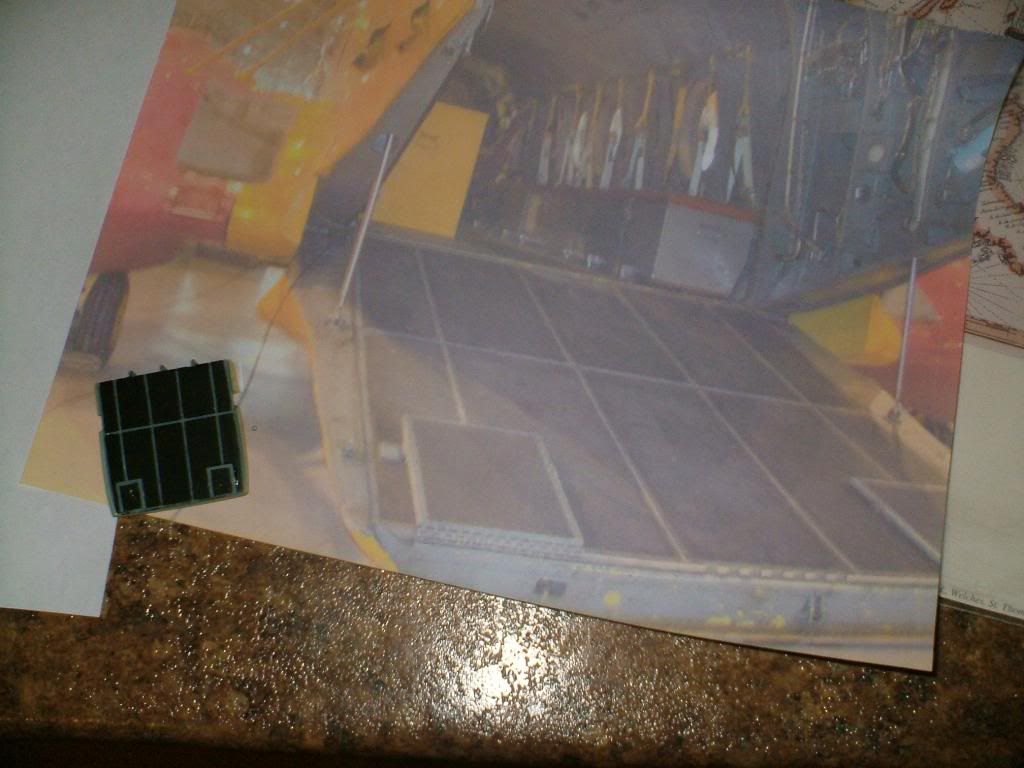
The biggest research challenge was which antennae to use and where. I found an awesome site here. http://cdnsarlab.blogspot.ca/ I wish I’d found it before I completed the interior; I would have covered up the rails on the floor! I did manage to modify the rear ramp in time, though. I used a photo of the actual ramp I wanted to represent! I also got to do some extensive puttying for the first time.
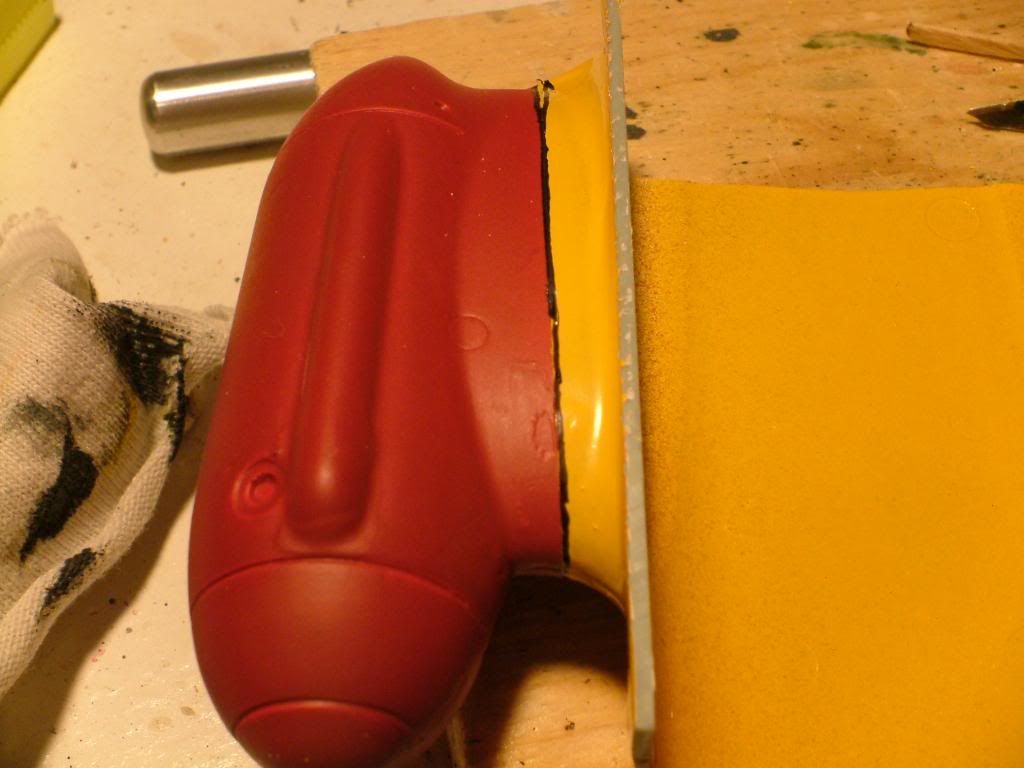
For colours I chose Model Master Acryilic over Tamiya flat white. Chrome yellow and insignia red. The fuselage band was a bit vexing. I had two options; a decal, or paint and mask. I wanted the colour to match, so I went with masking and painting; first a coat of red, then the yellow. The challenge was the 1” black line between the red and yellow; both on the fuselage and the fuel tanks. I came up with a unique solution. A very kind lady and Curry’s Art store in Barrie helped me to find a very fine (0.35mm) permanent black marker. My first plan was to use the masking tape to guide the marker before removing it. I tried first with the fuel tanks. The plan didn’t go as well as I hoped, but I did learn that after the masking was removed, the ridge of yellow paint did an excellent job of guiding the marker tip. The worst of the buggered up parts will be covered with black anti-slip anyway.
Markings came from Belcher Bits’ 1/48 scale CH-113 / Ch-47 set. Bill Burns at http://www.canmilair.com/ supplied an excellent 1/48 scale 442 Sqn crest. 301 was posted to Gander at the time, but my brother and I agreed that Dad would probably get a kick out of seeing it.
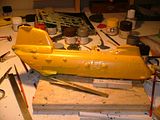
The yellow went on horribly; most likely due to my ineptitude and inexperience with an airbrush, and partly to the cheapness of my airbrush (Badger 250). That and I’ve never had much luck with glossy paints. Runs and bleeding under the masking made for a real mess. My hope is that the really good looking areas distract the eye from the mucked up areas.
I love Eduard masks, now, by the way!
Aslo, the first part of the stbd side lightning bolt decal applied and Dutch door removed.
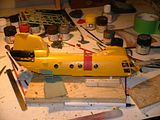
Getting the lightning bolt to settle around the blisters for the fuel tank braces was tricky too. I used lots of decal set, but they still cracked. The rest of the decals went on without a hitch. After a “CANADA” and “Armed Forces” decal came off on my thumb, I figured that I’d better put a clear coat on before I had a disaster on my hands. Thus, I created my own disaster; the clearcoat frosted all the windows. Note to self: don’t unmask the windows until everything is done.
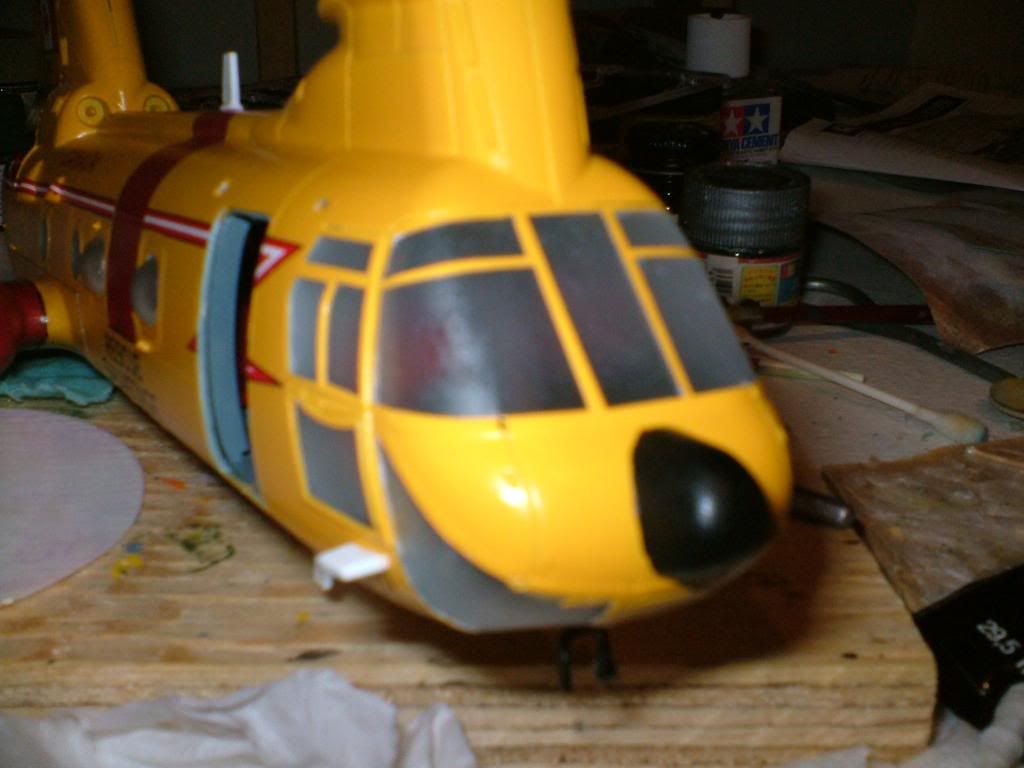
It took a weekend of buying various products and some trial and error before I finally found a solution. (Don’t use acetone, by the way.) I had a headlight restoration kit around that I bought last summer for the vehicles. Using the abrasives from the kit, I reduced the clearcoat then used the plastic polish from the kit. I finished it off with a coat of Future (one of the products mentioned above…wish I had it before). It’s not nearly as crisp and clear as before, but it is what it is. Wow, I sure am learning a lot on this project!
After the windows were restored as best I could, I attached all the fiddly bits (landing gear, HF antenna, winch, fuel tank braces, rear ramp, dutch door) and touched up the paint where needed.
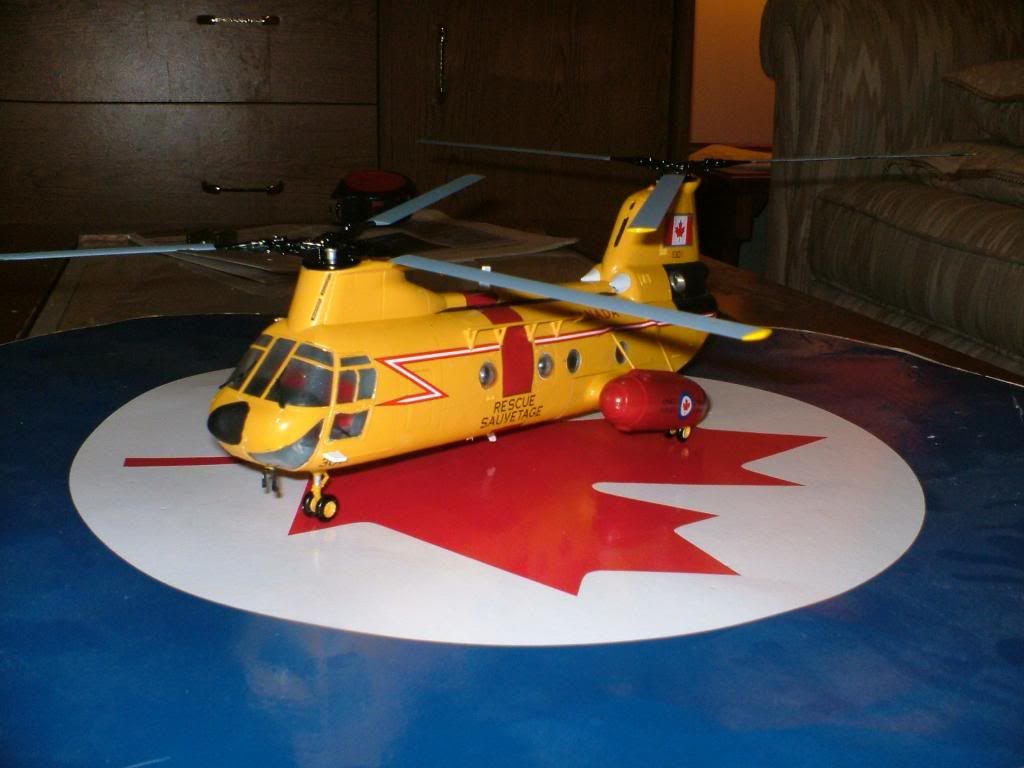
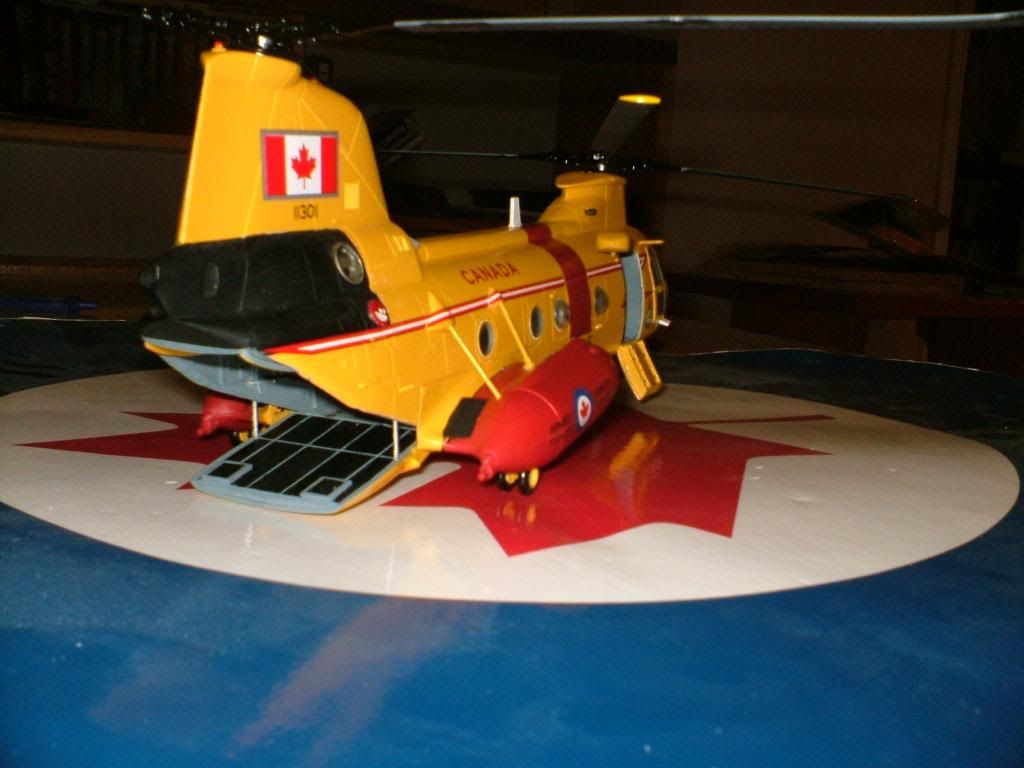
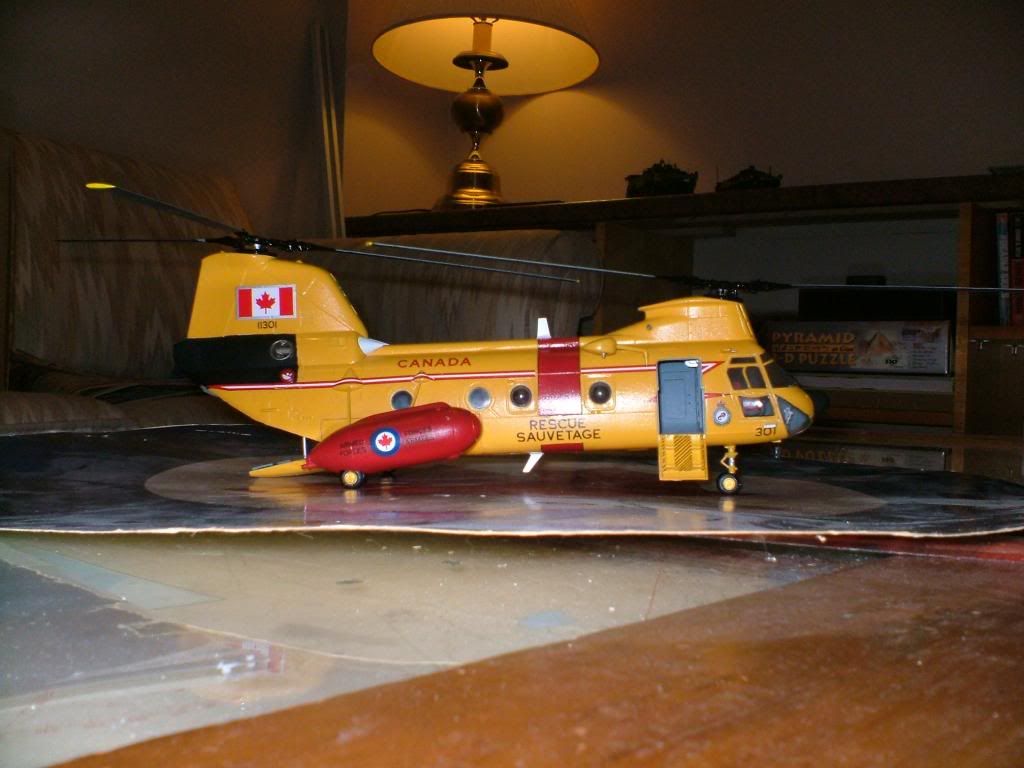
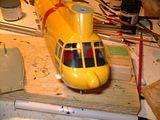
And, the final product: