- Member since
January 2006
- From: Baton Rouge, Snake Central
|
Resin Rotor Repair: Graphics intensive how-to guide
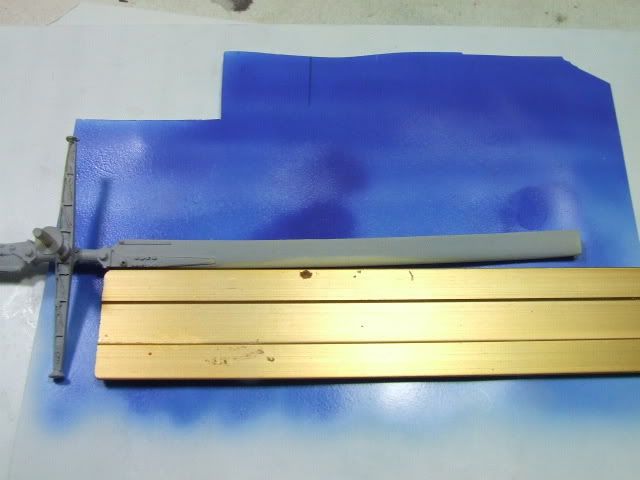
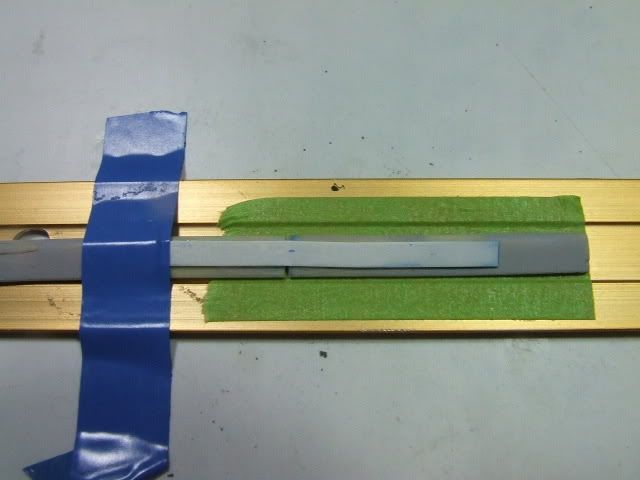
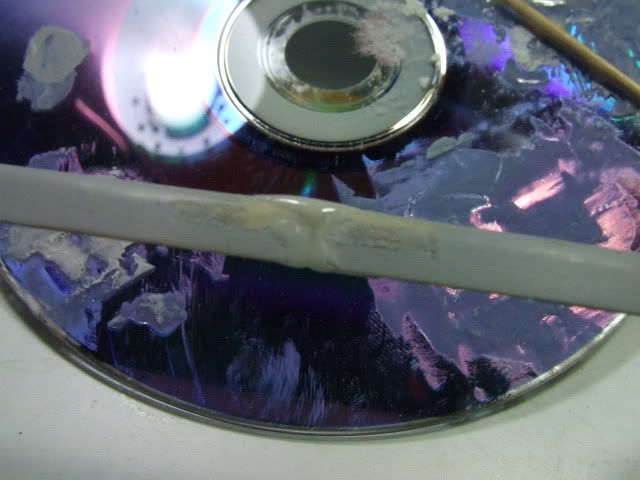
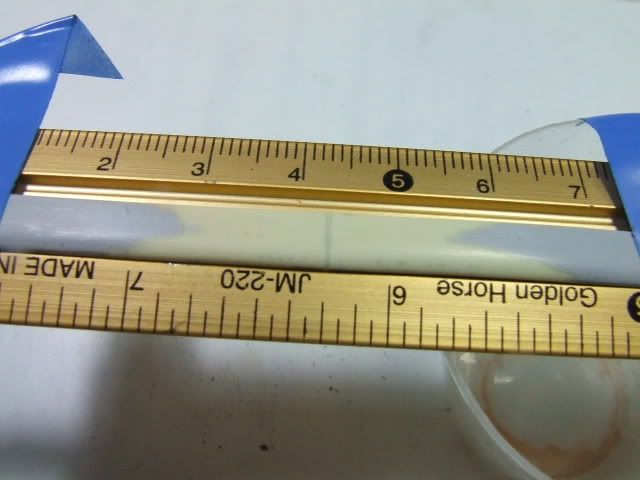
Hi everyone. Here is the promised tutorial for fixing resin rotors (look for a similar tutorial as well on fixing deep gashes in a 1/35 rotor), I got one blade finished tonight, three to go. Not bad, just don't let your talcum powder/ glue mix set for too long. 20 minutes is about right to start sanding/ polishing it out. I used layered strip stock on the bottom side of the rotor to reinforce the split line, just as we would on a full size aircraft repair to increase the overall stregth of the new joint. Mix your talcum powder and superglue to the consistancy of warm toothpaste and apply. The strip stock on the bottom was chamfered to reduce its edge thickness-it is much less noticable now than when I installed it, while the overall profile of that section of the blade has not dramatically increased. If you have any questions, please dont hesitate to ask. I learned this technique of using superglue and talcum a month ago at our club meeting and I have been using it extensively ever since! I am using a six inch steel ruler with depressions on both sides that I got at a dime store, using that as my jig to hold the blades where I want them, as well as holding them with tape in that position while I sand and contour. Total time for this repair was under one hour, and that was fiddling with the camera, trying different things, etc. so I see the rest going much faster. David 


Build to please yourself, and don't worry about what others think!
TI 4019 Jolly Roger Squadron, 501st Legion
|