Hello dio guys.
While I was posting on the armor side, it was suggested that I post the base aspects here as well. So, if you'd care to follow the process, here is a little closer look at what I did to create a Somali street.
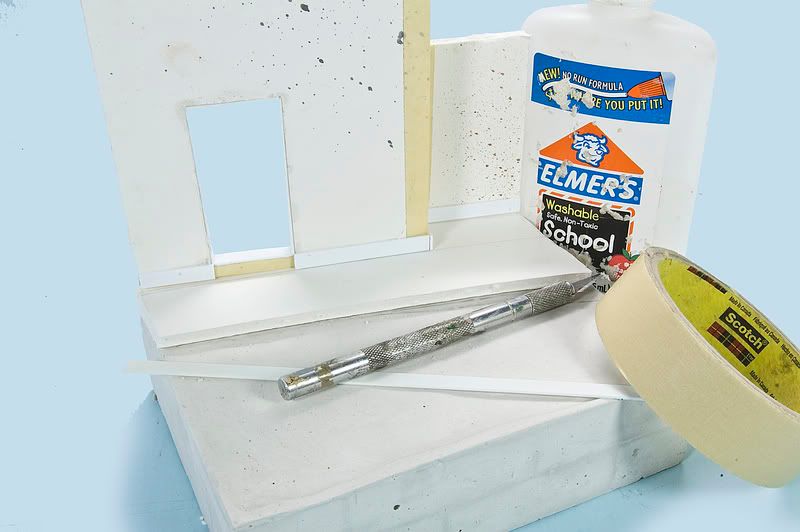
To begin I first poured the base from plater. I make a simple form using Lego bricks on a piece of glass and pour to the desired height. After the plaster has had time to dry it a simple proceedure to unclick the bricks, sand the sides smooth and I'm ready to go.
From the photos can be seen the basic construction of the walls and the sidewalk from foam core. I use masking tape on the corners for added strenght and for a smooth surface.
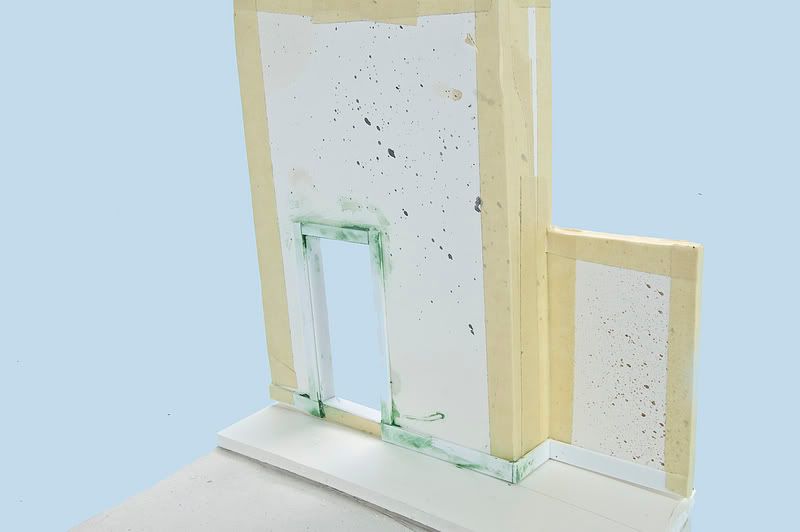
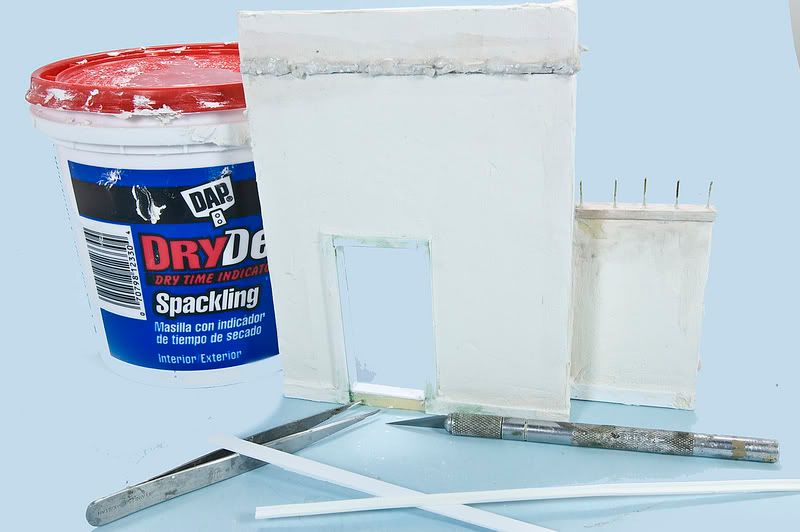
Next, I applied spackling paste to create the texture. This in done with a few thin layers with a bit of sanding between applications. The photo also shows that I use Evergreen strip to add surface details to the facade..
I like to give everything a good layer of black spraypaint to help seal the surfaces and also as a preshade for the painting steps to follow..
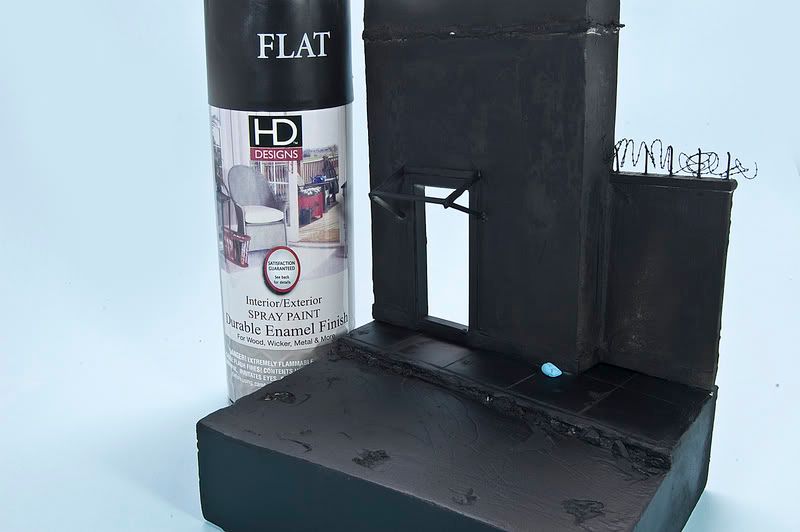
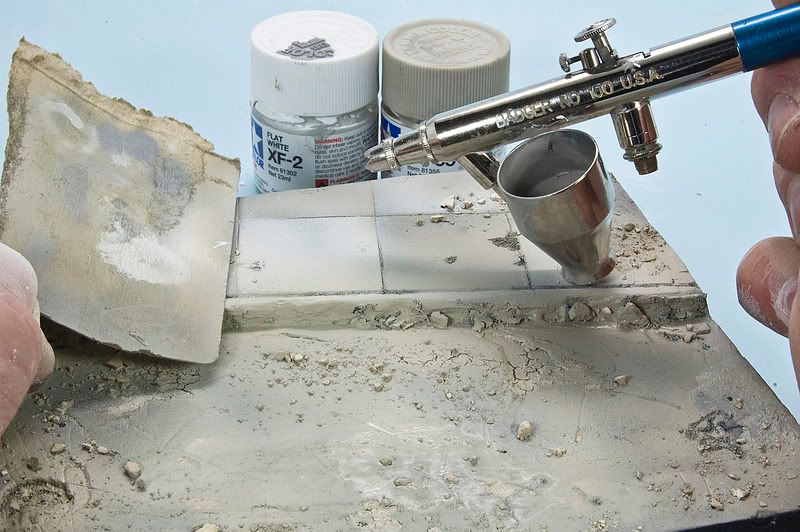
The steet and sidewalk are painted using Vallejo acrylic paints. After general oversprays I spend time giving definition to certain elements...Also notice that I've already applied some gravel and debris to the scene made from crushed plaster.
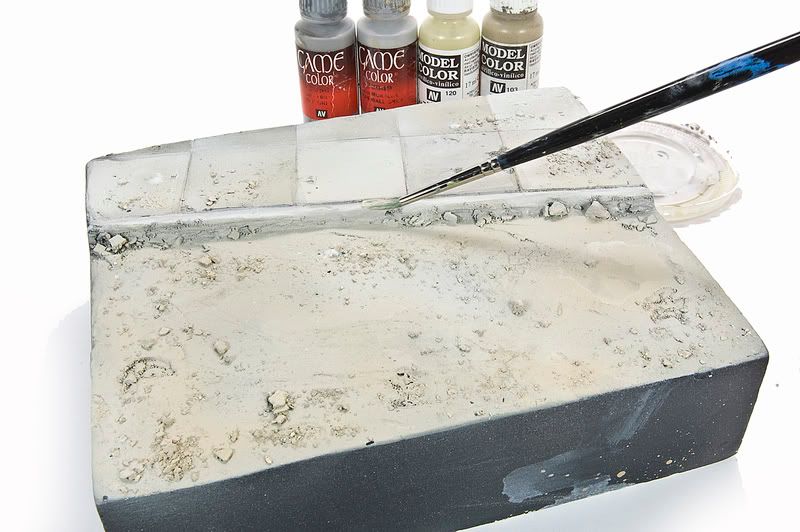
Individual details are highlighted by brush...
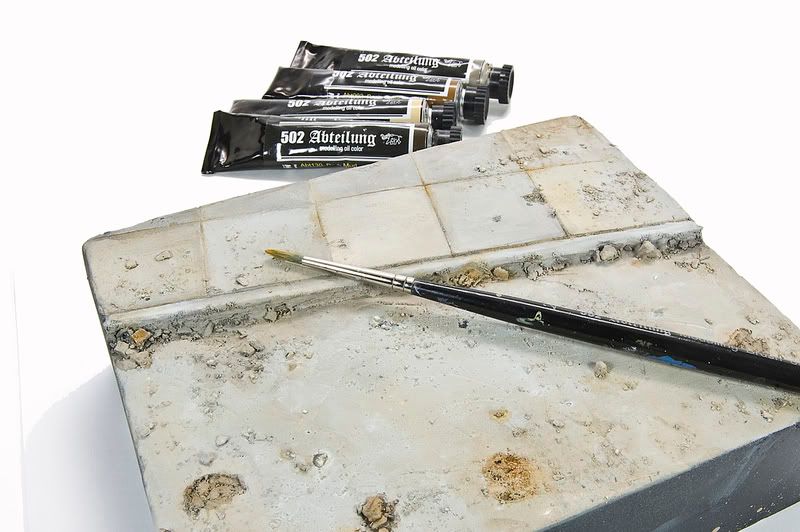
Artist's oils are used to add additional color and depth to the finish...
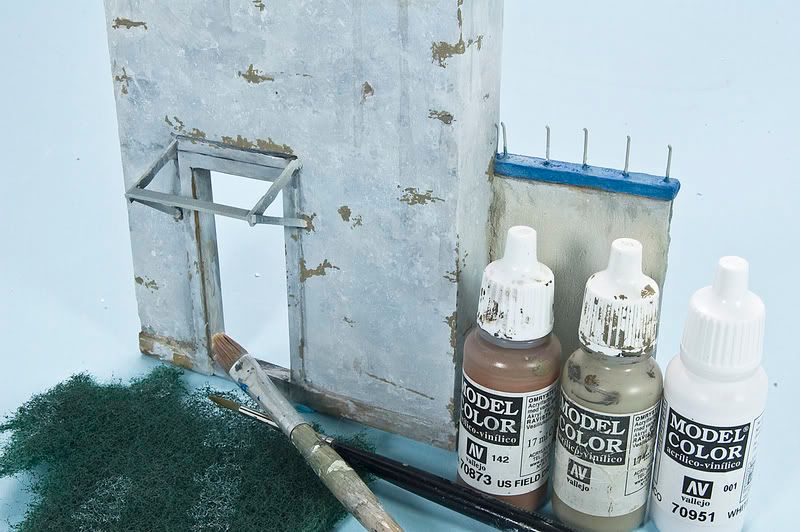
The building facade was first painted white with Vallejo acrylic paint. After, many, many thin applications of color are applied with a brush and Scotch Brite pad in a dabbing motion. Light acrylic washes completed the process tying it all together...
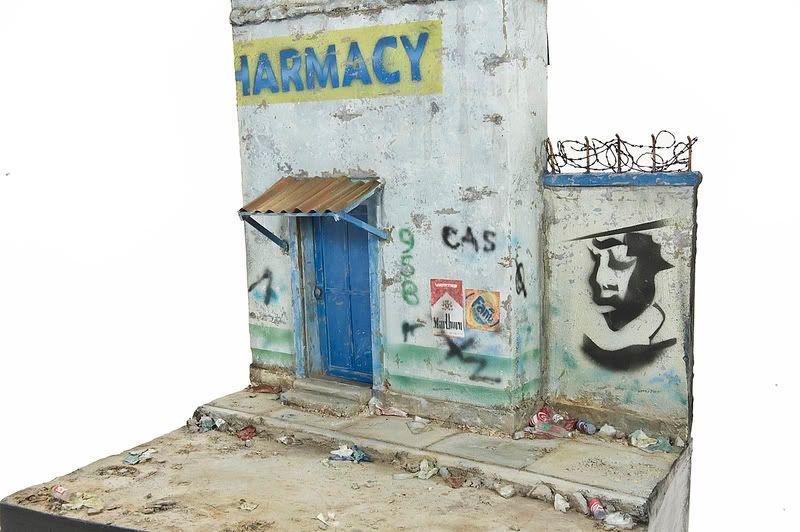
Next came the wall murals. I found the image for the face on a Google search, reduced it to size, then made a few stencil patterns. In total there are 3 layers to this stencil.

In a similar manner the "harmacy" sign was made and painted...

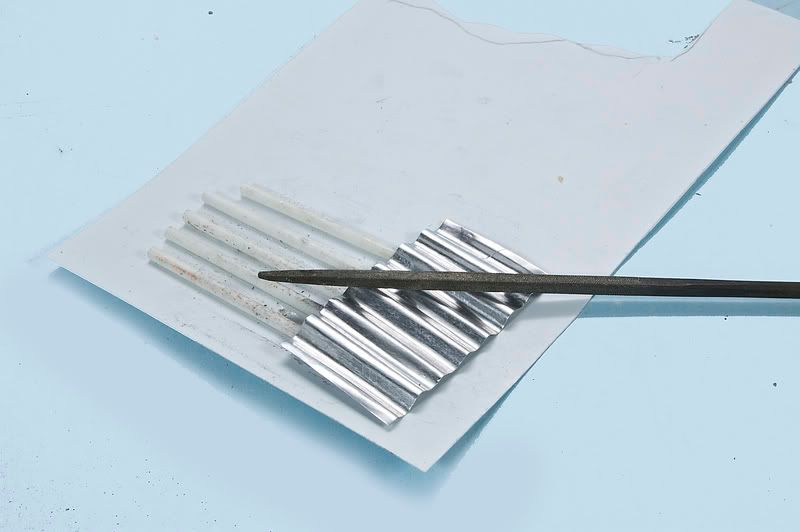
The small piece of corregated tin over the doorway was created by first gluing small plastic rod onto scrap card, then pressing a section of pie tin into the grooves to create the ridges. Later is was painted with light sprays of brownish reds and yellow acrylics then finished with artist's oils and pigments.
Finally it was time to attach the building facade to the base using white glue. Final touches to the base include further painting of the details and highlights using acrylic paints.
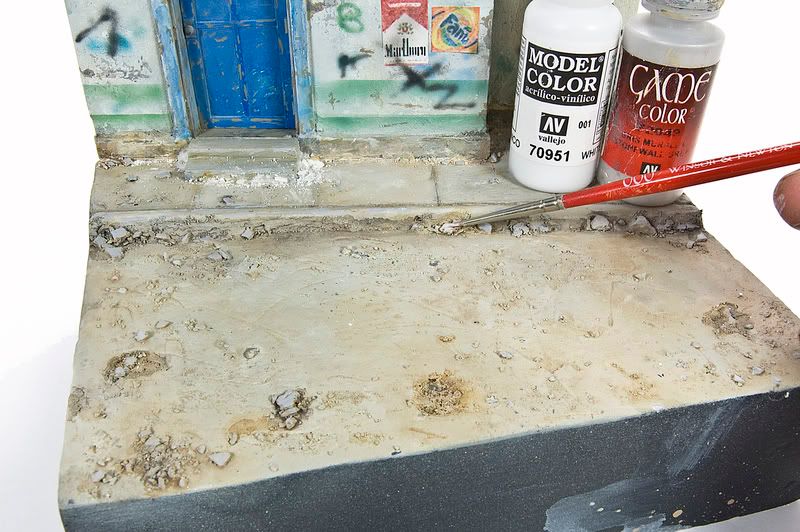
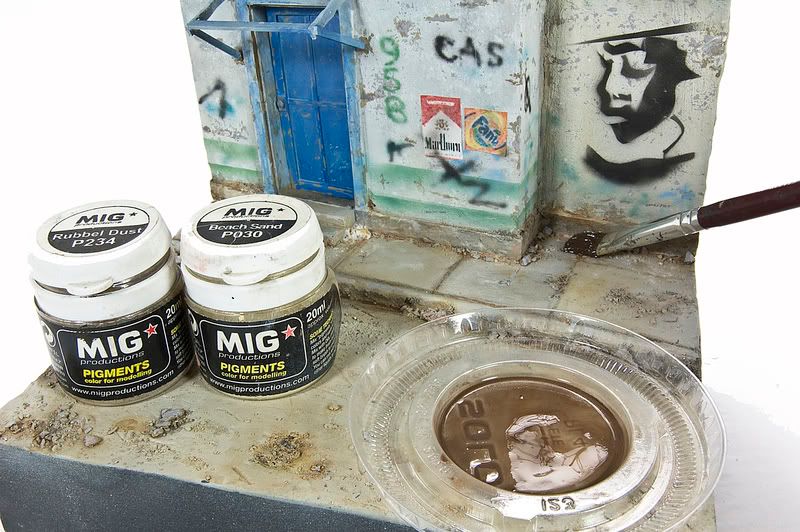
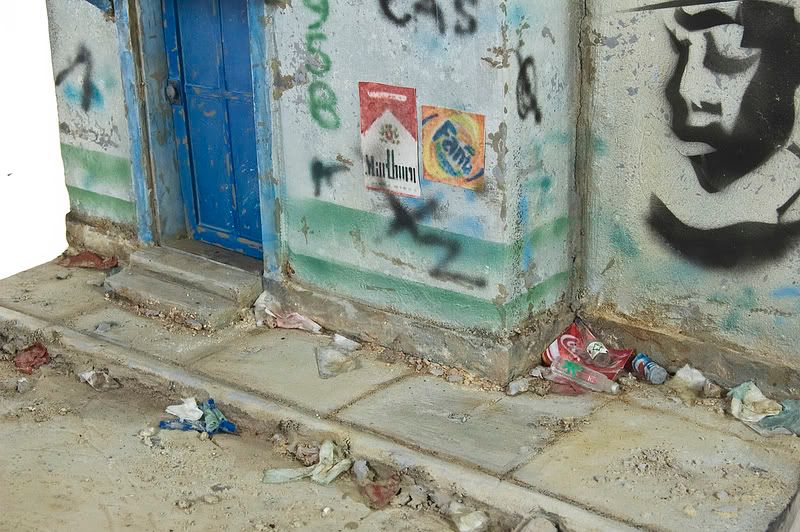
The last of the weathering included the use of MIG Productions pigments to the base being mindful that I used the same colors as I had used to weather the technical. Notice that I apply my pigments "wet" having first disolved them in turpenoid. This is my usual manner for both bases and vehicles.
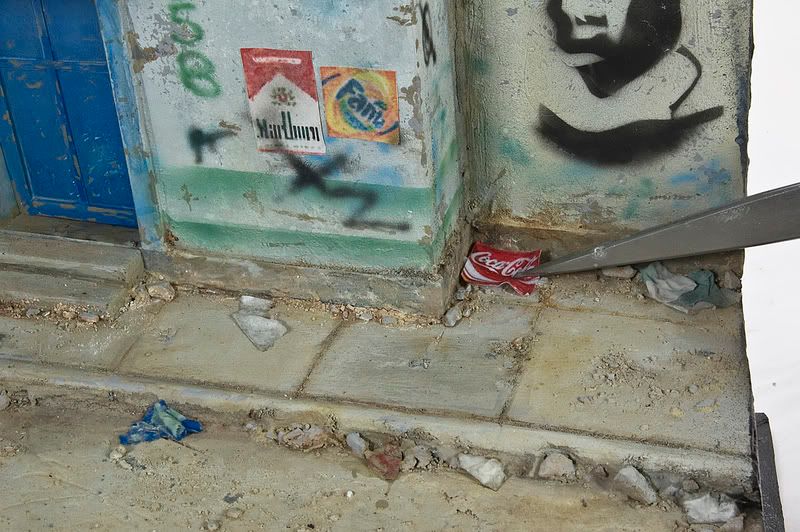
The last touch was to add the clutter and debris. Much of this is small pieces of colored tracing paper. The soda cans are reduced logos glued around small pieces of plastic rod, and the clear bottles are from sprue.
Finally, a few shots of the final base...
I hope that you enjoyed this little demo and maybe found a few useful ideas. The vehicle and final photographs can be found: Construction/Finished Thread
Take care,
Rick