SEARCH FINESCALE.COM

Enter keywords or a search phrase below:

First Dio, North Africa 1942, Please comment

1158 views
8 replies
1 rating 2 rating 3 rating 4 rating 5 rating
  • Member since
    October 2005
  • From: St. Petersburg, FL
First Dio, North Africa 1942, Please comment
Posted by sawdeanz on Tuesday, May 16, 2006 8:50 PM
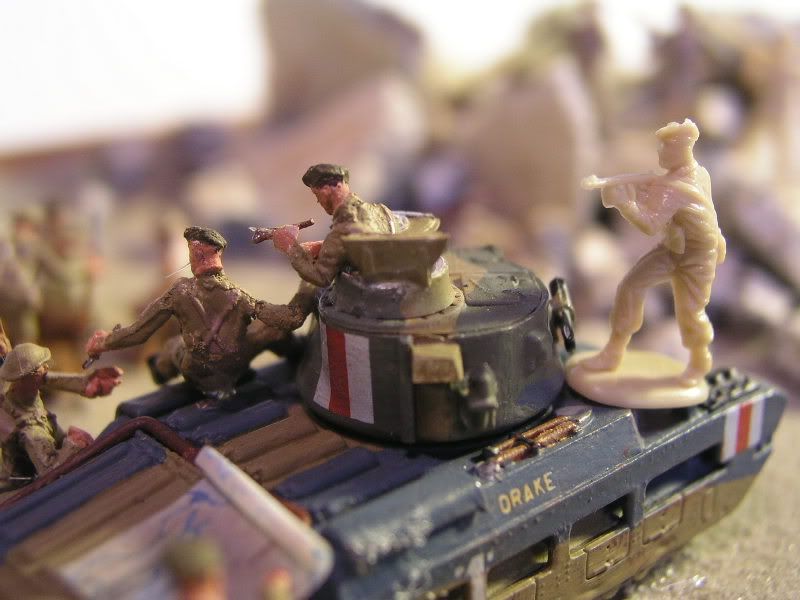
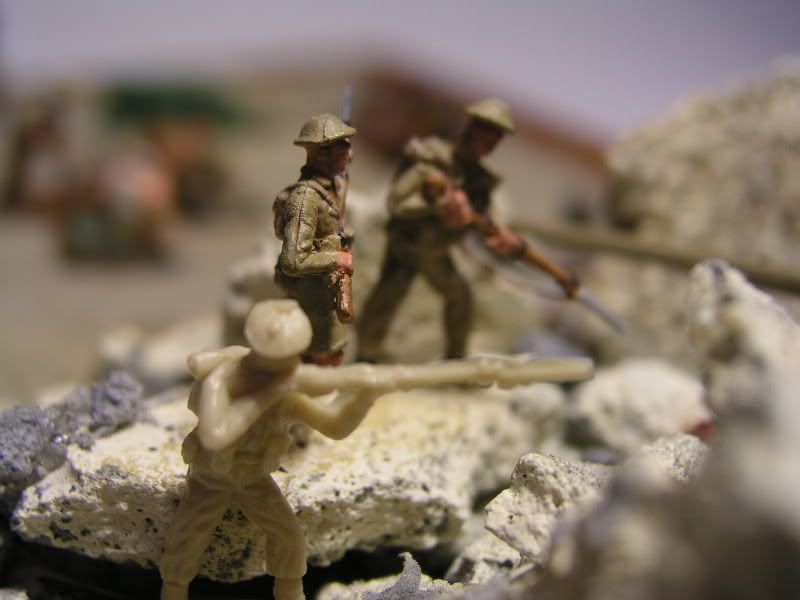
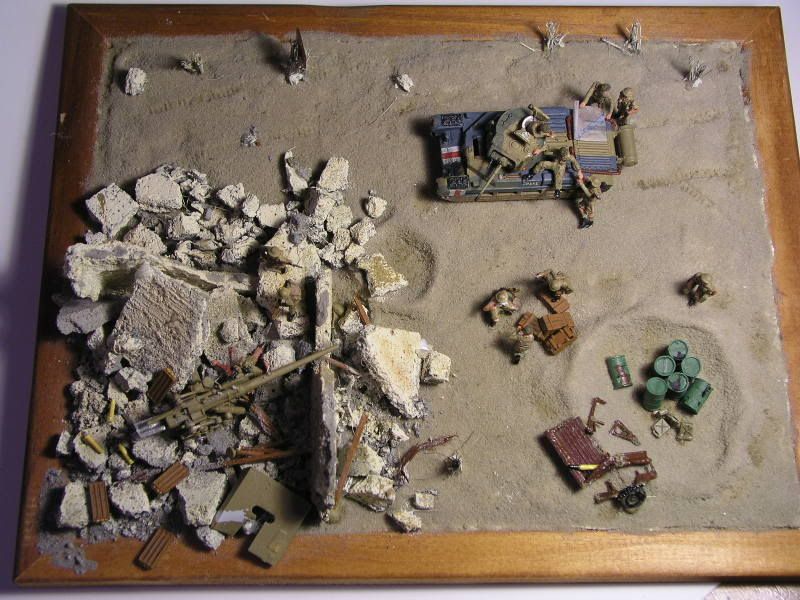
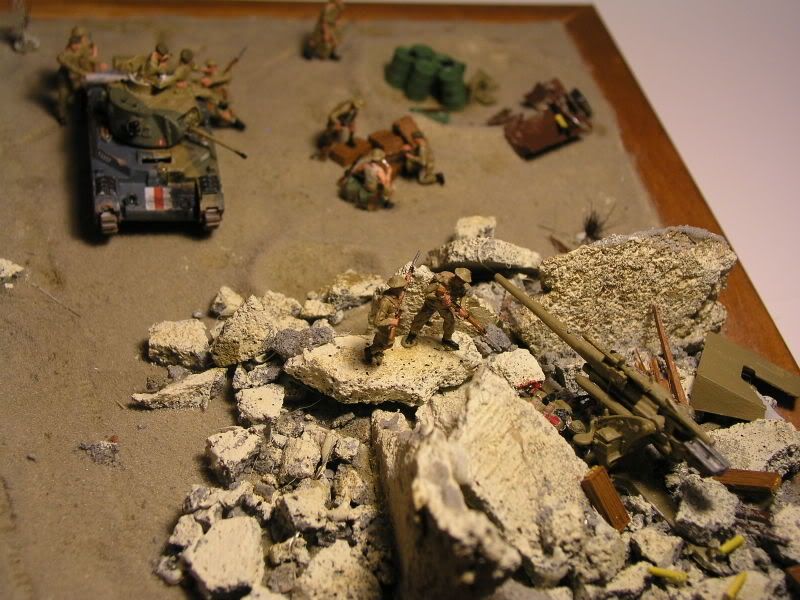
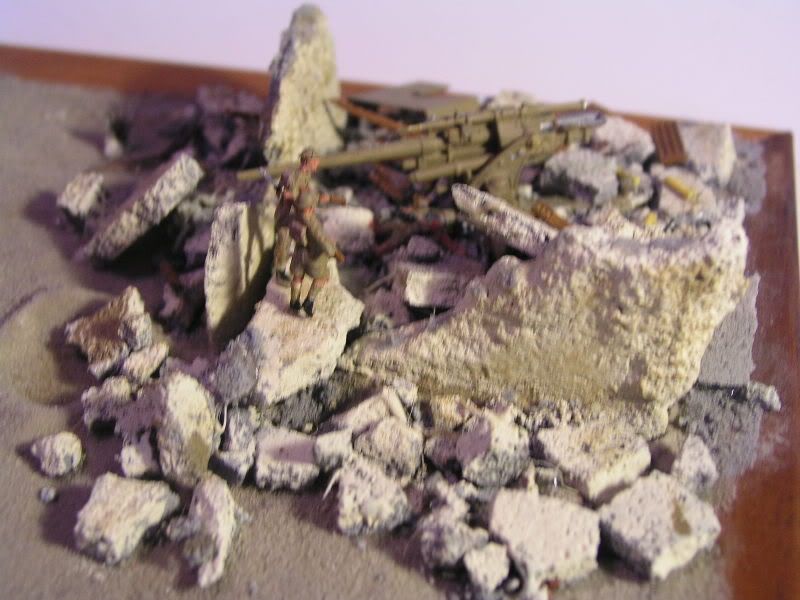
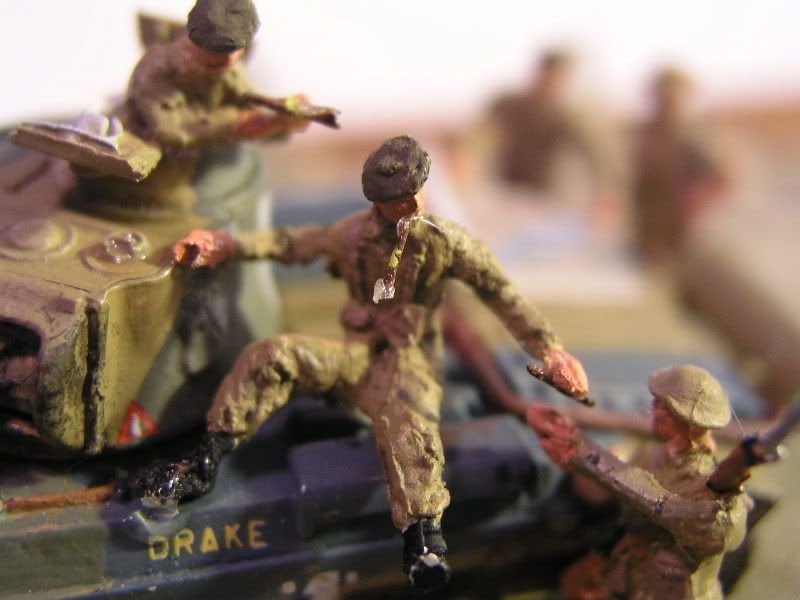
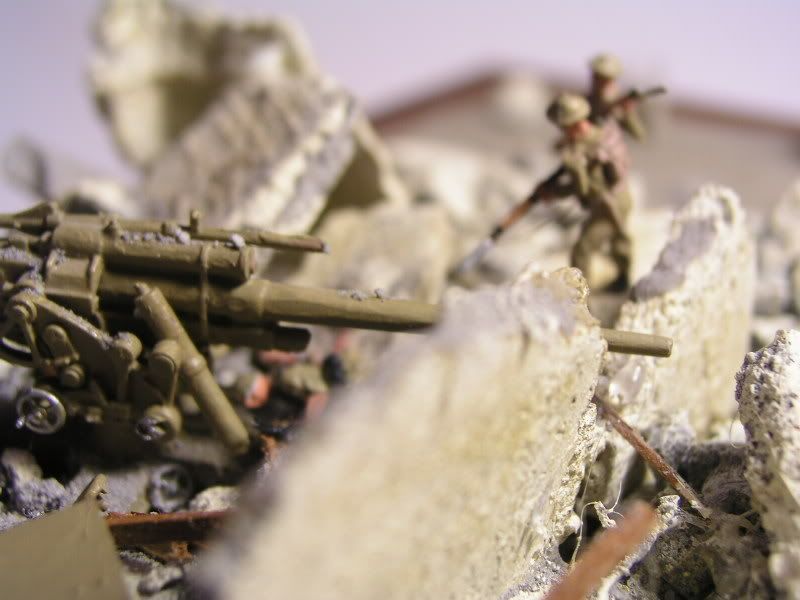
Hey guys this is my first diorama. It was really fun for me to do, i had a lot of fun planning it out and everything. I always like to see the stories that dioramas portray. In my dio the Brits have just won a victory in North Africa, a Matilda tank crew mingles with some infantry while their respective commanders study a map planning their next move. The dudes hanging out by the tank are trading victory cigars, while another trio are discussing their home lives or something. Two curious infantry men inspect a African hut (ok, a rather large african hut) that was bombed out in the heat of battle, revealing an 88 gun instalation (that would now be considered captured by the Brits). Inside they found an German soldier caught in the explosion, dead. in the corner, a large bomb crater is used as an empty gas can dump.
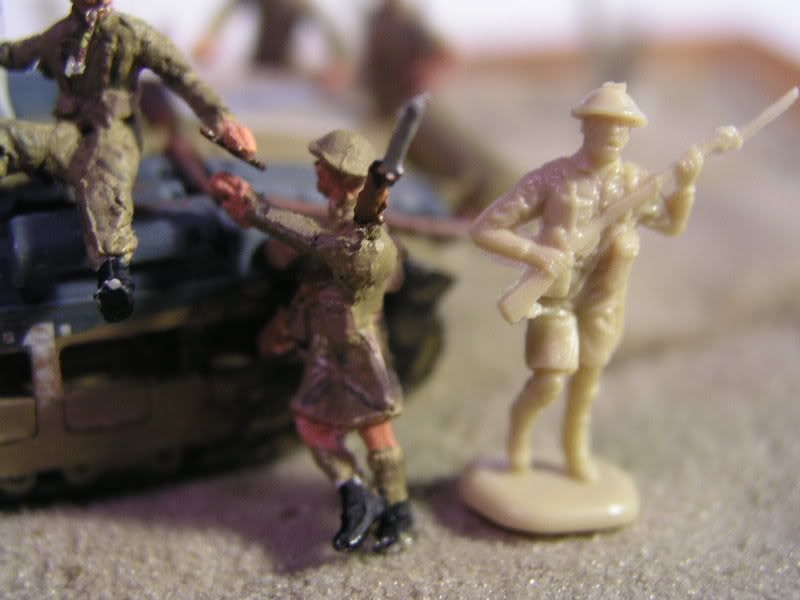
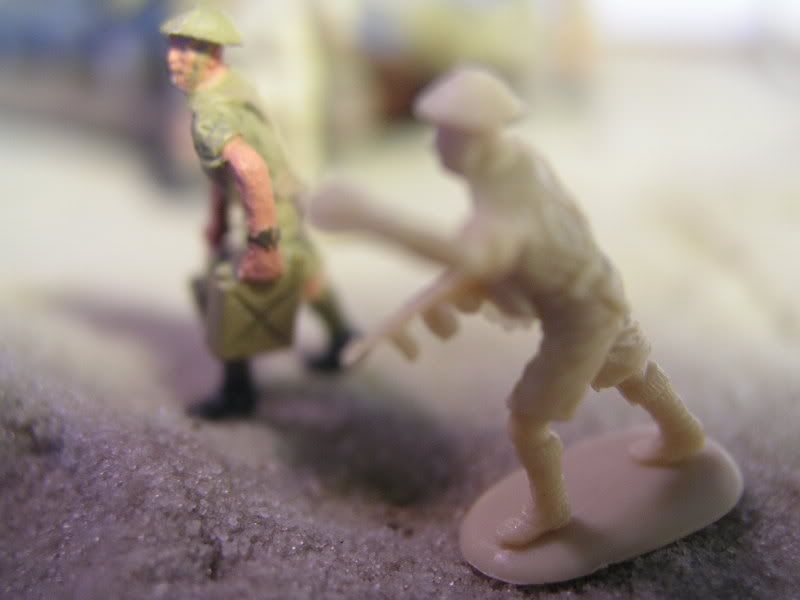
    About the diorama itself. Its in 1/72 scale, which is very small for doing figures, i hope they look ok, but i dont know because i always see a bigger scale for dios. The figures are the Revell Scottish infantry figures, which come on a sprue w/ about 50 figures, but in repetive poses. I altered or kitbashed many of the figures into different poses, my first time doing that, some came out better than others. Below you will also find some pics of the finished figure next to the original pose, for comparison.
      The tank is an airfix kit i found while brousing through my local hobby shop. Not fancy or anything, i got it cuz it was cheap and simple and then i decided to make a dio centered around it. The kit came w/ the hatch closed so i opened it and added a little detail.  Well, the dio ended up being centered around the 88 as well, which i happened to have made. It was not done very well, so i repainted and refurbished the gun (before making it look blown up). The sand is decorative sand i found in a craft shop that worked out great, and no painting neccesary. The rubble is just pieces of concrete broken up, painted a desert color, and weathered. I found that a hot glue gun was useful in putting the dio pieces and debris together, though it was a little messy and difficult, but provided a strong, instant seal.
All questions and comments wanted and appreciated. Constructive critism welcome. Thanks for looking, I hope you enjoy.
P.S. Sorry for any blurry photos
P.P.S. I realize that in some photos you can see globs of glue where the figures are glued, i gotta fix that.
P.P.P.S. Click on the pic for a bigger pic.
If you want check out some pics on my photobucket thing http://s9.photobucket.com/albums/a60/Sawdeanz/
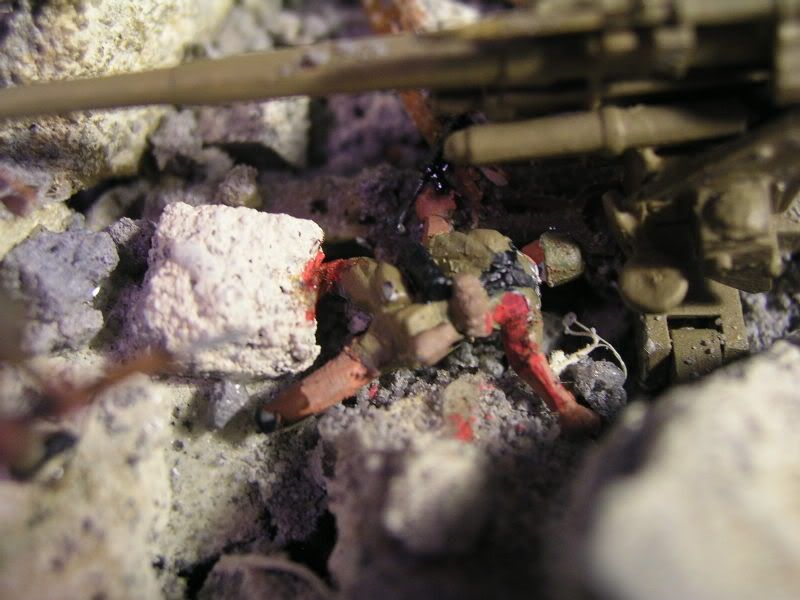
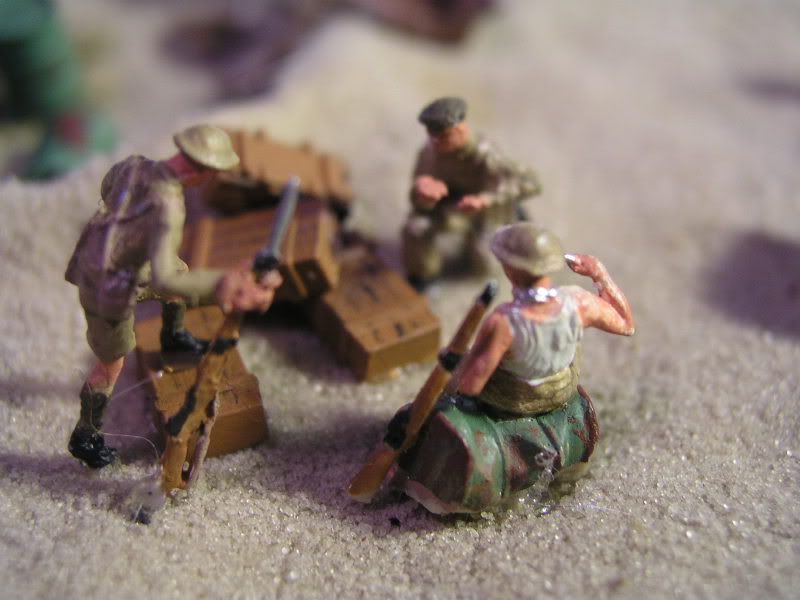
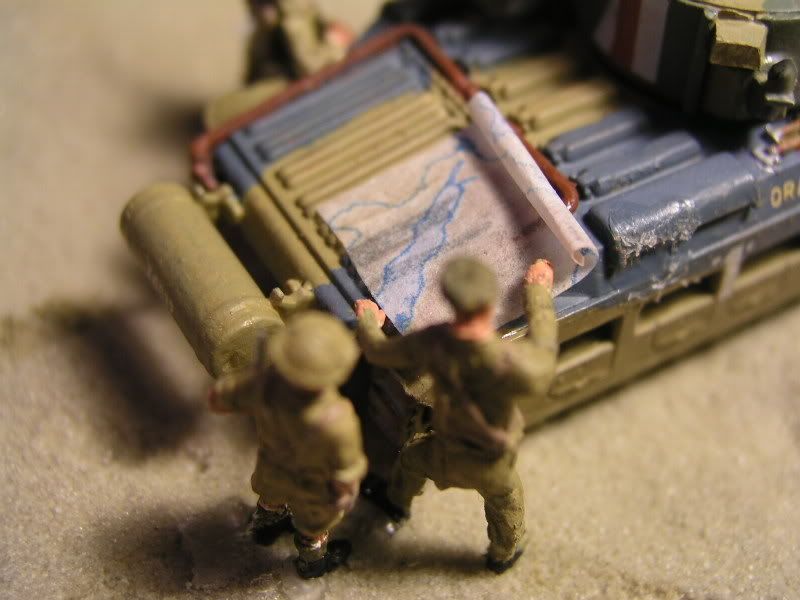
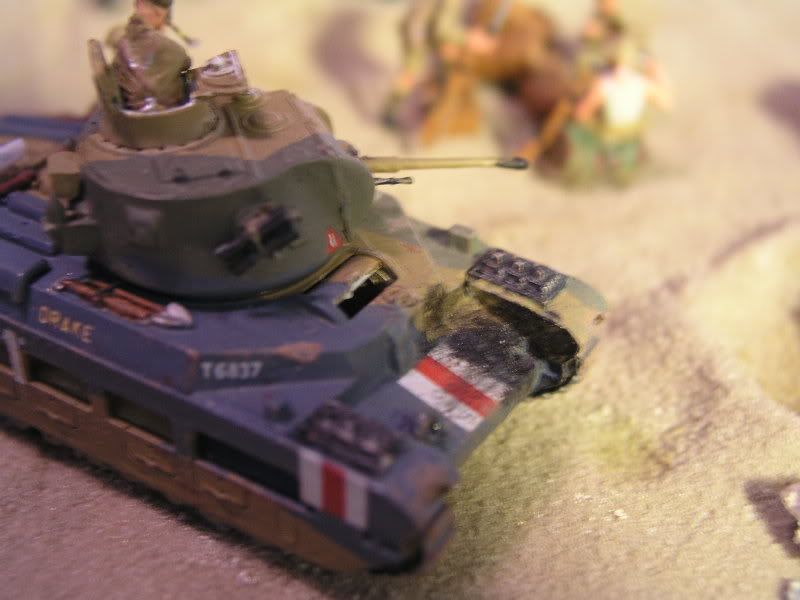


Here are some of the figure comparisons


  • Member since
    December 2002
  • From: Massachusetts
Posted by ajlafleche on Tuesday, May 16, 2006 10:40 PM

Congrats on reworking soft plastic figures. Not an easy task. Overall, the story line has possibilities.

However, basics rule.

There are very large seam lines on several figures that should have been cleaned up.

Paint application looks very heavy.

The 88 has some serious flat spots on the barrel from sanding. The 88's ammo boxes are on top of the rubble, how did they get there?

I can't figure out what's going on in the 4th picture. What's hanging from the guy's mouth?

The guys on the ammo cases look like they've been there a for some time while there are two guys just mopping up the 88  area.

The 55 gallon drums have big seam line n the tops.

Remember, if the women don't find you handsome, they should at least find you handy.

  • Member since
    October 2003
  • From: Clovis, Calif
Posted by rebelreenactor on Wednesday, May 17, 2006 12:56 AM

Not bad at all.

ajlafleche has given some good tips. One more I'd like to add is stay away from the hot glue gun. It leaves nasty blobs of glue and those little strings. White glue, super glue or apoxie are much better choices.

John
  • Member since
    October 2005
  • From: St. Petersburg, FL
Posted by sawdeanz on Wednesday, May 17, 2006 11:44 AM
thanks for the tips, i realize i still have some practice to do to improve my figures, especially with removing seam lines. The guys in the 4th picture are supposed to be smoking cigars, so thats what is hanging from his mouth. After looking at the pics, i can now see some more areas i need to clean up that were not apparent to the naked eye. I also figure that one of those desktop magnifying glasses may help me with the small scale, so im looking into getting one of those. Now that schools over, im looking to do a vietnam dio, so if anyone has any sites or references about that, i would appreciate it.
Thanks

Im really starting to hate this camera, the pictures are much bigger than real life and the figures dont look as good, lol. Just kidding.
  • Member since
    December 2002
  • From: Massachusetts
Posted by ajlafleche on Wednesday, May 17, 2006 5:30 PM

Instead of a desktop magnifyer, look into a set of Optivisors. A lot of the figures guys in my club use them.

Your hands remain free and you maintain binocular vision. They don't move around like the magnifier on a lamp. You can find them on line or at a good hobby or craft store. There are several levels of magnificatio available and you can also get a movable loupe for extra magnification.

Remember, if the women don't find you handsome, they should at least find you handy.

  • Member since
    March 2003
  • From: Jacksonville, NC
Posted by Wolfp on Wednesday, May 17, 2006 9:05 PM
Looks like what happens to my 88's evertime I play CMAK. 

J.B. http://photobucket.com/albums/a303/jbrunyon/


On the Bench: !/350 TOS Enterprise; 1/72 Tie Interceptor

  • Member since
    March 2006
  • From: Drummondville, Quebec, Canada
Posted by Yann Solo on Friday, May 19, 2006 3:05 PM

 sawdeanz wrote:

Im really starting to hate this camera, the pictures are much bigger than real life and the figures dont look as good, lol. Just kidding.

That's the point.  Taking pictures of a model is as important as the model itself.  Try to take pictures so your model will show correctly.  Sometimes, we just take pictures of the details and some nasty things appear on the screen.  I still have to improve myself for that, even if I can consider myself as an amateur photograph.

Nice job on your first dio.  I like the guys looking at the map.  What I like about dio, like you said, is the story that it can tell and you did a great job at it.

No matter where you go ....... there you are.
  • Member since
    November 2005
  • From: Southport, North West UK
Posted by richgb on Sunday, May 21, 2006 9:11 AM

hello,

Your conversions are excellent. Well done on that. The best way to improve is to keep making the dios and posting them on here. That way you'll always get some constructive criticism which will help you build a better one next time. The most important thing is that you enjoyed building it after all this hobby is for fun ( although if you'd heard me the other night after I dropped my finished Sea Cobra you wouldn't have thought so.Luckily all damage could be fixed )

Rich

...this is it folks...over the top!
  • Member since
    January 2003
  • From: arizona
Posted by cthulhu77 on Sunday, May 21, 2006 11:35 AM

   Looks like a great 1/72nd dio, cleaning up those seam lines will come with practice (pain in the rear, I know).  The conversions are fantastic...looking forward to seeing the next piece of magic you make!


                    greg

http://www.ewaldbros.com
JOIN OUR COMMUNITY!

Our community is FREE to join. To participate you must either login or register for an account.

SEARCH FORUMS
FREE NEWSLETTER
By signing up you may also receive reader surveys and occasional special offers. We do not sell, rent or trade our email lists. View our Privacy Policy.