SEARCH FINESCALE.COM

Enter keywords or a search phrase below:

Sniper! NEW PROGRESS!

4049 views
24 replies
1 rating 2 rating 3 rating 4 rating 5 rating
  • Member since
    November 2005
Sniper! NEW PROGRESS!
Posted by Anonymous on Wednesday, July 26, 2006 1:31 AM

Hello everyone.  I've allready posted some pictures from this diorama in the figures section, but I'm posting some progress pics of it right here. 


The idea is that a German soldier is shot in the leg by a sniper, and after quickly realizing he needs more medical attention than he can provide (and he needs to get it from behind cover!), he's trying to get back to his comrades.  It's almost like the Saving Private Ryan scene, except the wounded man is trying to get back behind cover. 


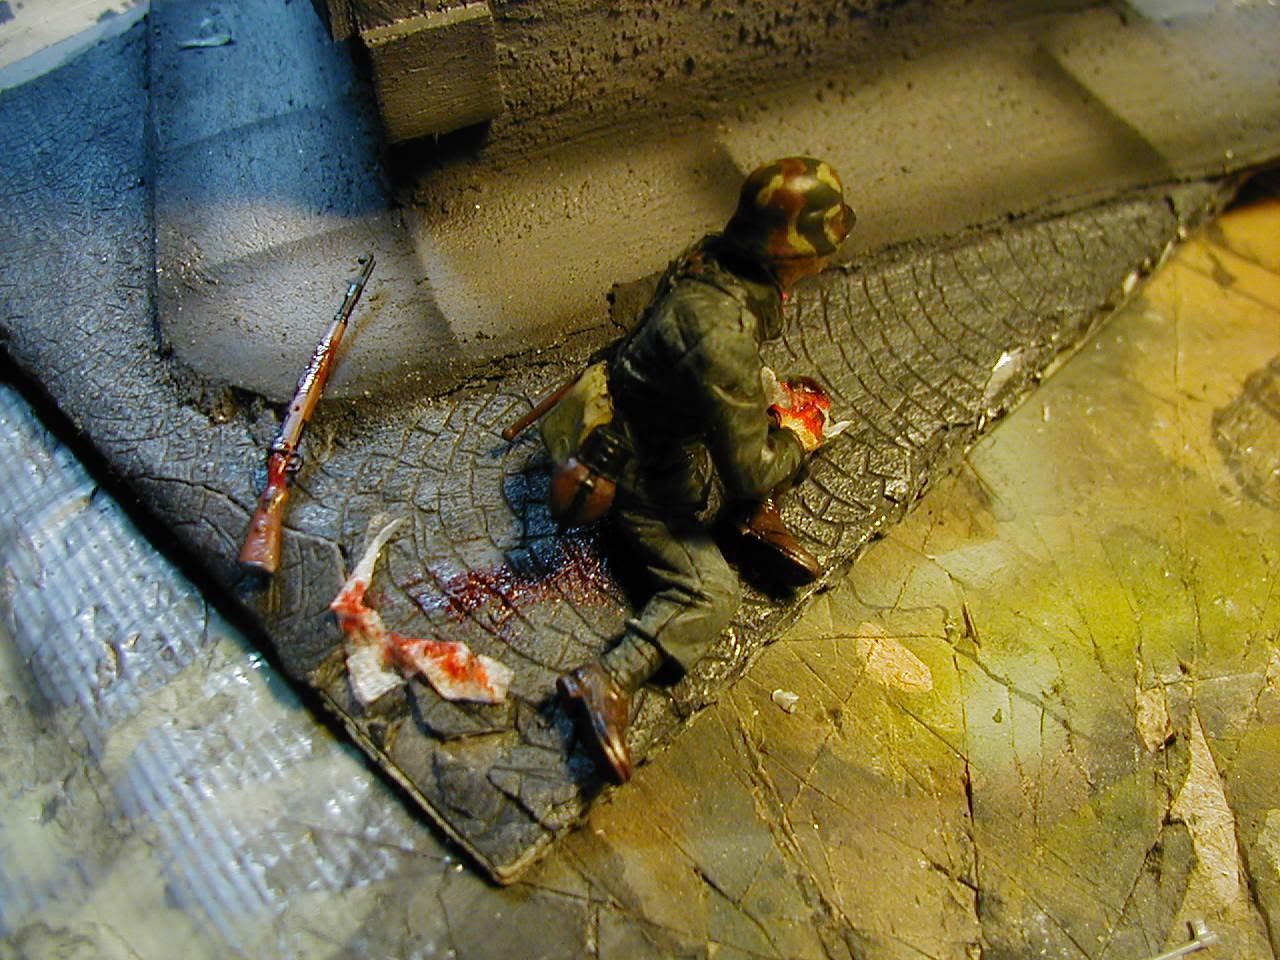
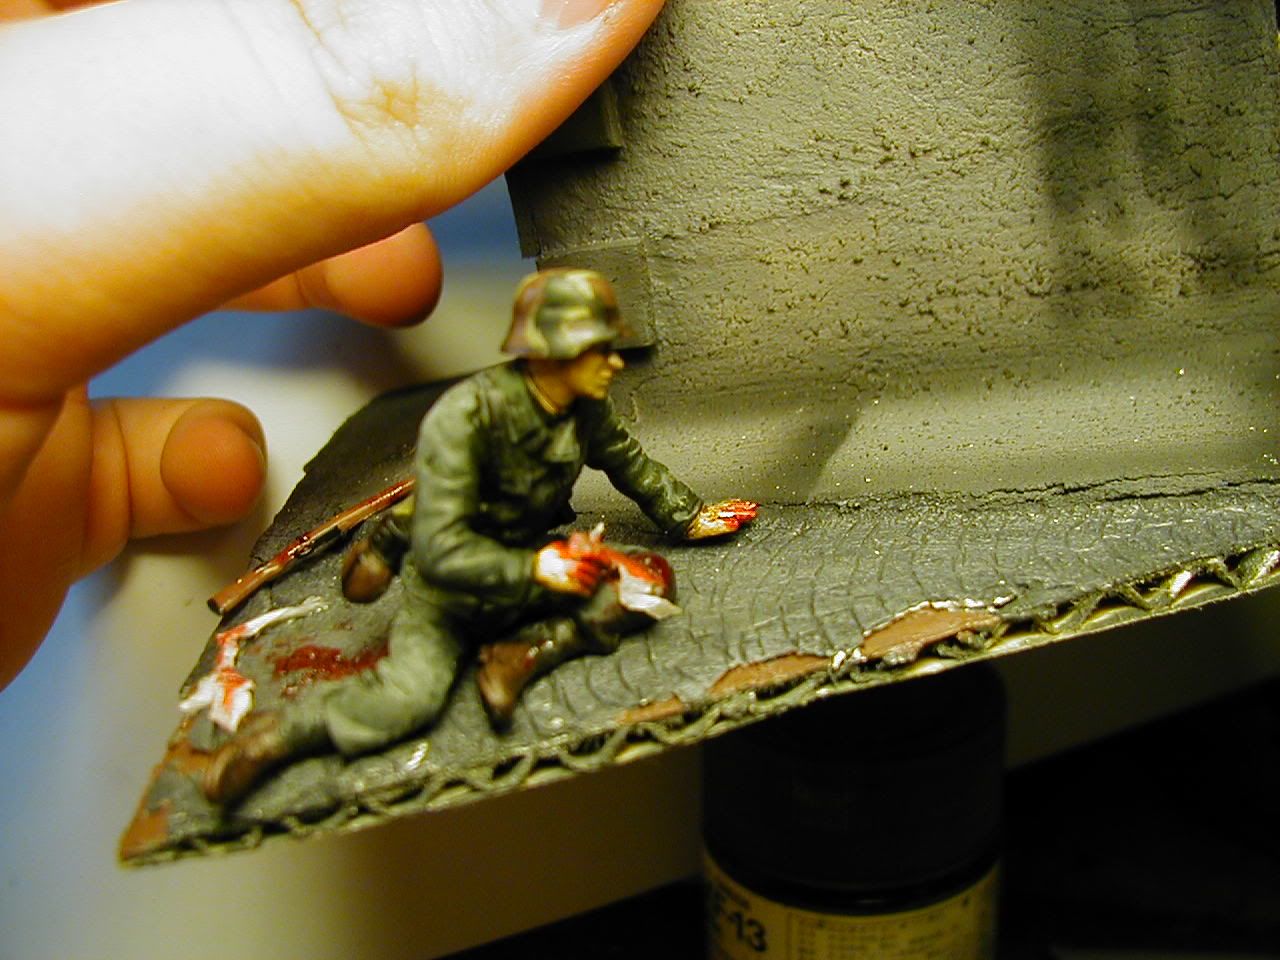
I've allready asked several forum members if I've done the blood with taste, because that was a big concern of mine.  I've never done a model or dio with blood before, but I decided it was time to show the consequences of declaring war in my first model/dio since a two year vacation from the hobby.    

So without further explaining, here it is:

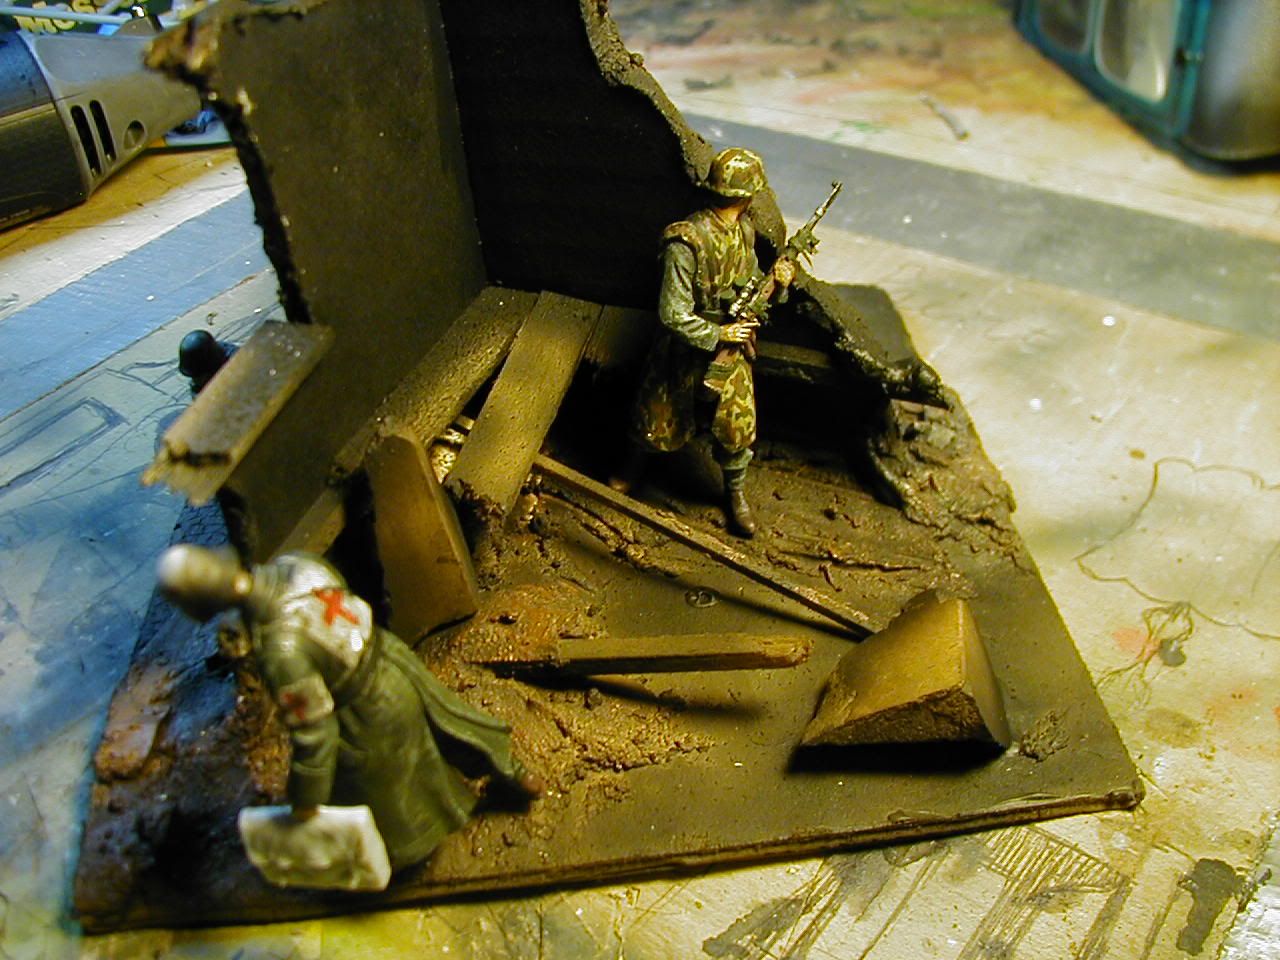
Here's the view from the top.  It's a simple cobblestone street with a side walk and a blown out house.  Rubble will be coming soon.

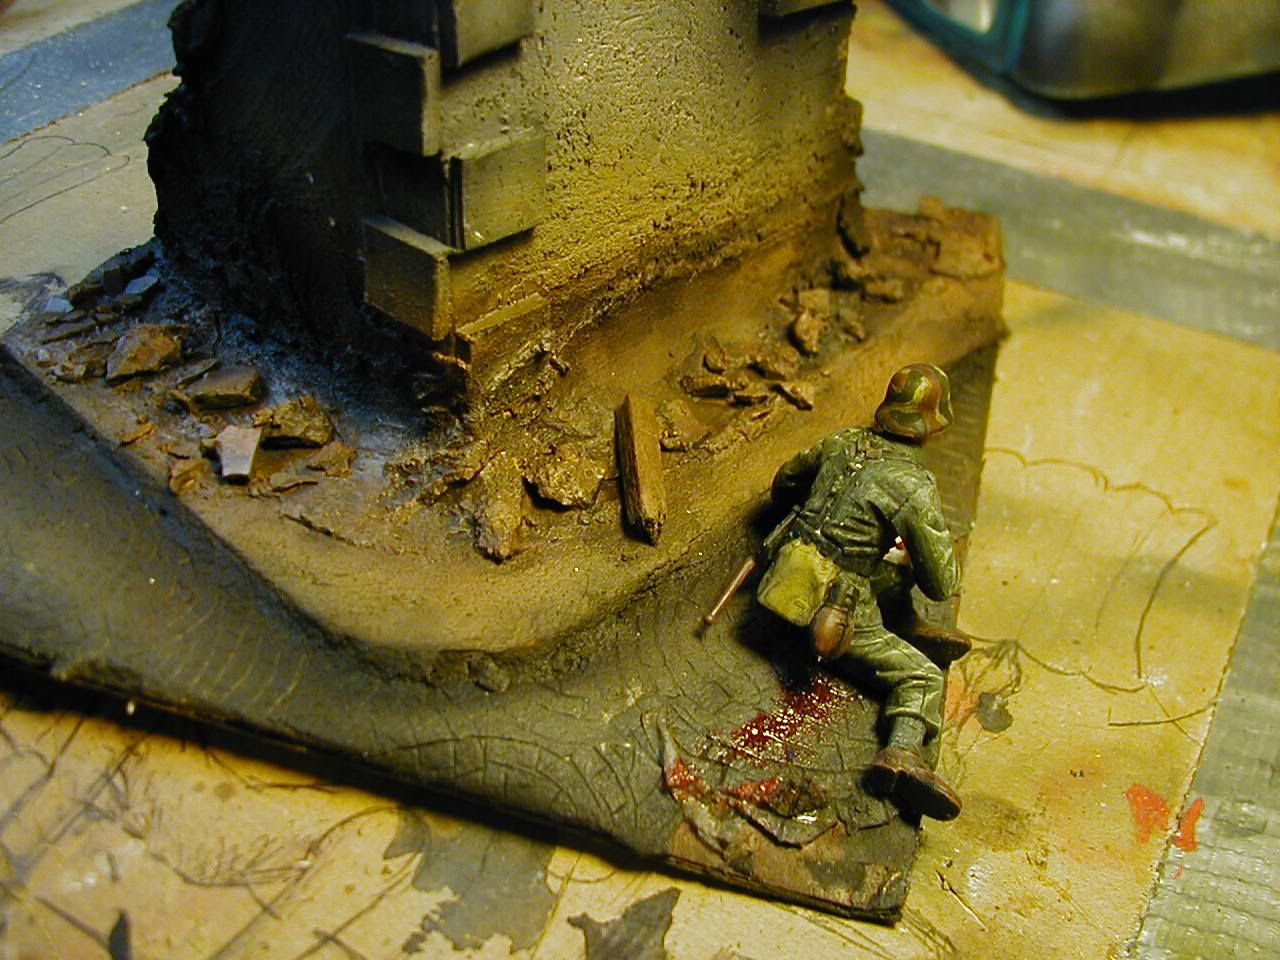
Here's the wounded soldier trying to get back to his comrades.  I didn't want to be liberal with the blood usage, but I also wanted to convey the message without making it sugar coated.

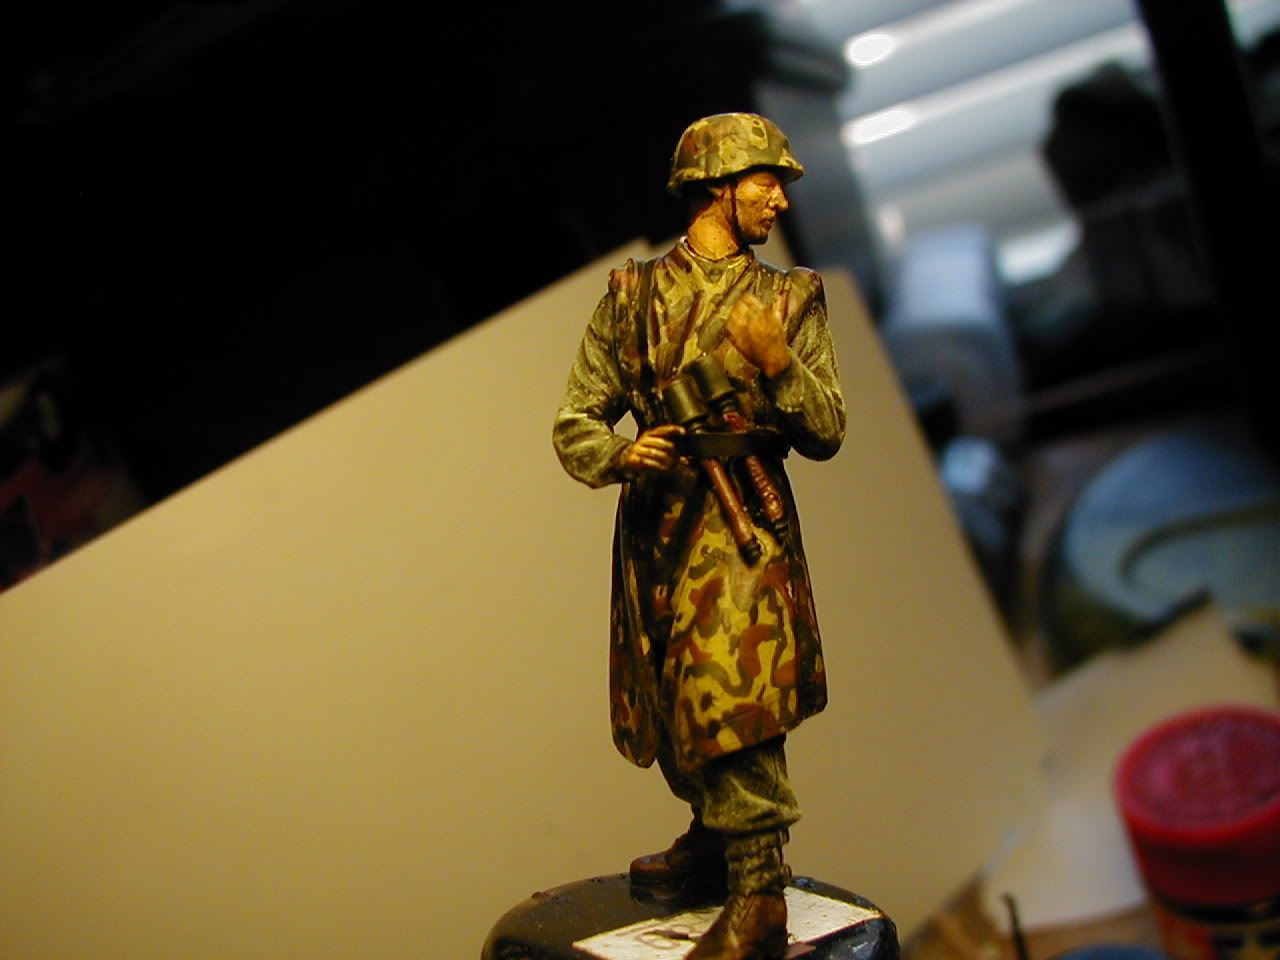
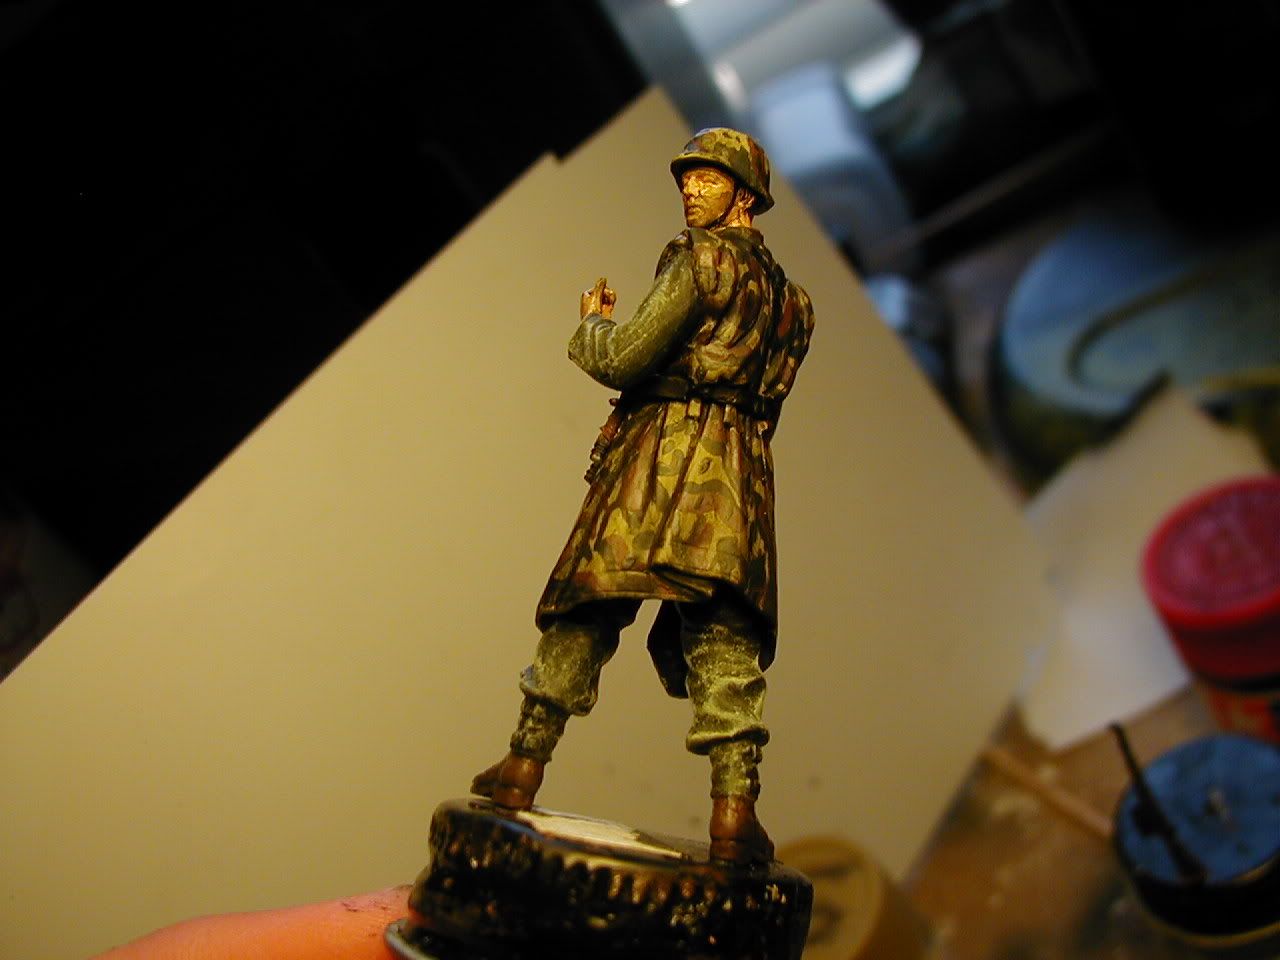
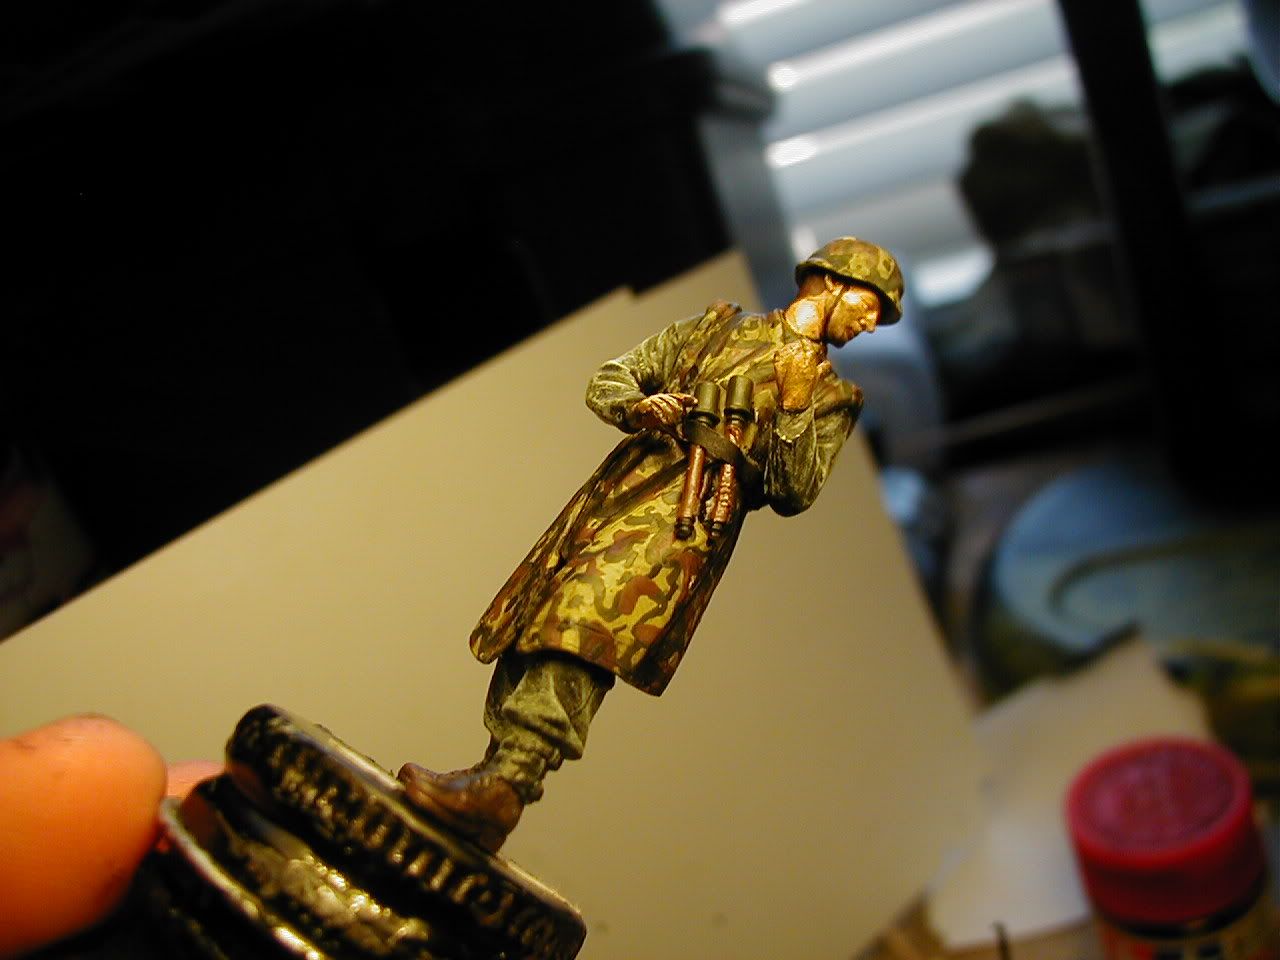
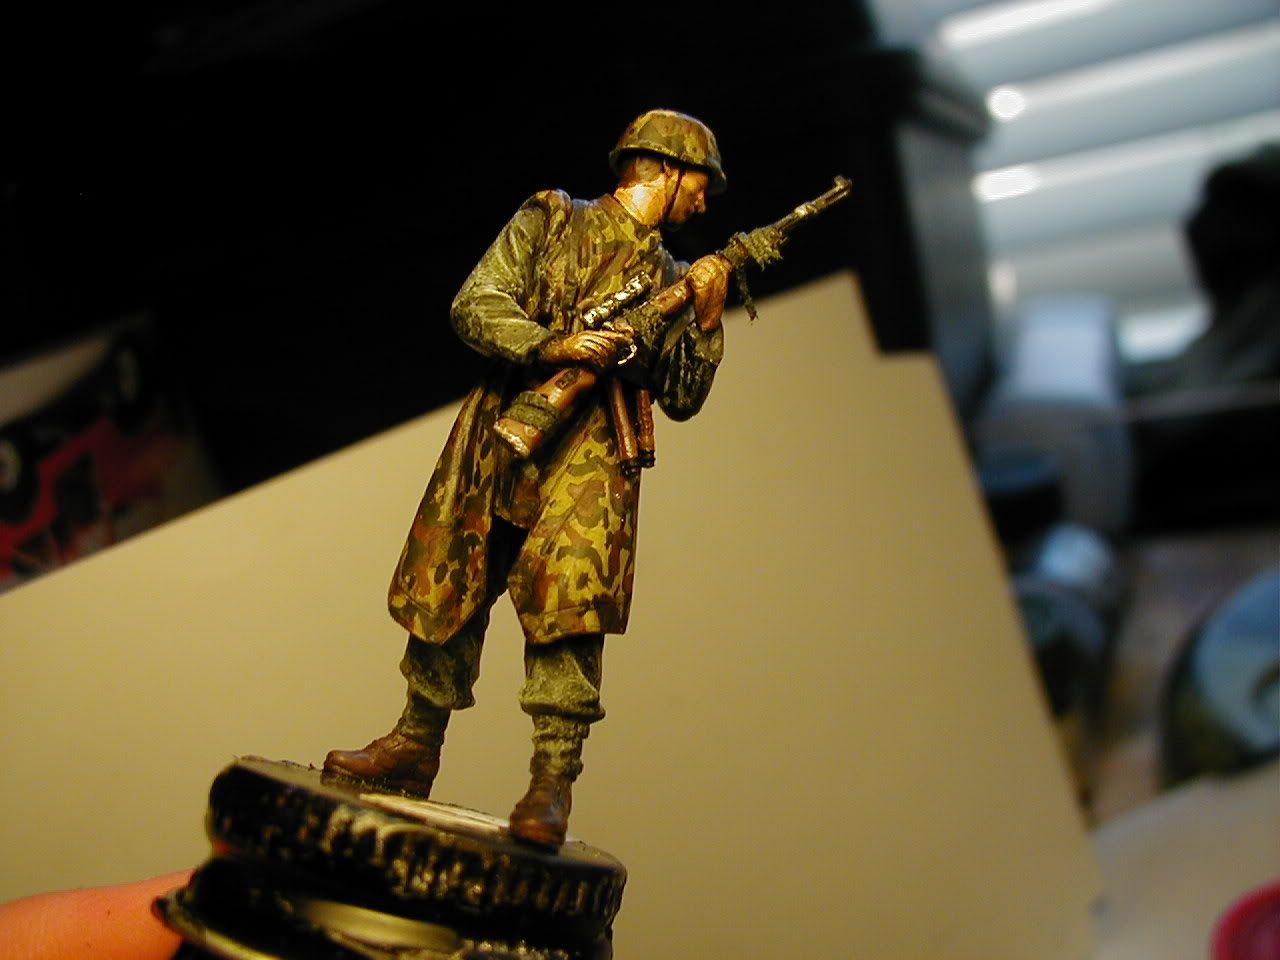
Here's the counter-sniper in the dio.  He's going to have a sniper rifle and he's going to be carefully looking around the corner, looking for the sniper that hit his buddy.  He doesn't have a wash and he isn't highlighted yet, but the basics are done (mostly).

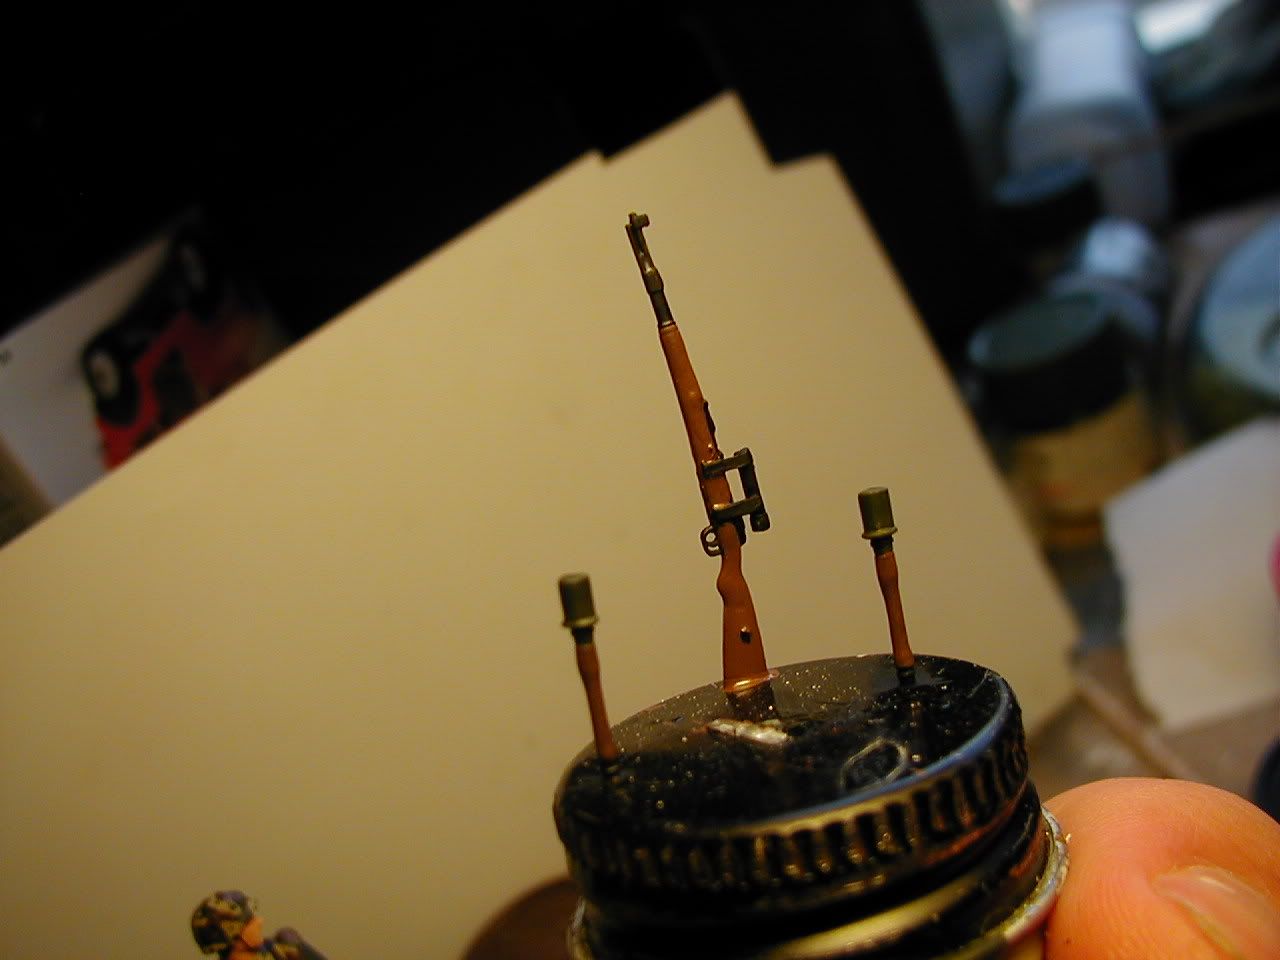
Here's his grenades and rifle before painting.  I didn't have a scoped kar98k, so I decided to make one from a DML stock kar98k, some styrene strips, and a tube-like part of a tamiya panzerfaust.

Thanks for looking!  I'm still kind of concerned about the blood, because I know it is sensitive and this is my first time using it, so any remarks on it and the rest of the dio is welcomed.


JULY 26, 2006 UPDATE

Here's some updated pics.  I gave the counter sniper a wash, highlighted him, and gave him a five o'clock shadow with the wash. I used paper towel strips to make the canvas strips tied around his rifle.
JULY 30, 2006 UPDATE

I'm now making the medic in the scene.  I've also done some work with the diorama.

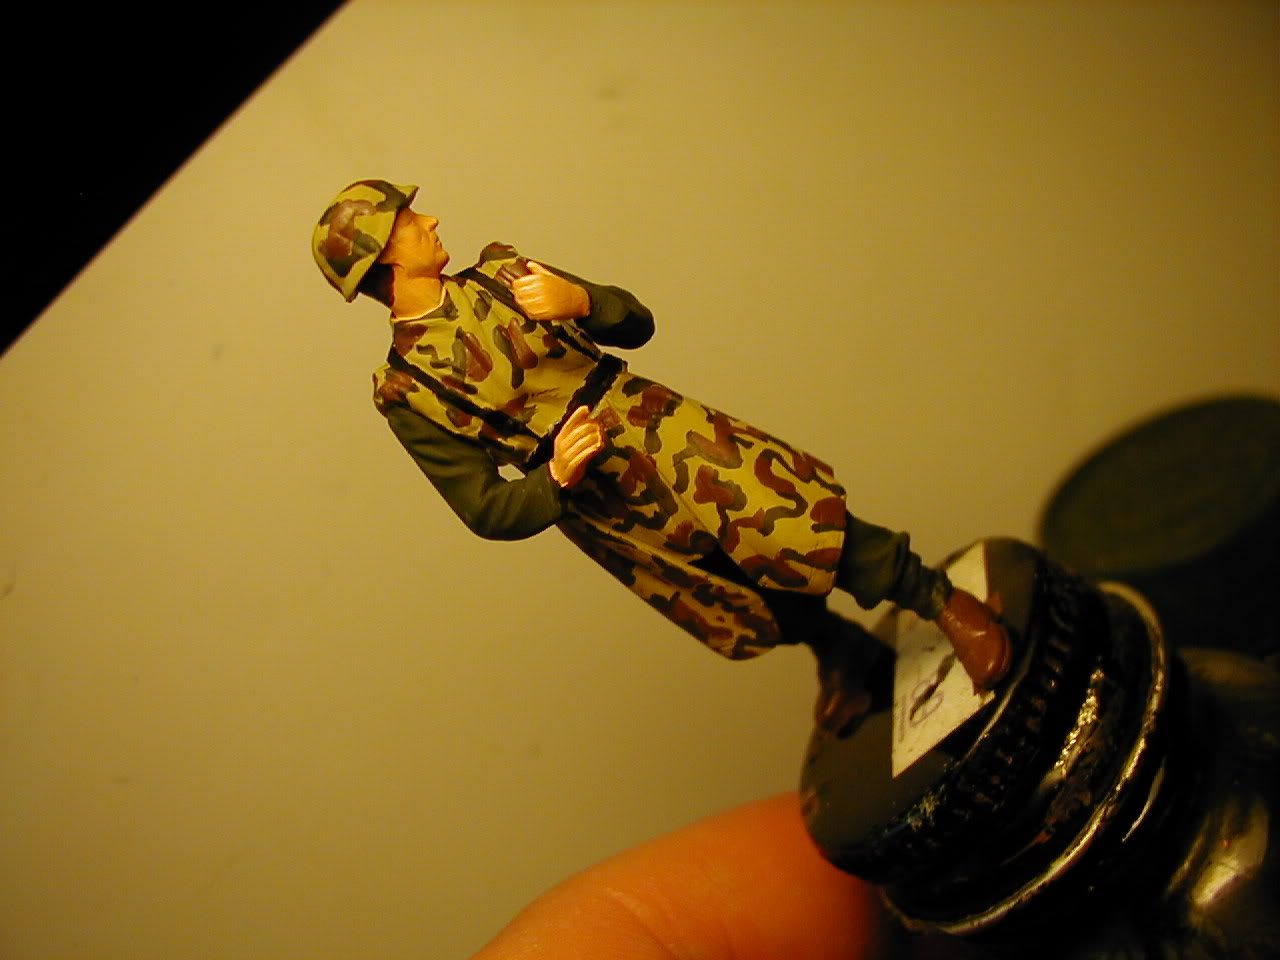
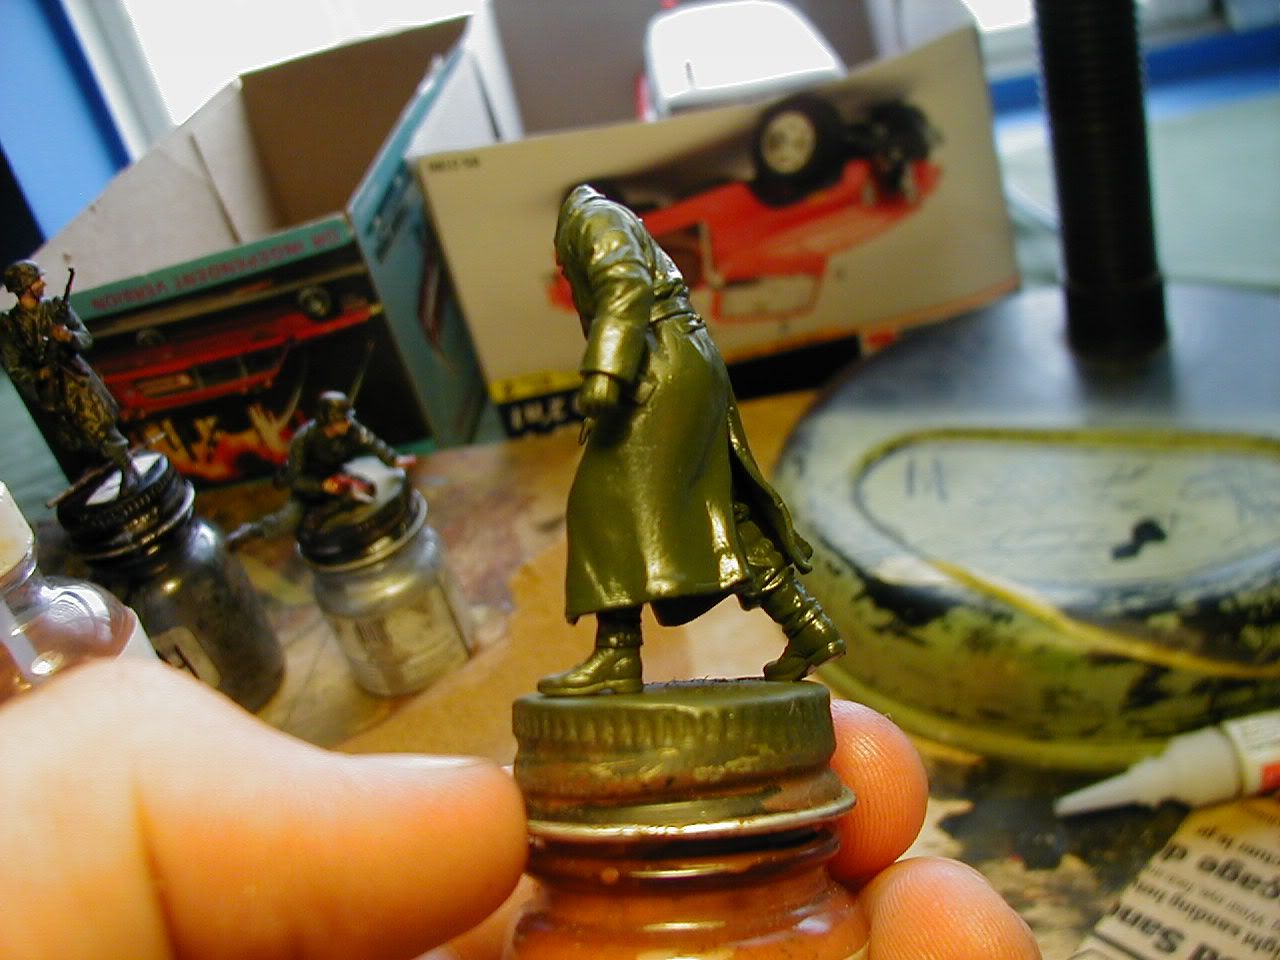
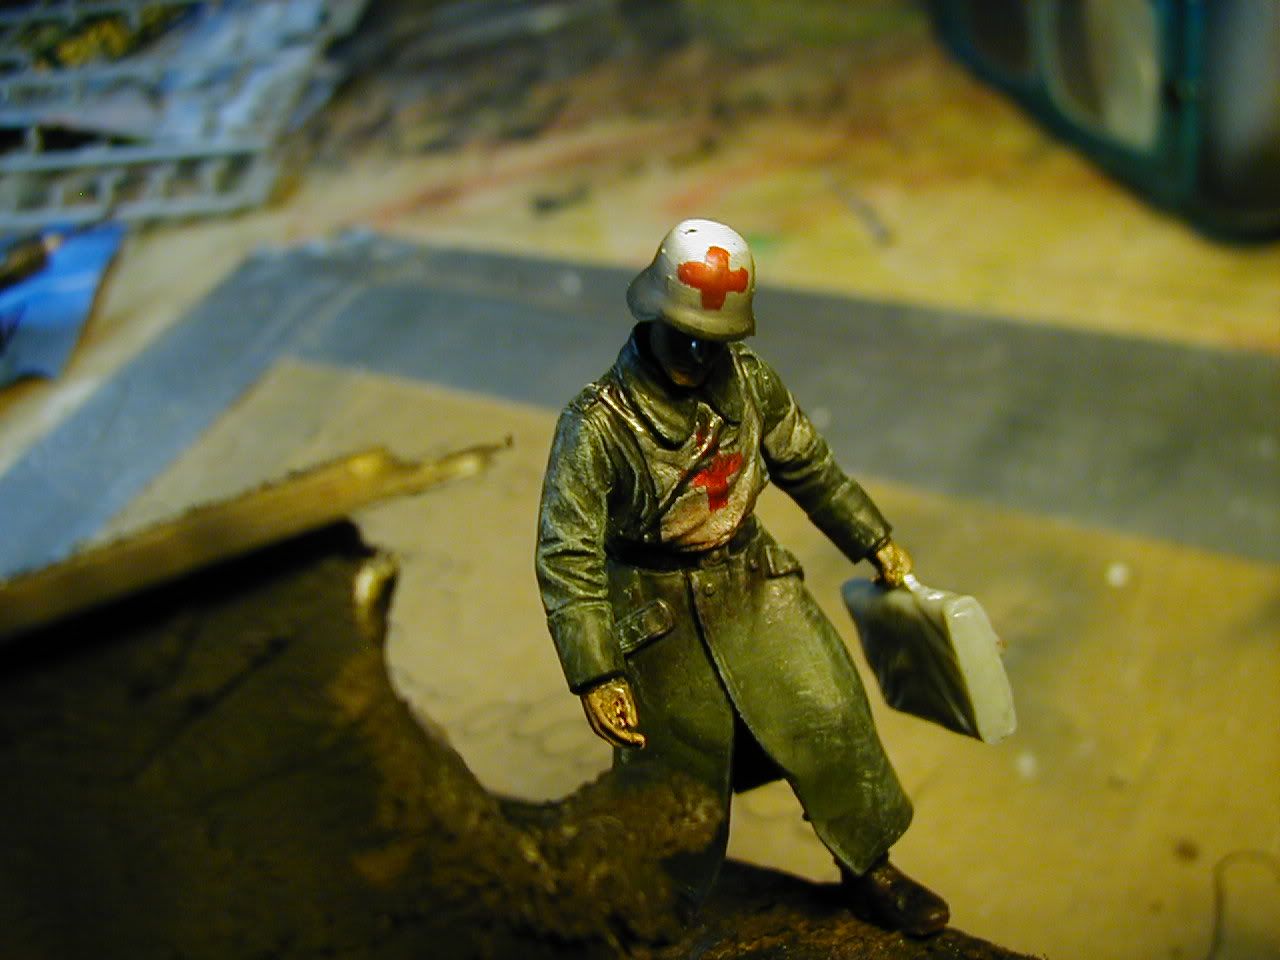
Here's the DML medic from the "Fallen Comrade" set.
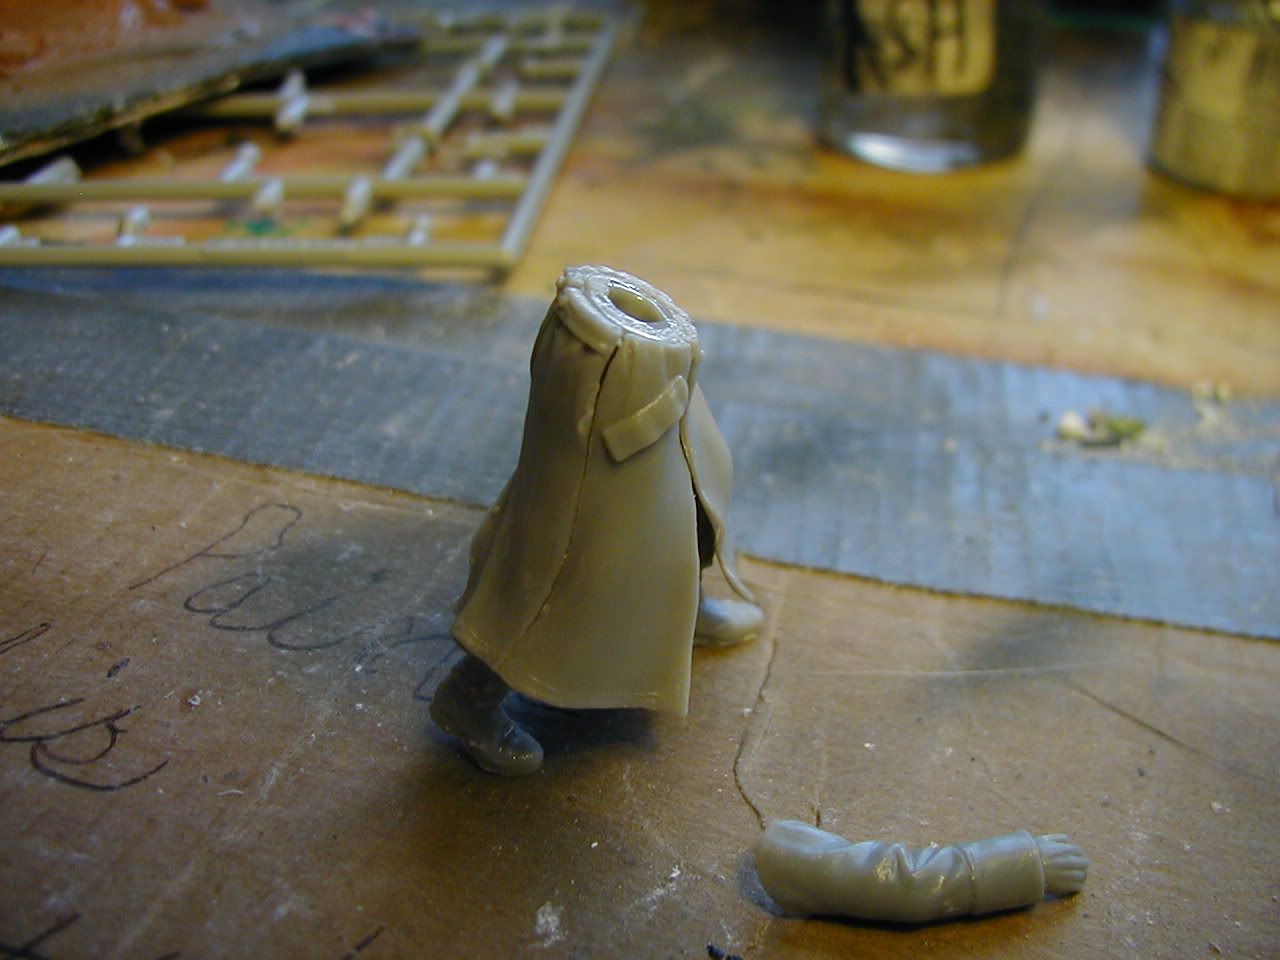
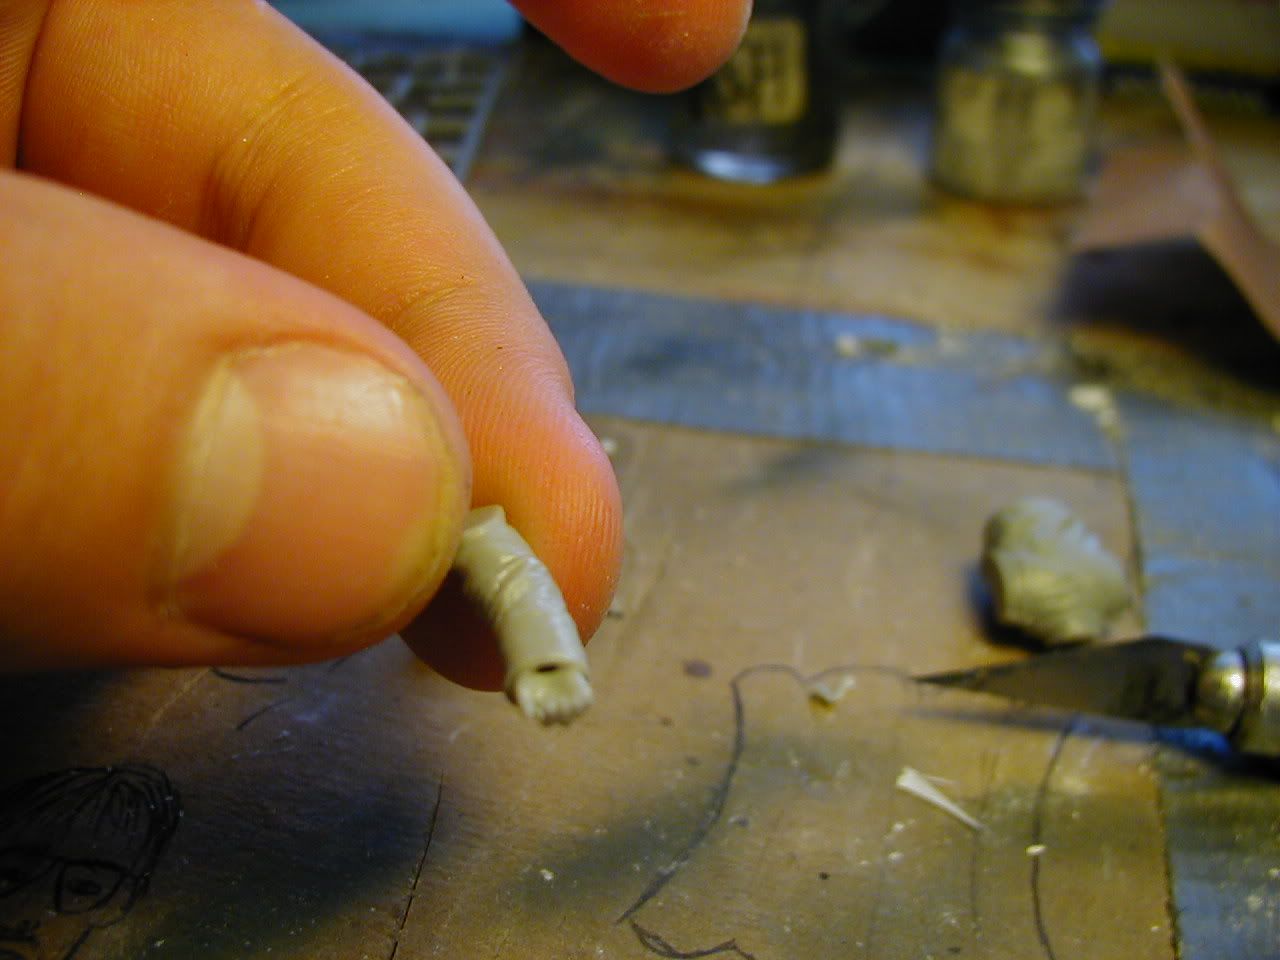
I felt like making the sleeves look more real.  I cut of the medic's hands, drilled out the sleeves, then glued his hands back in.  A little trick from Shep...  And I probably should have done it on the other figures in the scene...
As you can see in the next two pics, the trench coat pieces came in four different parts, and they created two monster gaps!  I knew they weren't supposed to be there, so I had to bust out the super glue and sanding sticks...
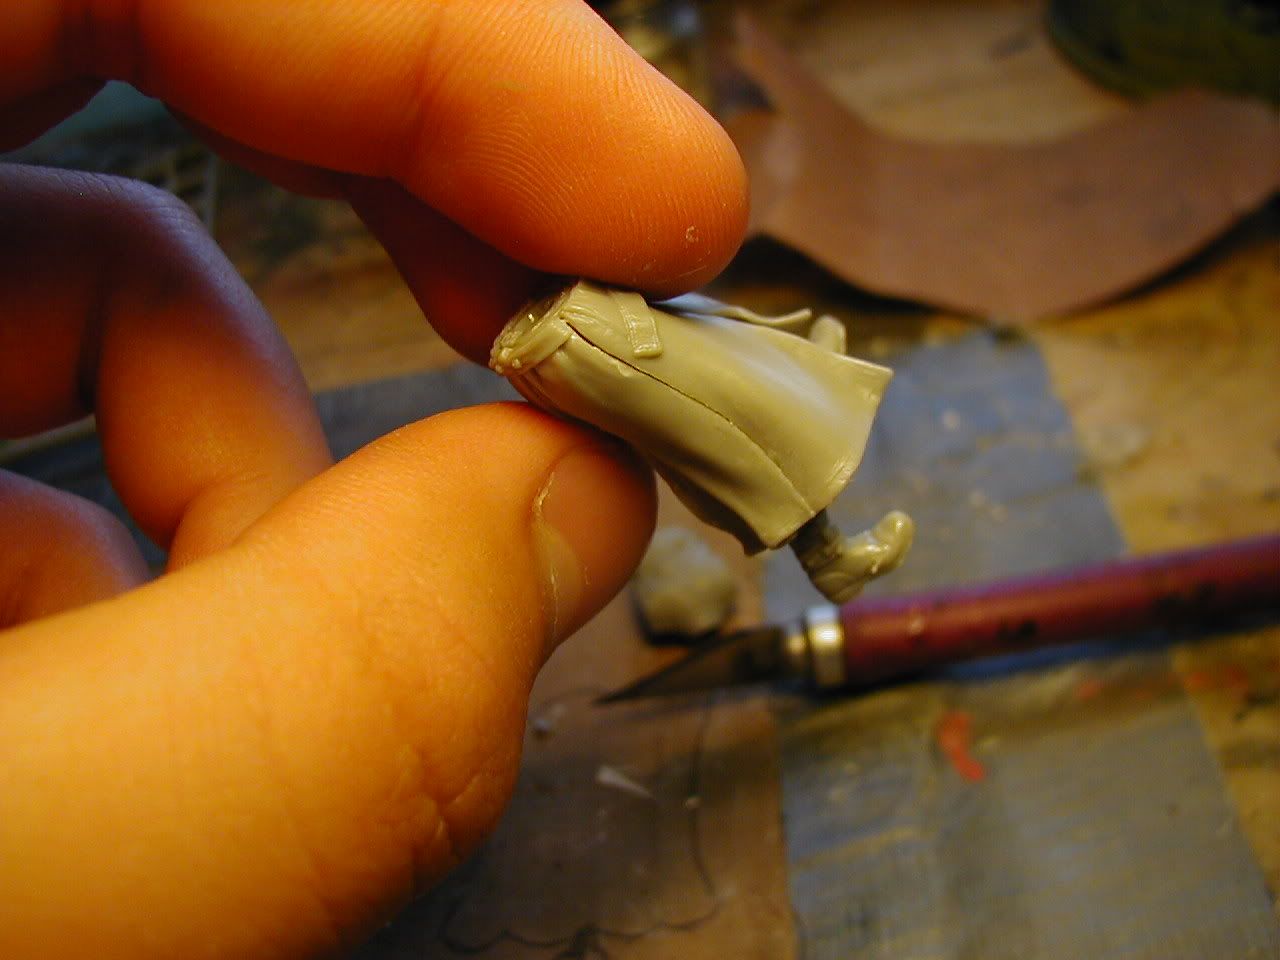
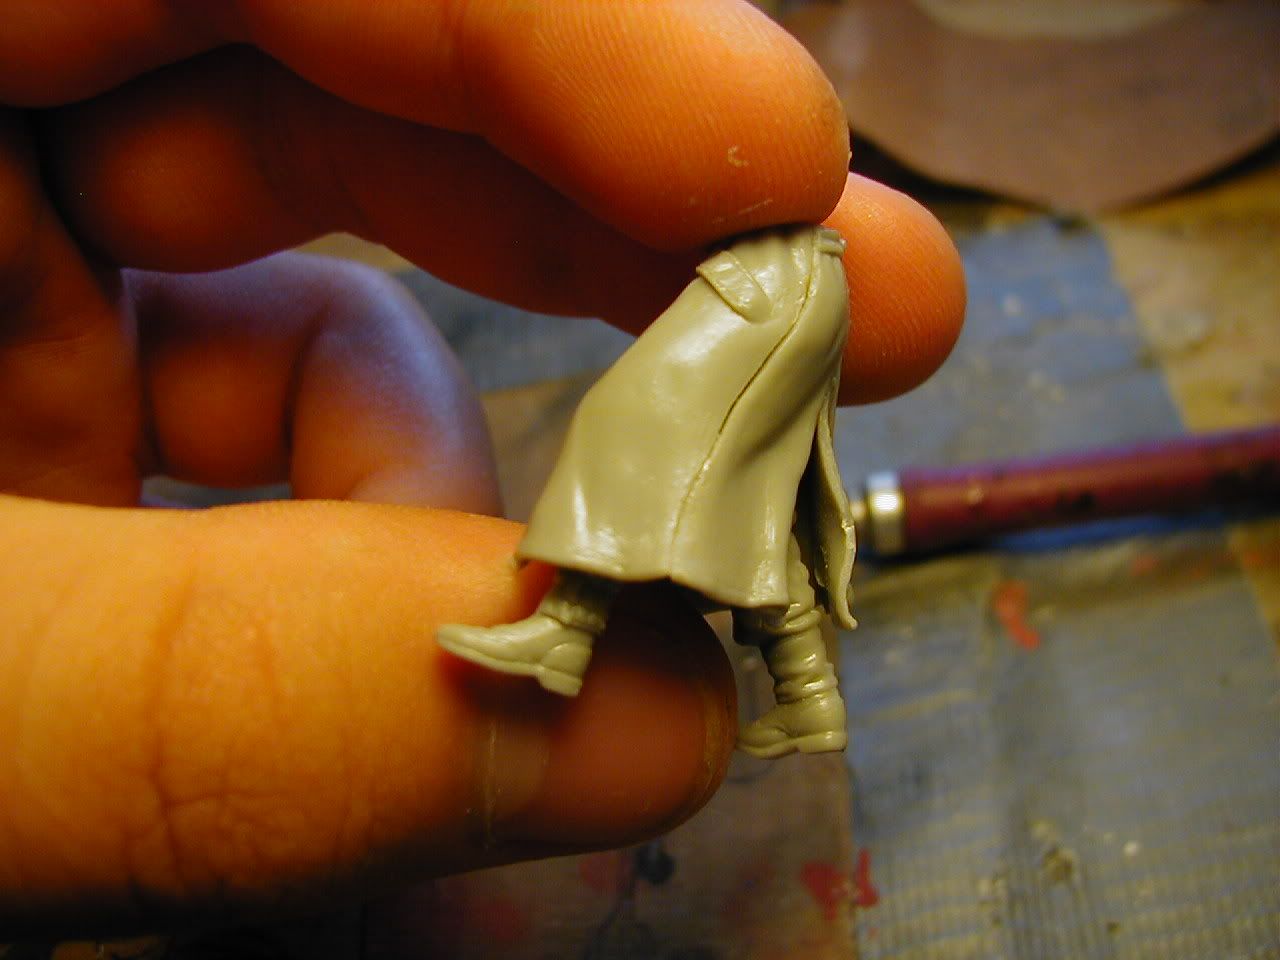
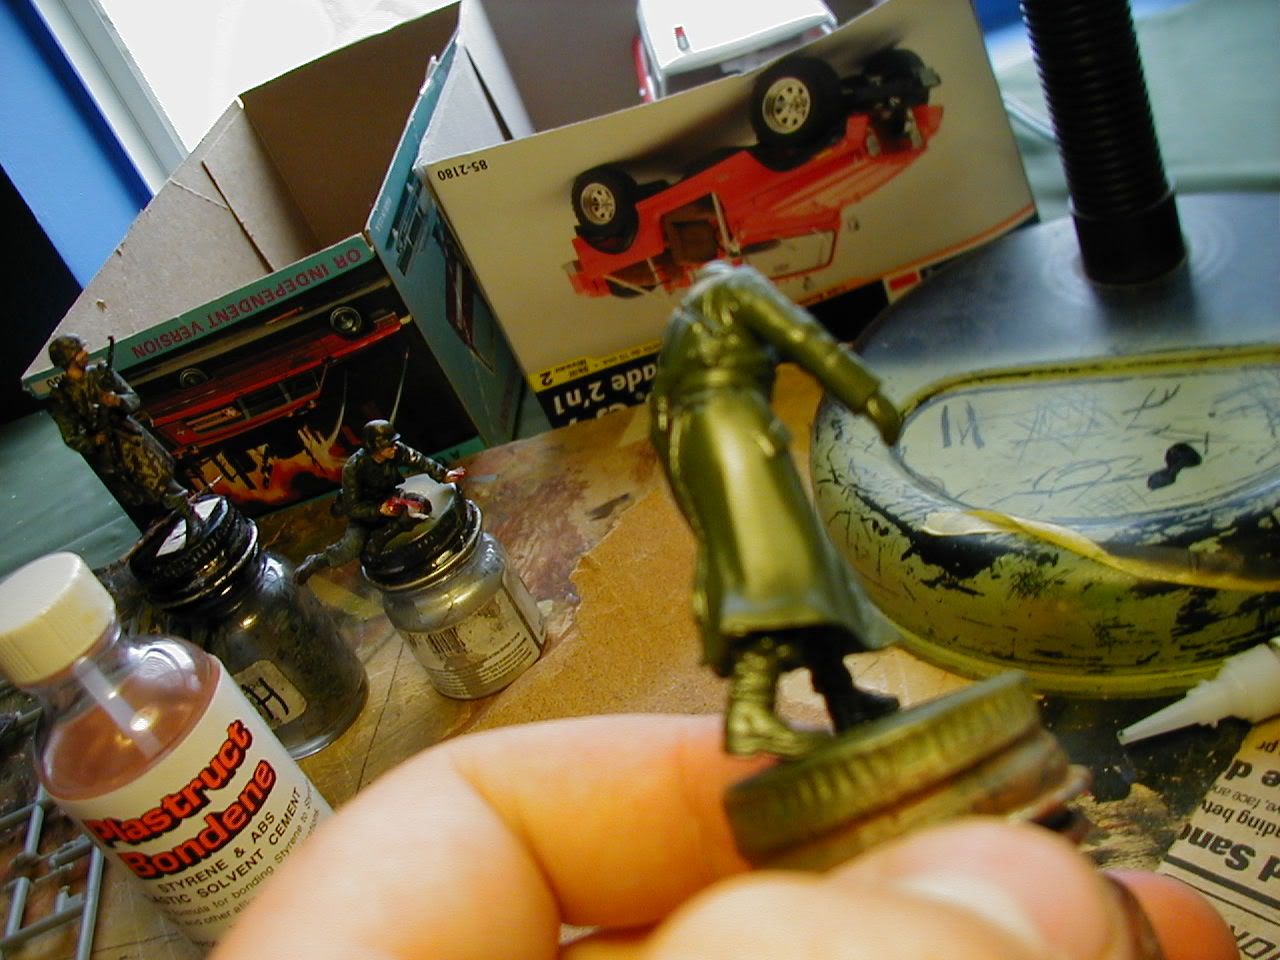
Well a little super glue, a sanding file, my sanity, and a half hour later he's painted up in JA Green.
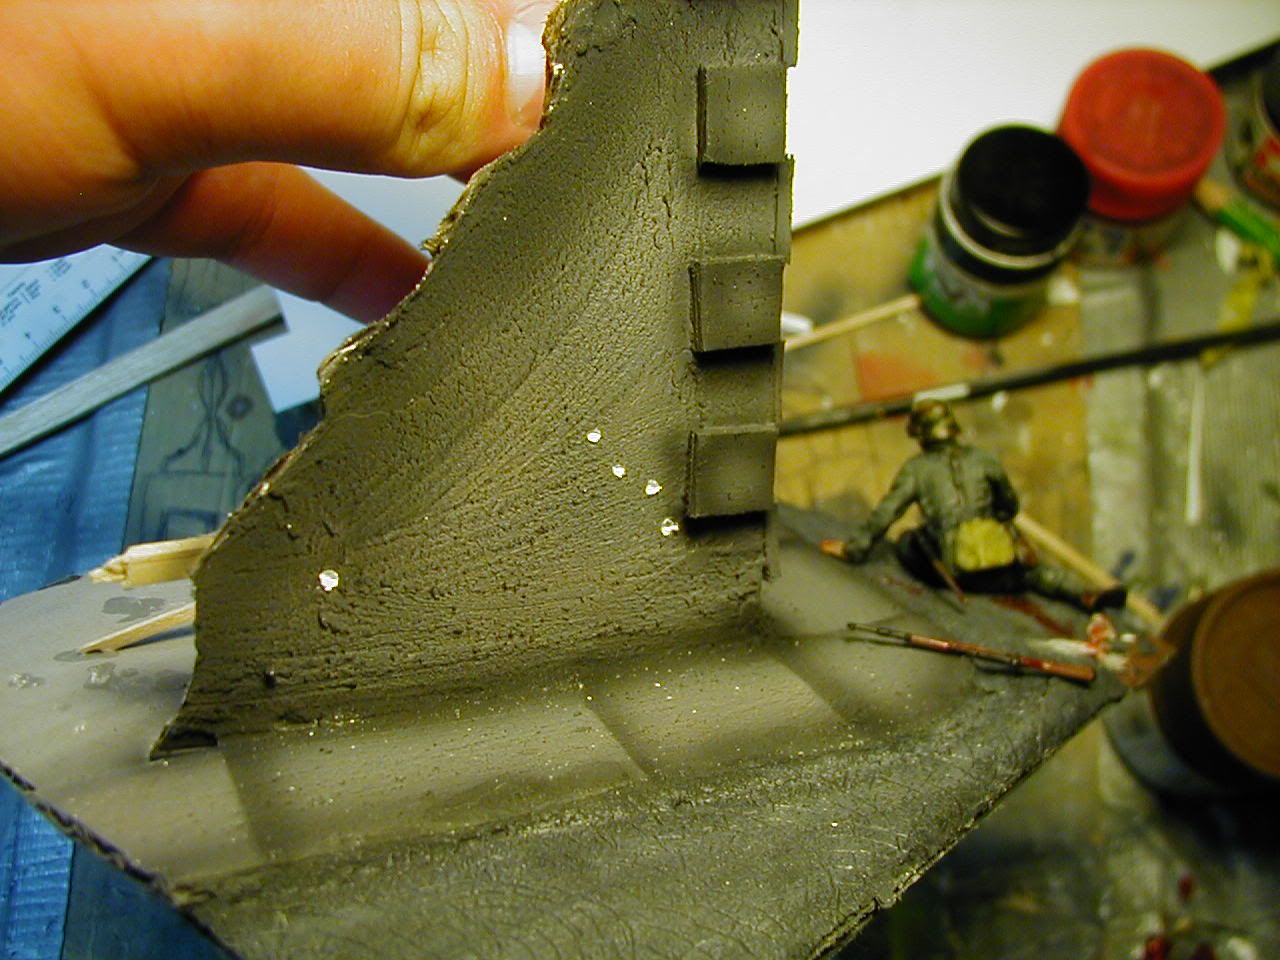
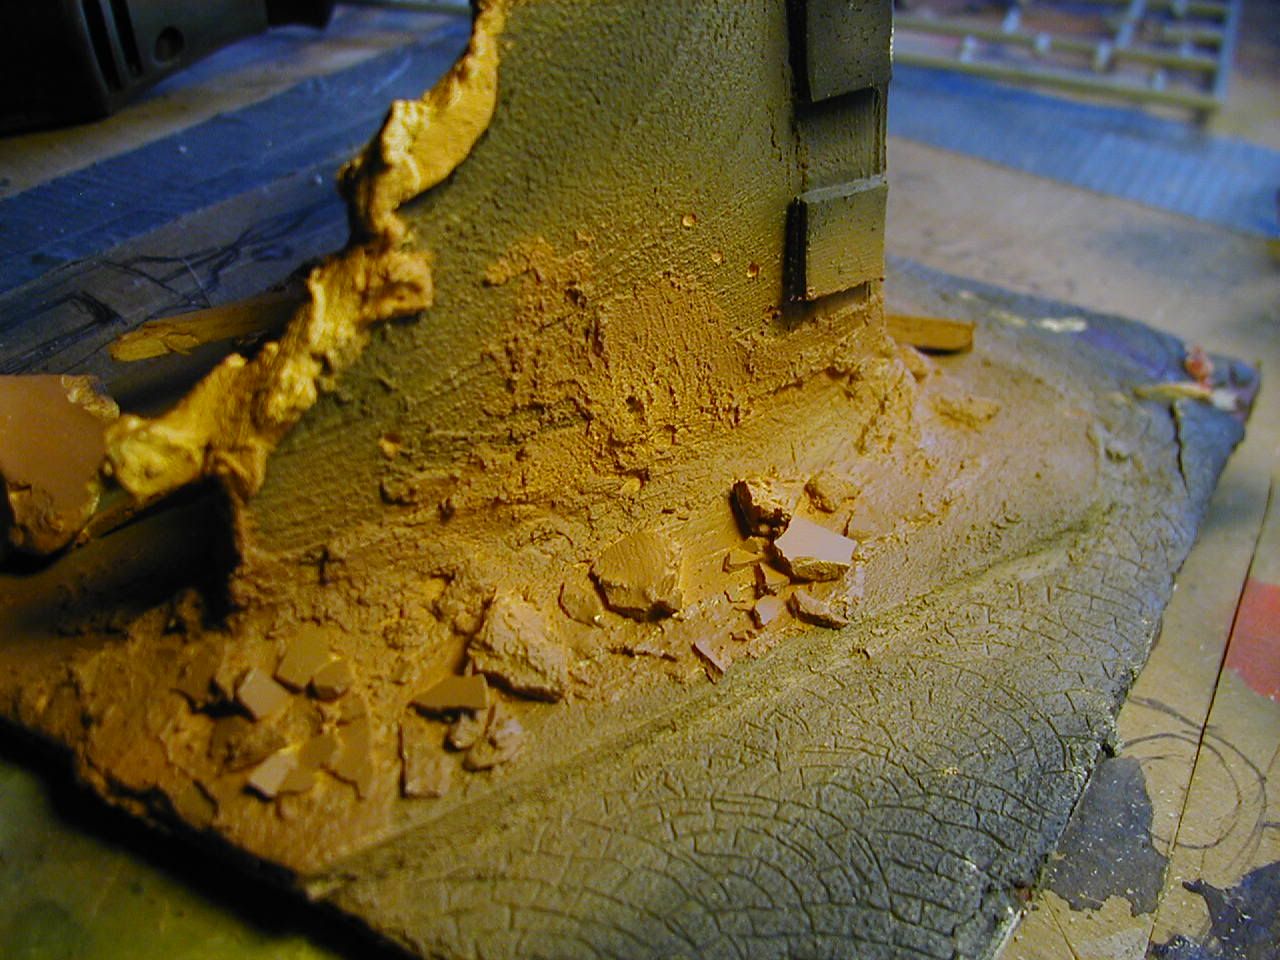
Here's the crude rubble the way it was a little while ago.  It was made with thick plaster and has glued on bits of crushed plaster on top.  First time making rubble, so I wasn't exactly sure what I was doing...  I temporarily took out the wounded soldier to get some airbrushing done.
Now here's the rubble with the wounded soldier back in and the rubble has been airbrushed, washed, and highlighted.
Here's the counter sniper peeping around the wall looking for the enemy.
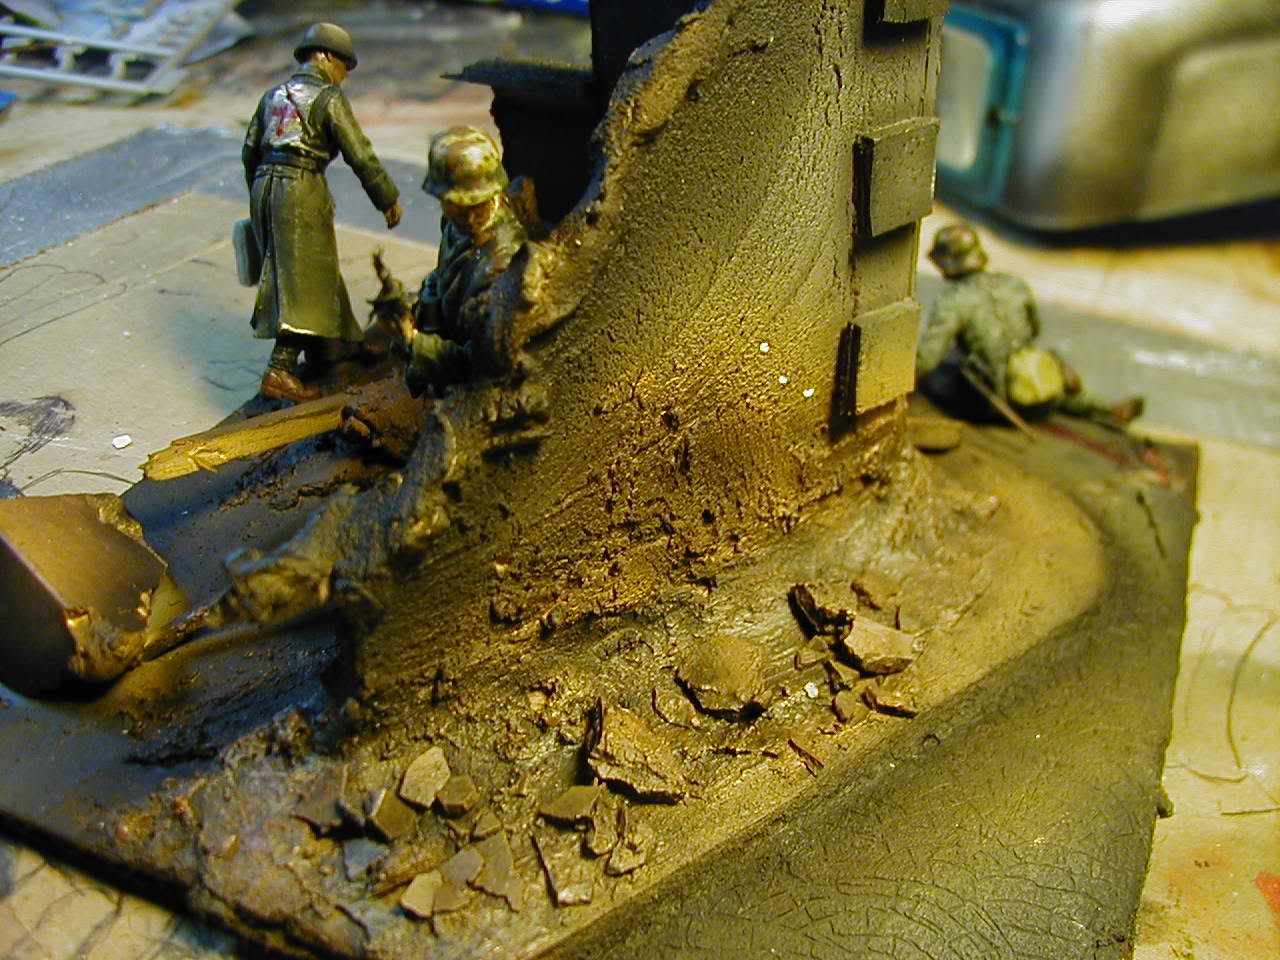
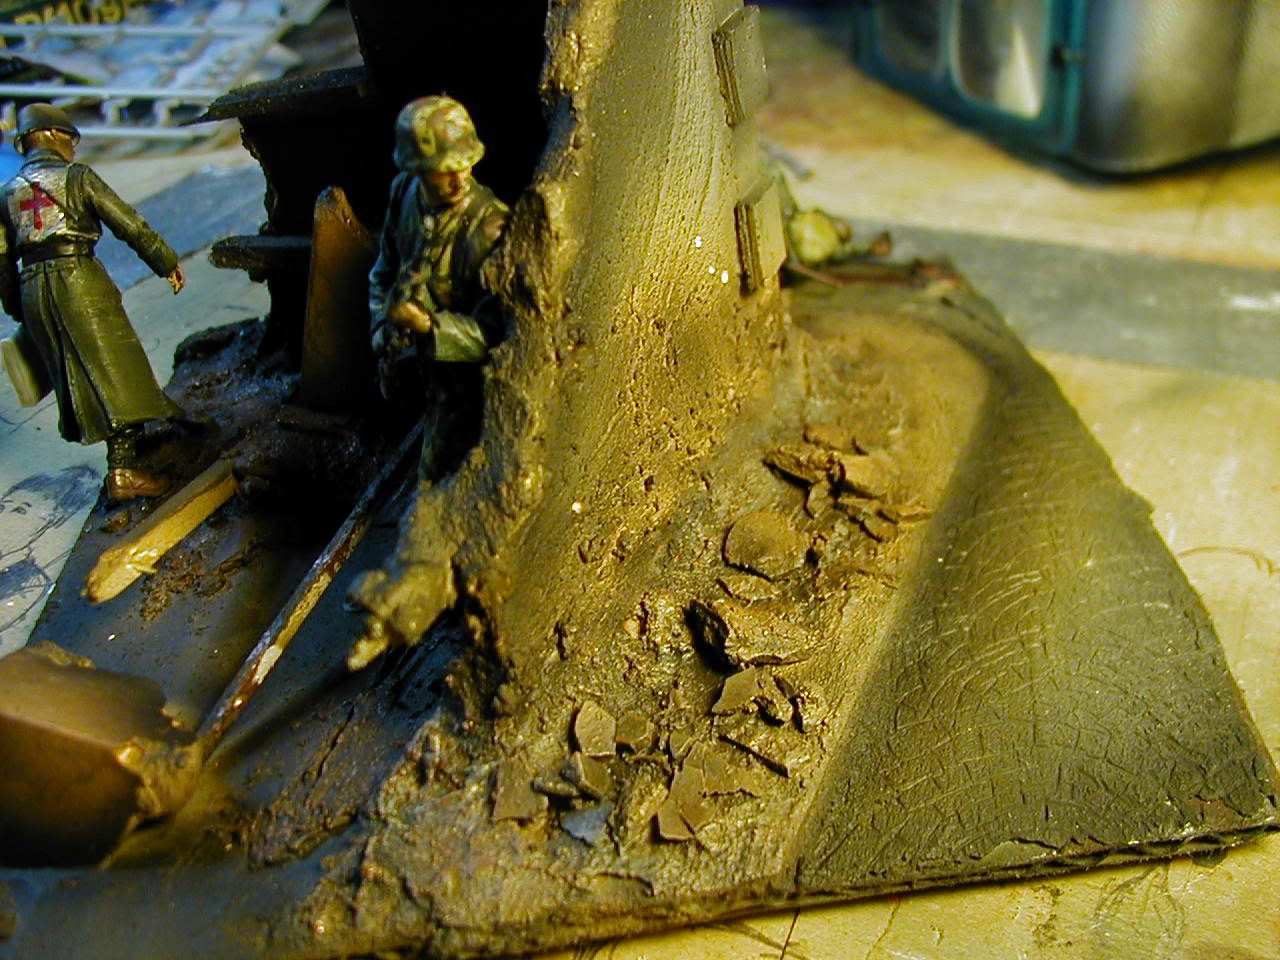
Here's the new edition to the dio, the medic.  You saw him being assembled above, now here he is all done (the bag isn't painted yet, but it's on the way).
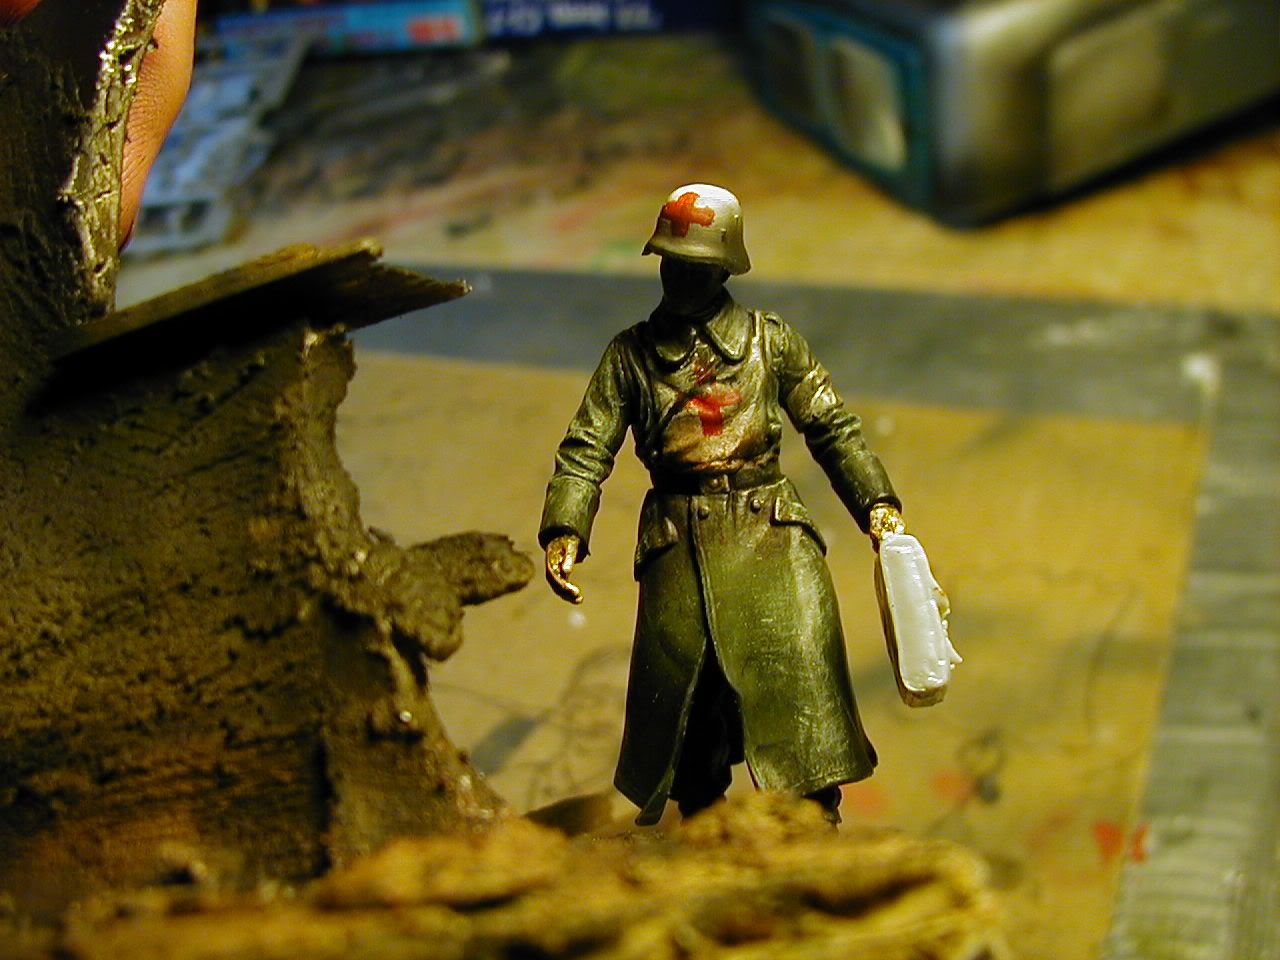
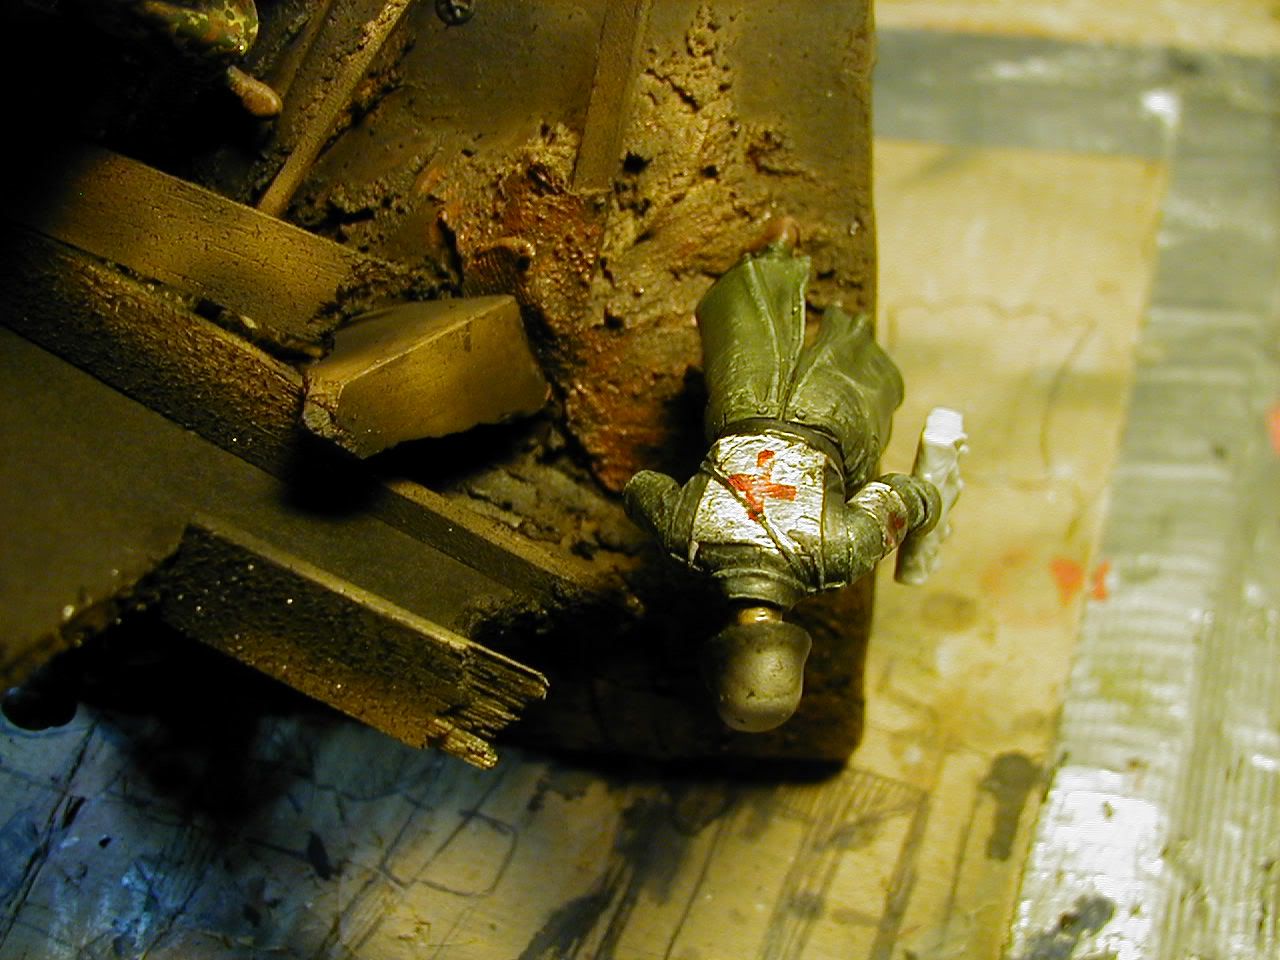
This is how I intended it to be.  The medic's head is only visible to the wounded soldier, as if he's peeping over and giving him directions or something.
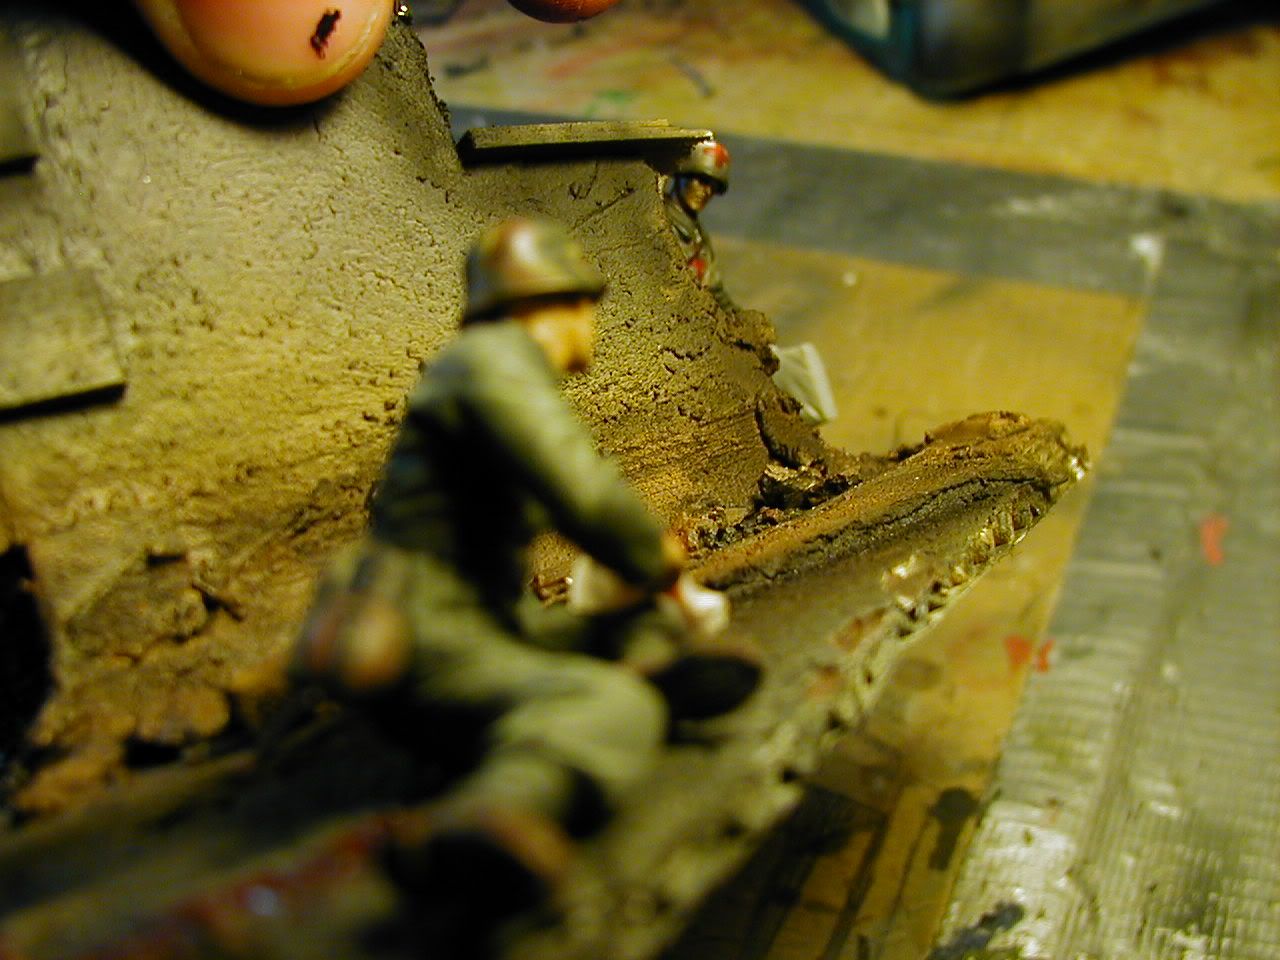
This is the overall dio.
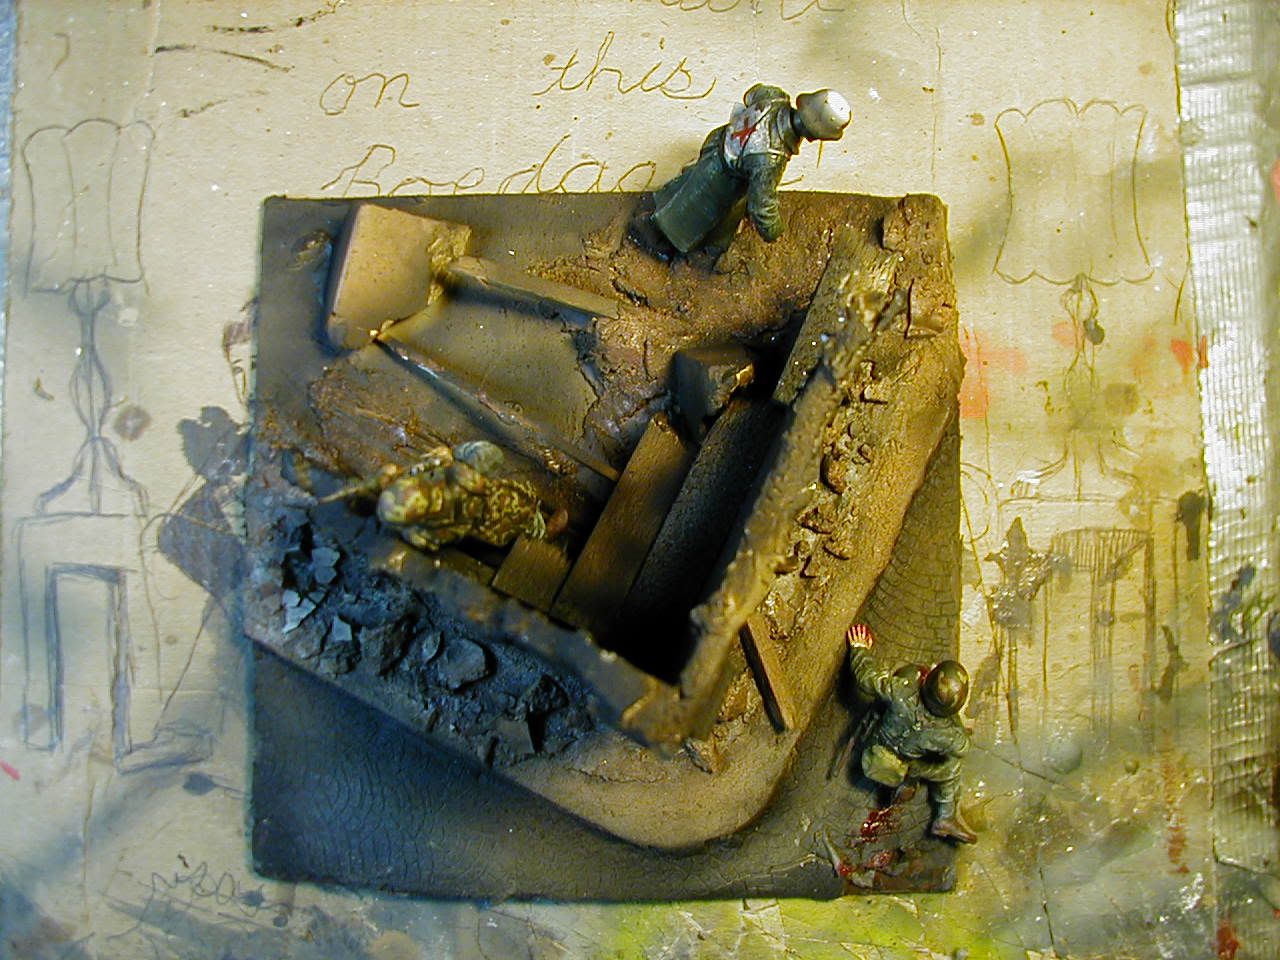
And a second shot in a different light.
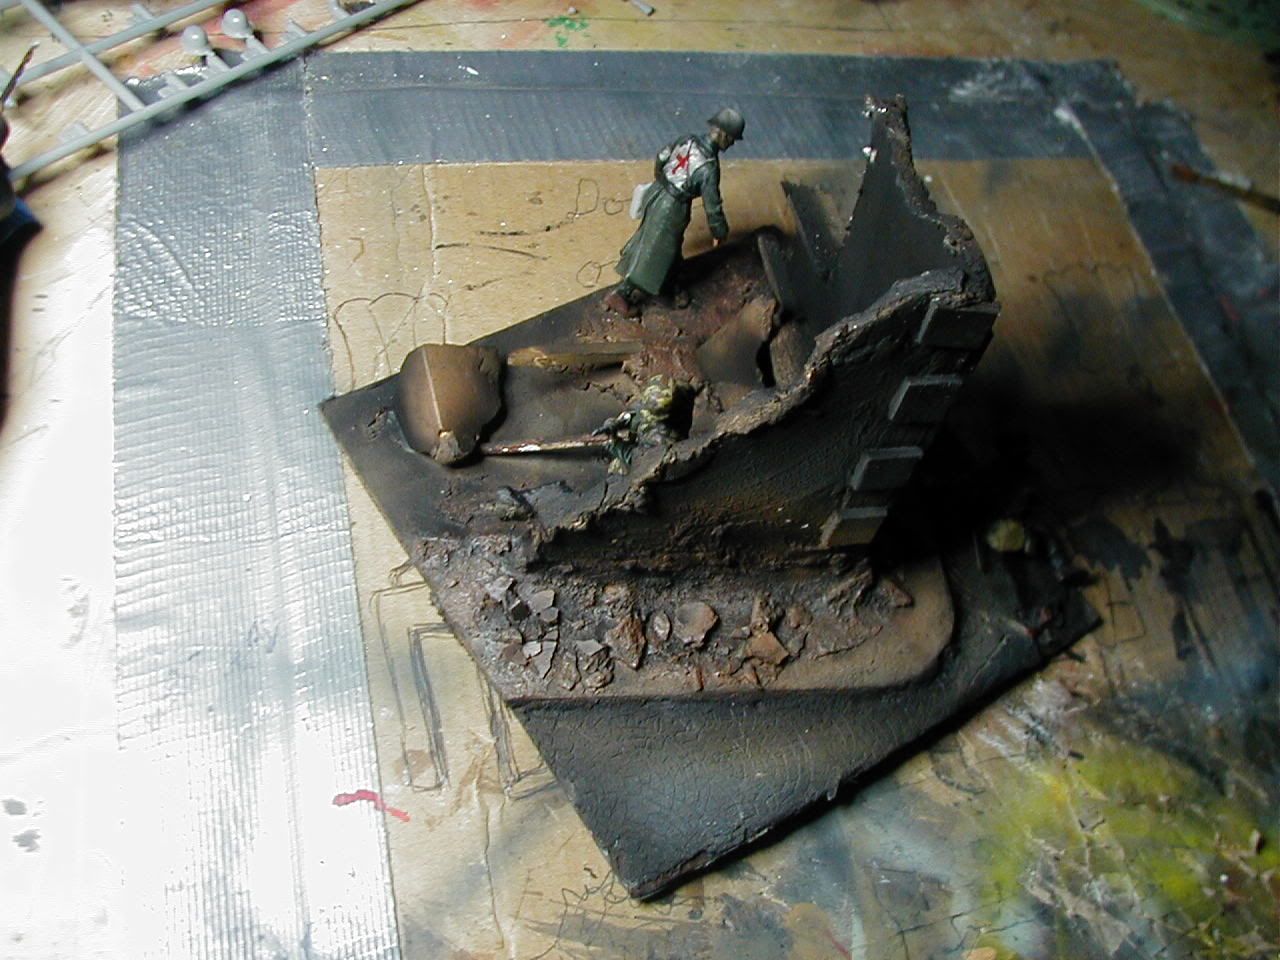


The dio still isn't finished.  I'm not happy with the inside of the house, it looks to plain and you can see flat carboard on the floor and walls.  You may have noticed that the wounded soldier's rifle is gone, so I need to put it back, and paint the doc's bag.  I was going to put one or two more figures in there, but I don't know if I have the room.  To be honest I didn't really plan it out that well, and I should have had the figures assembled and imprinted their feet in the wet plaster to get a better stance in the ground.  It's been a while since I've done anything, let alone a dio, but I'm learning. 


All comments of any nature are welcomed, thanks for looking!

Happy Modeling!


  • Member since
    November 2005
Posted by Anonymous on Wednesday, July 26, 2006 1:49 AM

Looking Great!! Approve [^] I commented on the blood before and my opinion has not changed.

Will

  • Member since
    May 2006
Posted by MortarMagnet on Wednesday, July 26, 2006 2:11 AM
Might I ask what you used for the concrete?  I used to use joint compound and sand it rough, but it was never quite right.
Brian
  • Member since
    November 2005
Posted by Anonymous on Wednesday, July 26, 2006 11:12 AM
Already discussed the blood. But in looking at these pics.......Is that a cardboard base under the concrete?  Do you mount it to an additional wooden base?
  • Member since
    November 2005
Posted by Anonymous on Wednesday, July 26, 2006 12:14 PM

Thanks guys.


Yes that is a cardboard base.  I don't have any wood, so sometimes I use cardboard (and as you know I've got be carfull about warping if I'm using anything wet).  Lets just say I'm on a small budget, LOL!  I just glued it together with cardboard pieces for the side walk and walls on a cardboard base.


The sidewalk, walls, and cobble stones were all created with a dry layer (minimal water) of plaster of paris.  I put down a flat layer of plaster, then used my knife to carve out a cobblestone pattern.  I painted it with grey paint, then shaded it with black paint with my airbrush, then did a wash and then drybrushed. 

From looking at the pics I just realized I left a seam line on the counter-sniper's hand, and some other small things, so I'll go back and get them...


I'm going to mix up some plaster of paris with an extremely small amount of water, and then cake it up near the base of the house walls, then sprinkle some chipped plaster pieces into it to make the rubble (and maybe some balsa wood to finish it off).

  • Member since
    November 2005
Posted by Anonymous on Wednesday, July 26, 2006 4:26 PM
WOW!! looks great,you might have said it before but what scale is it?.Love the look of the blood looks great.
  • Member since
    November 2005
Posted by Anonymous on Wednesday, July 26, 2006 4:30 PM

Thanks!  I'm using DML 1/35 infantry kits.


EDIT: 

This is a pic of the painted weapons.

Here's some progress pics of the counter sniper.  He's had a wash and he's been highlighted.  I tried to give him a 5 o'clock shadow with the wash.  I used small strips of paper towel to create the canvas strips tied around his rifle (same way how I made the bandages).

  • Member since
    July 2006
  • From: Rochester NY
Posted by mg42gunner on Wednesday, July 26, 2006 6:16 PM
Fantastic paint work! The counter sniper really looks good. The camo on the bottom half of his coat looks much better now with the wash. I also really like the cobblestones on the street, they look great.
  • Member since
    May 2006
Posted by MortarMagnet on Wednesday, July 26, 2006 7:01 PM
You're doing great work there.  I'm really getting concerned about the cardboard, I'd hate for something to happen to that.Smile [:)]
Brian
  • Member since
    July 2003
  • From: Toronto, Ontario, Canada
Posted by zokissima on Thursday, July 27, 2006 9:40 AM
Wow, that is beautiful paint work. I do not believe the blood is in excess.
  • Member since
    November 2005
Posted by Anonymous on Thursday, July 27, 2006 2:16 PM

Beautiful job on the dio so far. 

  • Member since
    April 2005
  • From: I am at play in the fields of the Lord. (Texas)
Posted by m60a3 on Thursday, July 27, 2006 10:18 PM
 Realism is what we struggle so hard to achieve as modelers. Blood is a part of war. I don't like it. But there it is. I am not offended.

                                                     -60
"I lay like a small idea in a vacant mind" - Wm. Least Heat Moon "I am at the center of the earth." - Black Elk My FSM friends are the best.
  • Member since
    November 2005
Posted by Anonymous on Friday, July 28, 2006 10:32 PM
very nice dio. this is placed somewhere in this world? or you only made it where the watcher wants?
  • Member since
    November 2005
  • From: Southport, North West UK
Posted by richgb on Saturday, July 29, 2006 4:50 PM

Excellent work and very realistic. When someone is shot they bleed, so why not portay it. It's what happens. It doesn't offend me. Can't wait to see it all together. if i was the bloke that had just been shot I'd be more worried about that giant hand waiting to grab me than than the sniper shoting me againBig Smile [:D]!!! Great work. Thanks.

Rich

...this is it folks...over the top!
  • Member since
    December 2002
  • From: A secret workshop somewhere in England
Posted by TANGO 1 on Sunday, July 30, 2006 8:39 AM
Great progress so far, I think you have a real talent for figure painting, both are excellently done. Its not often we blood in a dio, I think you have portrayed the concequences of war in a responsible way, well done!

Darren.
Regards, Darren. C.A.G. FAA/USNFAW GB
  • Member since
    November 2005
Posted by Anonymous on Sunday, July 30, 2006 10:18 PM

I updated the post with more pics.  Just go to the top and look under "July 30, 2006 update".  Thanks for looking!

  • Member since
    May 2006
Posted by MortarMagnet on Sunday, July 30, 2006 10:21 PM
That's looking great!  You're moving so fast, too.
Brian
  • Member since
    November 2005
  • From: Somewhere over the rainbow
Posted by m1garand on Monday, July 31, 2006 12:08 AM

nicely done on a paint job.  I can't paint figures even if my life is on a line. 

  • Member since
    December 2005
  • From: Ontario, Canada
Posted by rudy_102 on Monday, July 31, 2006 12:28 PM
Can't wait to see the finished pics in the German Dio GB,
  • Member since
    November 2005
  • From: Southport, North West UK
Posted by richgb on Tuesday, August 1, 2006 2:58 AM

Hi,

I'd keep the dio to the 3 figures you've already portayed. Anymore and it would look too cluttered. It looks great. Keep us updated.

Rich

...this is it folks...over the top!
  • Member since
    November 2005
Posted by Anonymous on Tuesday, August 1, 2006 10:10 AM
Wow, that looks amazing! I only have one comment, the medic, to me it looks as if he is taking his time lol, I would have maybe brought him a little closer to the well and maybe re sculpted his legs to get him lower.

Other than that, is look bloody amazing!
  • Member since
    November 2005
Posted by Anonymous on Friday, August 4, 2006 10:13 PM
What did you do just glue the weapons to a top to paint them and how hard are they to get off?
  • Member since
    November 2005
Posted by Anonymous on Friday, August 4, 2006 10:39 PM

 Biohazard wrote:
What did you do just glue the weapons to a top to paint them and how hard are they to get off?


Yea.  I used a very small amount of super glue to tack on the figures and weapons, just enough to survive the stroking of the paintbrushes and gravity.  Then when it's all dry, I just gently snap them off and glue them where they need to be.  Any excess super glue is sanded off.  The buttplate and bottoms of the grenades were painted once glued onto the figure.


Some people will have their methods, but I just use what I got with the budget I got.

  • Member since
    November 2005
Posted by Anonymous on Saturday, August 5, 2006 10:04 AM
 Biohazard wrote:
What did you do just glue the weapons to a top to paint them and how hard are they to get off?


I use white glue, keeps it in place, but you can remove the item very easily.
  • Member since
    December 2003
  • From: Colorado
Posted by psstoff995 on Saturday, August 5, 2006 11:07 PM
haha i fell bad with all my AM stuff, i got verlinden figures out my ears haha. but im finally comfortable with scratch building my own figures.. well, modifing at least. this step by step is great, im very impressed that that's all cardboard. but ive just resently discovered how east it is to change poses and everything with the dragon figure kits, i got over my paranoia of taking a dremil tool to a guys arm and sawing off body parts and everything haha, maybe i'll back off my verlinden figures for a bit. your dio looks great, and seeing the shep hand sanding trick, im assuming ur reading from the how to dio book of his? the only thing id hafta say is what uve already said- and thats that the inside of the house is a little empty. but that same shep paine book has all kindsa stuff on scrachin your own couches and furnature (and doll house stuff i believe?) so im sure you'll take care of it Smile [:)]

-Chris

US Army Infantryman

JOIN OUR COMMUNITY!

Our community is FREE to join. To participate you must either login or register for an account.

SEARCH FORUMS
FREE NEWSLETTER
By signing up you may also receive reader surveys and occasional special offers. We do not sell, rent or trade our email lists. View our Privacy Policy.