Hey y'all...it's been a while since we've had some updates, so here's where I'm at. I just shot the paint and assembled the engines on the left wing...It is Olive Drab on top of Cammo Grey.
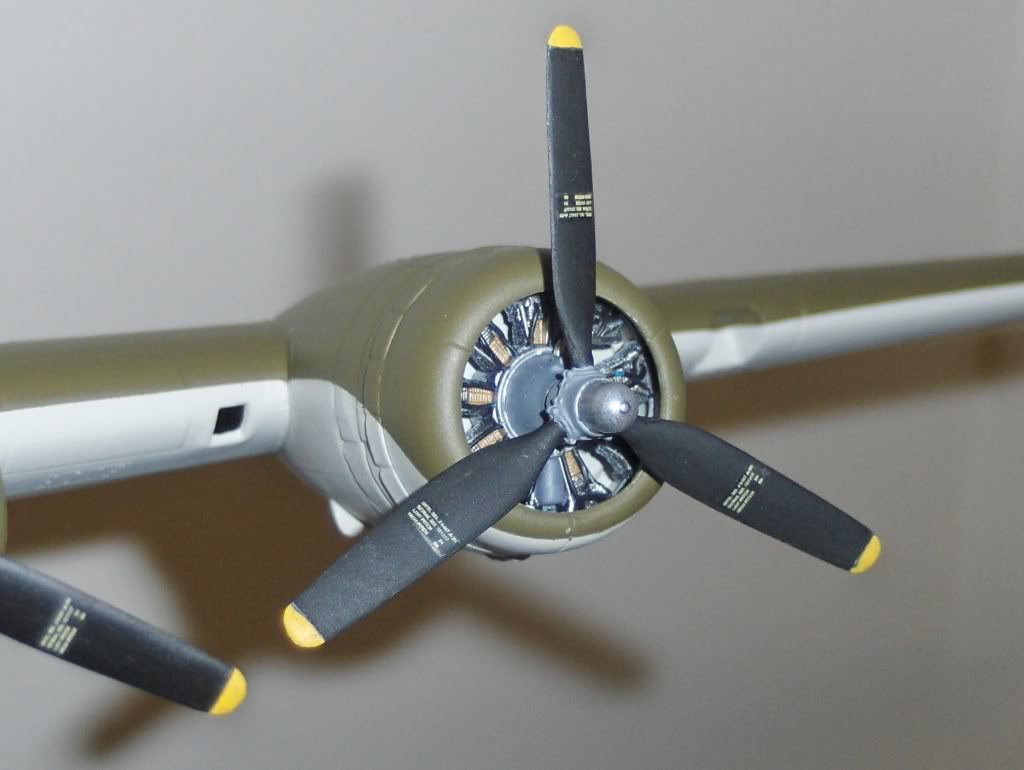
A lot of attention was paid to the seems in the wings and the engines. Man, those sanding sticks are absolute money! I can't believe I'd never used them before. I used to use sand paper, that's why I hated sanding prep so much.
I was going to use liquid mask to do the curves in the engines, but used masking tape instead.
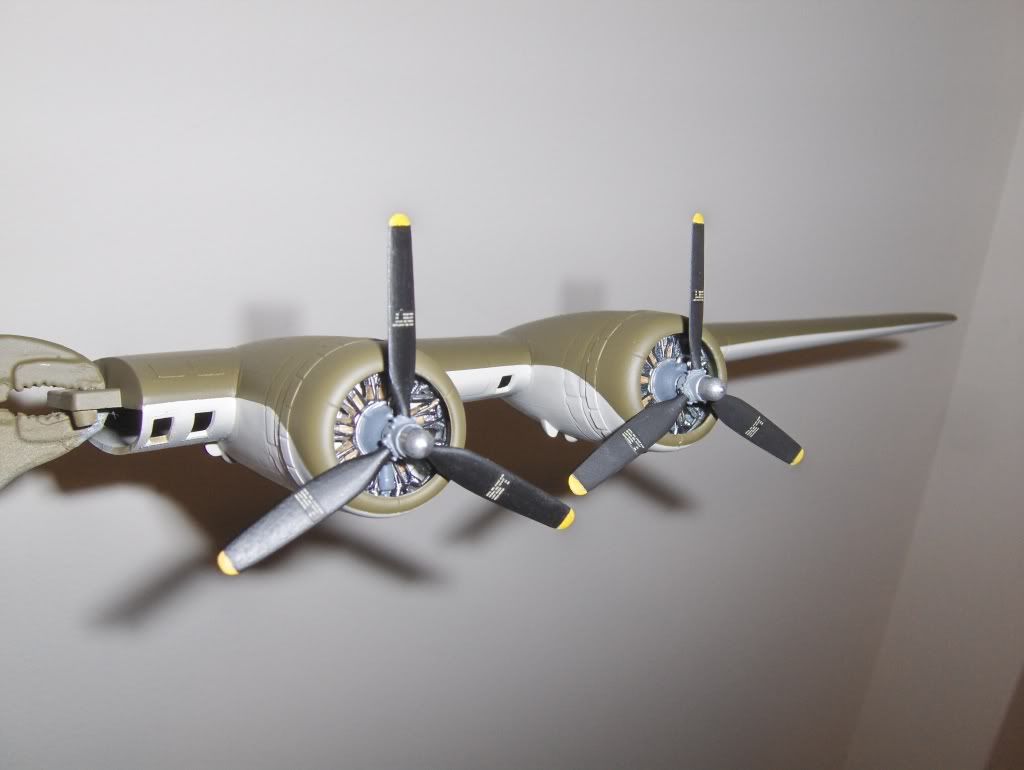
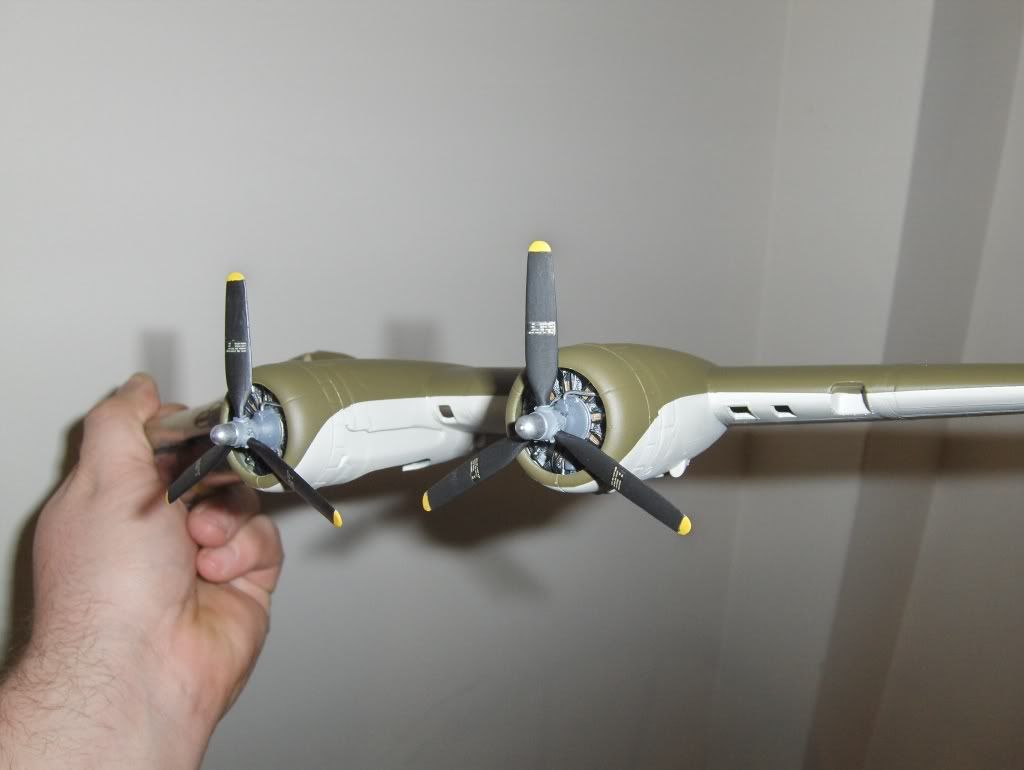
I know the Cammo Grey isn't...well...really all that grey at all, but I really love the colour combination. It has great contrast but matches well.
As you may have noticed, I didn't do the salt crystal method. To be honest, I don't like this method. It leaves a bit of a ridge when you remove the salt. To be honest again...I don't know if I'm gonna wheather the exterior at all. I've never put this much work into a piece, and I'm kinda afraid of totally wrecking it. I may build a single engine fighter and try out wheathering...
Well, hope you guys like the progress and I hope you guys are hard at work on your Forts...I know it's a busy time of year but...FORTS FIRST...FAMILY LATER! (just kidding guys)
On the go...Trumpeter 1/72 Tupolev Bear Soviet Heavy bomber...Tamiya 1/48 RAF DeHavilland Mosquiot Mk.II