Ken,
It looks great to me! How was that Hasegawa kit? It looks like you did it justice.
Fred, it's interesting that you said the underside center section was so horrible!  I just test fitted the one on my EA-6B tonight and, I hate to say this, it seems like it's going to fit like a glove. If I do it right, I might be able to get by with no filler whatsoever. At the very least, I'd have to use some Mr. Surfacer 500 on it but that's about it.
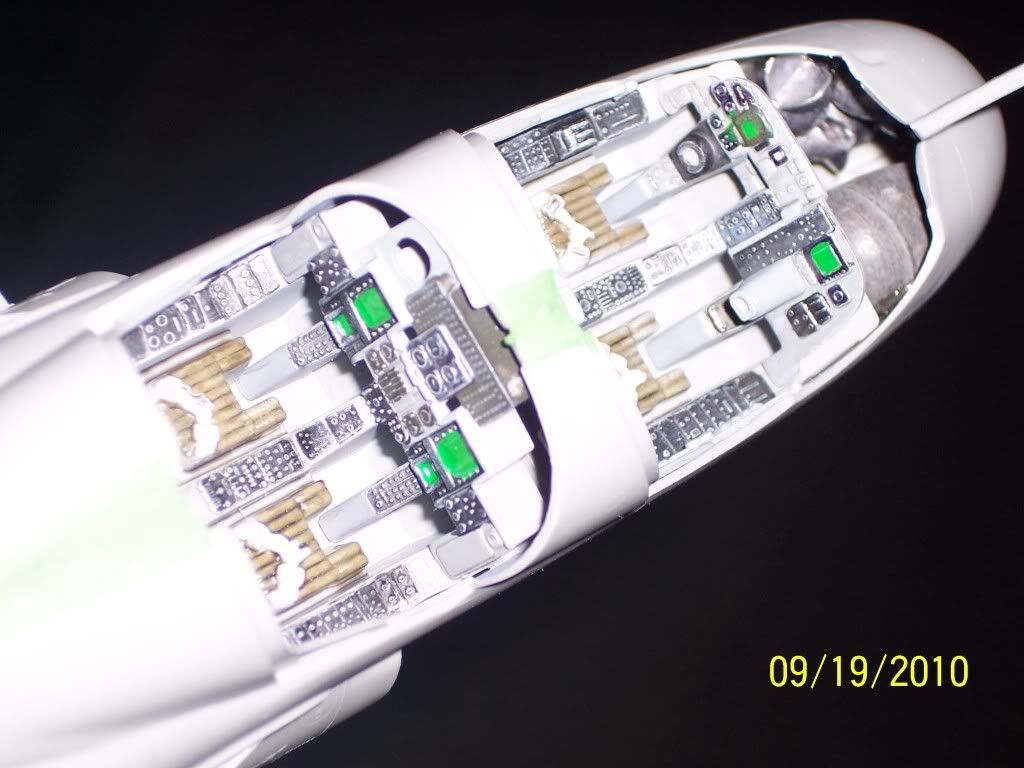
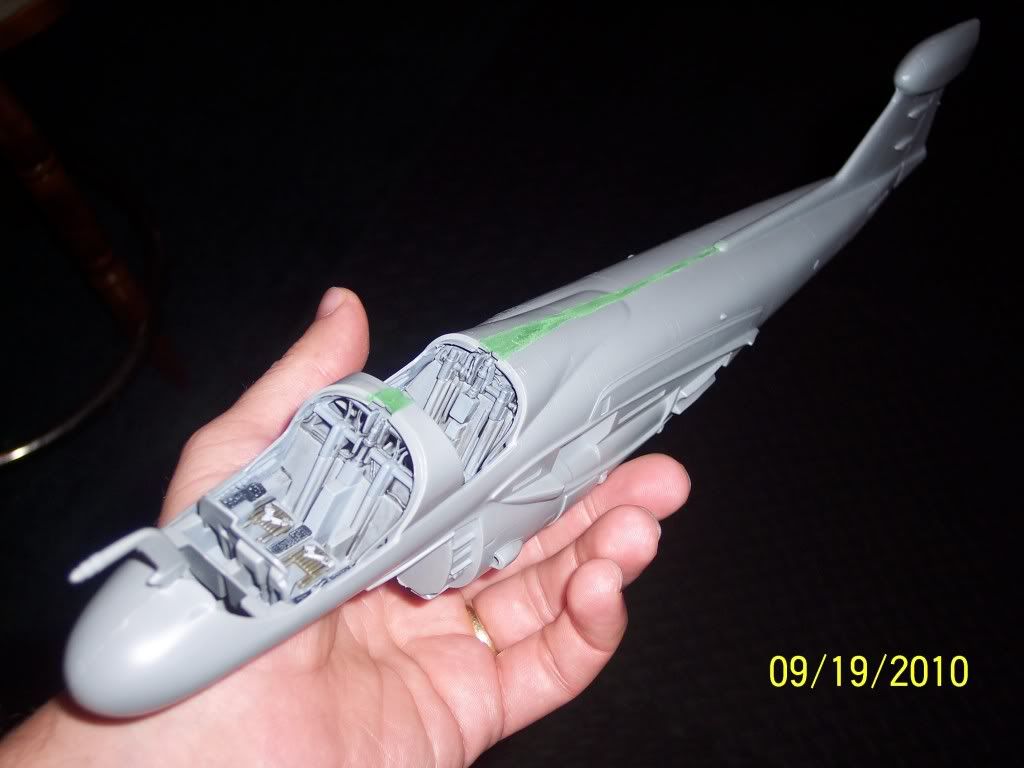
Here are some pics so far. I'm not happy with how the flash washed them out but to take them without the flash made it look like I was in a cave. Tonight I dry fitted the wings and I'll have to use a miniscule amount of putty on the top where the wings meet the fuselage.
 :550:0]
In the cockpit, I'll wait until after I've painted the plane before I drop the seat backs in.

For anyone who hasn't yet built the 1/48 EA-6B, this picture doesn't convey how big the kit actually is. I think it's due to the angle at which I took the picture. It's, for me anyway who's used to building 99% WW2 single engine fighters, a huge plane and model! Right after I took this picture, I sanded away the putty on top. It really didn't need all that much. So far, it's been a user friendly kit. But it ain't over till it's over, right? LOL!
Eric
PS. Thanks to those who corrected my gaff. Yes, you are correct. I should have said HARM, not Shrike. I knew something was wrong when I posted that....