I recently took on the installation of the DMold seamless intakes for the Hasegawa F-4E/G/EJ kits. The instructions in my opinion were quite lacking and I did not find where anyone else had documented. So this is from my own experience and I hope it is beneficial to some of you.
1. First, remove the raised molding outlined in yellow shown in the following photograph:

The purpose is so that when you begin cutting or drilling in the next phase, these raised areas will not deflect your blade or drill bit and cause you to cut or drill into an area that you do not want to. Use a flat file similar to the one shown in the next photo:

When you are done, it should look similar to the next picture:

2. Next, take a very fine point felt tip pen and draw an outline of where you want to cut out your intake. Use the following photograph as a guide and error toward being conservative. It is much easier to file plastic away than adding it back in.

3. Next it is cutting time. If you own a variable speed Dremel and are skilled with it, this will be the fastest and easiest way to go. Use the cutting bit like the one shown in the next photograph:
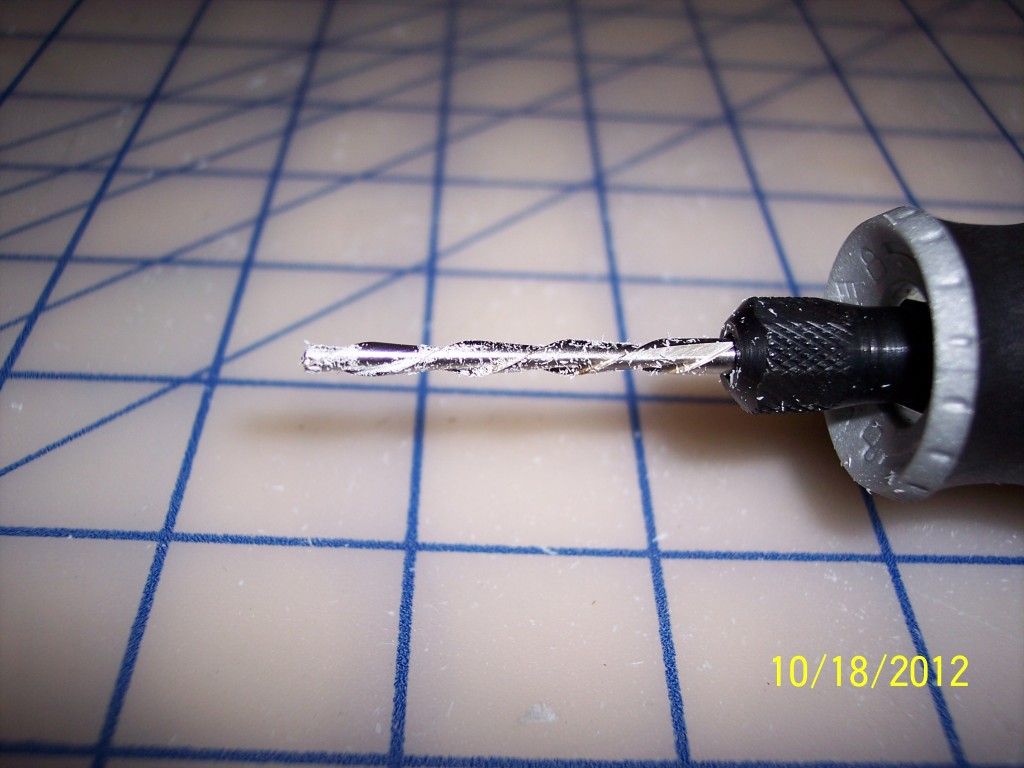
Place the fuselage on a large piece of wood in case your Dremel goes too deep. You don’t want to cut a hole into your workbench! Take your time and start your hole in the middle at a 45 degree angle. Be sure to hold on tight to both the Dremel and the fuselage and not let the Dremel “walk” on you. Once you are through the plastic slowly cut toward the lines that you have drawn earlier. The key word is “slowly”. If you don’t own a variable speed Dremel or don’t want to take a chance of ruining your model, a safer method is to use a drill and drill small holes around the inside parameter shown in the next photograph:
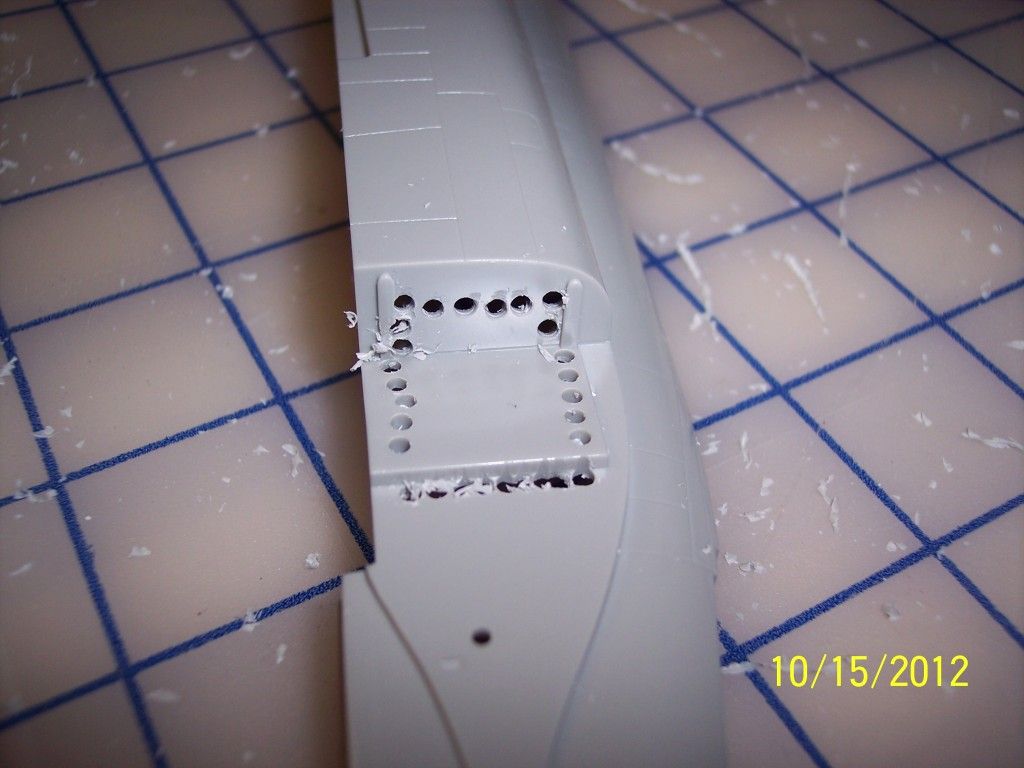
You can drill several additional holes not shown in the corners. To cut, find a drill bit the size of your saw blade like the one shown here:

Next drill a pilot hole close to where the chain of holes you cut earlier are but where the drill bit the size of your saw blade will not go outside of your lines that you have drawn. Then drill the hole using the larger drill bit. Now you are ready to cut your hole using the saw blade.
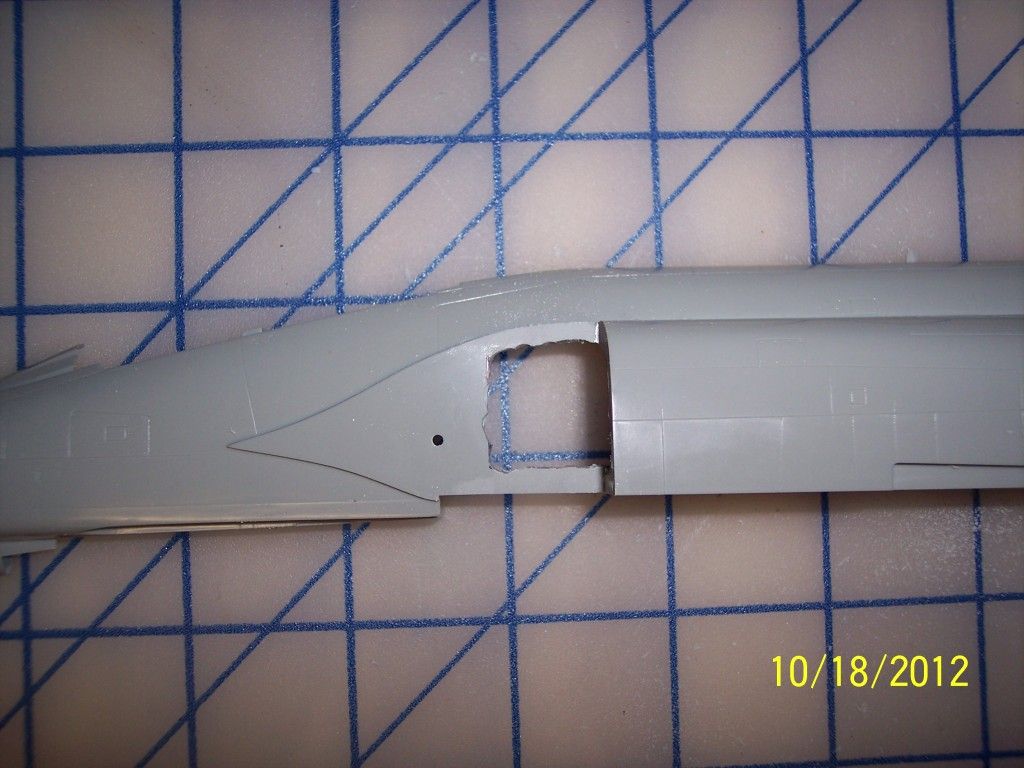
4. Whichever method you used, you should now have a hole similar to the one shown in the next picture:

The next step is to cut the ledge off that is circled in yellow above and in the next photograph. Use your micro saw blade for this and smooth it out with the flat file.

It should look like the next two pictures when you are done:

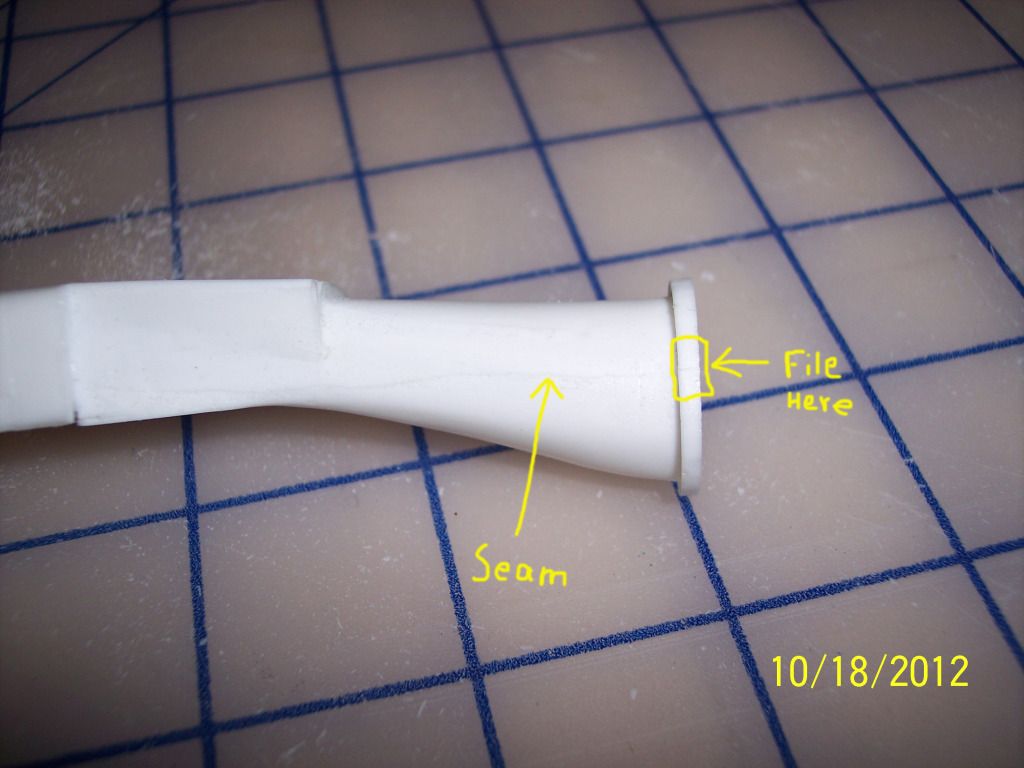
5. The end where the turbine face is supposed to mount is the next thing you will need to take care of. According to the instructions, you are supposed to remove the casting fence and file a small flat spot on one side in a place they circle which is obscure. The casting fence is easily removed with a sharp x-acto blade. Where they want you file is at the bottom (or where the bottom would be if the aircraft was sitting on the ground) where the mold seam is. This is where the intakes will be against the inside of the bottom of the fuselage and may interfere with alignment.
6. You are now ready to start filing the hole out to fit the DMold intakes. This is where patience and test fitting will pay off. A half-round file will work best for this job.

Start by seeing if you can get the turbine face end of the intake into the opening. Do not force it!

As shown in the picture above, you will need to file an elongated opening to allow the intake to pass through as well as widening the hole. Remember, you are working with plastic so a metal file will work fairly quickly so be patient. It is hard to put back what you remove if you go too far!
7. Once you have the opening large enough for the turbine face to pass through, you are ready to start filing to so that the intake will meet up with the fuselage squarely. Put the intake in through the opening and slide it up to where it is supposed to butt up to the fuselage and take note where it is touching preventing you to slide it all the way as shown below:

Remove the intake and continue filing, repeating this process until you can successfully slide the intake all the way up to the fuselage as shown below:
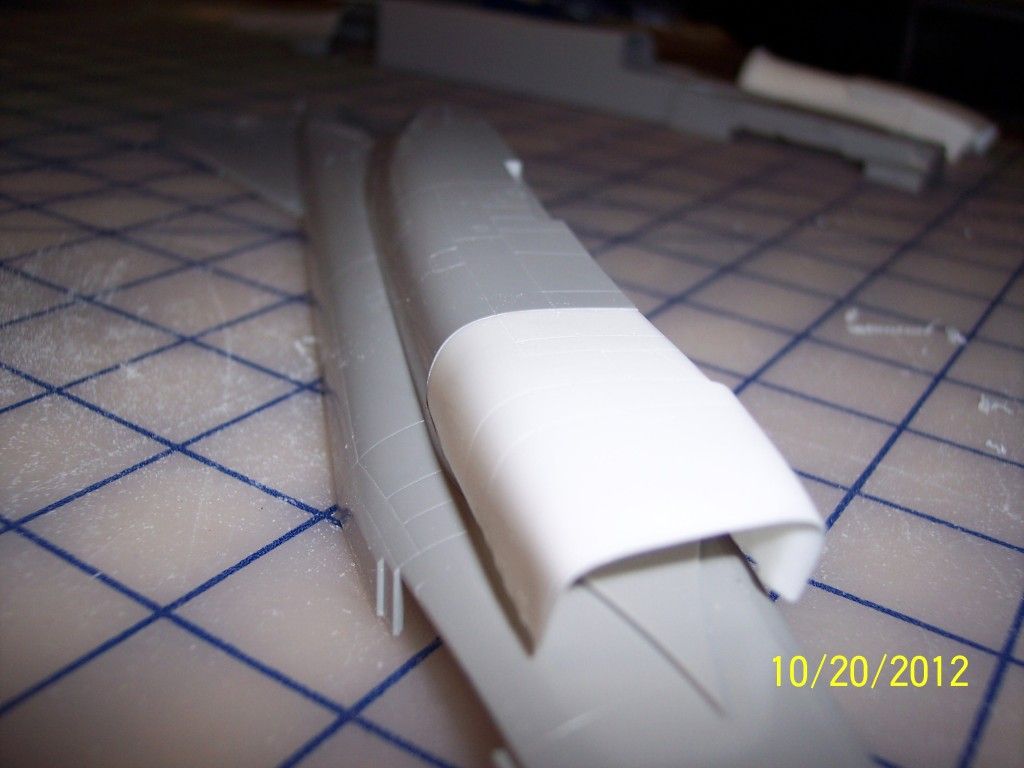
8. You will have to cut the remaining resin pieces from the molded forms with a sharp X-Acto blade knife. Here is what it will look like when put together (roughly, I have not glued these pieces so the parts are not perfectly aligned in this next picture).


9. Here is what the finished hole looks like:


Well there you have it. I hope that you find this information useful.
Ken