SEARCH FINESCALE.COM

Enter keywords or a search phrase below:

Wingnut Wings Sopwith Pup WIP

13707 views
59 replies
1 rating 2 rating 3 rating 4 rating 5 rating
  • Member since
    January 2003
Posted by dogzilla17 on Monday, September 9, 2013 3:17 PM

Thanks Phil -- just visited the LHS to stock up on Tamiya paints-- I'll definitely keep you posted

Regards,

Dog

  • Member since
    October 2008
  • From: England
Posted by P mitch on Saturday, September 7, 2013 3:17 AM

Dog

No problem I get you now. All I did was drill holes for those lines that would go through the controls for the rubber. All the others I carefully dipped the end of the EZ-line in CA and attached it holding everything vertical so gravity helped get the connection end on. Do it all without the seat in place which I'm sure you guessed. Also I think I missed one which went from the control column forward but there are two so there is no way anyone will see it

I used EZ-line as it will stretch and you don't have to get your lengths exact which would be a nightmare.

Phil

"If anybody ever tells you anything about an aeroplane which is so bloody complicated you can't understand it, take it from me: it's all balls." R J Mitchell


  • Member since
    January 2003
Posted by dogzilla17 on Friday, September 6, 2013 1:51 PM

Hi Phil -- Thanks -- I will definitely take you up on the offer -- I was actually referring to the mass of lines from the 'Internal Rigging Diagram' feeding from up under the seat / stick etc (represented in green) -- for me the scariest diagram in the instruction booklet Confused

Hope to be underway within the next few days


Your help is very much appreciated

Regards,

Dog


  • Member since
    October 2008
  • From: England
Posted by P mitch on Friday, September 6, 2013 1:18 PM

Hi Dog

Happy to help. For the rigging i used a fine drill and just drilled into the corners then used the turnbuckles glued directly into the corner, you can do these all at once just before your ready to rig the area. I used Bobs Buckles which are great and not expensive, I just added up how many I would need for all the rigging and added about 20 more for breaks and problems. I have found another company called gas Patch Models www.gaspatchmodels.com/.../metal-turnbuckles-32.html .

Just picked up some of their buckles for my Albatross and they look a step ahead of all the others I've seen but I'd save these for a later build if I where you, practice with Bobs they look fine and you can stand the stress much easier if you make a mess.

Any more questions please let me know happy to help with my limited knowledge

Phil

"If anybody ever tells you anything about an aeroplane which is so bloody complicated you can't understand it, take it from me: it's all balls." R J Mitchell


  • Member since
    January 2003
Posted by dogzilla17 on Friday, September 6, 2013 9:51 AM

Hi Phil-- First off, very impressive build -- I'm attempting this kit (my first WNW)-- just a question about the cockpit rigging-- not sure if I missed where the rigging is secured to- I know the fuselage is buttoned up, but is there a spot you recommend? -- did you use turnbuckles here ?

Also, I'm planning an order to Bob's Buckles -- can you advise how many are needed for this kit ?

Just finishing up a 1/48 Stug III, so this will be quite a change of pace !

Much Thanks -

Dog

  • Member since
    November 2008
  • From: Central Florida
Posted by plasticjunkie on Saturday, July 27, 2013 12:51 PM

Sorry to get on board late but it looks fantastic. You can't go wrong with any of the Wingnut Wing kits. And as a note, you can make your own turnbuckles from plastic q tip handles. They are hollow and when stretched over a candle retain the hollow center. You can make tons of them in different scales.

 GIFMaker.org_jy_Ayj_O


Too many models to build, not enough time in a lifetime!!

Moderator
  • Member since
    September 2011
Posted by Tim Kidwell on Thursday, July 25, 2013 8:44 PM

Congrats on a great looking Pup, Phil!

--

Timothy Kidwell
tkidwell@firecrown.com
Editor
Scale Model Brands
Firecrown Media


  • Member since
    October 2008
  • From: England
Posted by P mitch on Saturday, July 20, 2013 11:08 AM

Well fellow modellers its done! a little Mig Oil and Grease stain on the cowling and under the wings etc was all I have to do today.

I'm very happy with the end result and would do another one some day (just not for a while). For anyone with one in the stash or on your wish list I'd say - go for it, you will be happy with the result too. I'm not the best modeller and I got this out of one so you will do too.

If you asked do I have any comments to Wingnut there are two. First the stays for the wing, please have specific ones as I noticed the connectors for the rigging was on the wrong side, its not a big thing but its there. Second the rigging diagram could be made a little more clear and some times I had to take an educated guess where they would run, clear shot of the rear rigging would have been a huge help. These are very small points so wouldn't put me or anyone else off the kit.

Now I think its time to spend some time in a dark room to regain some sanity and then I think it will be a Sci-Fi kit.

Thanks to all for your comments and I hope this has been some use for you. as always comments etc welcome

Phil

"If anybody ever tells you anything about an aeroplane which is so bloody complicated you can't understand it, take it from me: it's all balls." R J Mitchell


  • Member since
    October 2008
  • From: England
Posted by P mitch on Friday, July 19, 2013 6:16 PM

StephenLawson

The prop was made by The Micro Group and I think looks great and is miles ahead of my build. They are laminated then cut by hand to shape, I really can't recommend then enough but the process takes a little while so if your looking to order you may have a little wait. I have an email for them so drop me a line if you'd like it

Phil

"If anybody ever tells you anything about an aeroplane which is so bloody complicated you can't understand it, take it from me: it's all balls." R J Mitchell


  • Member since
    October 2008
  • From: England
Posted by P mitch on Friday, July 19, 2013 3:08 PM
Greg
The sopwith decal came from Wingnut it was just too nice not too use.

Phil

"If anybody ever tells you anything about an aeroplane which is so bloody complicated you can't understand it, take it from me: it's all balls." R J Mitchell


  • Member since
    March 2003
  • From: Towson MD
Posted by gregbale on Friday, July 19, 2013 2:35 PM

Tim Kidwell

Phil,

The Pup is looking spectacular! I vote the round, Sopwith base.

Enthusiastically Ditto and Ditto

Did you make the Sopwith label yourself, or did you find it somewhere?

Greg

George Lewis:

"Every time you correct me on my grammar I love you a little fewer."
 
Moderator
  • Member since
    September 2011
Posted by Tim Kidwell on Friday, July 19, 2013 1:35 PM

Phil,

The Pup is looking spectacular! I vote the round, Sopwith base.

--

Timothy Kidwell
tkidwell@firecrown.com
Editor
Scale Model Brands
Firecrown Media


  • Member since
    October 2004
  • From: Colorado
Posted by StephenLawson on Friday, July 19, 2013 1:31 PM

Greetings Phil,

Who did your propeller?  Also if you go with the first base (my favorite) think about eventually adding a Model Cellar RFC standing pilot in a maturnity tunic.

WWI British RFC Pilot Officer Item #32007 retail price:  $22.50USD


Stachel...unconfirmed by Armee means unconfirmed!!!!

  • Member since
    October 2008
  • From: England
Posted by P mitch on Friday, July 19, 2013 12:04 PM

So been a hot but good day as its almost finished, just need some weathering for the exhaust etc which I will take the night to think about.

The prop is in place and I must admit looks great (wish I'd made it)

Next question is the base, the first one is

The second is

and looks like this without the aircraft in the way Smile

So any suggestions greatly accepted

Phil

"If anybody ever tells you anything about an aeroplane which is so bloody complicated you can't understand it, take it from me: it's all balls." R J Mitchell


  • Member since
    October 2008
  • From: England
Posted by P mitch on Friday, July 19, 2013 5:50 AM

So things are going a bit quicker now. Most of the rigging is on and below are some pictures. i had a look at Gregg's suggestion but didn't like the look of the rigging with the extra bit added. They looked over size and I don't have time to get the much smaller ones i think I'd need to make them look right, or I think the sanity to work with things that small. So below are the updated pictures as I'm close to the finish now

So close now only two days now I hope to the finish

Phil

"If anybody ever tells you anything about an aeroplane which is so bloody complicated you can't understand it, take it from me: it's all balls." R J Mitchell


  • Member since
    October 2008
  • From: England
Posted by P mitch on Wednesday, July 17, 2013 2:02 PM

I take your point Greg and I can still run them on, they may even cover some glue mistakes.

Phil

"If anybody ever tells you anything about an aeroplane which is so bloody complicated you can't understand it, take it from me: it's all balls." R J Mitchell


  • Member since
    March 2003
  • From: Towson MD
Posted by gregbale on Wednesday, July 17, 2013 9:55 AM

Very nice progress on the Pup, there, Phil. Good to see it humming along.

Not trying to talk you into turnbuckles by any means--but for what it's worth, I used sections of midge tubing with EZ-Line on my Sopwith Baby, and it went pretty fast. Because the tubing is Teflon [I think], the EZ-Line slid through the tubing sections quite easily, and the latter could be slid into place and fixed with a spot of adhesive when the rigging was done and trimmed. [I actually found it a bit overscale for 1/48, but on 1/32 it might look closer.] Just a thought.

Great work, and look forward to seeing the "home stretch." [No EZ-Line pun intended.]

Greg

George Lewis:

"Every time you correct me on my grammar I love you a little fewer."
 
  • Member since
    October 2008
  • From: England
Posted by P mitch on Wednesday, July 17, 2013 5:29 AM

So update time. All the decals are on now and I've started the rigging for the main wing. I'd decided to rig the main wing first and I'm using EZ-line. I thought about doing it with turn buckles and it I had the time and sanity left I'd be tempted but as I'm getting close to the end of the GB I thought I'd give the EZ-line a try. Must say so far its going well.

One thing I have noticed is the stays are not specific parts in a couple of instances which means the connection for the rigging has to cross the stay which is a little issue but on a kit of this quality I'm a little disappointed.

Rest of the plan is when the main wings are on build the tail then the landing gear which is all painted and ready to go so should be finished in the next week or so

Phil

"If anybody ever tells you anything about an aeroplane which is so bloody complicated you can't understand it, take it from me: it's all balls." R J Mitchell


  • Member since
    February 2006
  • From: Smithers, BC, Canada
Posted by ruddratt on Sunday, June 30, 2013 1:43 PM

Phil, amazing work on the Pup! Love the finish on the gun! The technique is almost the reverse of what is commonly seen (a dark base coat and then the highlights), but the final result speaks for itself. Very cool! Gonna have to try that! Yes

Mike

 "We have our own ammunition. It's filled with paint. When we fire it, it makes pretty pictures....scares the hell outta people."


  • Member since
    October 2008
  • From: England
Posted by P mitch on Sunday, June 30, 2013 7:36 AM

Greg

The paint is Tamiya XF-62. I had to do a few layers but very thin, I've been having a problem for a long time with airbrushing Tamiya paint as I seem to get a strange reaction which can leave "holes" in the paint so I use a small amount of retarder now and do two layers at least

Phil

"If anybody ever tells you anything about an aeroplane which is so bloody complicated you can't understand it, take it from me: it's all balls." R J Mitchell


  • Member since
    March 2003
  • From: Towson MD
Posted by gregbale on Sunday, June 30, 2013 7:02 AM

Wow! Exceptional update, Phil, glad to see things are coming along beautifully.

What paint did you use for the green upper surfaces? It captures the weathery green/brown shade of PC.10 just perfectly, looks very realistic.

Cracking job all the way around!

Greg

George Lewis:

"Every time you correct me on my grammar I love you a little fewer."
 
  • Member since
    October 2008
  • From: England
Posted by P mitch on Sunday, June 30, 2013 4:36 AM

So its been a while and its time to update you all.

Almost at the point for decals now as the green paint is on and the aluminium for the engine cowlings is all sorted. I used Alclad on it and it worked great but you have to watch the fumes, lucky I have a booth and a good mask.

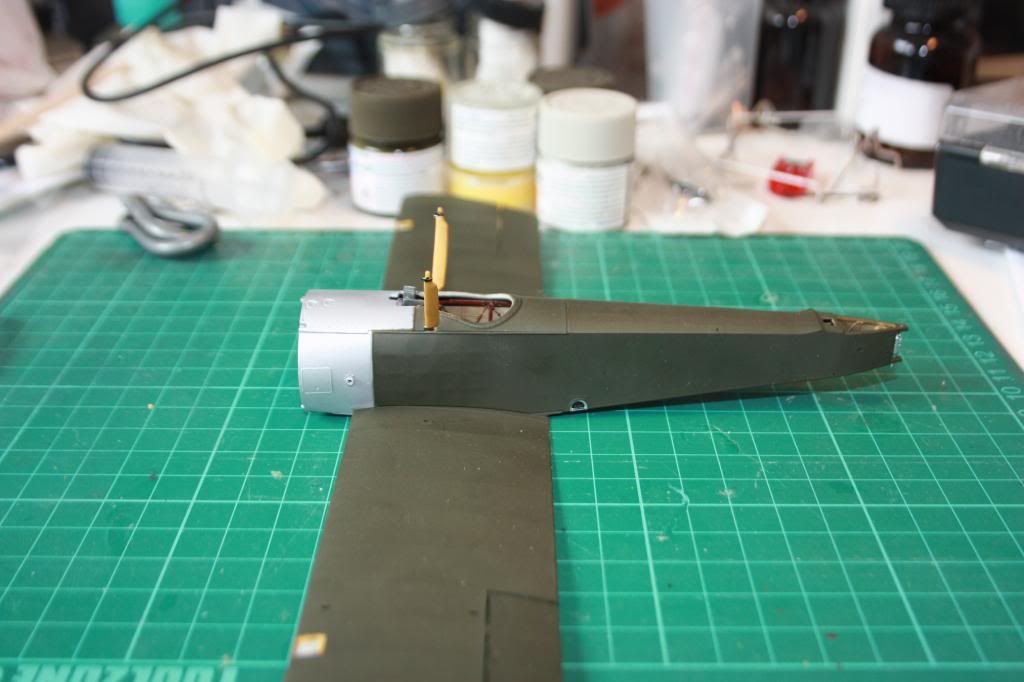
I know the green isn't perfect but looking at a lot of old photo's I dont think it would have been orginally either, added to that I hope the clear coats for the decals and some shading I want to do will help a lot

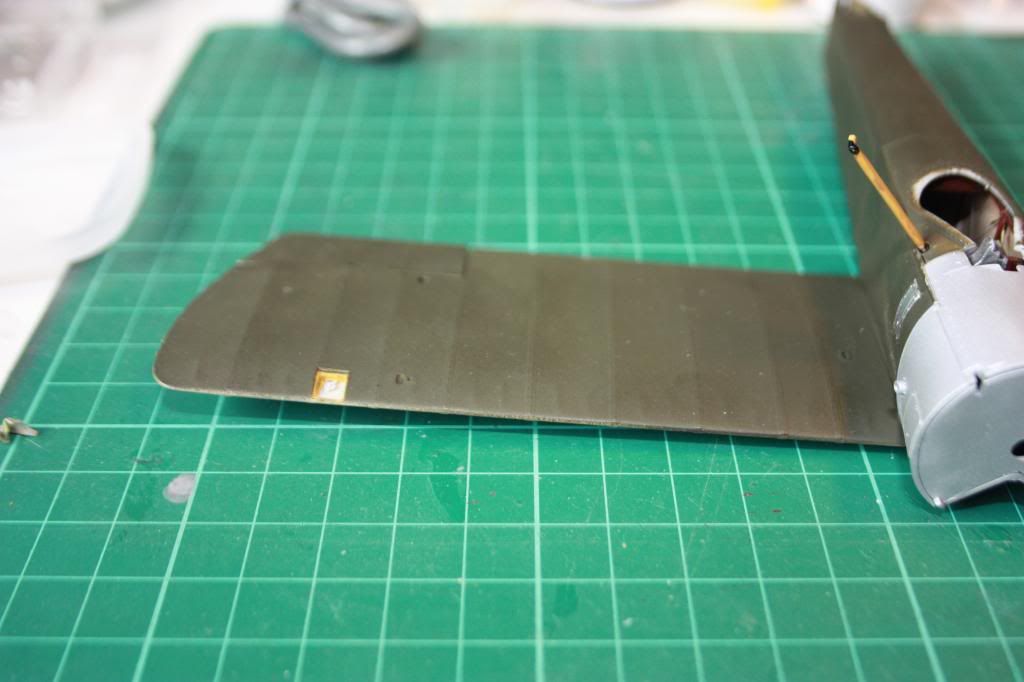
There are ports on the wings I'd guess for inspection and adjustment for the control cables which are very easy to get right as its a simple masking job to leave them the expected drop colour. The edge needs to be lined with wood paint which is a bit fine but still a good brush works wonders

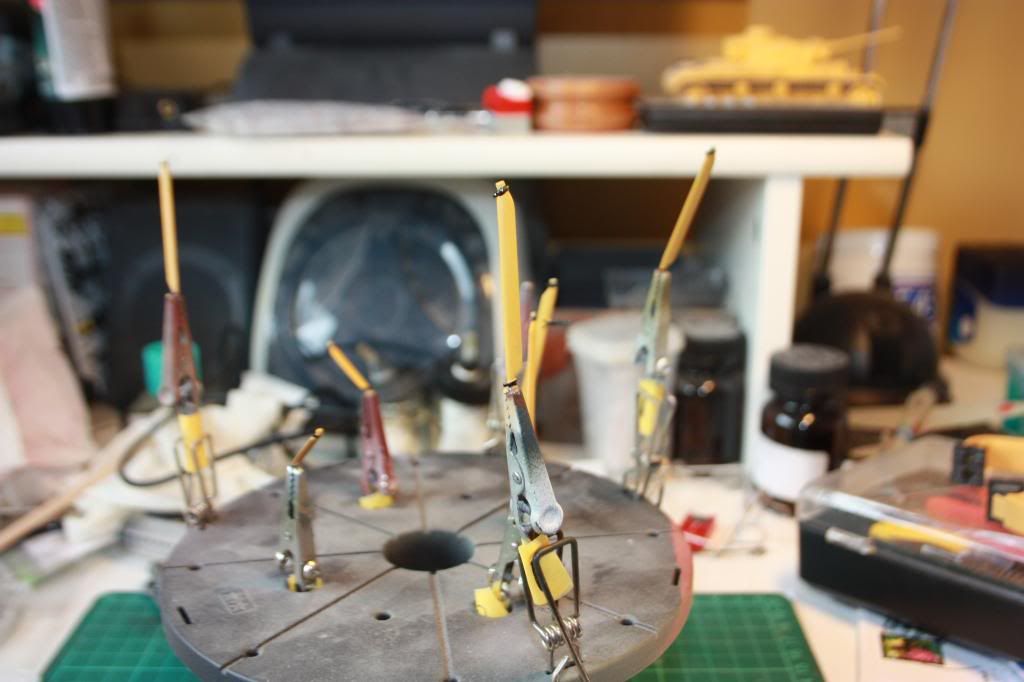
The spars are all ready to go as well. as I'd removed them from the sprue and wanted to make sure I knew which was which I used some masking tape on the clips just to save problems later. its a nice trick I'll be using more in the future I'm sure

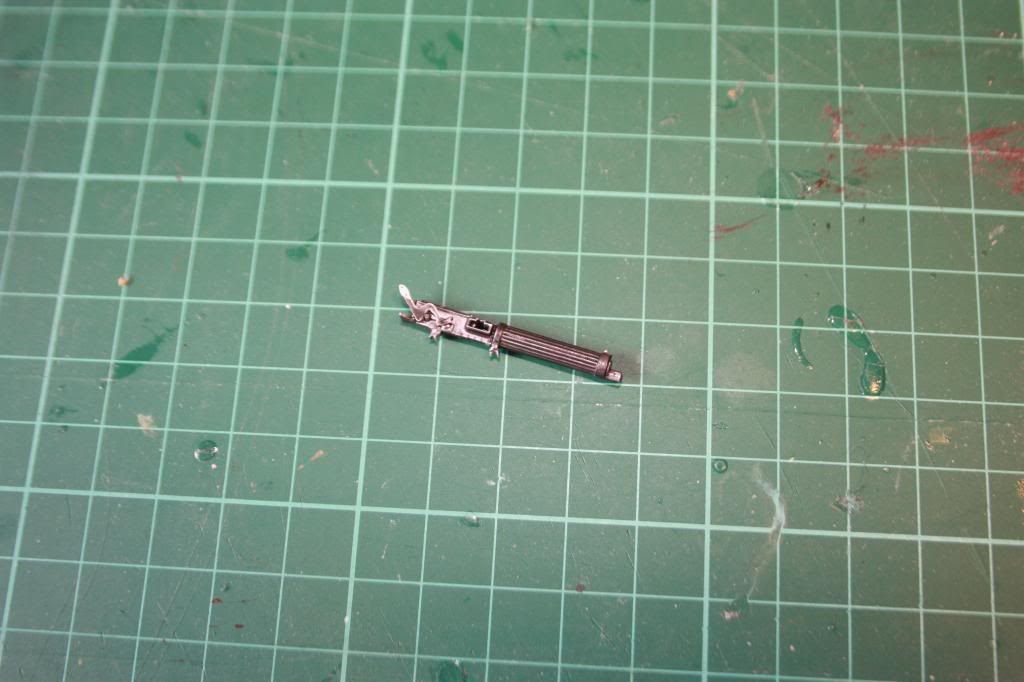
Next came the machine gun. Simple job one coat of Alclad aluminium and they a wash of Tamiya ready made wash and I really like it. Easy work for a good luck

All thats left is the tail which I have "pre-made" to make painting easy.

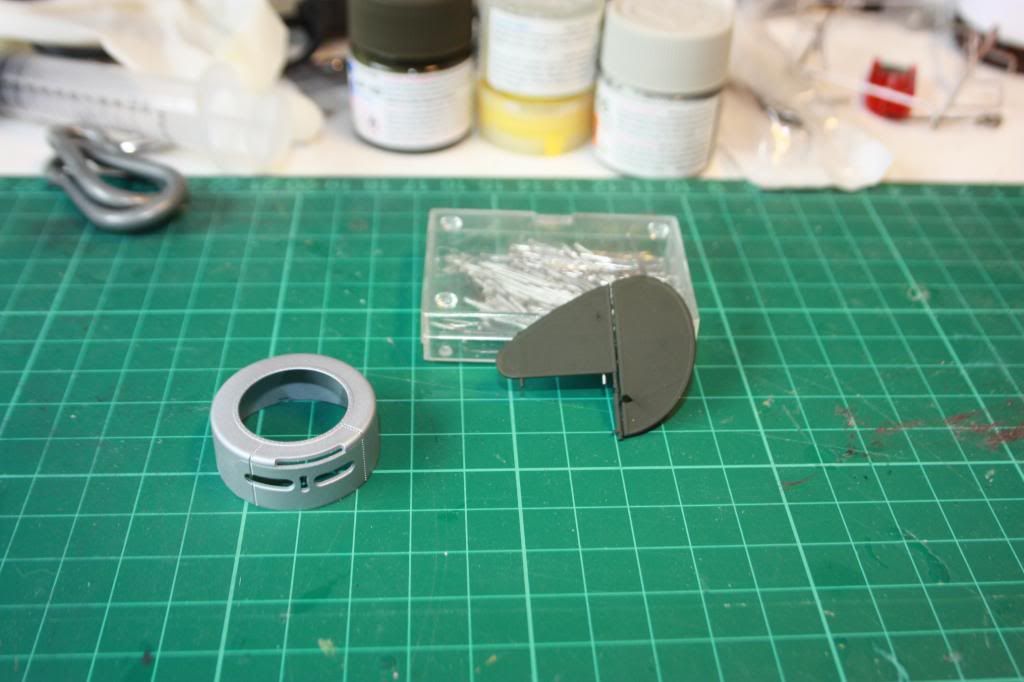
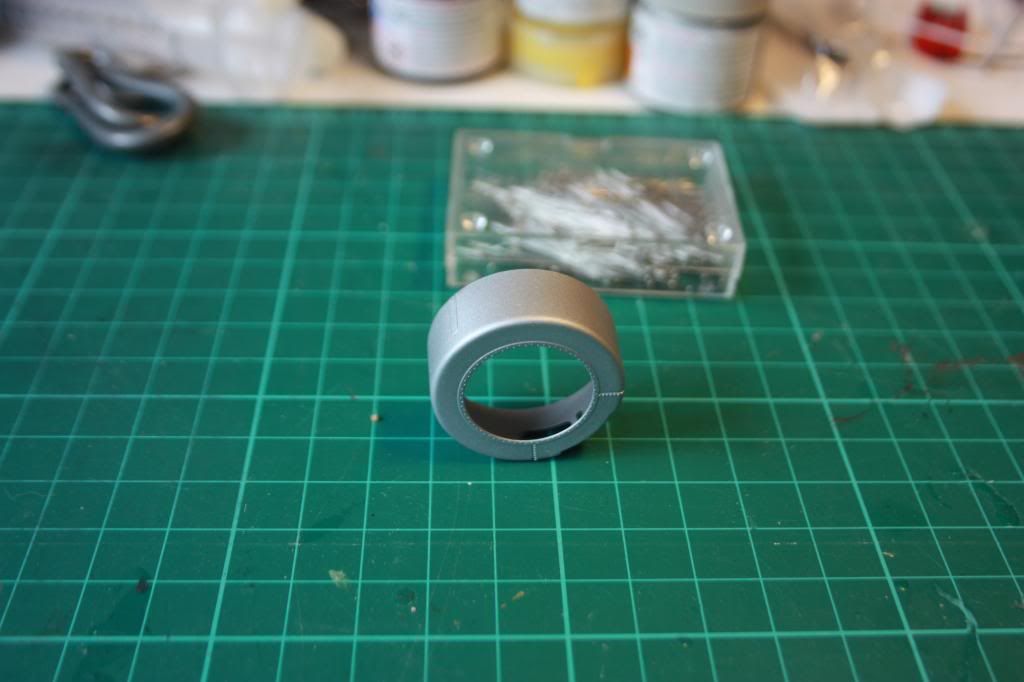
Finally a shout of the cowl to show how easy Alclad goes on and how good it can look done by a complete novice

Quick note on what I've learnt so far, don't put the rigging buckles in before you paint - its a nightmare to get them masked without crushing some, don't be scared of these kits they are great to build and not as hard as you may think

I promise as its the home straight speed will increase now.

Phil

"If anybody ever tells you anything about an aeroplane which is so bloody complicated you can't understand it, take it from me: it's all balls." R J Mitchell


  • Member since
    October 2008
  • From: England
Posted by P mitch on Friday, May 24, 2013 3:56 PM

So a bit of a longer update from me now.

Time to take the paint to the wings. I started as expected with the Tamiya Deck Tan (XF-55) which the first coat went down fine. Then some masking at the spar lines and a few lines of red brown mixed with the Deck Tan. Everything went fine there too.

So a few days pass and I need to give the wings a heavily thinned top coat of Deck Tan, 1 - 9 paint to thinner. This is where I had a problem. In the past I've had an issue with splotches when I airbrush and it happened again. This time i was almost expecting it and used Tamiya retarder (which is a nightmare to get in the UK). I was lucky and as that extended the drying time the splotches smoothed out.

I'm still not 100% sure about the look but its growing on me. Any way as usual any ideas or suggestions happily received. I'm away for a few days next week but after that should get some time at the bench

Phil

"If anybody ever tells you anything about an aeroplane which is so bloody complicated you can't understand it, take it from me: it's all balls." R J Mitchell


  • Member since
    October 2008
  • From: England
Posted by P mitch on Tuesday, May 14, 2013 2:11 AM

Tim

I'm doing a mixture of pre and post. I got the lower wings on last night and will be getting the upper colours on this weekend I hope. I need to have a good look at the cowlings etc upfront and see what I want to do there. I know some of them had hand beaten details and I may have an idea on how to do that but again want to show it as a surprise (plus if it doesn't work I dont look like a twit)

Phil

"If anybody ever tells you anything about an aeroplane which is so bloody complicated you can't understand it, take it from me: it's all balls." R J Mitchell


Moderator
  • Member since
    September 2011
Posted by Tim Kidwell on Monday, May 13, 2013 3:36 PM

Phil,

You aren't lagging at all, and the Pup is coming along swimmingly.

Question: Are you doing some pre-shading up front?

--

Timothy Kidwell
tkidwell@firecrown.com
Editor
Scale Model Brands
Firecrown Media


  • Member since
    October 2008
  • From: England
Posted by P mitch on Monday, May 13, 2013 12:36 PM

OK sat at work today and had a brain wave. I'm changing the base I'm going to use. I can still use the one see before but had an idea which is too good to pass up. I'm going to try and step up the speed now as it looks I'm lagging a bit here!

Phil

"If anybody ever tells you anything about an aeroplane which is so bloody complicated you can't understand it, take it from me: it's all balls." R J Mitchell


  • Member since
    December 2002
  • From: Northern California
Posted by jeaton01 on Sunday, May 12, 2013 8:52 PM

Nice work, P mitch.  Don't worry about the interior being visible, just buy a good borescope!  A necessity to enjoy all the detail in the WNW kits.

John

To see build logs for my models:  http://goldeneramodel.com/mymodels/mymodels.html


  • Member since
    October 2008
  • From: England
Posted by P mitch on Sunday, May 12, 2013 2:05 PM

So this weeks update. Body is now closed up. I was a little worried about the ridge which runs along the edge close to the cockpit but after a bit of checking it looks right. I've done some test fitting of the lower wing and it still needs some finessing as I'm not 100% happy with the fit so far.

Only main thing to note is the disappearance of all the work done so far, anyway pictures below

"If anybody ever tells you anything about an aeroplane which is so bloody complicated you can't understand it, take it from me: it's all balls." R J Mitchell


  • Member since
    October 2008
  • From: England
Posted by P mitch on Thursday, May 2, 2013 2:08 AM

Madhatter

There is nothing in the instructions about which prop for which aircraft, looks like you can just pick either which is a bit strange. I'm replacing the prop anyway with a wooden one so its not a huge problem for me.

I must be honest now too and say the cockpit encloser is in the instructions, its hidden in plain sight.

Phil

"If anybody ever tells you anything about an aeroplane which is so bloody complicated you can't understand it, take it from me: it's all balls." R J Mitchell


JOIN OUR COMMUNITY!

Our community is FREE to join. To participate you must either login or register for an account.

SEARCH FORUMS
FREE NEWSLETTER
By signing up you may also receive reader surveys and occasional special offers. We do not sell, rent or trade our email lists. View our Privacy Policy.