SEARCH FINESCALE.COM

Enter keywords or a search phrase below:

Revell 1/32 Tornado ECR WIP

24417 views
93 replies
1 rating 2 rating 3 rating 4 rating 5 rating
  • Member since
    February 2014
Posted by dflu78 on Sunday, June 1, 2014 5:14 PM

Glad I checked in on this. I really like this plane. I'm a 1/32 guy, but that one would be too big for me.

You're work is looking really good. Can't wait to see more.

Have you used SAC gear struts before? They are always 100% copies of the kit parts. I will caution you too. I'd go ahead and assemble and paint up the kit parts when you do those. SAC gear are notoriously weak. I've got a set on a 1/72 B-17 and they are like spaghetti.

  • Member since
    September 2013
Posted by Dean30 on Sunday, June 1, 2014 12:33 PM

Hey that's a good point Fly, well the airbrushes didn't show so it's still awaiting further work. But when I was there I bought a seaplane called a Supermarine Stranrarer which is something I thought I would get as I wanted to do something different. However I need an airbrush to actually help make it lol.

  • Member since
    December 2006
  • From: Phoenix, AZ
Posted by Fly-n-hi on Tuesday, May 27, 2014 9:39 AM

Missing your show could be a little bit of a blessing.  It sounds like you were getting rushed .  Now, you can take your time, add all the details and really knock it out of the park!  Plus, you can still enter next year's show.

Dre
  • Member since
    June 2007
  • From: here, not over there
Posted by Dre on Tuesday, May 27, 2014 8:30 AM

That shop beats the pants off of both shops local to me, I'm jealous.

Shame that you'll be missing the show, but the delay in painting might well be worth more in the end.

  • Member since
    September 2013
Posted by Dean30 on Sunday, May 25, 2014 6:54 AM

I used the edge of a scalpel, the scratches went down to the plastic but because I was painting layers upon layers I knew the following coats would cover them giving a faded scratch so it didn't matter that I went down to the plastic. I have to say the Tornado production has been mothballed until I get paid and is on my kitchen table and will miss the show, however the model shop owner said that he will have Iwata airbrushes at the end of the month so I will get my first really decent airbrush soon as I had thought about using a white primer for the underside but it would mean I have a perfect white belly and a modulated upper surface, so I think that waiting for a new airbrush is the best option.

Also I thought I would show my model shop where I get the stuff, probably a lot smaller than many but there's so much here it's one of the places I want to buy everything lol.

More updates as soon as work begins again!

  • Member since
    December 2006
  • From: Phoenix, AZ
Posted by Fly-n-hi on Tuesday, May 20, 2014 1:35 PM

The paint fading has turned out really good so far!  I like the scratches, too!  How did you do it with a knife blade and not go through the paint into the bare plastic?

Dre
  • Member since
    June 2007
  • From: here, not over there
Posted by Dre on Tuesday, May 20, 2014 1:28 PM

Nice photo, thanks!   That's a pretty beat up paint job, but it could give me some room for distressing the black and keeping the white areas fairly clean as they're a different material altogether.

  • Member since
    September 2013
Posted by Dean30 on Tuesday, May 20, 2014 12:46 PM

The small part where the pin goes through at the very front, I was taking it off to give it a quick clean and I turned the part the wrong way by accident and the thread snapped off inside if that makes sense? A bit gutted as I really like my airbrush so hopefully the guy in my model shop will be able to order replacement parts. Well I actually think the panels should be white as is on the Su-47, in fact I would copy the Su-47 (S-37) in terms of paint and finish.

Dre
  • Member since
    June 2007
  • From: here, not over there
Posted by Dre on Tuesday, May 20, 2014 11:54 AM

How'd you break your AB??   I agree that the topside has the right sheen to it- from some angles it looks flat and others a more glossy appearance.   The black nose looks spot on for its sheen.

I'm thinking of how I can incorporate all that shading on the black Flanker without it looking too comical- any thoughts on what color I should do all the various dielectric panels and nose?   White would be too stark, the standard medium green is an option and I'm considering that bright Flanker Blue that PB has as his main color...

  • Member since
    September 2013
Posted by Dean30 on Tuesday, May 20, 2014 11:46 AM

Thanks Dre, I have to say I'm pleased with it so far, however my airbrush broke today as I was about to mix the paint for the bottom half which is pretty annoying as in order to be ready for the show I have about a week and a half to go! Here's where I am at at the moment.

Got the masking done, and now I may well use white primer tomorrow if I cannot get the parts for my airbrush, If I dirty the white up a bit it should blend in.

I can see the light with this lol but I have quite a way to go! All the stores are ready for white as well.

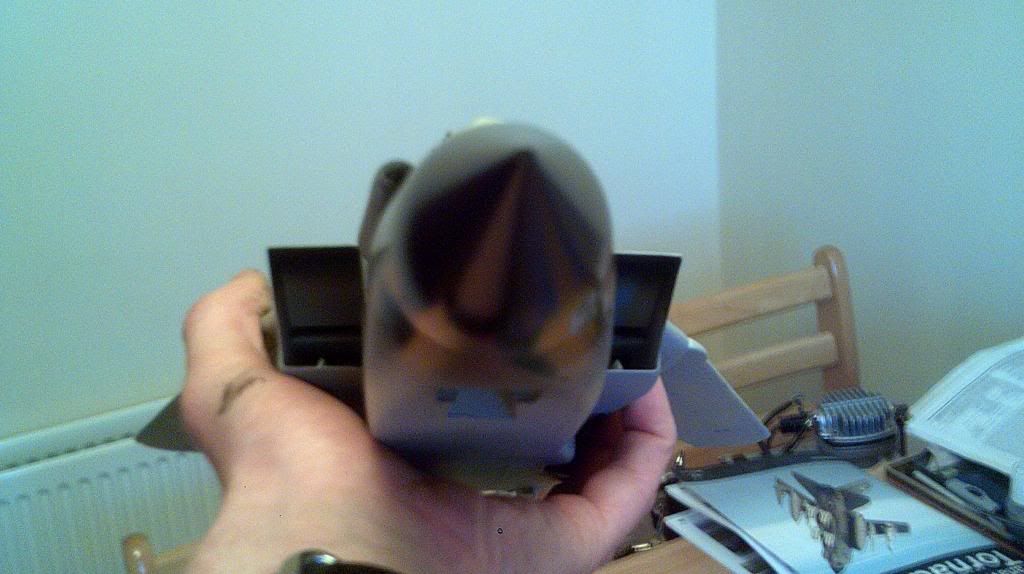
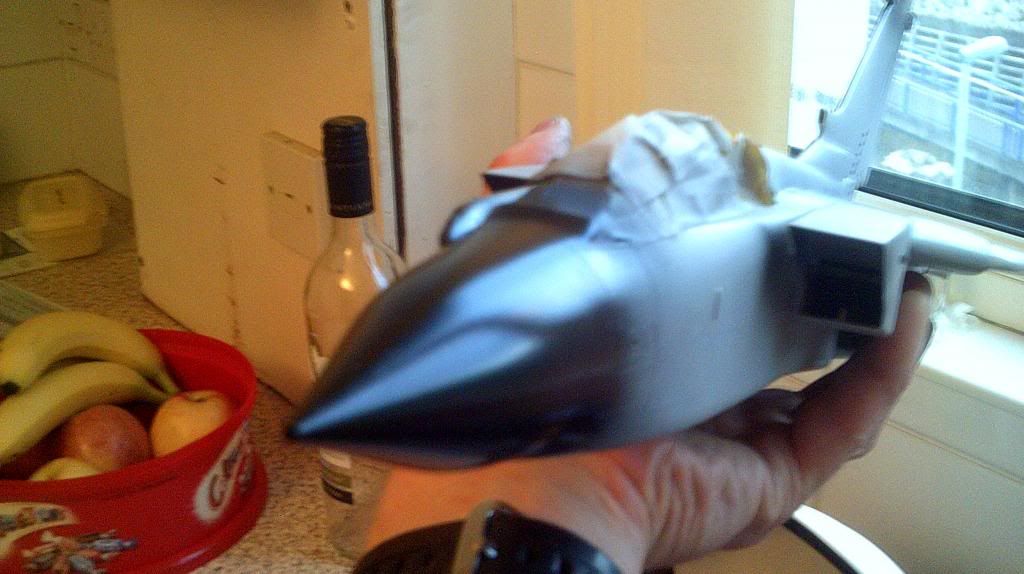
It still has a gloss finish but from this angle it looks matt, pretty much how I want the finish to be.

Just making sure the taps on the intakes matches the fuselage front. Ok the next post of photos should have the white on etc...Also yes Dre if not for Fly F-15 the paint finish would be a lot more boring.

Dre
  • Member since
    June 2007
  • From: here, not over there
Posted by Dre on Tuesday, May 20, 2014 11:32 AM

Looking good, Dean.   I like the color modulation (I think that we all owe Fly-n-hi a round)- it adds a bit of depth to such a plain color.   I may have to try those buffing pads to get a smoother finish.

  • Member since
    September 2013
Posted by Dean30 on Sunday, May 18, 2014 10:45 AM

Next the weapons were primed and checked for flaws as well.
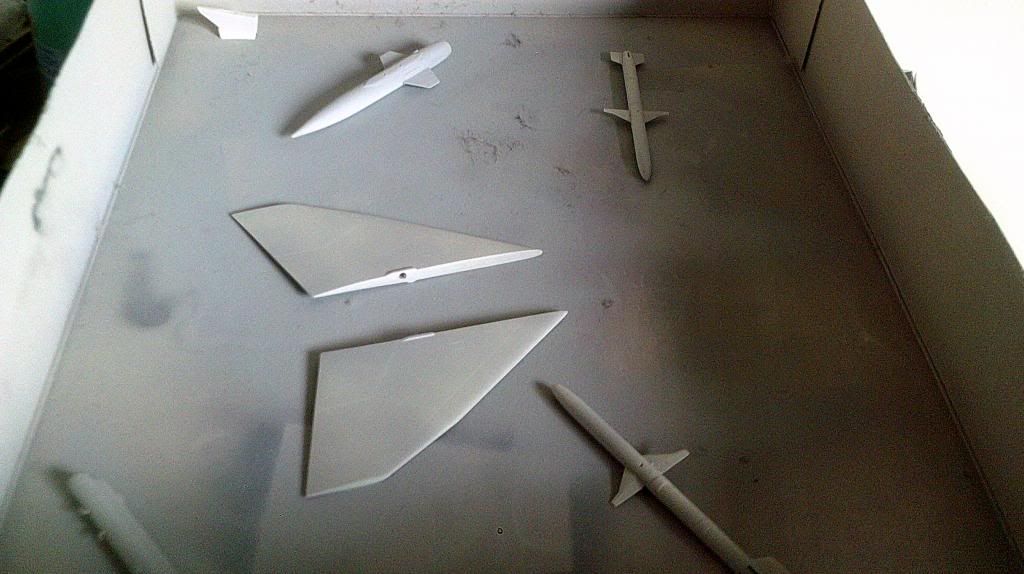
Well I say weapons, all two of them!

After priming I smoothed the surface with micromesh and washed the aircraft.
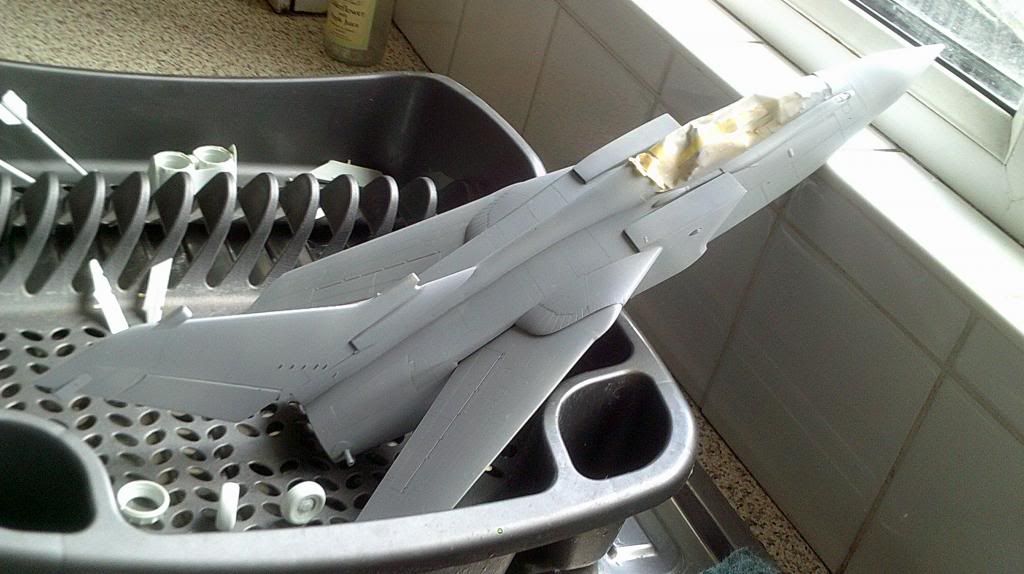
Then the nose was sprayed flat black and again smoothed with micromesh 
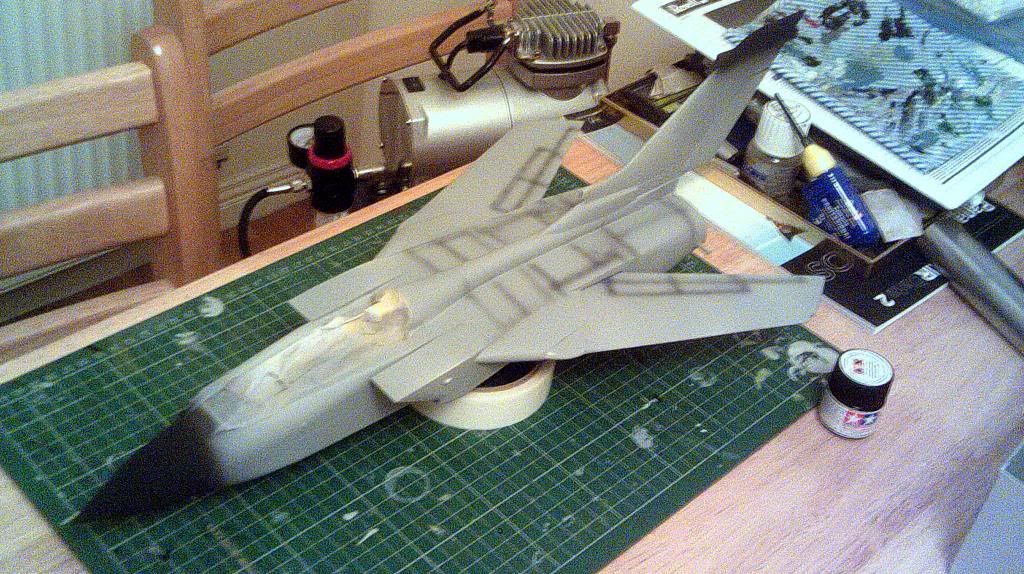
The nose was them given a gloss coat with klear several times.
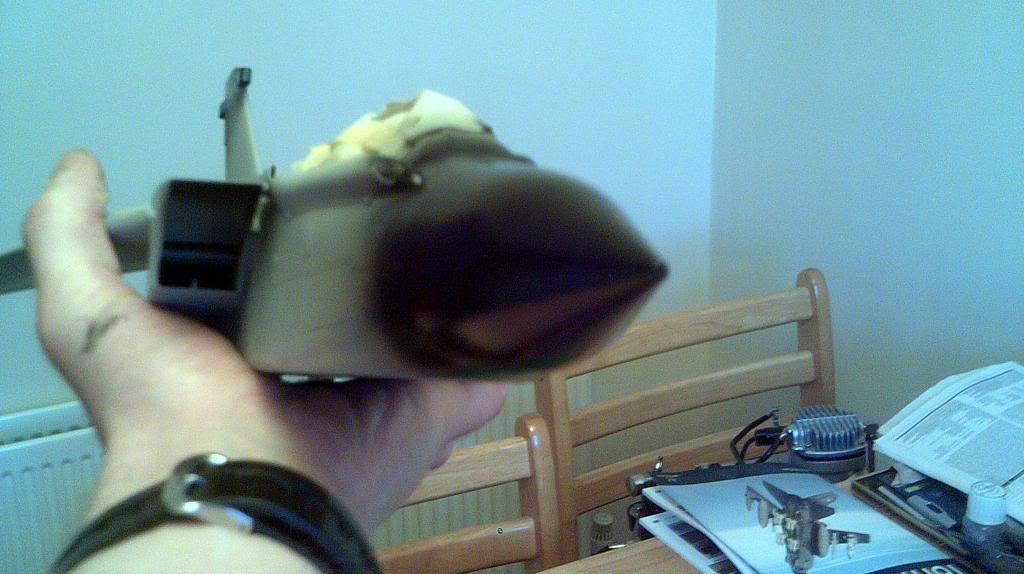
Seems smooth enough and shiny enough for me!

So a coat of enamel grey was sprayed over the plane, the finish was rough as sandpaper and all round terrible.
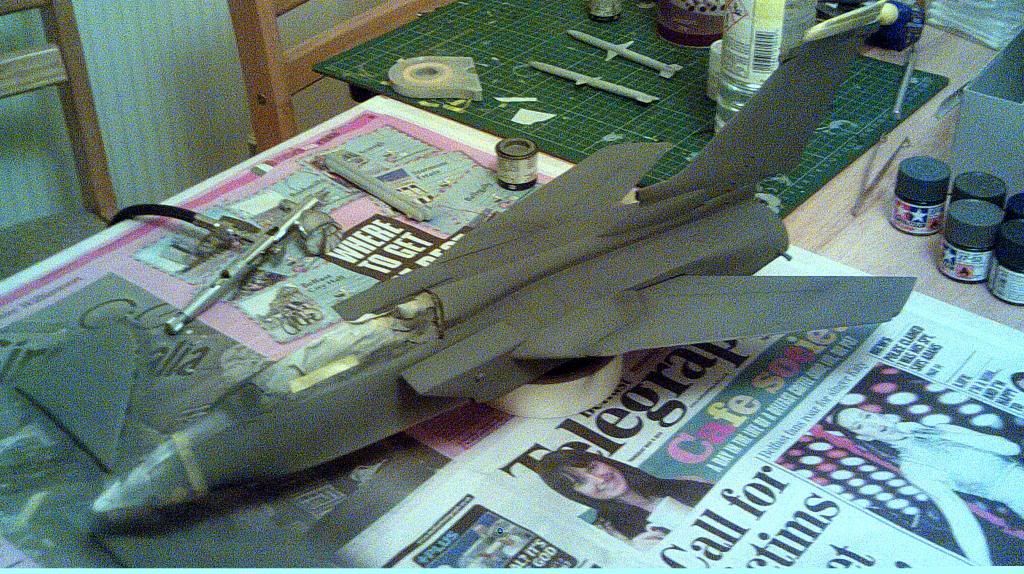
I had to sand the grey back and go over the area again.
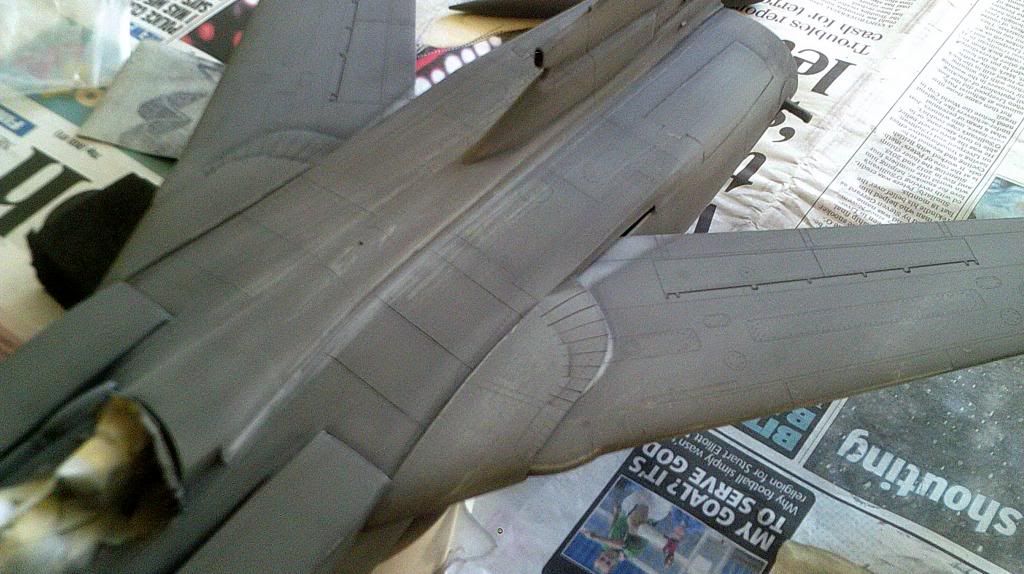
More sanding and smoothing as there's no point in putting so much effort into construction if the paint job is going to be terrible.
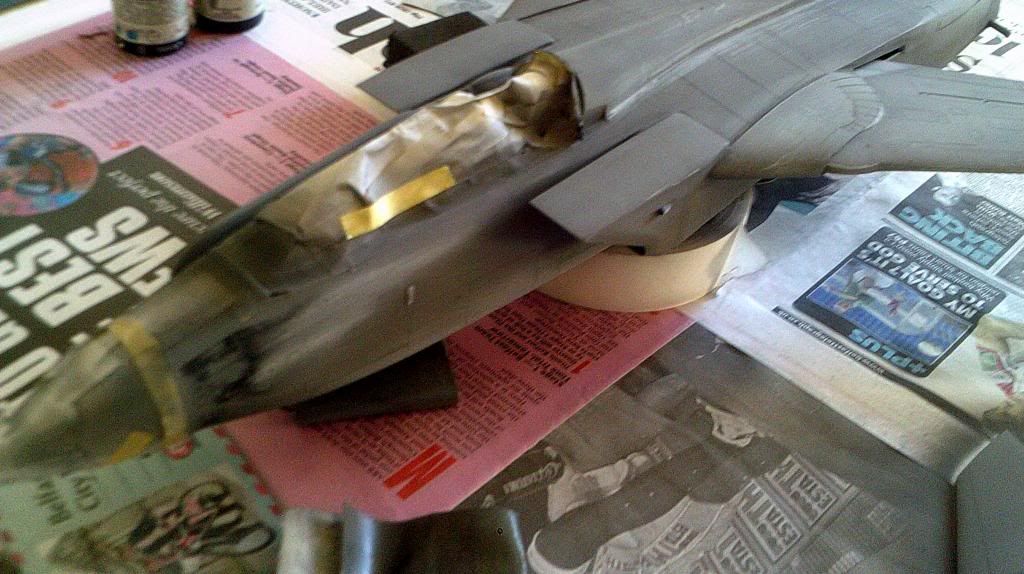
Again I washed the aircraft to get rid of dust before respraying.
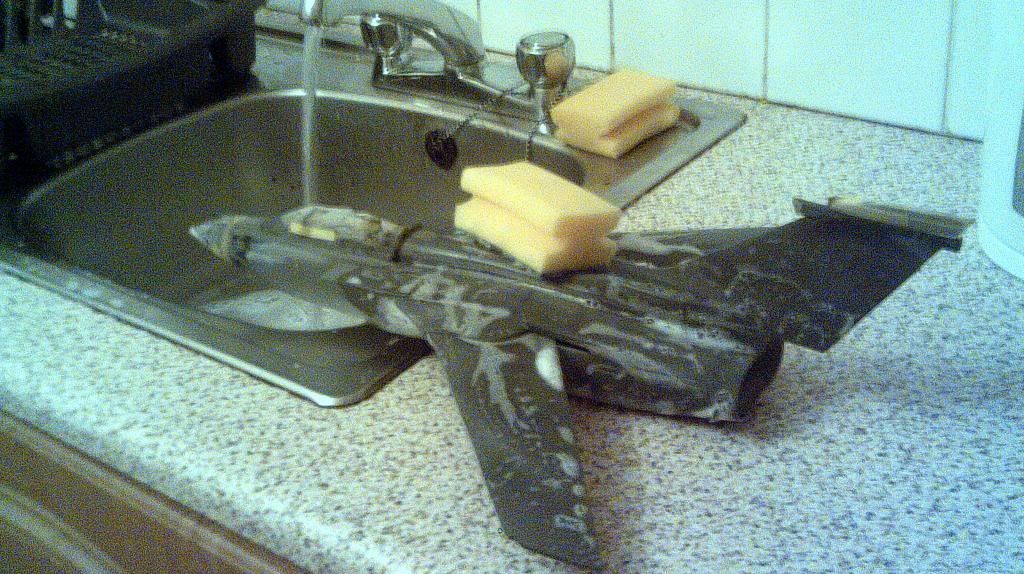
After drying I decided to use the awful patchy grey to my advantage as it will add variation to the grey surface on the aircraft, (I basically thought about what Fly n hi did with his F-15).
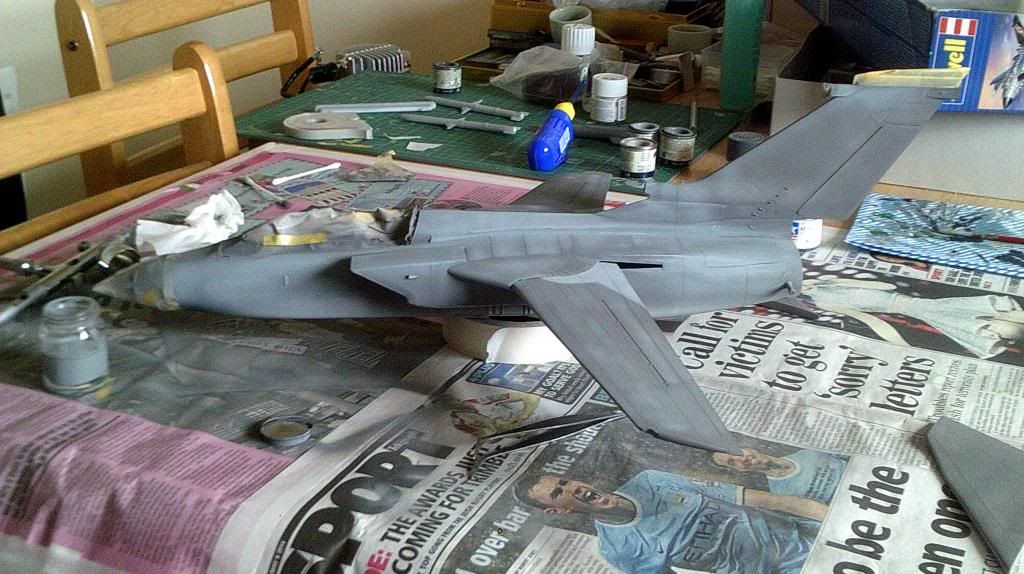
I deliberately shaded various areas with different greys and made the patterns random and it started to look like a weather worn airframe.
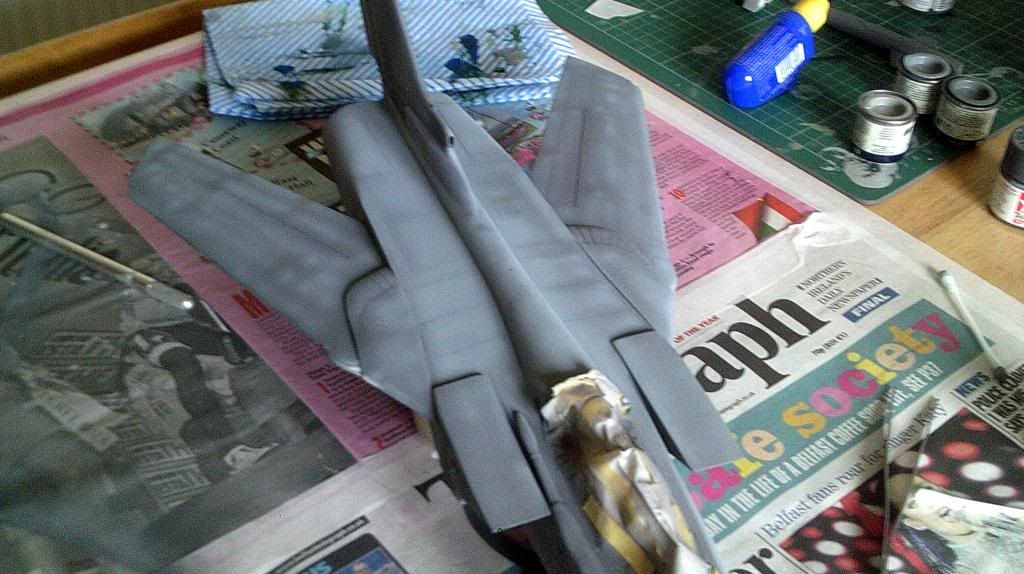
Next I got my scalpel and started to scratch the paint on purpose to give an impression of worn paint that had been walked on.
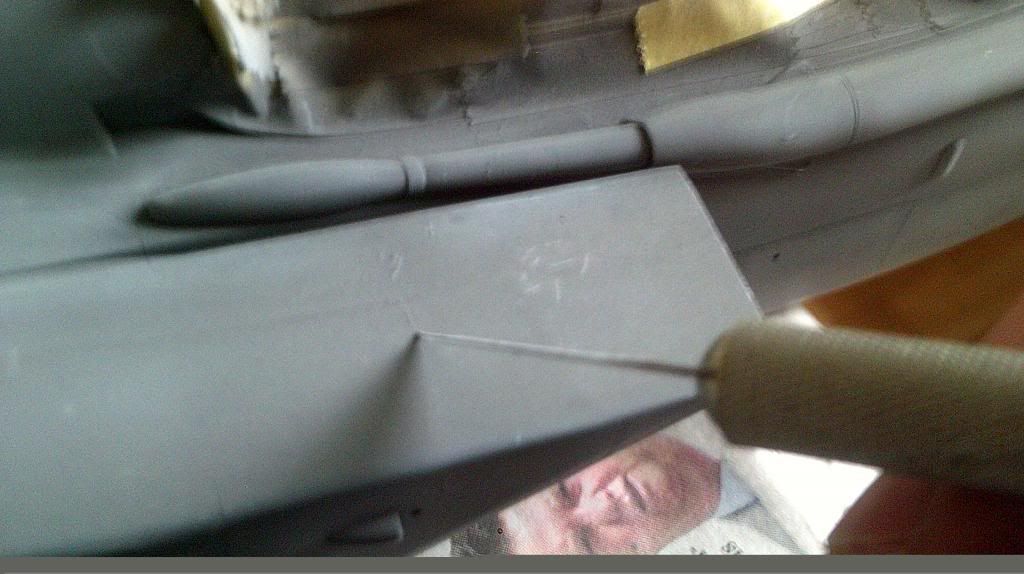
I'm not wanting the plane to look heavily weathered or broken, just something that's in good condition but frequently used if that makes sense.
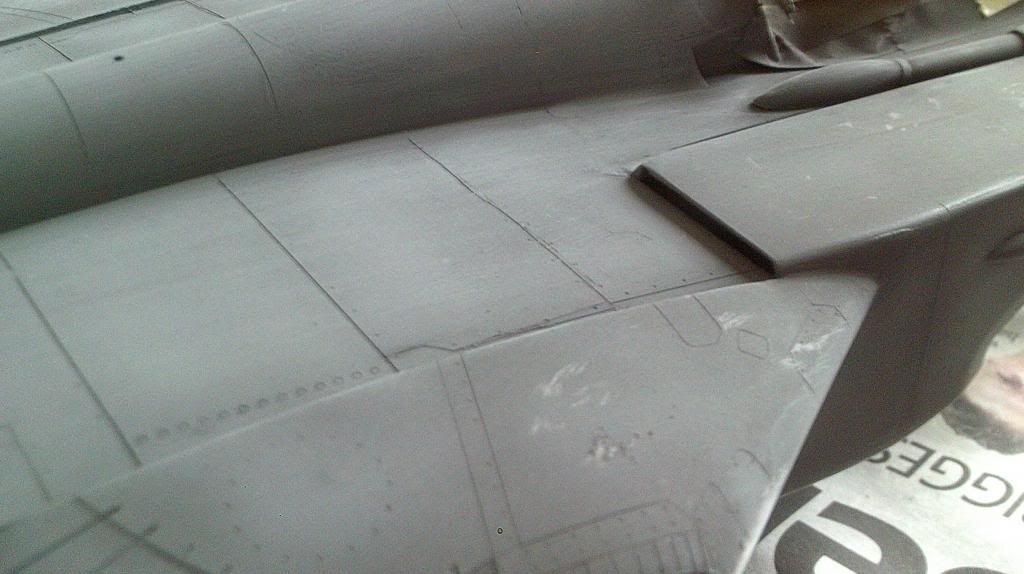
Under the next few layers of paint (very light layers) I managed to get the aircraft to look suitably worn with a good finish.
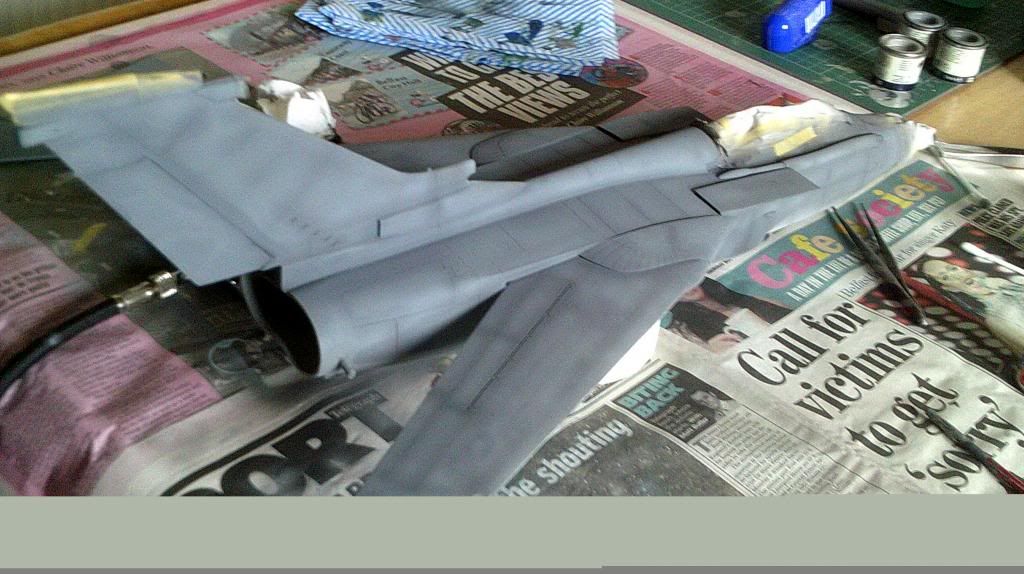
This was followed with a gloss coat to ensure the paint was protected, about 5 coats of klear was applied.
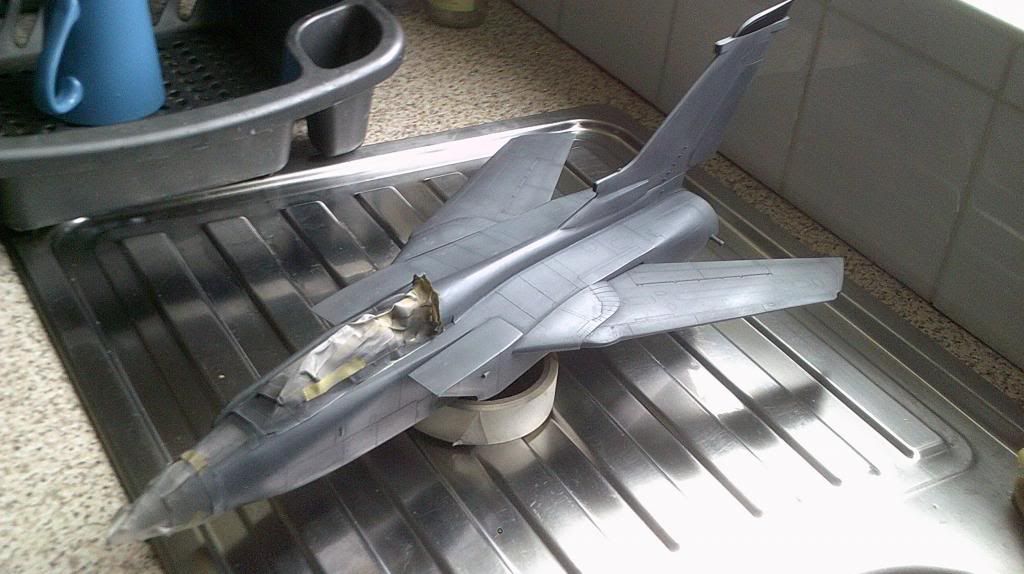
The top half is completed with the sort of shine I like to have on my models, next I will be doing the bottom half, it is not obvious in the photo but from different angles the model looks different colour wise with regards to weathering.
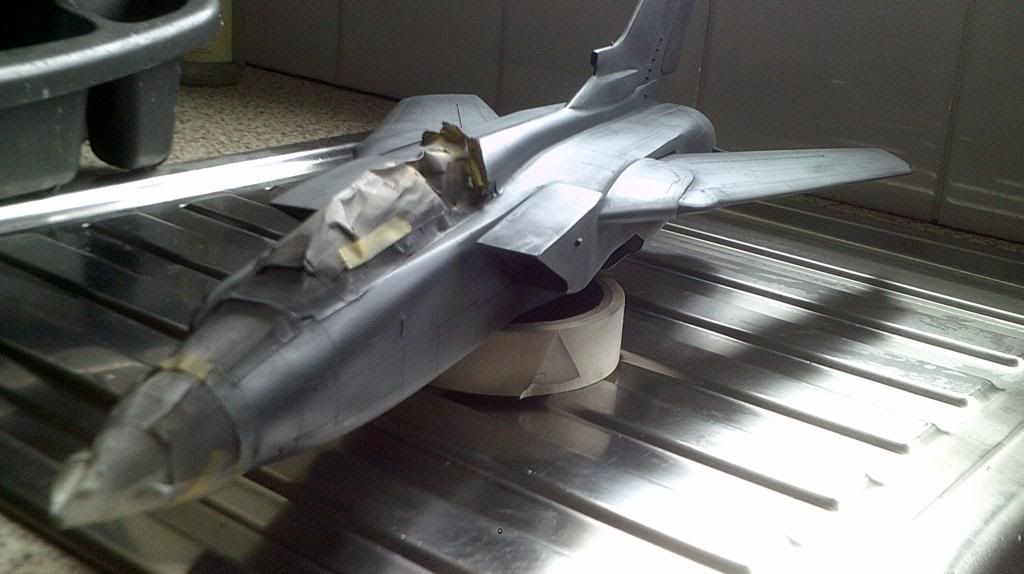
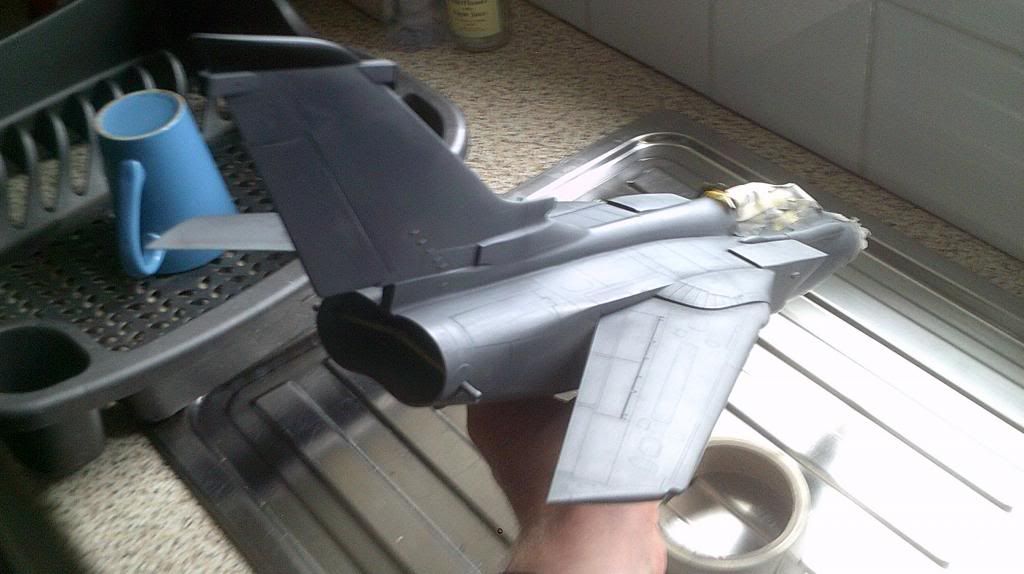
Well that's all for now, I have to spray a few more parts of grey under the wing as I missed it when painting but no big deal, I will be doing the white bottom next post and ot will be decalled by then too. 

  • Member since
    December 2006
  • From: Phoenix, AZ
Posted by Fly-n-hi on Sunday, May 18, 2014 10:27 AM

Nice work on the scribing.  This is something that I need to improve on.  

  • Member since
    September 2013
Posted by Dean30 on Sunday, May 18, 2014 10:18 AM

Well more progress, I have managed to get the top half painted and as you might guess that if I'm saying top half that I have decided to go for the Grey/white scheme which has been a favourite of mine with this aircraft. So here goes with the photos....

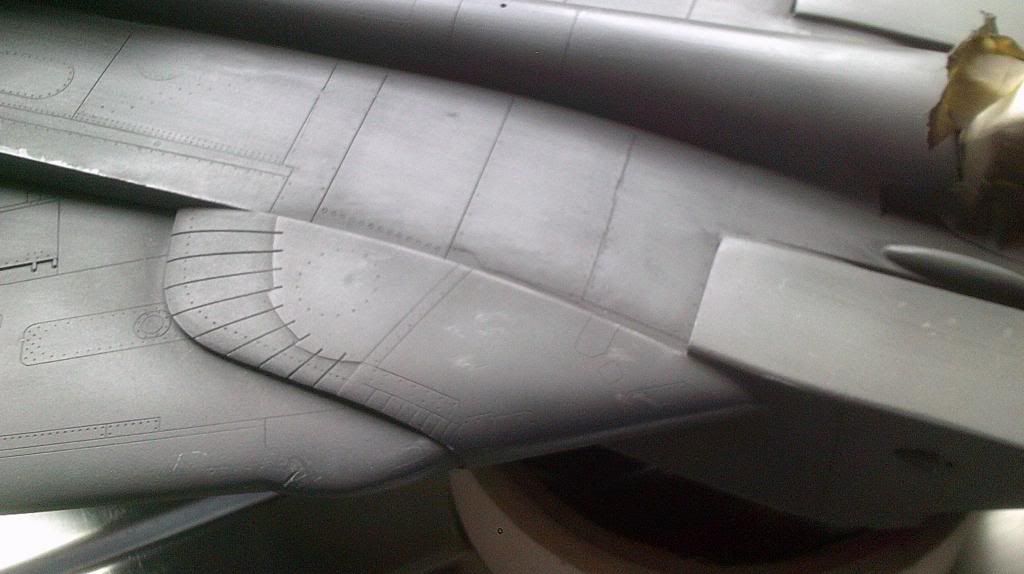
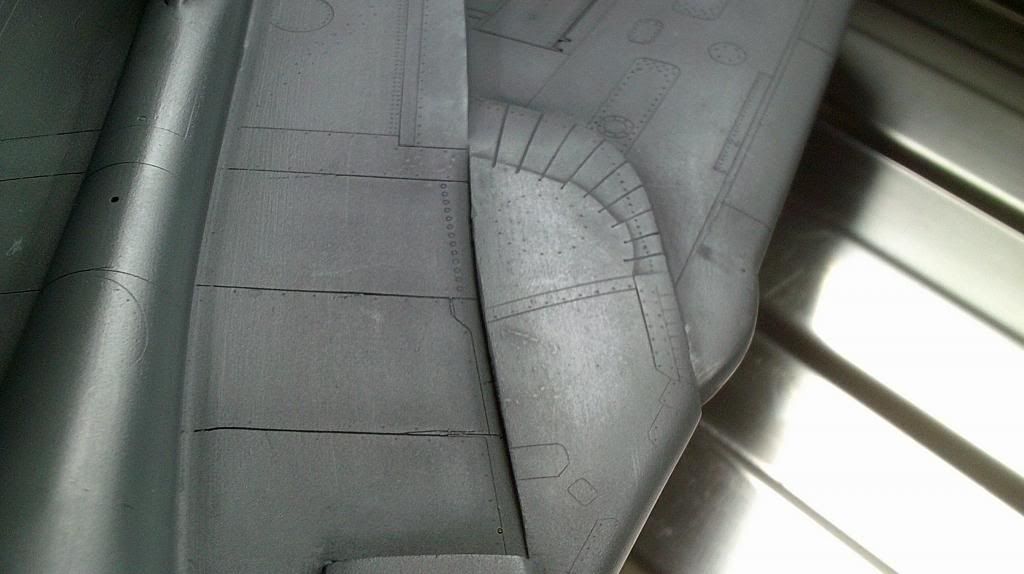
 First up I managed to get the lines scribed as well as I could manage which for me is pretty good.

I managed to get the lines to join so there's no more lines disappearing as there was originally on the kit.

Work on the drop tanks continued as the gaps were filled after primer was sprayed over them in order to find flaws.

There were flaws, but easy to fix, I also sanded down the raised detail on the tanks.

  • Member since
    September 2013
Posted by Dean30 on Sunday, May 11, 2014 10:51 AM

Well the decals haven't arrived but the SAM gear and Eduard masks did! I have been going over a few lines and using my new scriber found it to be great, also the whole Tornado has been primed and the dry primer was left for a few days as I had no time basically but now I have managed to buff the primer with micromesh so the paint will have a silk smooth finish.

A few spots where I have had to rescribe lines and smooth seams otherwise the surface feels smooth.

Here's a few lines where I have gone over again. 

However I can see in this photo that the line I scribed again is off at the top, no big deal though it can be fixed easy enough.

Here's the SAM struts.

The detail is the same as the kit parts, I think the SAM gear is basically a reproduction of the kit parts in metal.

Also here's the mask.

The mask is for the Wheels and Canopy only however the diagram shows a German cross. The next part of construction will be painting the aircraft one of the Marineflieger schemes. after this I'll get the aircraft decalled and weathered and then carry on with the build, Here's the two options to paint.

Looks awesome!

Also this.

[Vie

Decisions decisions, if I do the white bottomed one it will mean a lot of scribing as the front fuselage has no detail on the underside, and the wrap around scheme would make it hard to notice if it's not there. 

Dre
  • Member since
    June 2007
  • From: here, not over there
Posted by Dre on Wednesday, May 7, 2014 3:42 PM

Can't wait to see the Navy scheme put on.

  • Member since
    September 2013
Posted by Dean30 on Wednesday, May 7, 2014 2:45 PM

This is it so far, I have got the top half primed and ready for a smoothing down with micromesh, all seams appear to be gone, I have to re-scribe many lines which will keep me busy but should be worth it!

  • Member since
    September 2013
Posted by Dean30 on Wednesday, May 7, 2014 2:43 PM

I uploaded a load of photos but none showed up at all in my post for some reason.

  • Member since
    September 2013
Posted by Dean30 on Wednesday, May 7, 2014 2:41 PM

Well I have managed to get more progress done here, I have actually had to put a lot of work into this but I have a long way to go bay far. The deadline is June 1st so I hope (will) be finished by then in time for the model show.

  • Member since
    September 2013
Posted by Dean30 on Tuesday, May 6, 2014 11:00 AM

Lol love it scott, well I have actually found that the ECR was a specialised version that only the Germans and Italians ordered so I had to scrap the idea of an RAF version all together. However the German Naval Tornadoes are pretty much as good looking so that's what I'm going to make. The HaHen decals have been ordered, I actually ordered the Eduard Mask, not because I can't mask, just because they're going to be better than my efforts and far quicker and I have ordered the SAM landing gear as my Eurofighter was ever so slightly unstable with plastic landing gear so Metal for 1/32 is the way to go.

  • Member since
    October 2006
  • From: Tucson, AZ
Posted by Archangel Shooter on Tuesday, May 6, 2014 8:39 AM

Good looking build there. I did one some years back and the only issue I was that the nose gear strut was awfully weak. Will use a metal set on the next one.

Scott

 Your image is loading...

 On the bench: So many hanger queens.


  • Member since
    February 2014
Posted by T3chDad® on Tuesday, May 6, 2014 7:04 AM

Love it Dean!


  On the bench: Between Builds...

Dre
  • Member since
    June 2007
  • From: here, not over there
Posted by Dre on Thursday, May 1, 2014 2:05 PM

I guess the ground crews didn't have much time for a buff-n-shine in between ops back then...

  • Member since
    September 2013
Posted by Dean30 on Thursday, May 1, 2014 1:24 PM

It's the Thrust Reverser's Tornadoes seem to have very dirty tails because of this in many pictures.

Dre
  • Member since
    June 2007
  • From: here, not over there
Posted by Dre on Tuesday, April 29, 2014 12:10 PM

I think that you might have more fun doing that Gulf War scheme, what with all that staining and color variation.   (that is some significant exhaust staining- thrust reversers or flare/chaff??)

It's funny that the cleanest things in that photo are the bombs!

  • Member since
    September 2013
Posted by Dean30 on Sunday, April 27, 2014 9:22 AM

Yeah I had heard about the 1/48 Mig 31 if it's true I'm getting it no questions asked, I have seen what Lindberg called a Mig 31 and I saw it looks good from some angles and completely wrong from others, but hey when is there ever a perfect model? Anyway I am going to buy SAC landing gear for this Tornado and Resin Wheels if there's any to get for it, I realised OOB was a no go as I already added quite a lot of Detail that's not kit parts, plus after seeing how good resin wheels look  I've been dying to try them. Also I have thought about this from the start of the build and I am drawn towards a 1991 Gulf War Tornado as they were heavily weathered by flying low over sand and also that Revell Decals are always really really hard to apply and this Tiger scheme would probably take a week to do alone with setting solutions etc and I don't have time before June, so I still could do a Tiger scheme, not ruling it out.

So thinking of that except the stencils are probably all Luftwaffe in the Revell kit, otherwise I may get the Hahen decals but they're quite expensive so I am sort of stuck, or I could just go with the Tiger scheme and suck it up and buy an RAF machine next time lol. At any rate I will be taking this to the show as RAF or Luftwaffe, one way or another it'll be finished by June 1st! 

I'll have photos of some really decent progress in my next post btw just it will be in a few days. 

Dre
  • Member since
    June 2007
  • From: here, not over there
Posted by Dre on Wednesday, April 23, 2014 9:49 AM

Hmm, finished by June?   At least you have a hard deadline to meet, no pressure!Indifferent

BTW, there's a new 1/48 MiG-31 Foxhound in the works by a company called AMK- I just saw this in an email from Dragon USA.   I couldn't find it on Dragon's main US site, but it is planned for future release.

AMK's website, http://www.amkhobby.com/home/ , is quite bland and gives no info on this... how odd.

  • Member since
    October 2013
Posted by jeromech on Wednesday, April 23, 2014 6:18 AM

WOW, this is some great build, will keep an eye for this!

  • Member since
    September 2013
Posted by Dean30 on Monday, April 21, 2014 9:32 AM

Thanks Dre, the thing is I had another look at the actual HUD on a Tornado and the kit part is actually accurate, it looks like the kit part, my efforts didn't fit either way but I have gotten more progress here.

First up, the HUD, this photo shows well the added wires, which add so much to the sparse cockpit in my opinion. I added detail where necessary on the HUD either said of it there's a gauge of sorts lol, no idea what these are for but they're there now.

Next there was more detail added as I saw more down the stbd side of the avionics.

I used a Trumpeter missile lens from my spares box for the HUD which is out of scale but for the model gives a good look as the lens attracts the light well and the green really stands out giving an almost optical appearance, not sure if that's the right way to describe it but I think you'll know what I mean.

Decals were added to the seats from the spares box in the appearance which fitted best, the seats have since been glued into place and the cockpit is finished, the frame will be detailed later in the build. 

The separation part for the engines I put into place actually helped as a support for the hollow area under the wings and I have to say even with the wings open the light inside is minimal and teh engine faces are nearly invisible.

Now the fuselage halves have been glued and attached and sanded as I type this, there will be filler needed as I am useless with milliput, I have to check if there is any on Wednesday in the model shop. The kit is coming together really easily at this point.

A quick test fit showed the parts line up nearly perfect this far. Also found a friend of mine has a friend in the PLAAF who pilots the J-10! So jealous gonna have to build it up again, and see if I can get hold of any photos (doubtful) I'll ask anyway lol.

Well it's not glued yet both halves will have to be cleaned up and smoothed to my ocd standards lol, but I will be posting more as the build continues, probably no updates for a week or so as I have no internet  and have to use a coffee shop, at any rate opinions are always welcome, to me it's starting to look like a Tornado, and I have also been asked to take it to a show at the Ulster Rifles museum in June so I will b taking it there! 

JOIN OUR COMMUNITY!

Our community is FREE to join. To participate you must either login or register for an account.

SEARCH FORUMS
FREE NEWSLETTER
By signing up you may also receive reader surveys and occasional special offers. We do not sell, rent or trade our email lists. View our Privacy Policy.