SEARCH FINESCALE.COM

Enter keywords or a search phrase below:

WIP Hasegawa Sepecat Jaguar Mk.1 1/72

1311 views
15 replies
1 rating 2 rating 3 rating 4 rating 5 rating
  • Member since
    August 2015
WIP Hasegawa Sepecat Jaguar Mk.1 1/72
Posted by Cat Daddy on Thursday, November 12, 2015 11:23 AM

My first WIP posting. I purchased this kit last week at the flea market because the price was right and I liked the tail markings. I then started it because I wanted a painting break after my first camoflage job:


So here it is:

I started, of course, with the cockpit, which, as you can see, is quite basic:

I also cut off and sanded the air intakes because they get painted on the inside. Last night I started painting the cockpit:

[Sorry, no photos here. Photobucket is giving me the finger.]

My plan now is to try detailing the seat with aluminum foil belts and harness. I'd also like to add some other detail to the cockpit without going aftermarket. I need to figure that out and any advice or suggestions would be appreciated. I looked up Jaguar cockpits online and they are very busy. Much more so than these few pieces of plastic suggest.

  • Member since
    February 2007
  • From: Brunswick, Ohio
Posted by Buckeye on Thursday, November 12, 2015 11:24 AM

Will be following along.  Always thought the Jaguar was a cool looking airplane.

Mike

  • Member since
    April 2014
Posted by Sandbox on Friday, November 13, 2015 9:12 AM

For some reason I can not view your pictures.  I too have a fondness for Jaguar.

  • Member since
    November 2003
  • From: Naples, FL
Posted by tempestjohnny on Friday, November 13, 2015 11:30 AM

I can't see pics either


  • Member since
    December 2002
  • From: Bury St Edmunds, Suffolk, England
Posted by Bish on Friday, November 13, 2015 11:48 AM
Same here, links seem to be broken. I would love to see this.

I am a Norfolk man and i glory in being so


On the bench: Airfix 1/72nd Harrier GR.3/Fujimi 1/72nd Ju 87D-3

  • Member since
    March 2013
Posted by patrick206 on Friday, November 13, 2015 1:55 PM

Me too, no pic's, but would like to see.

  • Member since
    September 2011
Posted by playtime222 on Friday, November 13, 2015 2:09 PM
Another vote for 'Can't see pics'.
  • Member since
    August 2015
Posted by Cat Daddy on Friday, November 13, 2015 4:58 PM

Last night I did a bit of decaling, painting, and scratchbuilding, but not necessarily in that order. Of interest, I added some details to the seat with a bit of sprue and heavy-duty aluminum foil:

I'd show you the photo of the painted seat, but Photobucket is giving me attitude. I painted the belts and harness then added buckles with bits of folded up foil. Some Vallejo dark green wash added shadows that no one will probably see.

Here's the cockput put together:

The last thing for the night was to address the underside of the cockpit, which doubles as the roof for the forward wheel well. It seems that there are holes in the floor where the stick and the instrument panel were attached. I filled them with some Mr. Surfacer and left it for another day to be sanded and touched up:


I'm doing the 48-hour group build this weekend, so no progress reports until next week.

  • Member since
    June 2003
  • From: Cavite, Philippines
Posted by allan on Friday, November 13, 2015 11:21 PM

Looking good there. Ive got a two-seat kit of this lying around somewhere. Will be keeping notes of your progress.

No bucks, no Buck Rogers

  • Member since
    March 2015
  • From: Streetsboro, Ohio
Posted by Toshi on Saturday, November 14, 2015 1:04 AM

Nice start, good luck on your 48hr. build.  Looking forward to more WIP.

Toshi

On The Bench: Revell 1/48 B-25 Mitchell


Married to the most caring, loving, understanding, and beautiful wife in the world.  Mrs. Toshi


  • Member since
    December 2002
  • From: Bury St Edmunds, Suffolk, England
Posted by Bish on Saturday, November 14, 2015 1:04 PM

Thnaks for sorting the photo's. I will be following this. I have a couple of the Hase Jag's, the ones on the standard markings.

I am a Norfolk man and i glory in being so


On the bench: Airfix 1/72nd Harrier GR.3/Fujimi 1/72nd Ju 87D-3

  • Member since
    August 2015
Posted by Cat Daddy on Sunday, November 15, 2015 10:19 PM

The 48-hour group build project didn't go well for me. I had a paint disaster that precluded finishing in time. So instead, I went back to the Jaguar for a little while today.

Last we heard, there was a bit of a mess that needed some Mr. Surfacer and sanding:
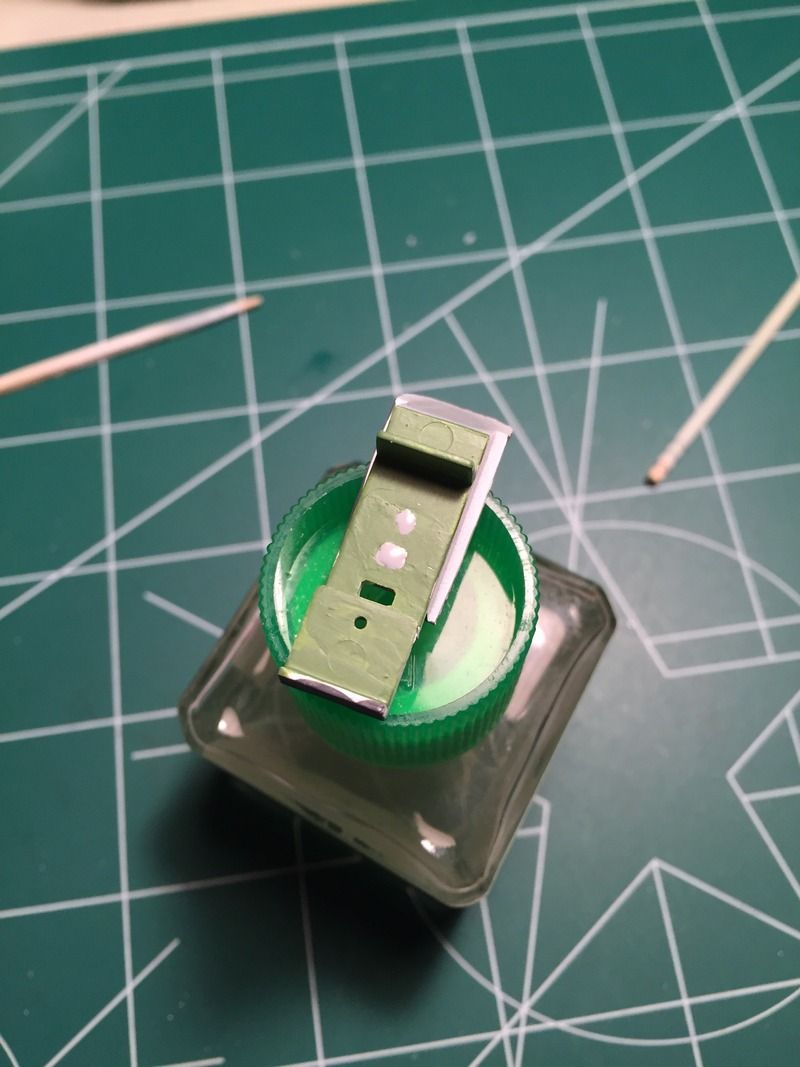
I took care of that right away. After sanding a few new coats of paint, much nicer:

The cockpit then went into the forward fuselage's forward portion. It's a tight and tricky fit, and as you can see, I didn't do a great job: there's a big gap just forward of the actual cockpit.
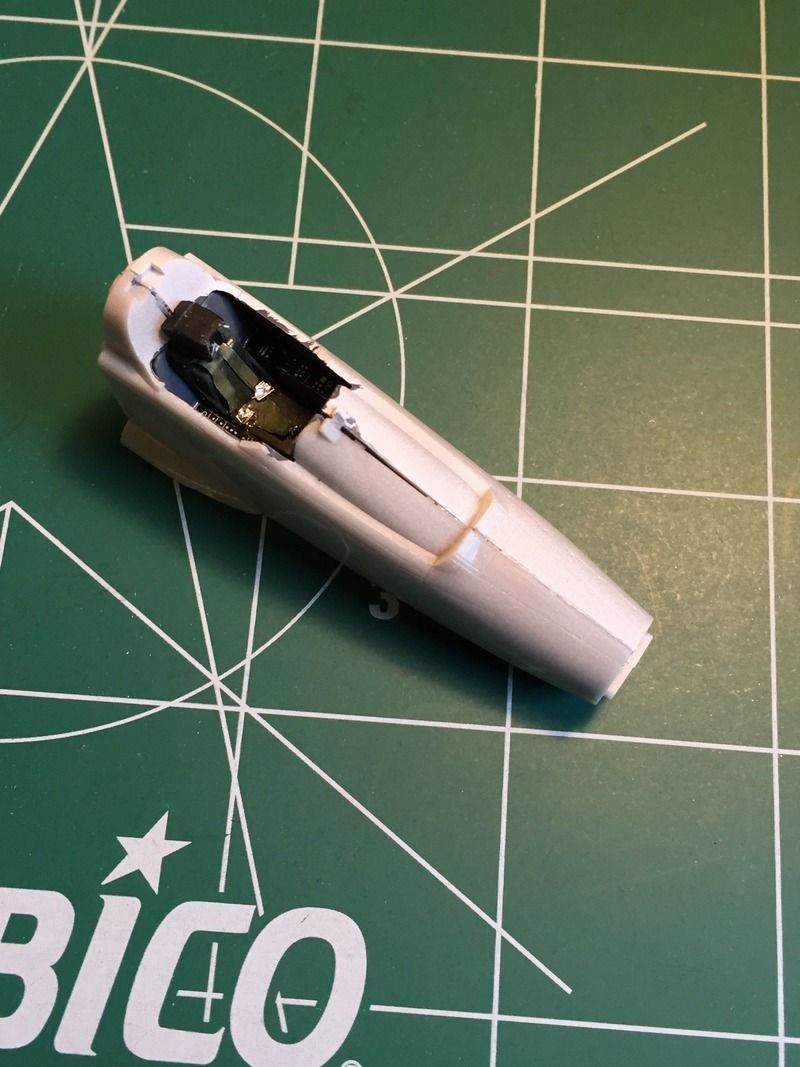
Milliput to the rescue!
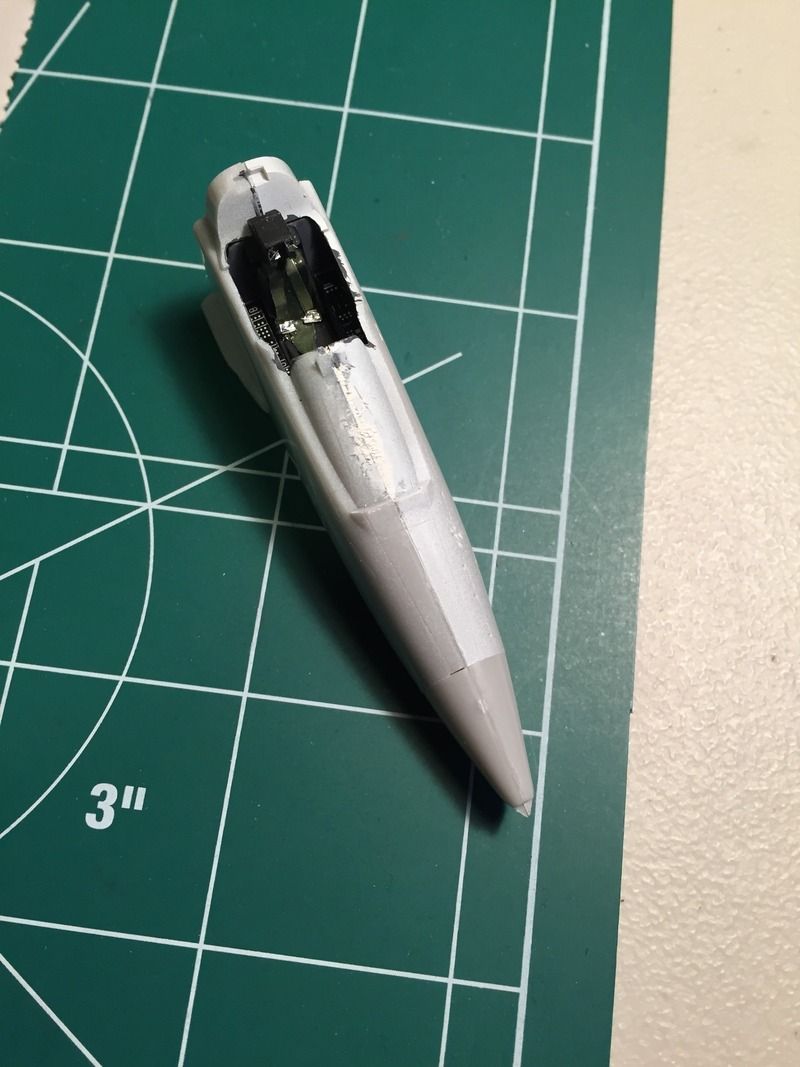
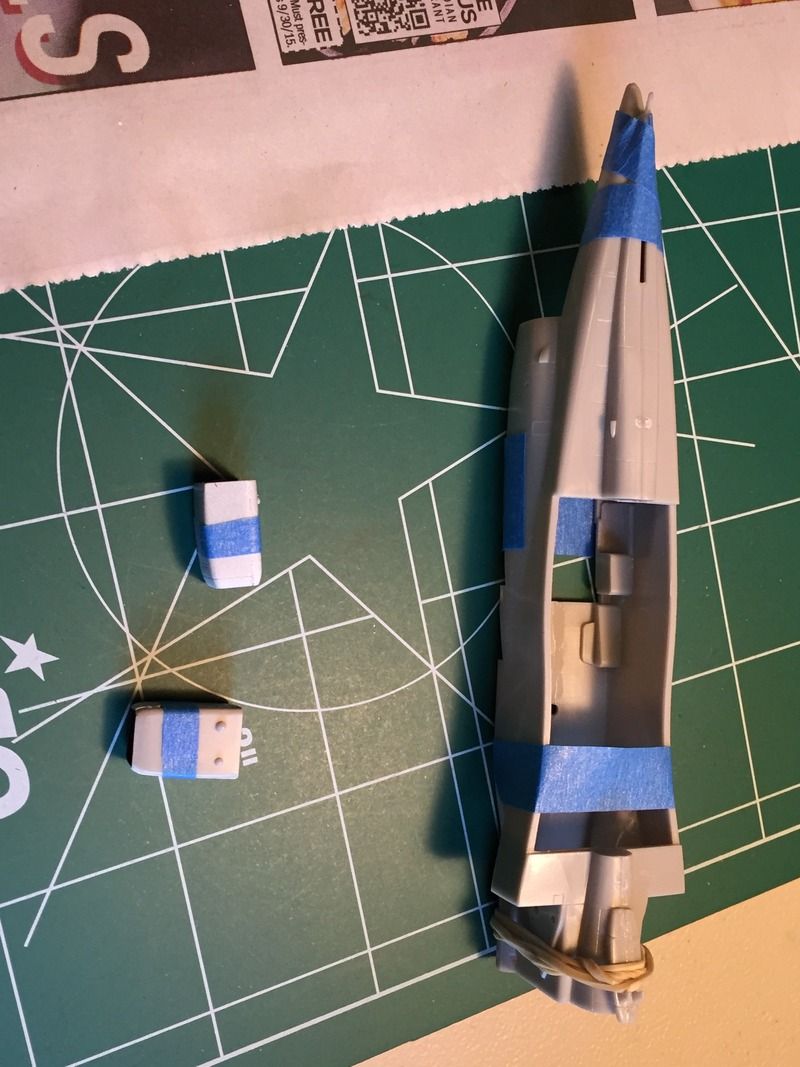
And last, but not least, some air intake "sushi" and fuselage bondage. After this, some more puttying, sanding, and the addition of the wings and tail.
  • Member since
    August 2015
Posted by Cat Daddy on Wednesday, November 18, 2015 12:22 PM

Not much time at the modeling desk the last two nights. What work I did was mostly filling and smoothing seams and gaps. I'm fairly new to this and I think my skill is now hovering somewhere between not-quite-enough and overkill. Nonetheless, with each project the skills get better. Along with working the seams, I added the cockpit portion of the fuselage, the wings, and the vertical stabilizer. It now looks a lot like an actual airplane:

Tonight I plan to add the horizontal stabilizers and work on the landing gear. I cut off the forward landing gear from the sprue last night and the main piece is a minefield of delicate struts, ejection marks, and mold seams. Cleaning it up for painting is going to be a challenge.

  • Member since
    June 2014
Posted by BrandonK on Wednesday, November 18, 2015 12:43 PM

That is starting to look like a Jaguar. Nice work Sir,

BK

On the bench:

A lot !! And I mean A LOT!!

2024 Kits on deck / in process / completed   

                         14 / 5 / 2  

                              Tongue Tied

  • Member since
    August 2015
Posted by Cat Daddy on Friday, November 20, 2015 6:33 PM

A little more work the other night. I got the horizontal stabilizers on and did a bit of filing and filling.

I also started on the wheel well doors, which, as you can see, have some horribly-placed ejection marks. I'm in Mr. Surfacer hell here.

  • Member since
    December 2002
  • From: Bury St Edmunds, Suffolk, England
Posted by Bish on Saturday, November 21, 2015 12:41 AM
Its coming along nicely, looks like you have managed to get the best of it.

I am a Norfolk man and i glory in being so


On the bench: Airfix 1/72nd Harrier GR.3/Fujimi 1/72nd Ju 87D-3

JOIN OUR COMMUNITY!

Our community is FREE to join. To participate you must either login or register for an account.

SEARCH FORUMS
FREE NEWSLETTER
By signing up you may also receive reader surveys and occasional special offers. We do not sell, rent or trade our email lists. View our Privacy Policy.