SEARCH FINESCALE.COM

Enter keywords or a search phrase below:

TBF 1C Avenger W.I.P.

1528 views
18 replies
1 rating 2 rating 3 rating 4 rating 5 rating
  • Member since
    August 2013
TBF 1C Avenger W.I.P.
Posted by Jay Jay on Wednesday, February 10, 2016 10:45 AM

Hi Guys,

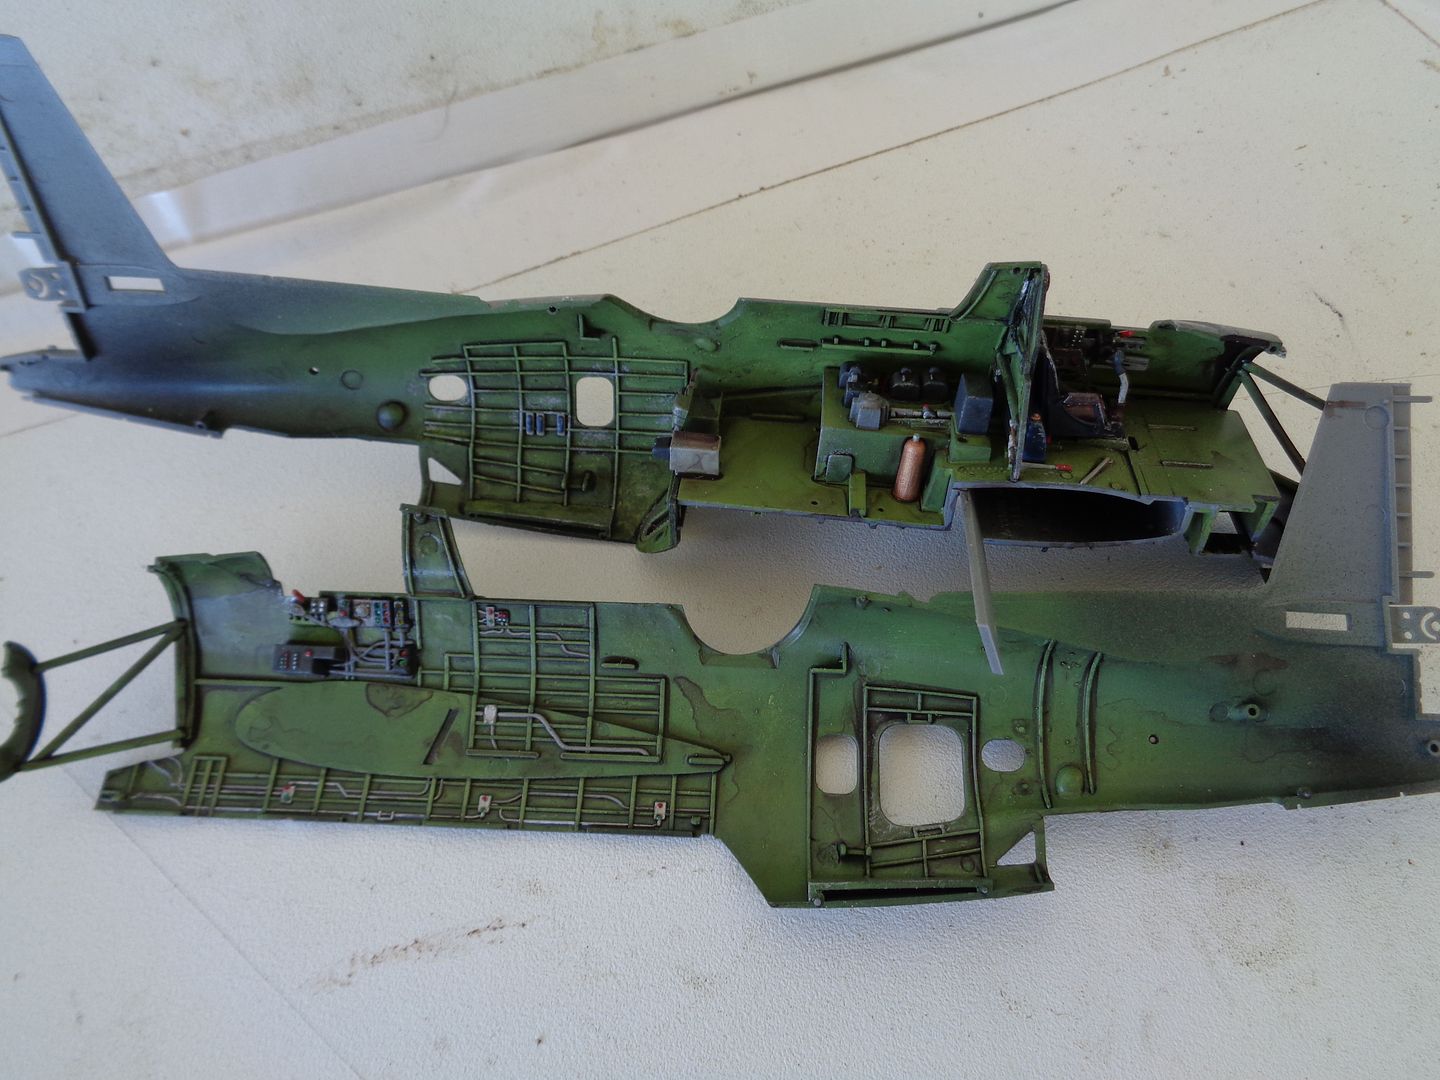
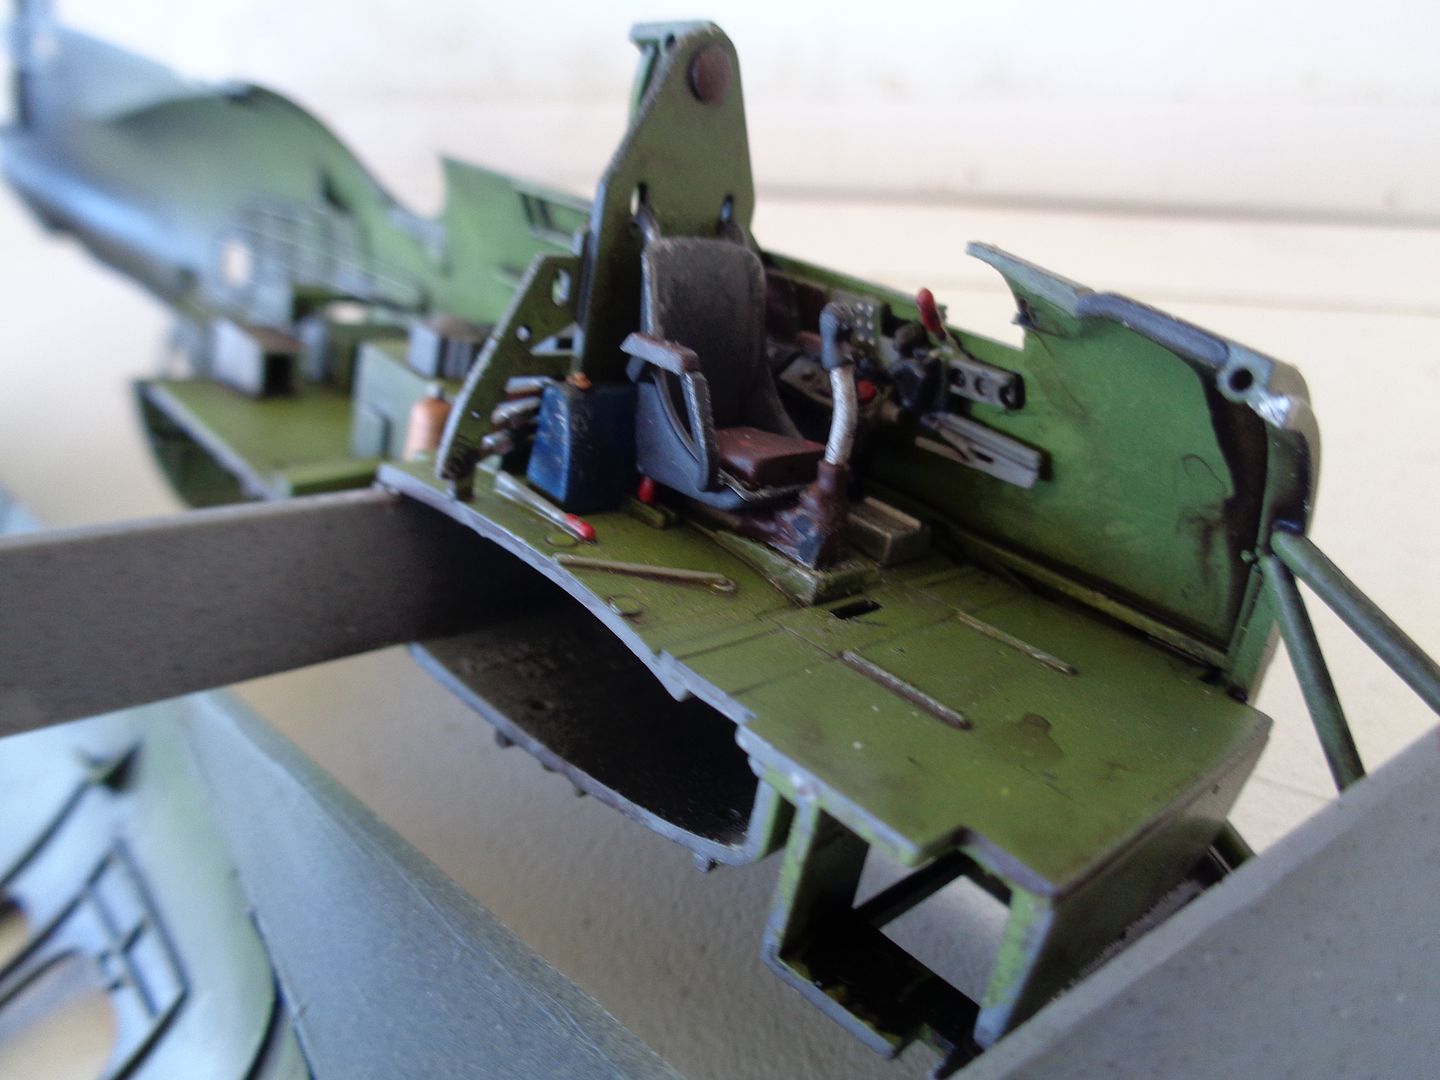
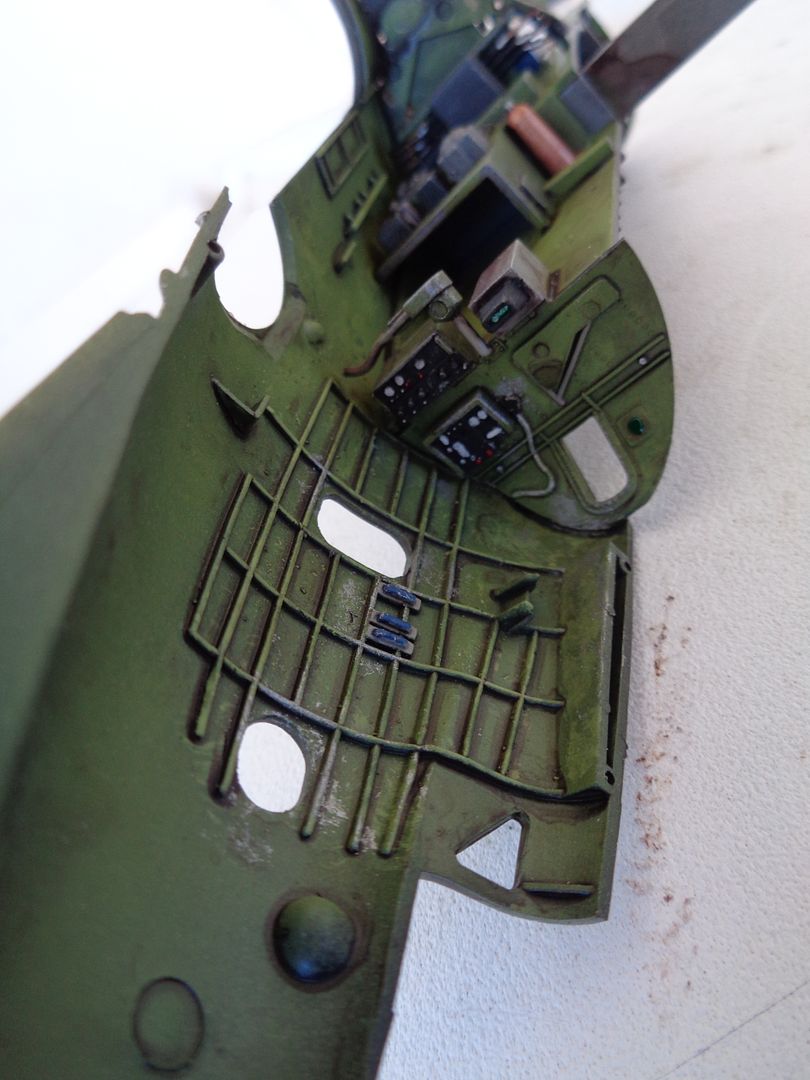
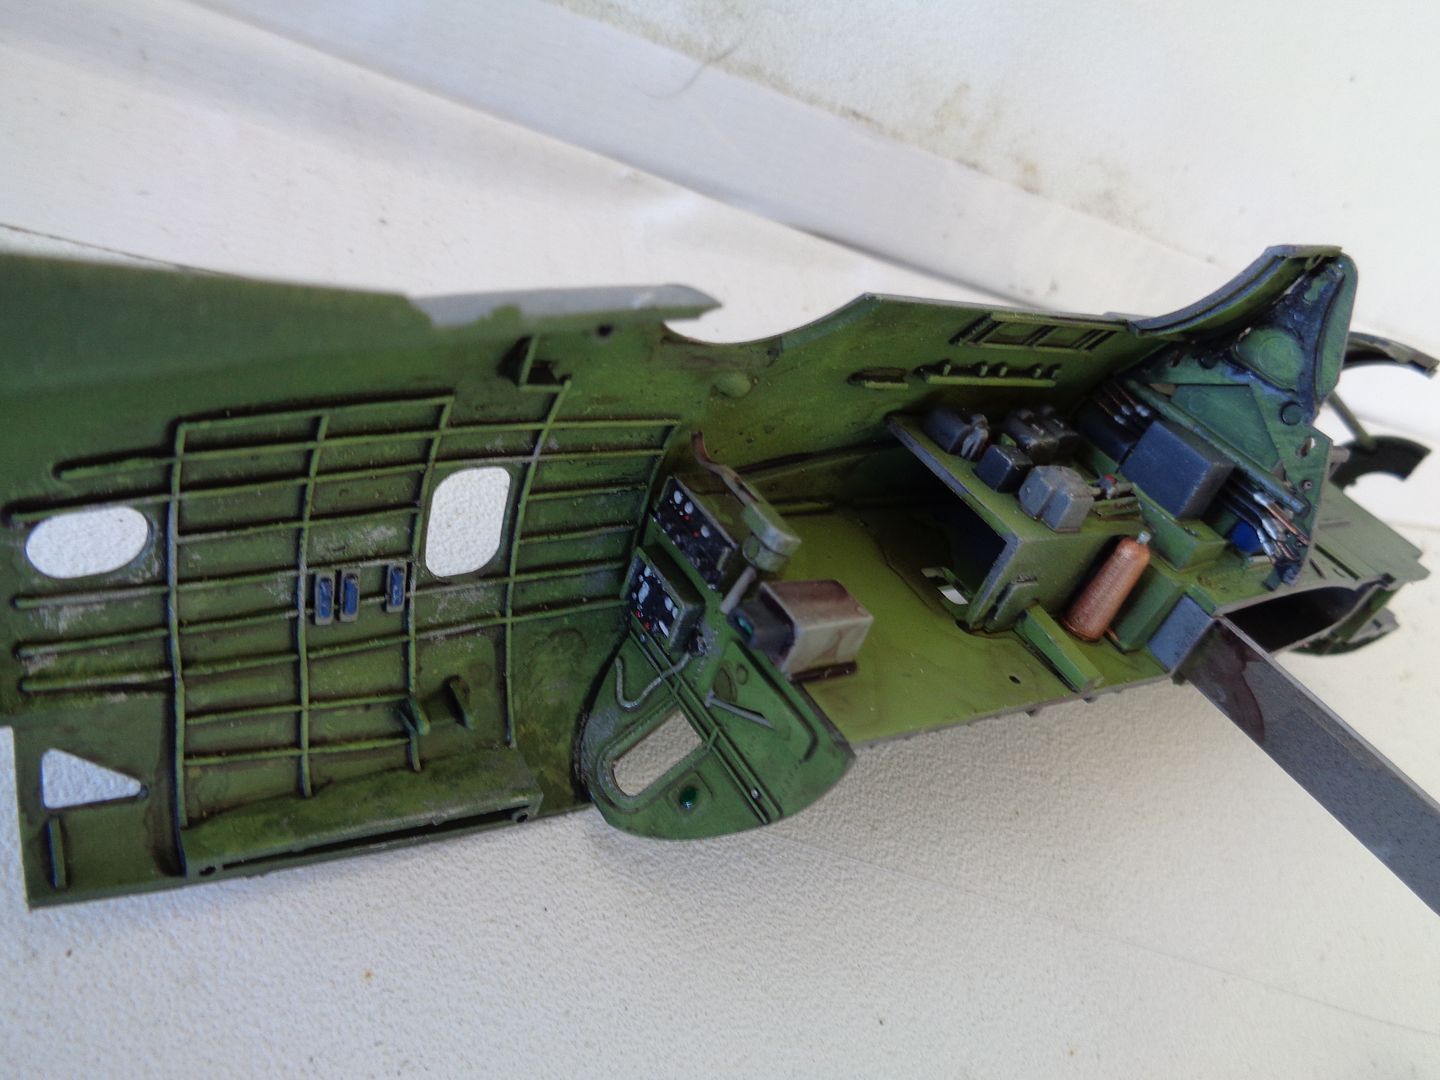
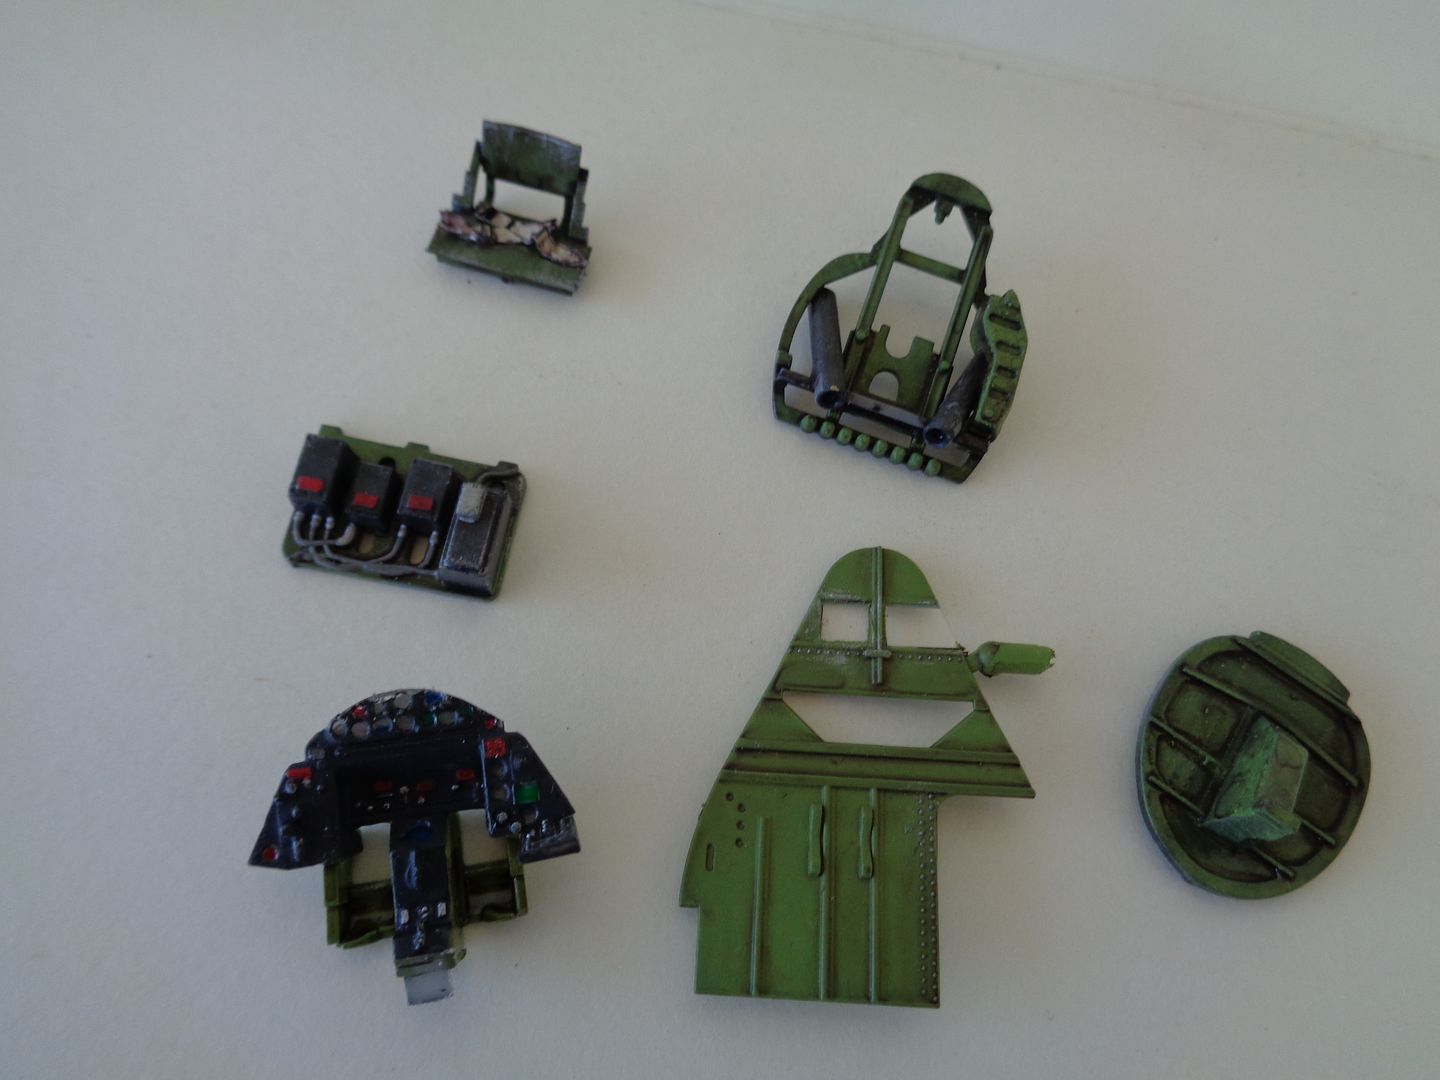
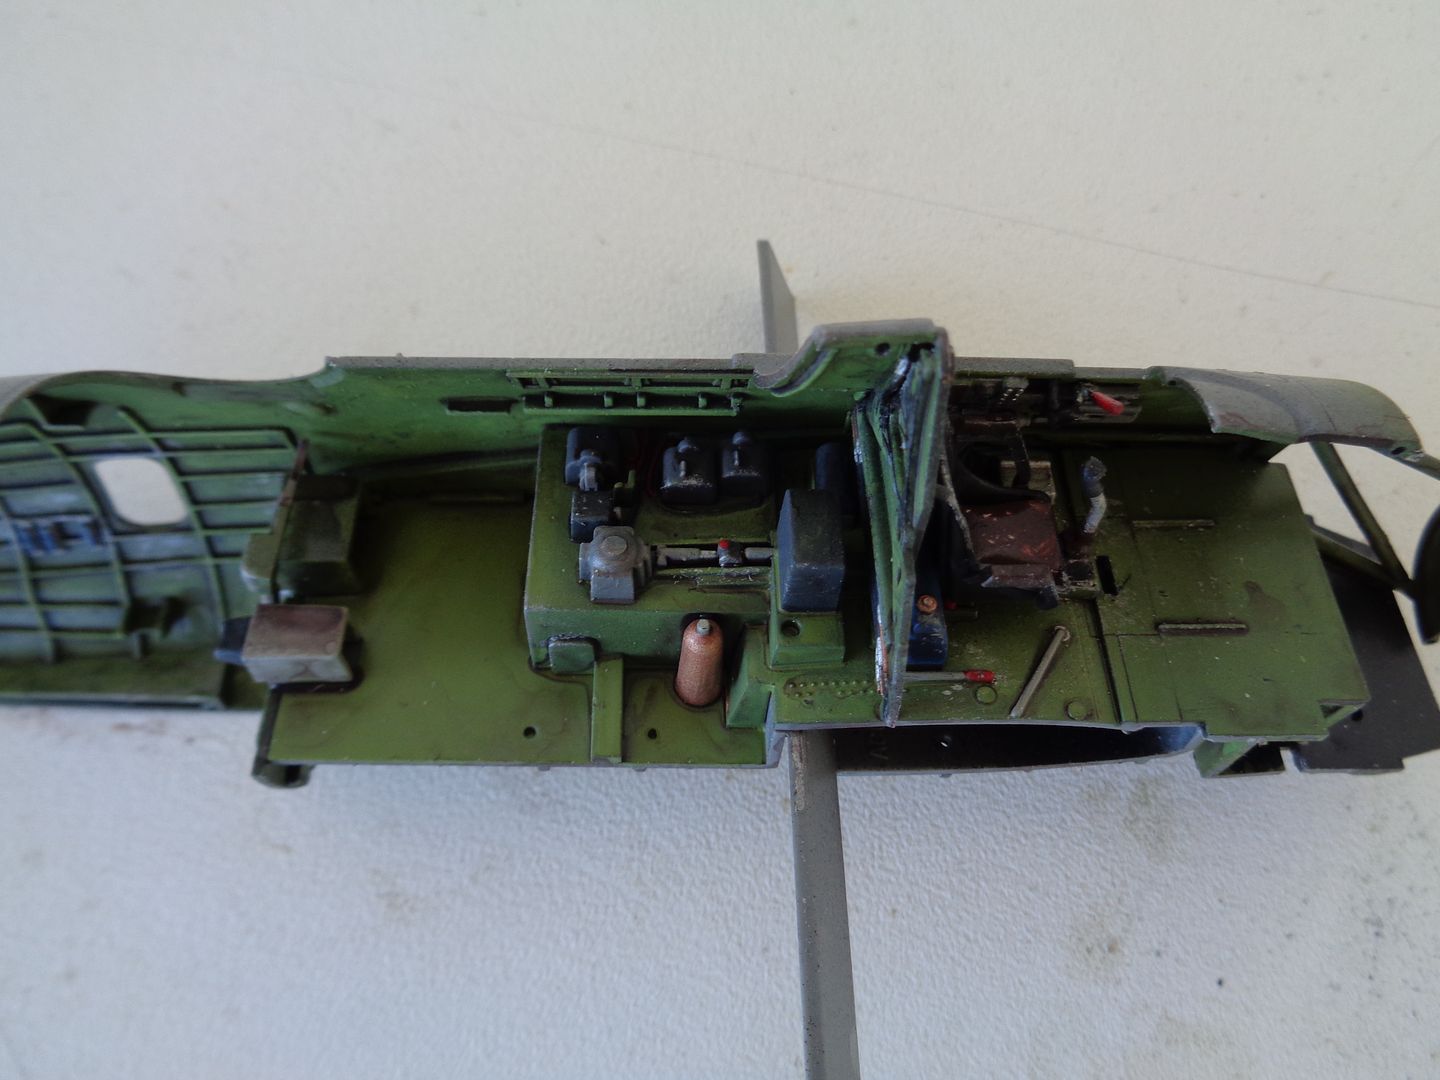
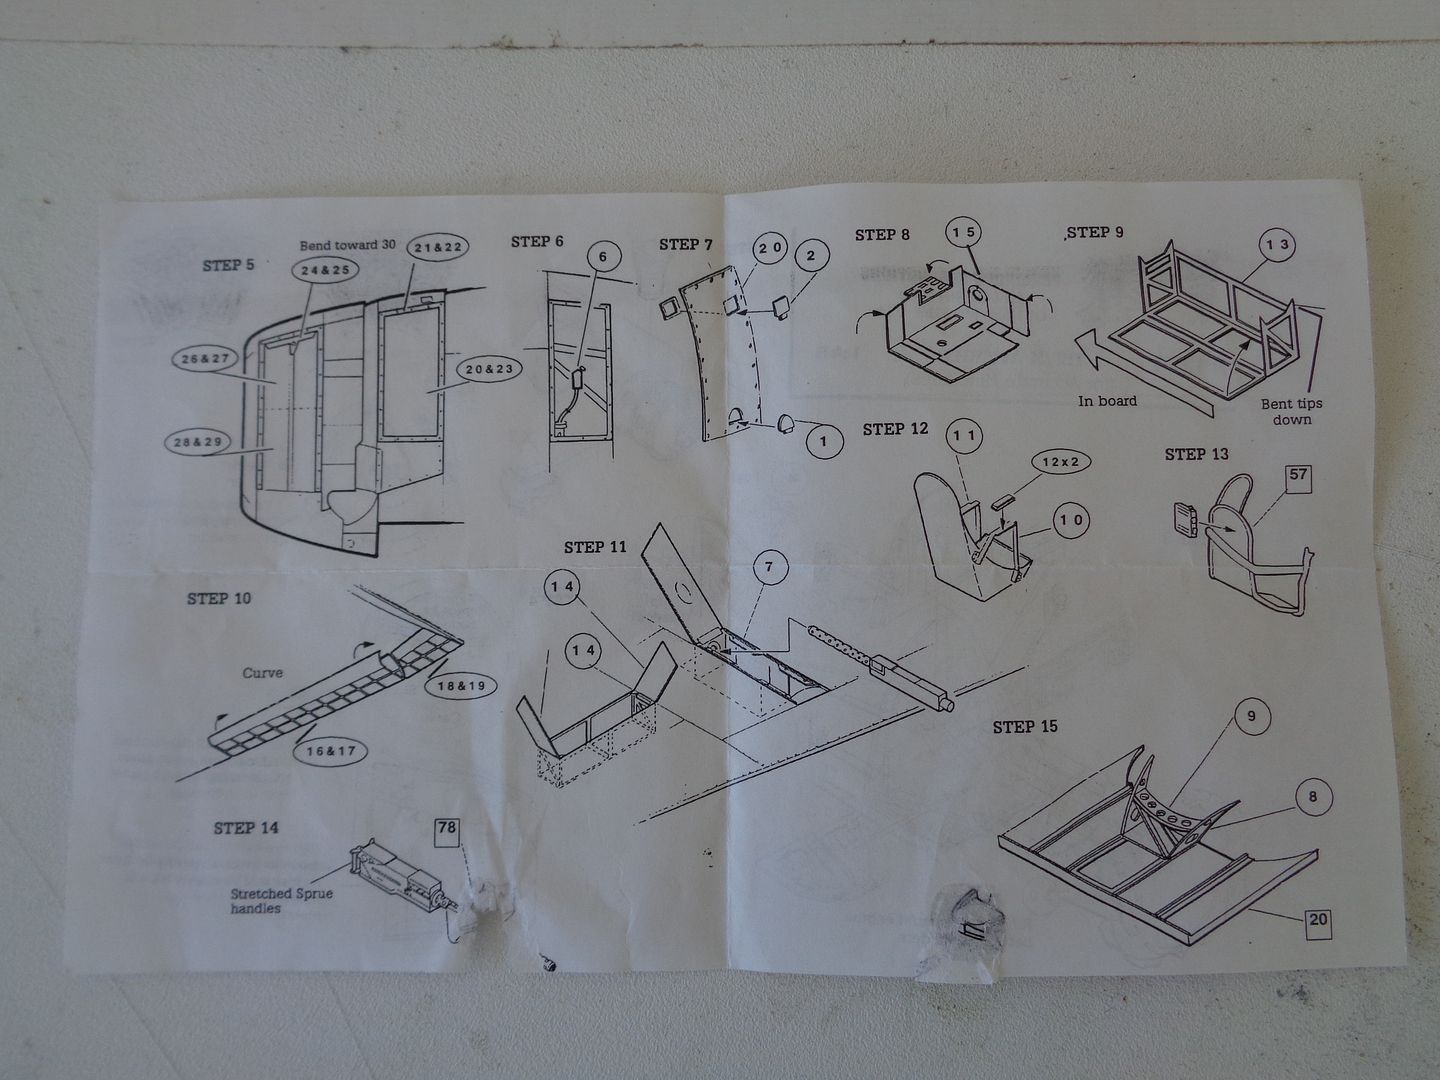
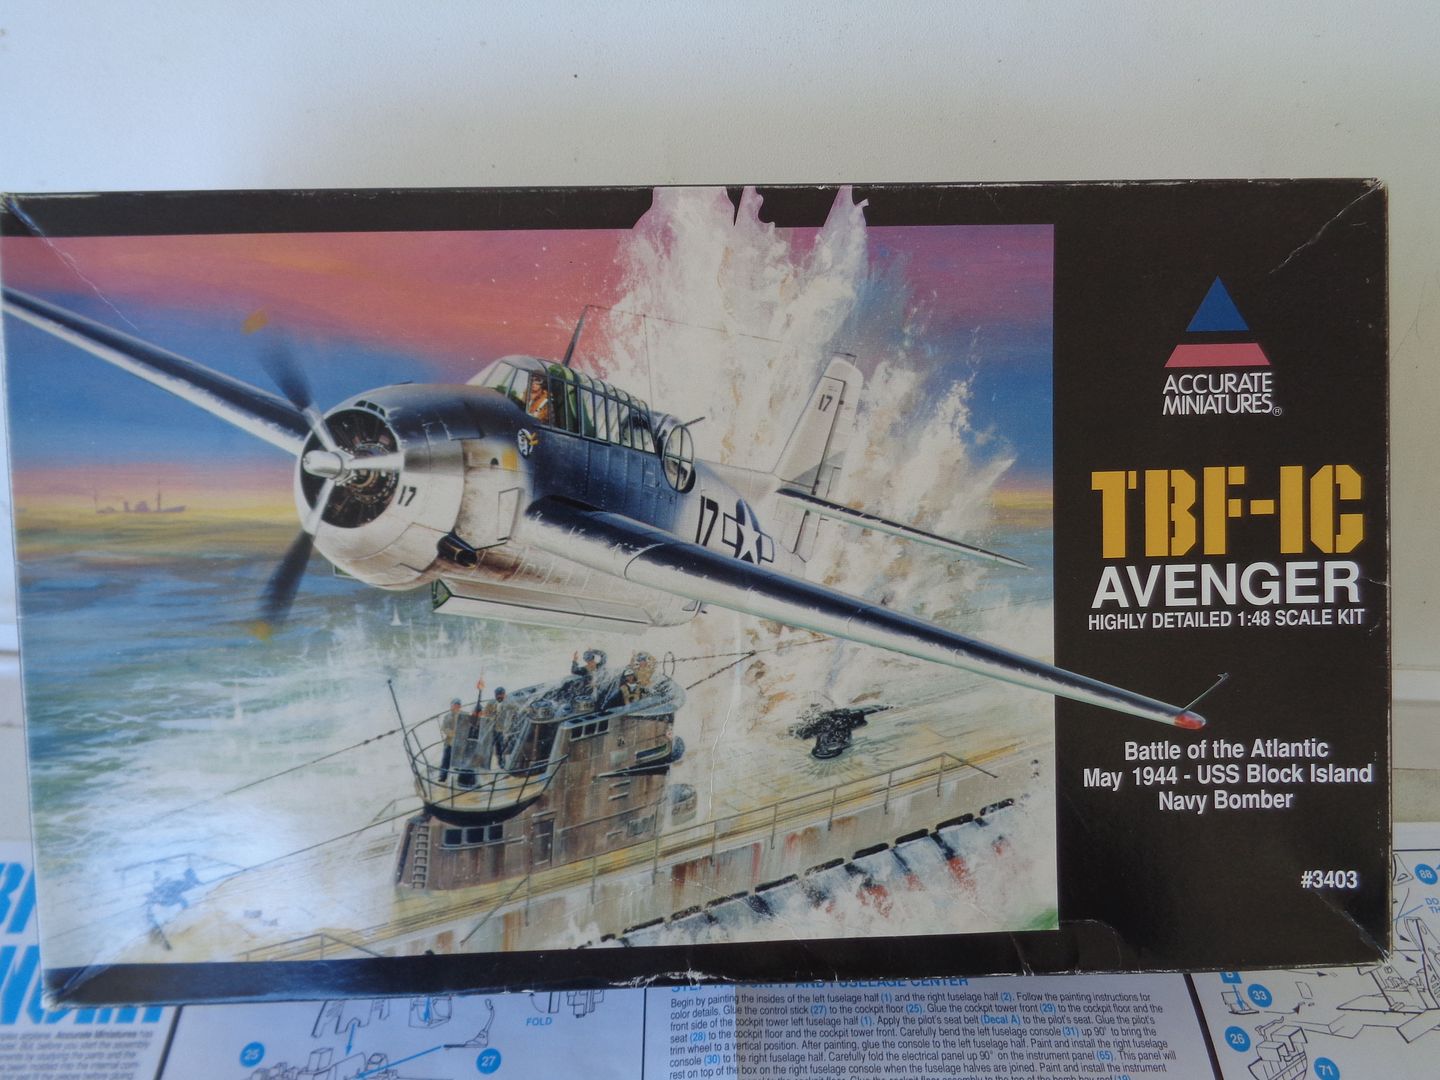
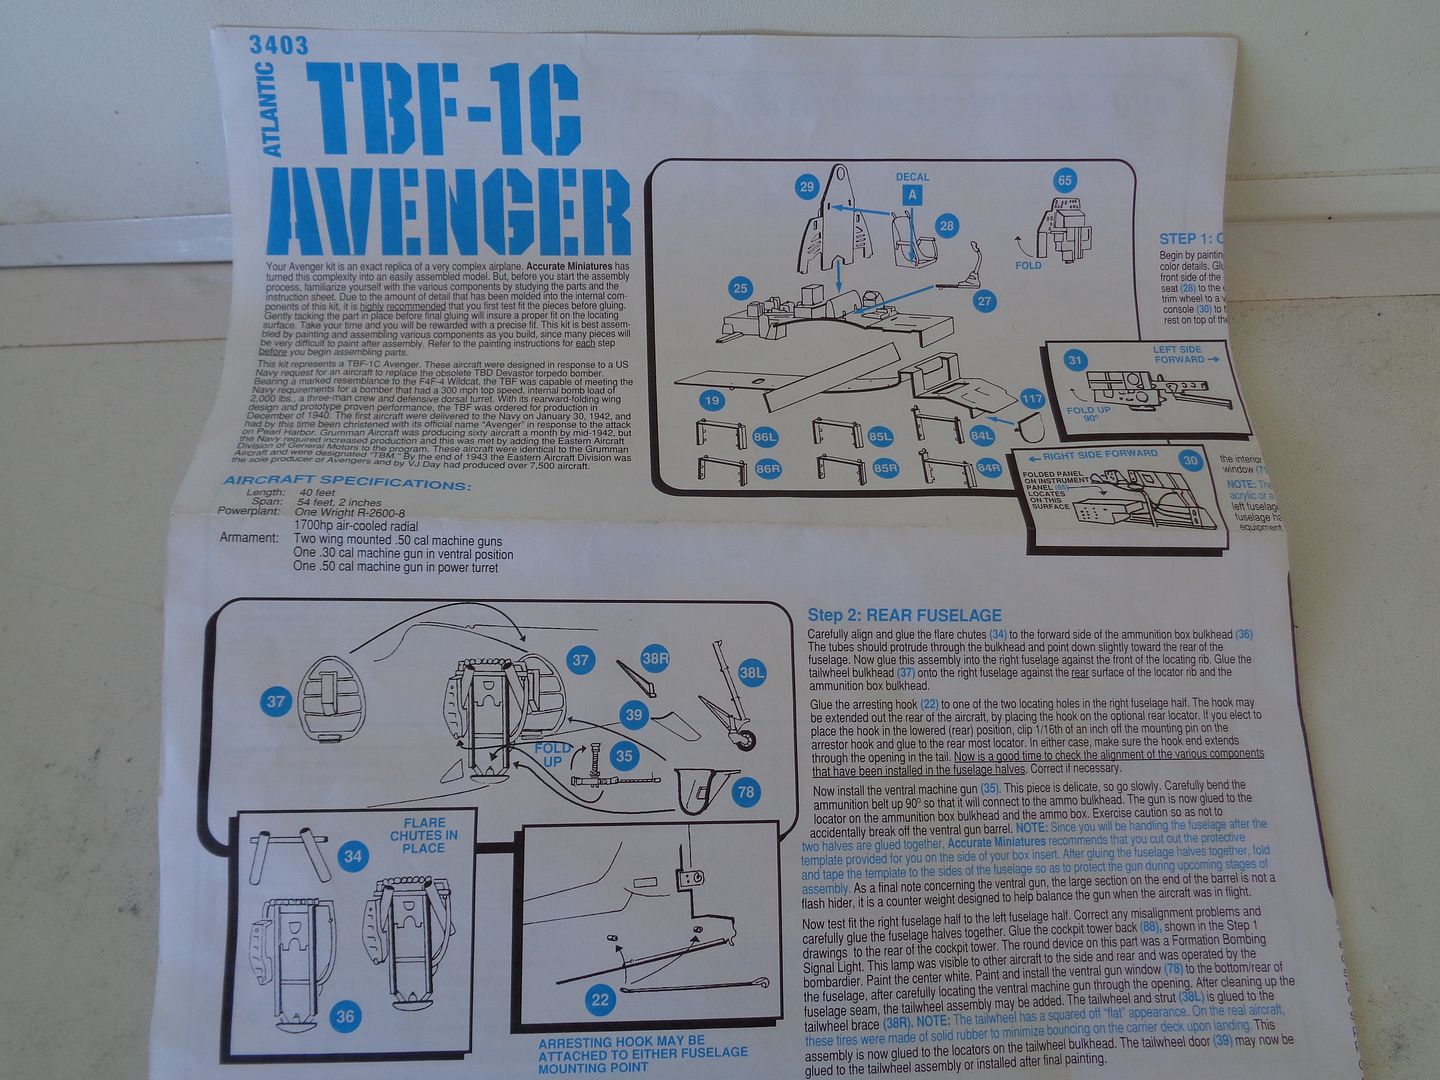
Here's my 2nd attempt at a WIP.  It's an Accurate Miniatures 1/48 TBF 1C Avenger. It's the best and the worst kit I've built so far. Best, because the interior detail is incredable OOB...Worst because the instructions are terribly vague and you hafta figure out, pretty much on your own ,how to put this thing together.  All the instructions do is point to a general area where the part goes. Much trial and dry fitting is necessary so this kit is not for the faint of heart. They needed better and more pics and far less verbage in the instruction sheet.

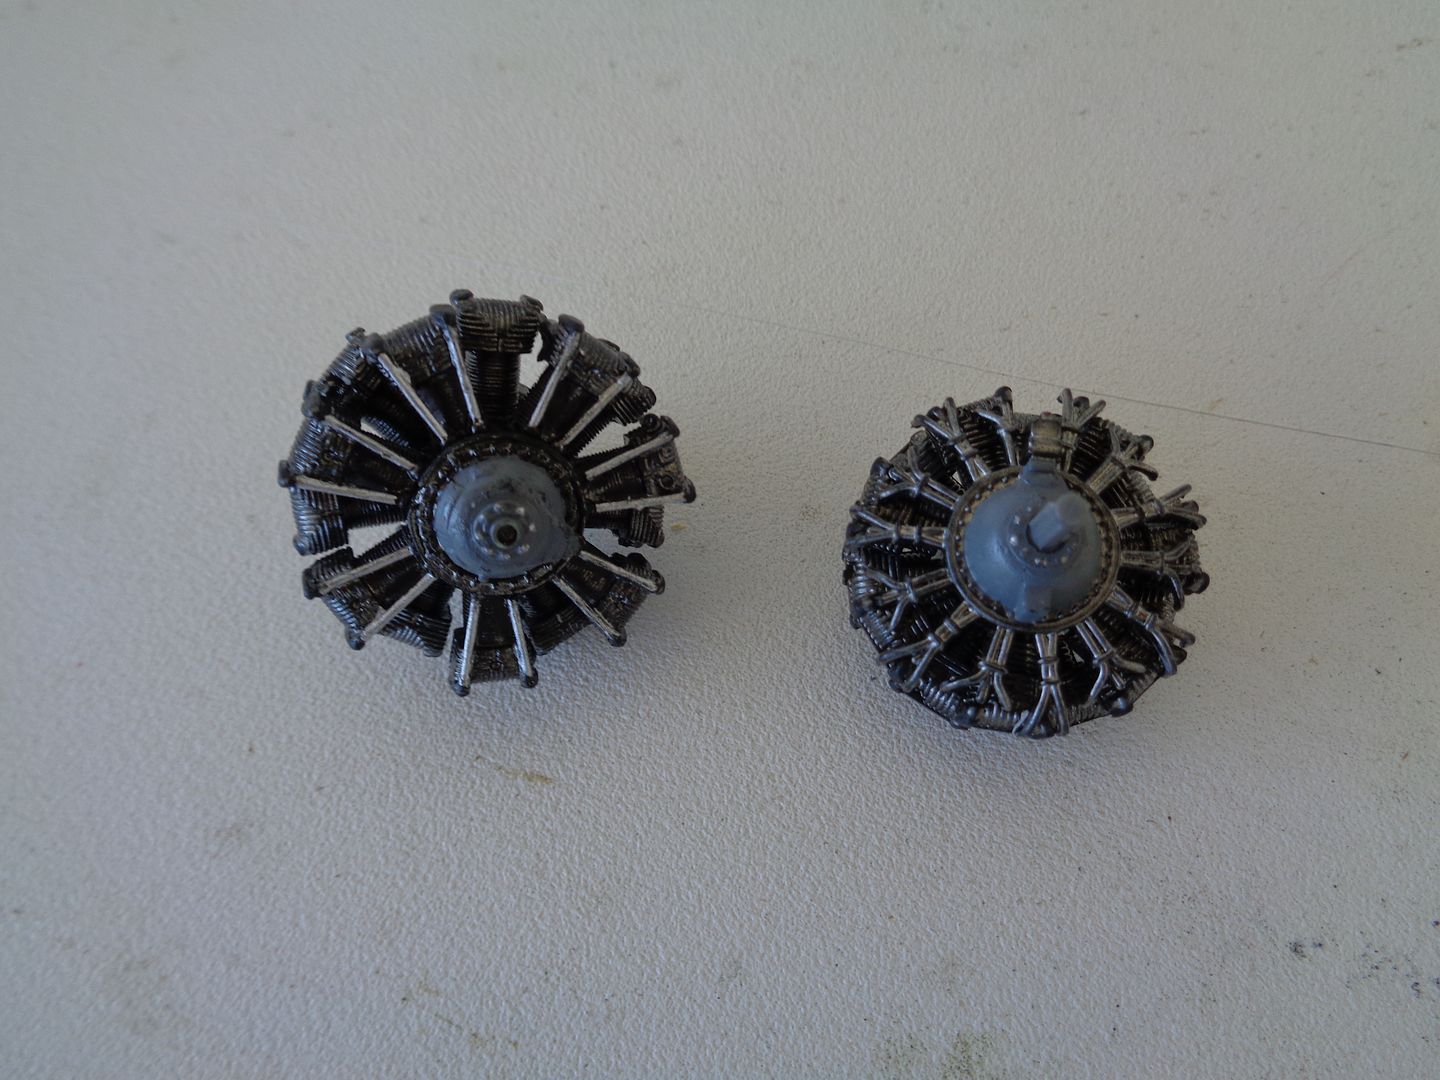
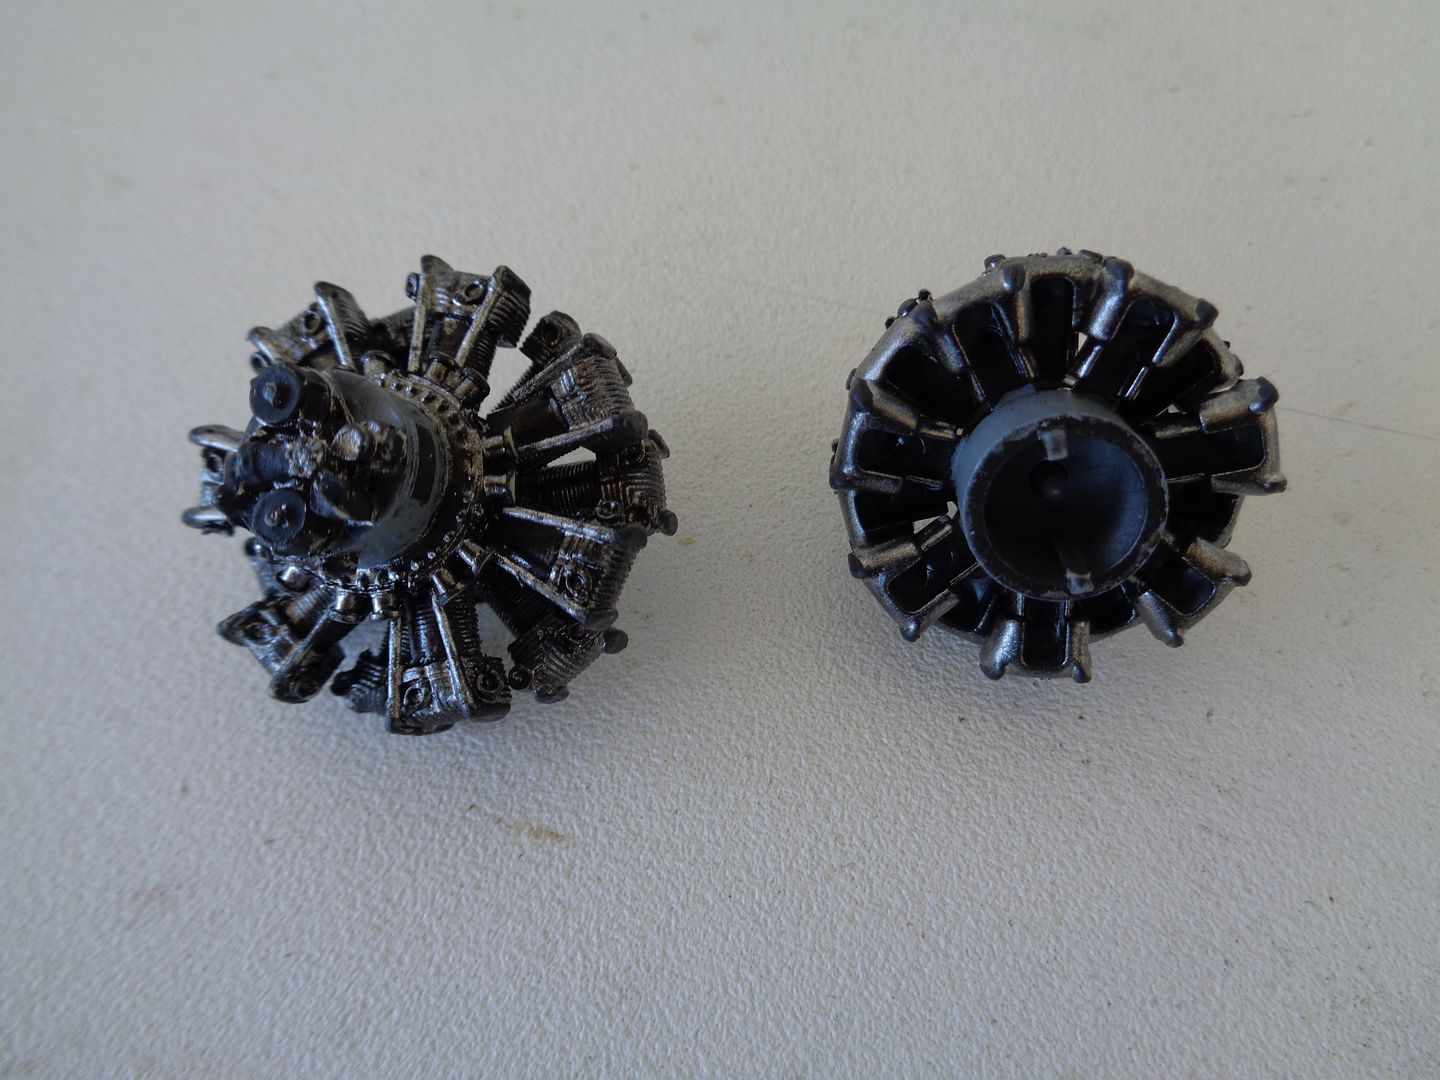
To my surprise, a Verlindin detail set was in the box which included a resin engine, parts for the engine bay and a small sheet of photo etch for the engine and gun bays ,so I intend to model these areas open. I havent as yet cut out the cowling doors or gun bays . As you can see in the pics, the supplied kit engine looks real good from the front but not so much from the back . ( the pics show both the kit and the resin engines ) It would be fine with the cowling doors closed but I may as well try something new to me and detail the engine bay as well. The Verlinden instructions also suck as bad as the kit ones do.  sigh.

I used the "ala Lawdog" interior painting methods but lightened up the fsg. ribs etc. by drybrushing the same color with a little yellow mixed in to get a sense of more depth. Almost all the colors I used where Tamiya acrylic ,except the silver chipping/wear points were done  with Testor's enamel steel color. Thanks to PlasticJunkie for that tip.

The canopies where cast all one piece so i cut them up carefully ,with an xacto knife ,in 3 pieces to show open and view more of the interior.

I am not quite done with the interior as I have a few bits and bobs to install like the pilot's seat belts etc. I am now trying to figure out how to put together the engine bay and have to do some modification to fit the resin stuff in there.

TY for looking and comments and critcisms are much welcomed.


 I'm finally retired. Now time I got, money I don't.

  • Member since
    February 2014
Posted by USMC6094 on Wednesday, February 10, 2016 11:31 AM

youre moving right along, and youre learning the joys of the AM kits lol, believe me, once you get through this one, every one that follows will seem easy

  • Member since
    November 2009
  • From: SW Virginia
Posted by Gamera on Wednesday, February 10, 2016 11:40 AM

I've heard a lot of griping about this kit but when I assembled mine I went exactly by the instructions and had no issues. 

Good luck! 

"I dream in fire but work in clay." -Arthur Machen


  • Member since
    May 2013
  • From: From the Mit, but live in Mason, O high ho
Posted by hogfanfs on Wednesday, February 10, 2016 12:11 PM

Jay Jay,

Great progress you have made! The office and the engine look fantastic. I will definitely be following along!

 Bruce


 On the bench:  1/48 Eduard MiG-21MF

                        1/35 Takom Merkava Mk.I


  • Member since
    June 2014
Posted by BrandonK on Wednesday, February 10, 2016 5:08 PM

I have this exact kit in the stash slated for work this summer. Cool to see someone else working on it also. I'll be watching.

BK

On the bench:

A lot !! And I mean A LOT!!

2024 Kits on deck / in process / completed   

                         14 / 5 / 2  

                              Tongue Tied

  • Member since
    March 2015
  • From: Streetsboro, Ohio
Posted by Toshi on Wednesday, February 10, 2016 6:07 PM

With all these issues and concerns, your progress is commendable!  Everything looks top notch Jay Jay.  I expect the rest of the build to be so as well.  Great job.

Toshi

On The Bench: Revell 1/48 B-25 Mitchell


Married to the most caring, loving, understanding, and beautiful wife in the world.  Mrs. Toshi


  • Member since
    February 2014
  • From: Michigan
Posted by silentbob33 on Wednesday, February 10, 2016 8:17 PM
Great work so far JayJay! I have an AM Avenger in the stash so I'll keep a close eye on things here.

On my bench: Academy 1/35 UH-60L Black Hawk

  • Member since
    June 2003
  • From: Cavite, Philippines
Posted by allan on Wednesday, February 10, 2016 10:09 PM

Youre off to a great start! Excellent work painting the pit. I especially like the treatment of the engines.

No bucks, no Buck Rogers

  • Member since
    August 2013
Posted by Jay Jay on Thursday, February 11, 2016 8:43 AM

Yes, USMC6094 I am learning the joys of AM as I go along.  It's a fun challenge so far. I've done some AM PE stuff before ,but nothing yet that I had to modify the model to fit the parts in.  I have my Dremel, I have my Amope' electronic fingernail sander and lots of tips and support from you people so I'm ready to have at it.

Semper Fi Bro.


 I'm finally retired. Now time I got, money I don't.

  • Member since
    August 2013
Posted by Jay Jay on Thursday, February 11, 2016 8:57 AM

Ty Gamera for the read.

I have no issues with the parts ,they where nicely molded with very little if any flash and they fit very well.  It's just finding where the exact location of each  go.  As one example of what I am talking about,you can see in the instructions in my pic, the bulkhead behind the pilot's seat goes somewhere in there per the arrow, but in front or behind the floor mounted tank ...hmmm,  vague, it fits in either location.


 I'm finally retired. Now time I got, money I don't.

  • Member since
    August 2013
Posted by Jay Jay on Thursday, February 11, 2016 9:02 AM

To Bruce, BK Toshi, Silentbob and Allan

Ty so much for the read and it's an honor to have you guys following along. I'll do the best i can not to dissapoint.


 I'm finally retired. Now time I got, money I don't.

  • Member since
    June 2013
Posted by bvallot on Thursday, February 11, 2016 9:36 AM

Looking forward to seeing how this matches up to the Hobby Boss version.  Nice job so far Jay! =]  Are there other versions availble for the cowling around the engine?

On the bench:  

Tamiya F4U-1  Kenneth Walsh


  • Member since
    August 2013
Posted by Jay Jay on Thursday, February 11, 2016 9:40 AM

Many thanks BV.

I don't know, I'm  just gonna use what i have and cut the cowling up to view inside.


 I'm finally retired. Now time I got, money I don't.

  • Member since
    February 2007
  • From: Brunswick, Ohio
Posted by Buckeye on Thursday, February 11, 2016 11:21 AM

Off to a great start on this one!  I have the same one in my stash so I'll be following along.

Mike

  • Member since
    March 2010
  • From: MN
Posted by Nathan T on Thursday, February 11, 2016 11:25 AM

Greatest...Kit...Ever...Hang in there, this Turkey is worth the frustration of building. One thing I always thought Accurate Miniature kits screwed up on for each and every one of their kits, and thats the clear parts. Poor moulding and foggy, and like you said, no options for opening up. Their Yak kit canopies are terrible.


  • Member since
    November 2009
  • From: SW Virginia
Posted by Gamera on Thursday, February 11, 2016 11:37 AM

Lol, I know what you mean about the instructions. I think I got everything in the right place, the fusilage fit together without any problems! Tongue Tied

"I dream in fire but work in clay." -Arthur Machen


  • Member since
    November 2008
  • From: Central Florida
Posted by plasticjunkie on Thursday, February 11, 2016 8:12 PM

Great job on the pit Jay. The wash really pops things out. Beer

 GIFMaker.org_jy_Ayj_O


Too many models to build, not enough time in a lifetime!!

  • Member since
    August 2013
Posted by Jay Jay on Friday, February 12, 2016 9:10 AM

Ty for the read and reply Mike.

Nathan, I must have lucked out on the canopy on this one. They are very  and clear and nicely thin so I didn't have much trouble cutting the sections apart to show it open. I've had this kit in the stash for about a year before having the guts to try and build it. The first look in the box was very intimidating so I put it back on the shelf, but I have learned much in this past year and I thought I would make a try at it.

Ty for the kind comments Ernie, good to hear from you Buddy.  I didn't see any feedback on the Jaxcon show, how was it?  Did you score well like you always do ?


 I'm finally retired. Now time I got, money I don't.

  • Member since
    November 2008
  • From: Central Florida
Posted by plasticjunkie on Friday, February 12, 2016 11:02 AM

Jay

I didn't enter anything cause i couldn't make it to the show early enough for the registration deadline.  I did get there about 1 pm but I actually found the show a bit small. Modelpalooza was IMO 3 times bigger Including the vendor area. 

 GIFMaker.org_jy_Ayj_O


Too many models to build, not enough time in a lifetime!!

JOIN OUR COMMUNITY!

Our community is FREE to join. To participate you must either login or register for an account.

SEARCH FORUMS
FREE NEWSLETTER
By signing up you may also receive reader surveys and occasional special offers. We do not sell, rent or trade our email lists. View our Privacy Policy.