Many, many years ago, when I was 3, I built my first model airplane. It was the classic Monogram kit of the P-40 Flying Tiger. It came in a somewhat long and slender baby blue box. I recall building many kits that came in such boxes; having lost my mother in recent years to cancer, I have acquired a whole lot of old family photographs. In those I found photos from what was either my 4th or 5th birthday, some of which I can clearly see a stack of blue boxes while I have this very excited look on my face holding yet another blue box.
Now back then, I built these kits to be played with and ultimately destroyed. I did not pore days and weeks and months of attention into building these things. But for some reason, those blue boxes have stayed with me all these years. About 4 years ago I set to acquiring as many of those old blue box kits of Monogram warbirds via eBay as I could get my hands on. I did not get all of them, but I got the vast majority of them. All sitting in my stash, waiting for me to get to them and build them with my adult modeling skills, such as they are, rather than hastily put together with glue fingerprints, mis-aligned parts, etc.
So here I am with the third blue box build (the first were the F8F Bearcat and the P-39 Airacobra). This is but one of 4 Wildcats that I have been working on, but due to an unbalanced focus on building activities, this is the only one that is now complete.
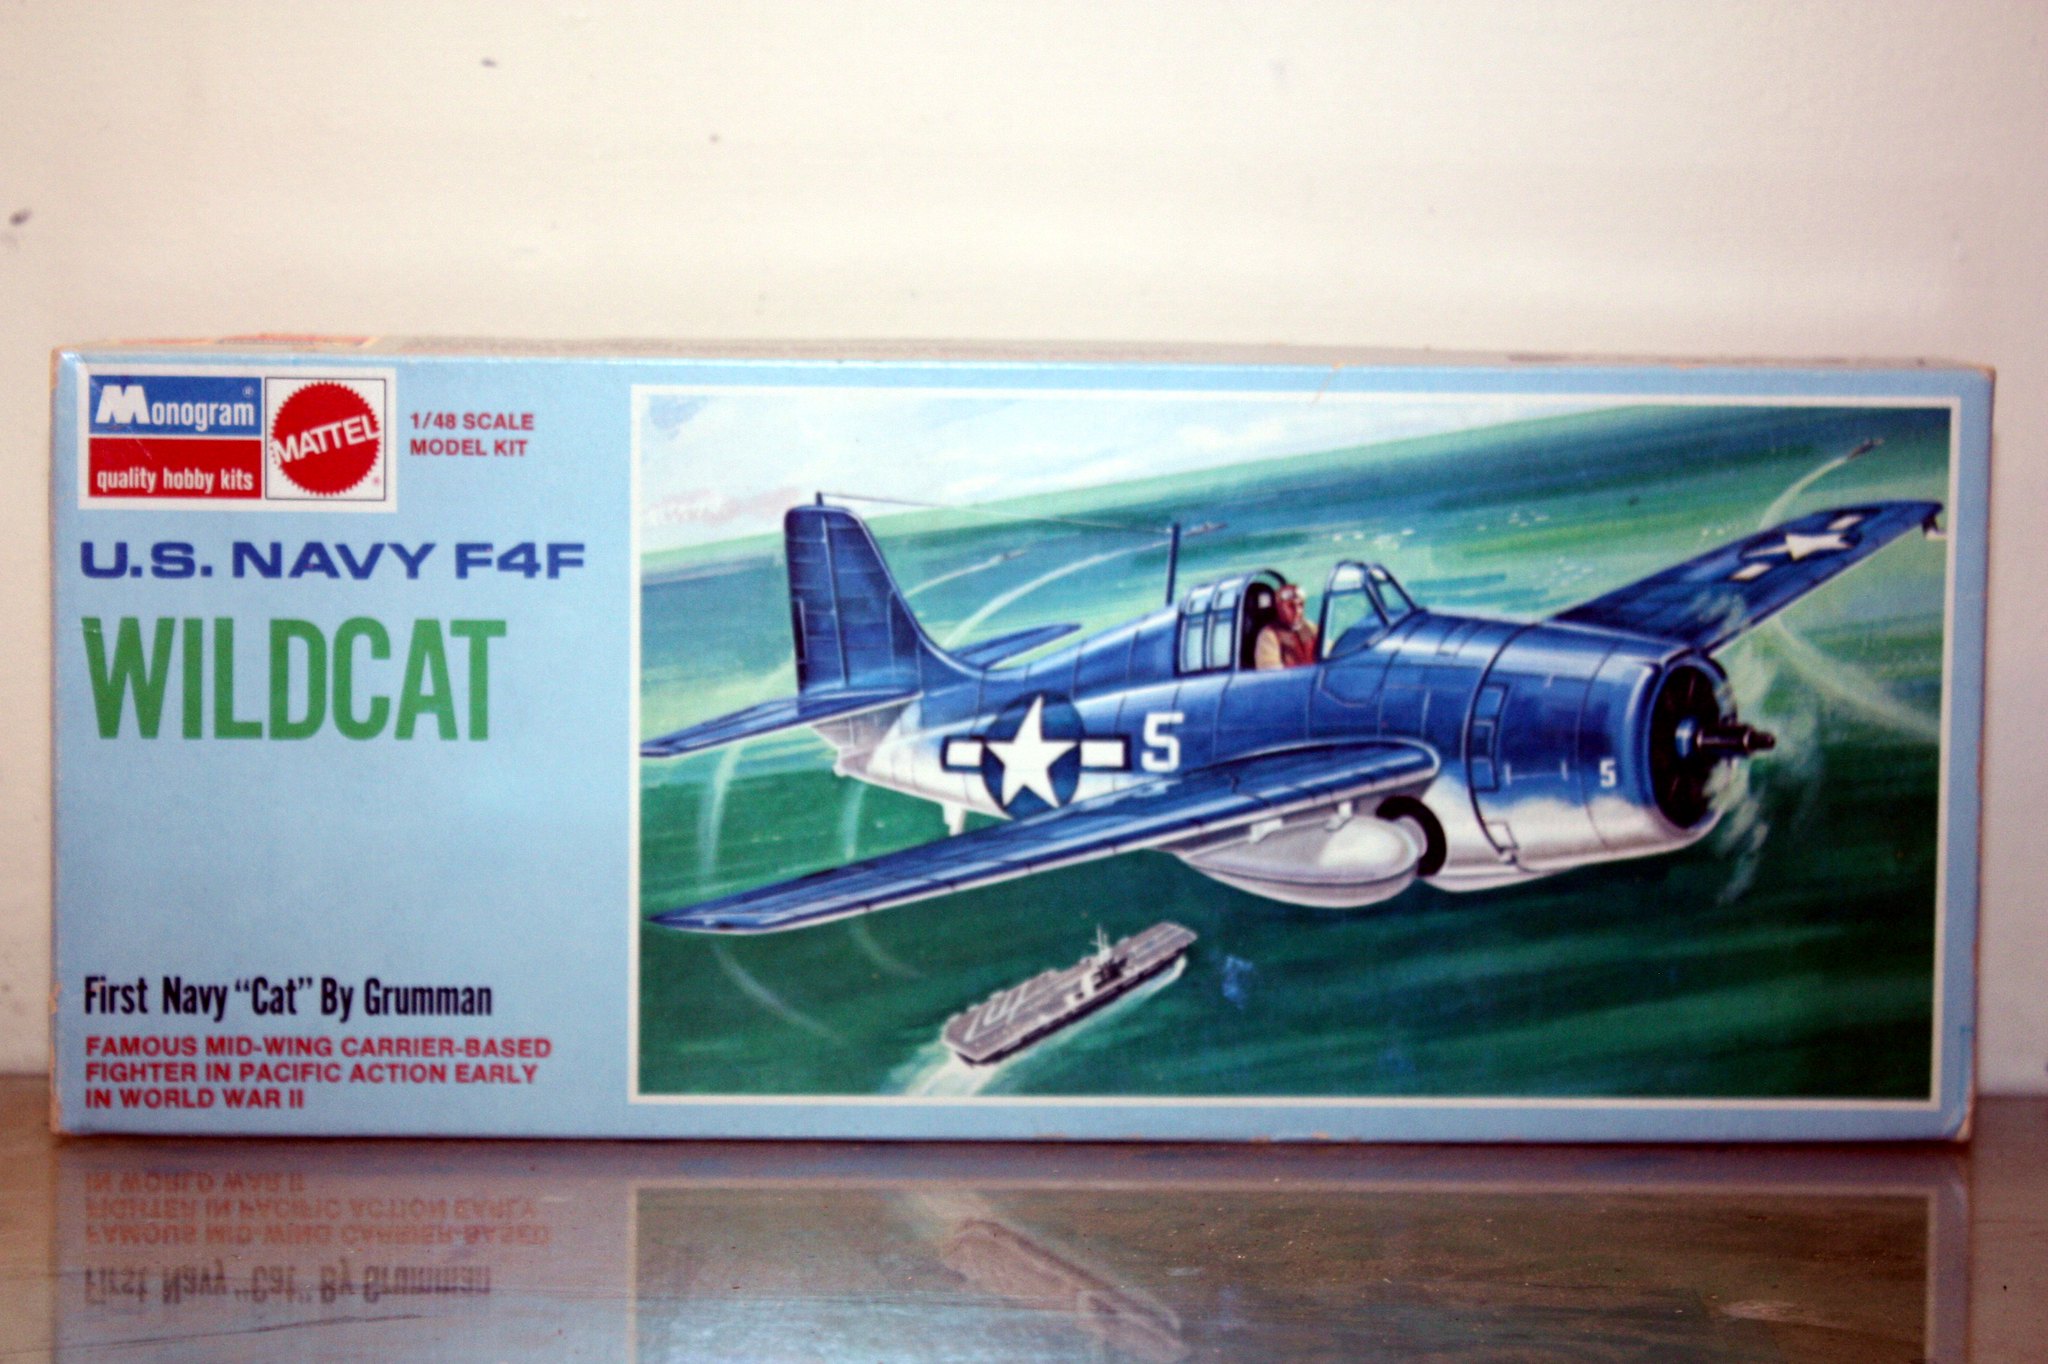
Here is the box art with the old-school instruction sheet and everything else that came in the box. The most recent date on the box is 1968, meaning that the plastic is only a year younger than I am, although the molding itself dates back to 1962.


Ok, so now on to the fun stuff. Those of us who have built these old Monogram kits know their foibles. We know these kits are really toys, but we also know that with some decent modeling skills, we can turn these into presentable models. The kits typically came with some "working" feature, in this case folding wings and a spinning prop. But here is the problem. To make all those features "work" Monogram skimped on a lot of interior stuff like bulkheads, firewalls, etc, so what you are left with often times is a huge gaping hole allowing you to see clear from the wheel well to the cockpit. Even when I clicked on the "Buy It Now" button on eBay I knew that I would not be building this kit as I would have built it as a kid. I was going to scratch build interior details that one would expect to find inside a Wildcat model.
I spent a lot of time poring over my three primary reference books - Squadron's "Wildcat in Action", Squadron's "F4F Wildcat Walk Around", and "F4F Wildcat in Detail" by Bert Kinzey. All of these references, plus photos I found on the web, served as a valuable guide toward scratch building interior details. I had actually begun work on the cockpit, of which there is nothing contained in the original kit other than a backboard with a head rest to which you attached the pilot figure, when I remembered something. In my attic there is a box full of broken models, most left over from my youth but some that are of more recent vintage.
Several years ago I received a phone call from my son while I was at work. He had called to warn me of what I was going to see upon my return home later that day. I had a set of wall-hung shelves in my garage work space, on which were a bunch of the builds I had completed when I first returned to this hobby back in 1995. Those shelves had fallen and taken all of the airplanes with them. They were shattered far beyond repair, and I used that as an excuse with my better half to replace everything that I had lost. I think it was 48 builds. One of which was Tamiya's F4F-4 Wildcat. (As an aside, I am also currently building an original Revell F4F-4 Wildcat in 1/32, plus Tamiya's F4F-4 and Hobbyboss's F4F-4 in 1/48).
So I climbed into the attic to find the box containing all those broken models. Yes, the Wildcat that I build maybe around 1997 was still there. It was busted up, non-repairable, but all the interior parts were still viable. So I busted that guy apart to scavange out everything I thought I might be able to use for this Monogram build.


I ended up salvaging most of the cockpit and the under-wing oil coolers (which were not included on the Monogram kit, seriously). The wheel well firewall would not fit into the Monogram fuselage, so I ended up scratch building that. I also ended up doing some basic detailing in the featureless cockpit.

Lots of test-fitting to see how these parts would fit together and determine what would be a candidate for updating.


Note in the following photograph the position of the lower inner wing and how it goes right through the middle of the wheel well.

Here are all the parts primed with Stynylrez gray primer.

Here I have cut out a big chunk of the inner wing. The resulting hole is where the wheel well firewall will go.

Here is the upper half of the wheel well firewall that I scratched out of styrene and fishing line. The fishing line represents the chains that attached to the gear and were used to lower and retract the gear. I know it's not to scale and does not look at all like chain, but it really is only visible with close-up inspection and actually looks fine when just glanced at.

I added Minimeca metal tubing as machine guns. Oh, and I guess I should point out that Monogram's kit is ostensibly an F4F-4 Wildcat, although it has some characteristics of an F4F-3 Wildcat. I decided that I would back-date this to a -3 and do it as a pre-war "yellow wings" Wildcat. The -3 carried only 4 machine guns, 2 in each wing. Through my reading, this was actually the preferred configuration among Wildcat pilots as the -4's with 6 machine guns actually carried less ammo. Here is my test fitting of the Minimeca tubing.


I added support struts to the back of the engine that I salvaged from my old Tamiya kit.


The interior work that I have done to this point. The pre-war Wildcats tended to be painted aluminum inside the engine and wheel wells. I have not yet addressed the cockpit painting in this photo.

Next up was a test of a couple of yellows for the wings. The wing on the left is Model Master Chrome Yellow; the one on the right is Model Master RAF Trainer Yellow. I thought the Trainer Yellow more closely matched what I expected to see, so that was the color I chose to use.

Interior details. I scavanged the instrument panel out of the old Tamiya, repainted and detailed it here. I had an Ultracast resin seat for this build, so here it is painted and ready to install. I used Humbrol Bronze Green for the interior. The belts are (I forget the brand) dirty white.


Here are the salvaged parts I ended up using for the cockpit. The "floor" - which was actually not a floor but part of the wing - had to be cut down a bit more than I have it here to fit into the fuselage.

The interior starts to fall into place.


All sealed up.


Here is everything with an initial coat of Model Master Metalizer Aluminum, plus white where I will be putting down color coats - wing tops and the entire tail.

First coat of yellow.


The cowling. Note that Monogram molded in a rudimentary radial engine. I opted to leave that in place even though I found someone who had posted a YouTube video where he replaced that with an aftermarket engine. But being unemployed and being that I do not have such an engine on hand, I left it alone.

The tail for the build I selected was painted Model Master Willow Green.


Wing walks. I detest decals for this. There are decals included in the Yellow-Wings decal set I got for this build but I opted for paint. Looks better.

Building the wings. The F4F-3, in most cases, did not come with folding wings. That feature came in with the F4F-4, although I believe there was one -3 built with folding wings. I am building a pre-war Wildcat that will not feature folding wings. Here is a series of photographs depicting the work I did on the wings. The Minimeca tubing is in place and you can see where I added some styrene to give stability to the wing fold area.


Next we come to the goofy little parts that Monogram molded to allow for the wings to fold. I opted to include these in my build but to glue them in place which I felt would give the wings a bit more stability.


After all this dried up real good, I added the outer upper wings.

I went away for a few days to work on the other Wildcats, then in the last couple of days I returned to the Monogram.
Landing gear.


The prop. I opted for an all-metal finish with the tri-color warning band (whatever that is actually called).


There is a slight band of white still poking through between the blue and the yellow. I fixed that shortly after I took the photo.
The final reveal.
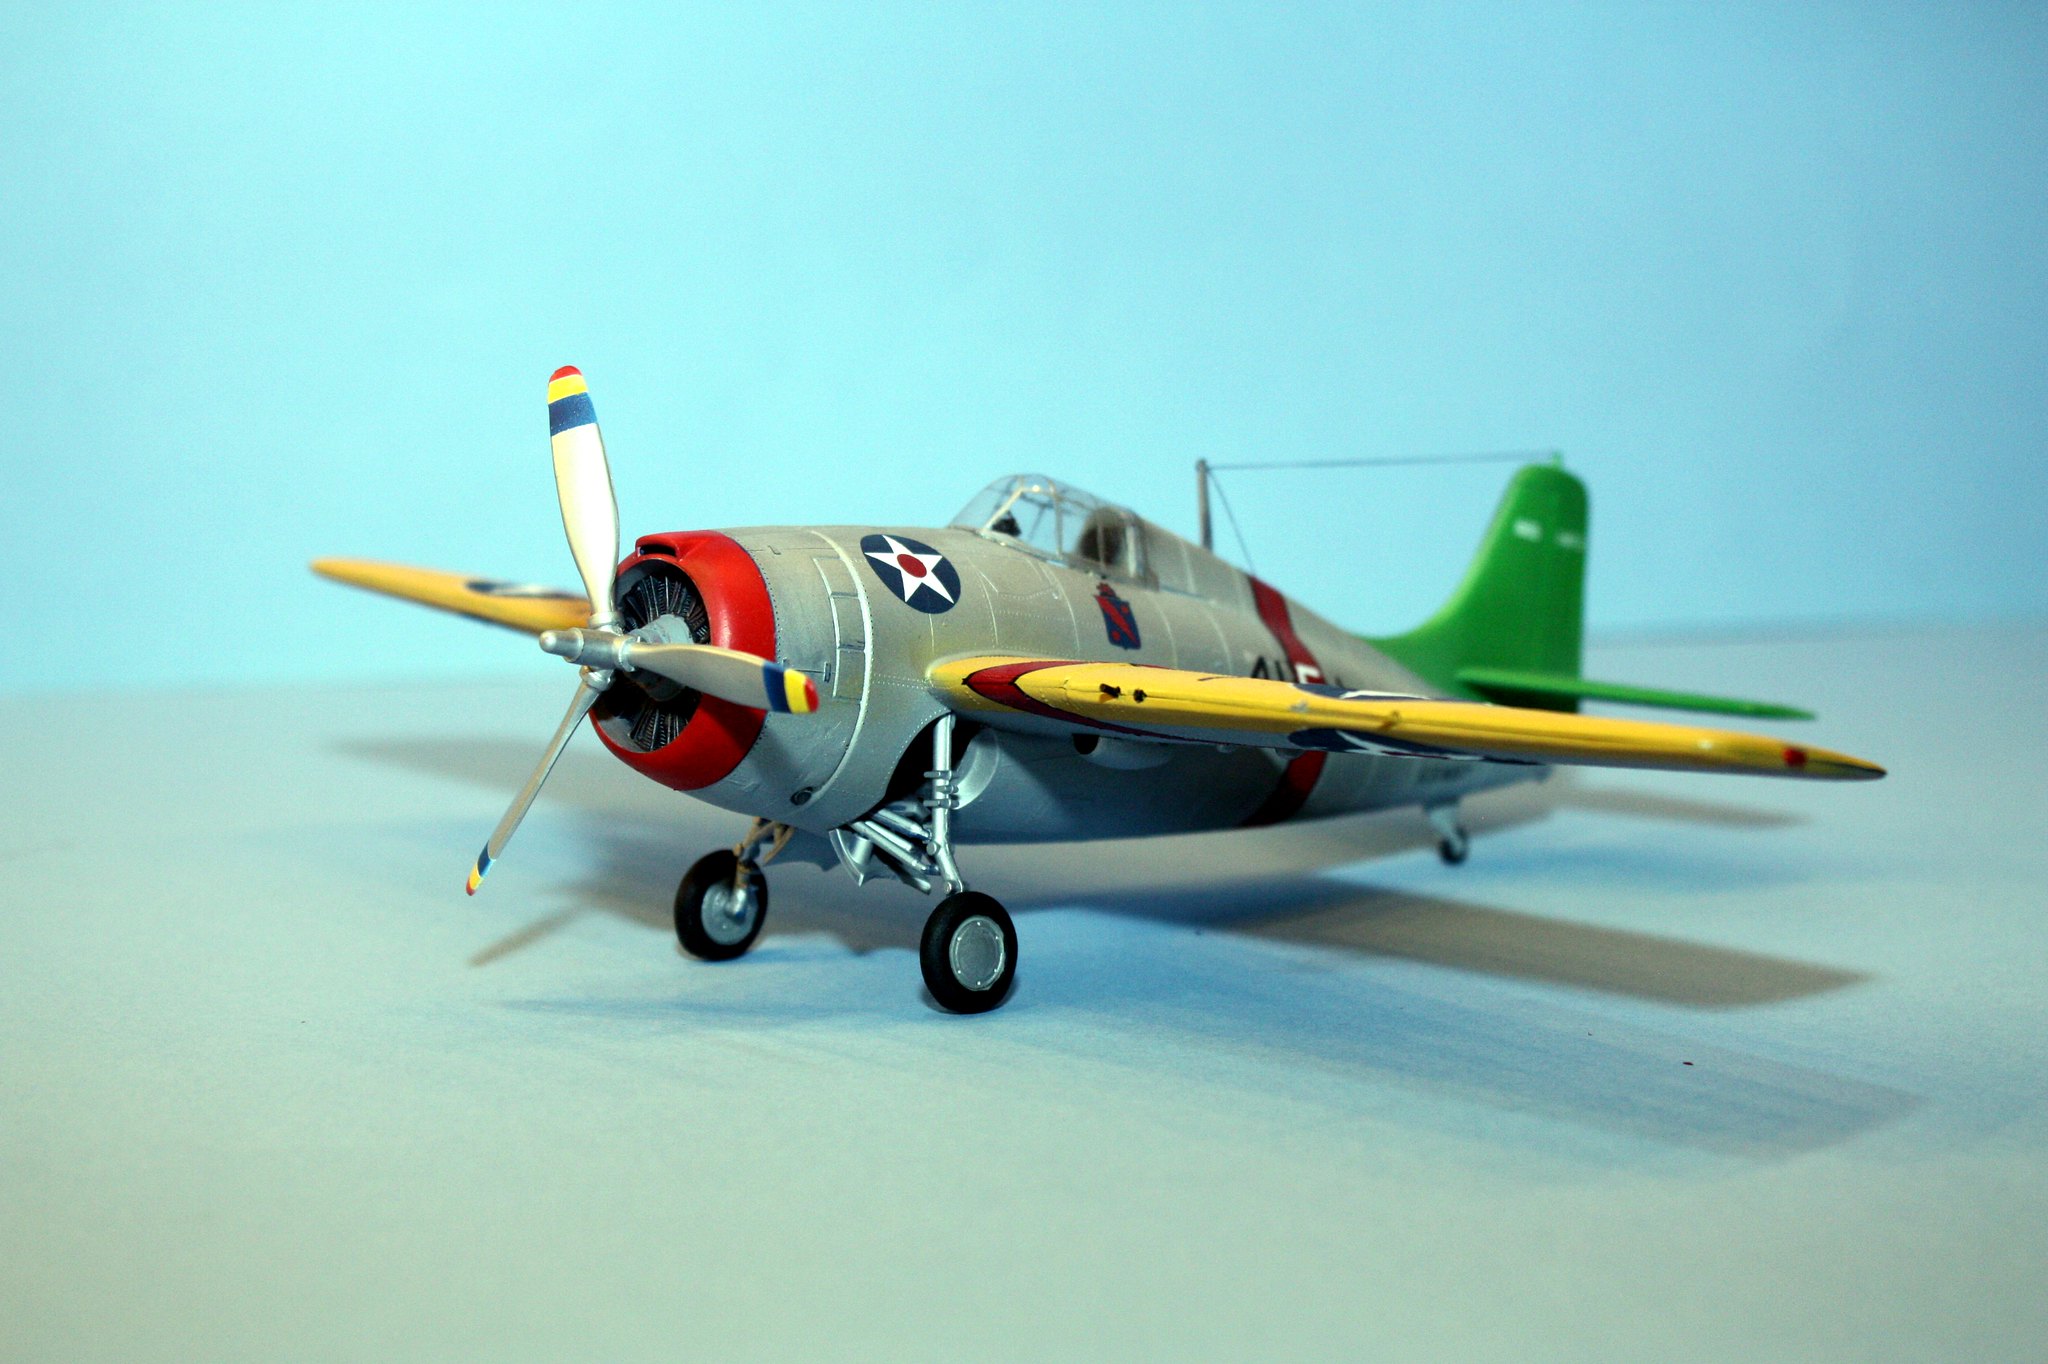
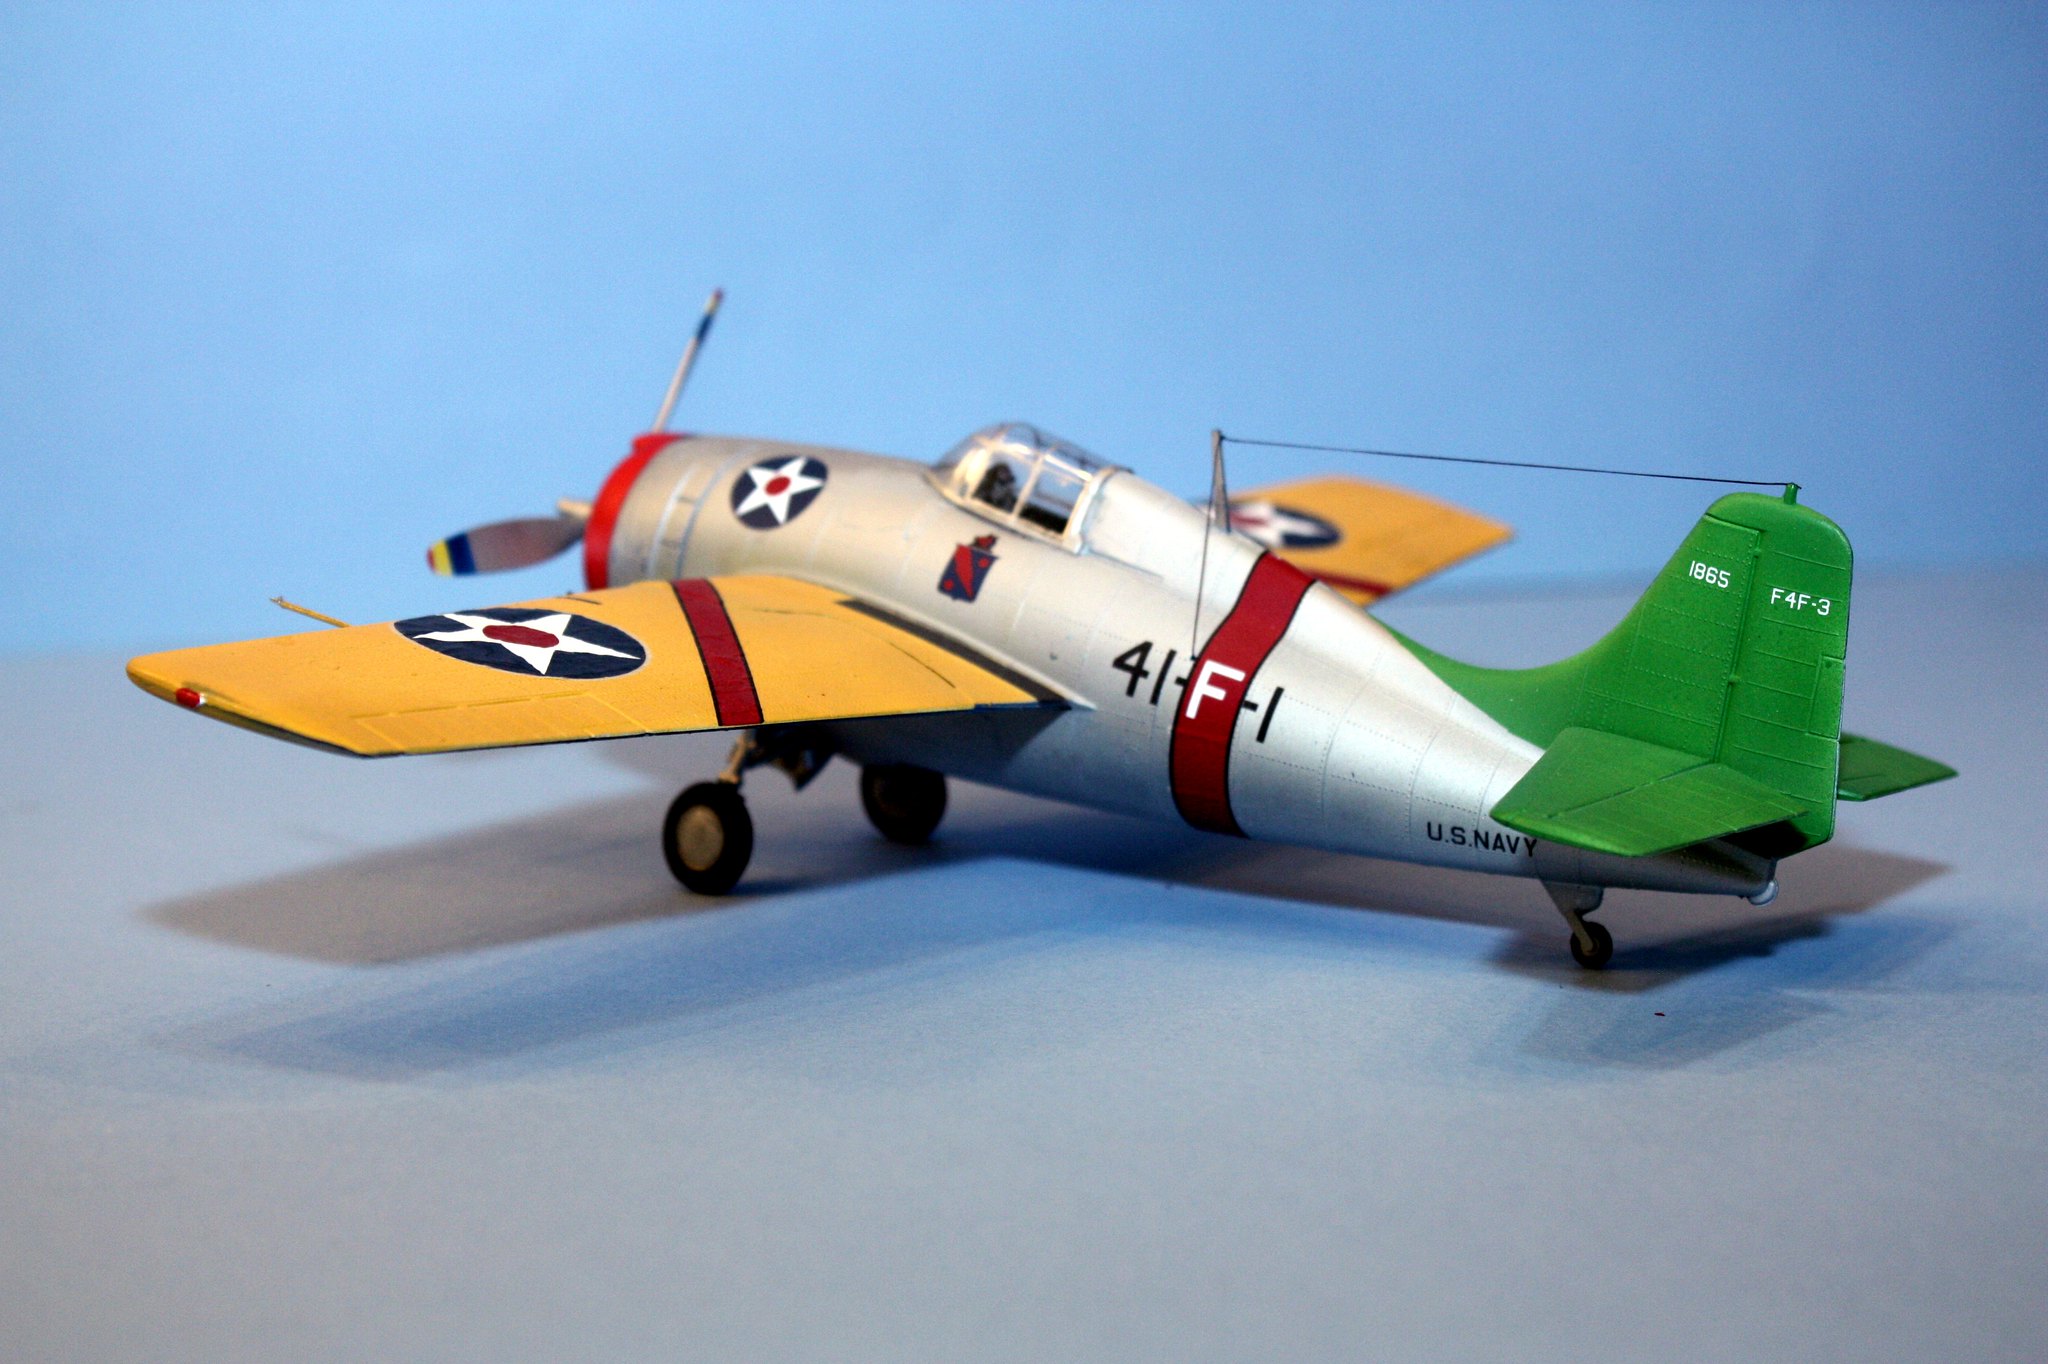
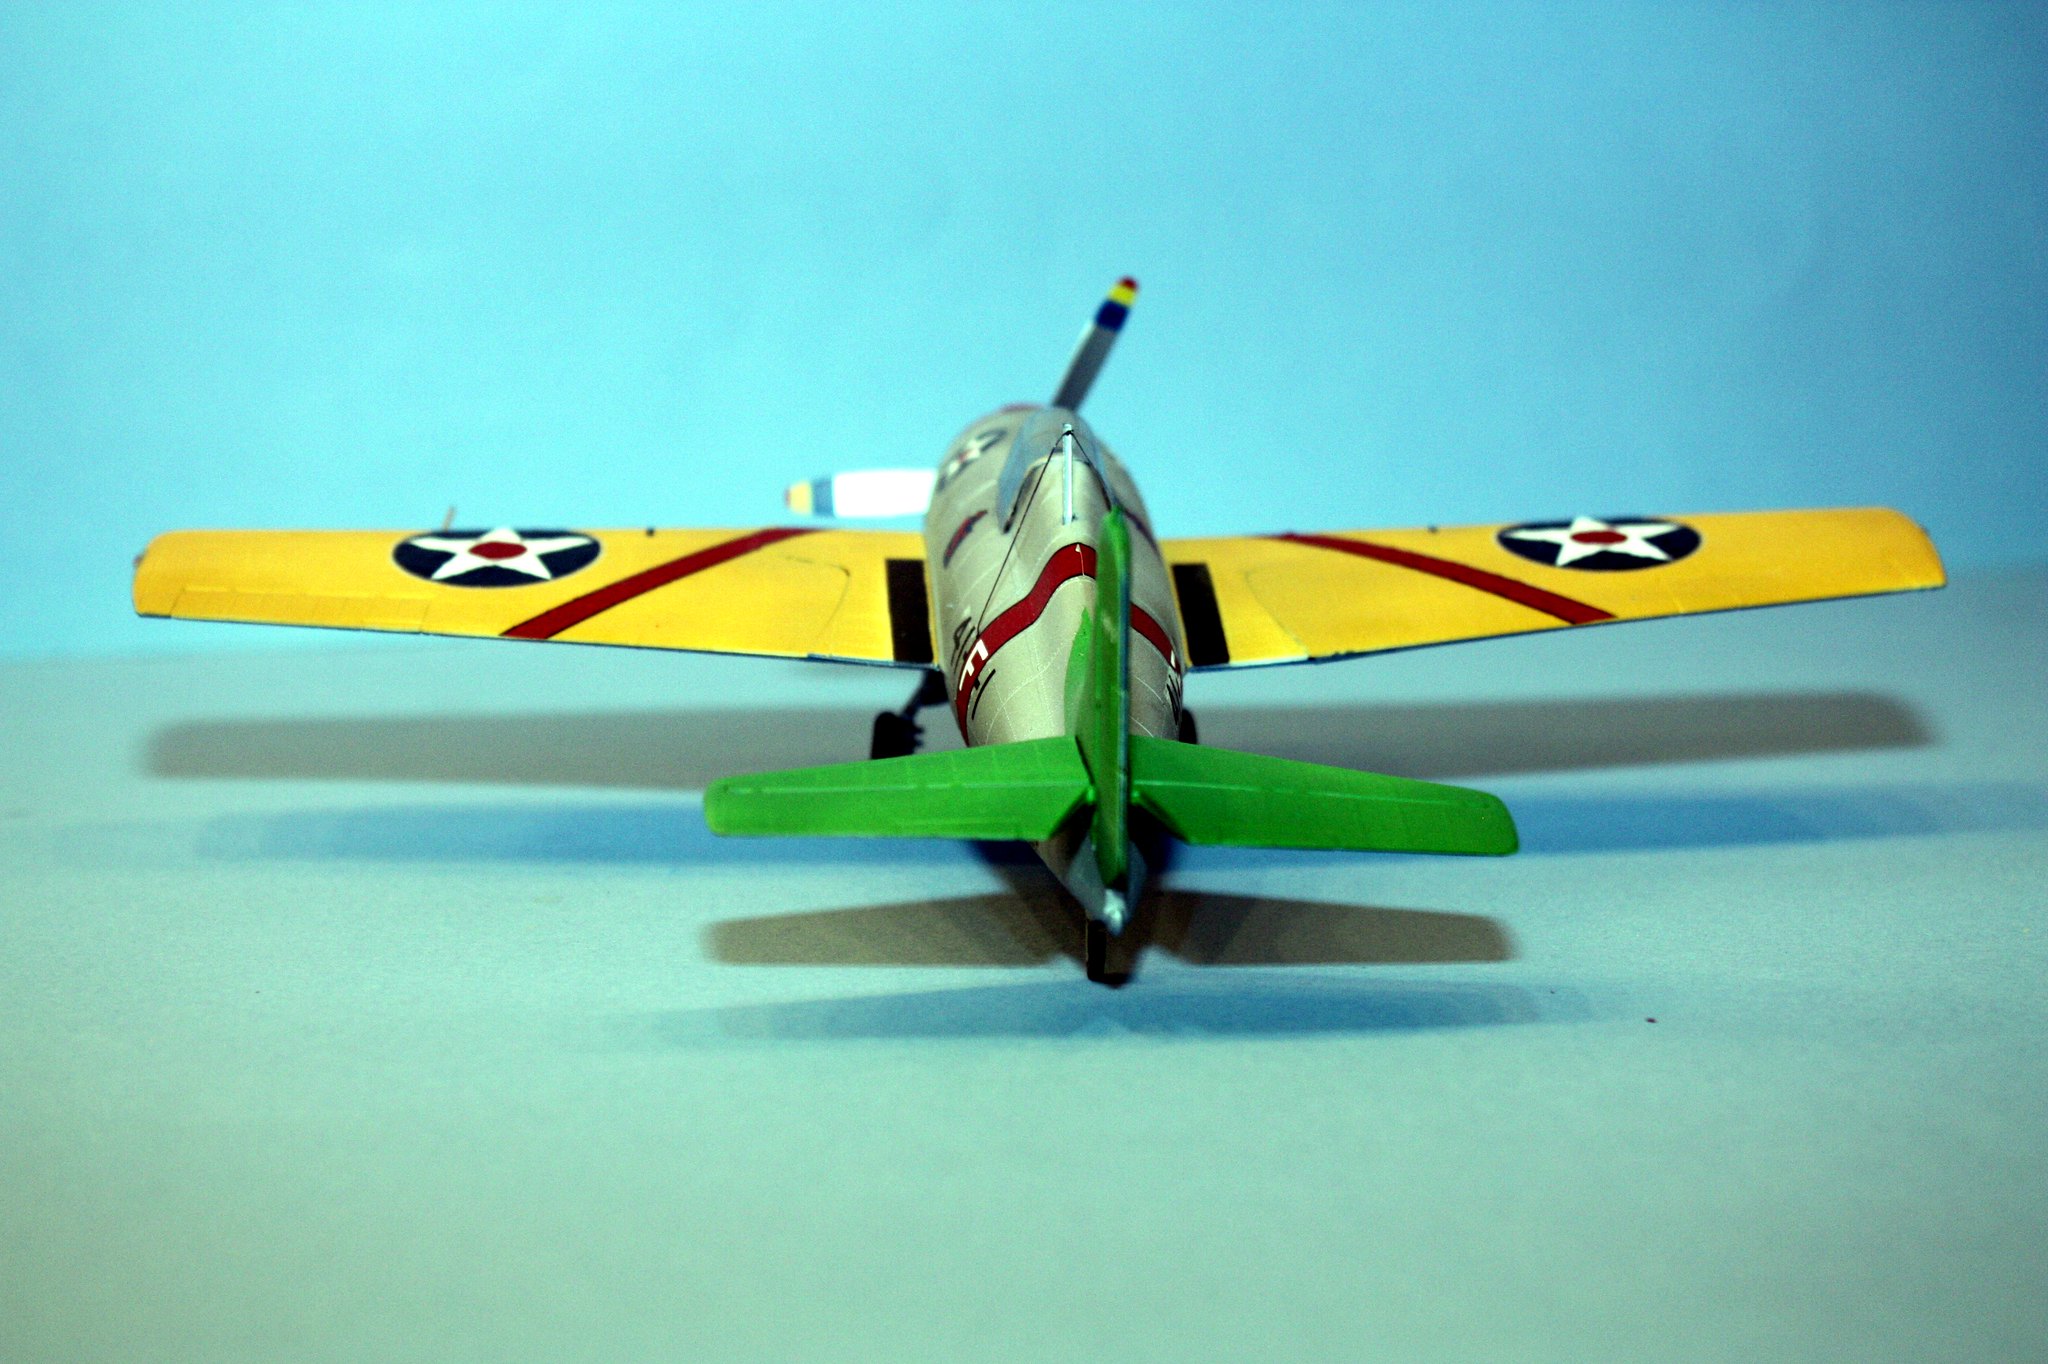
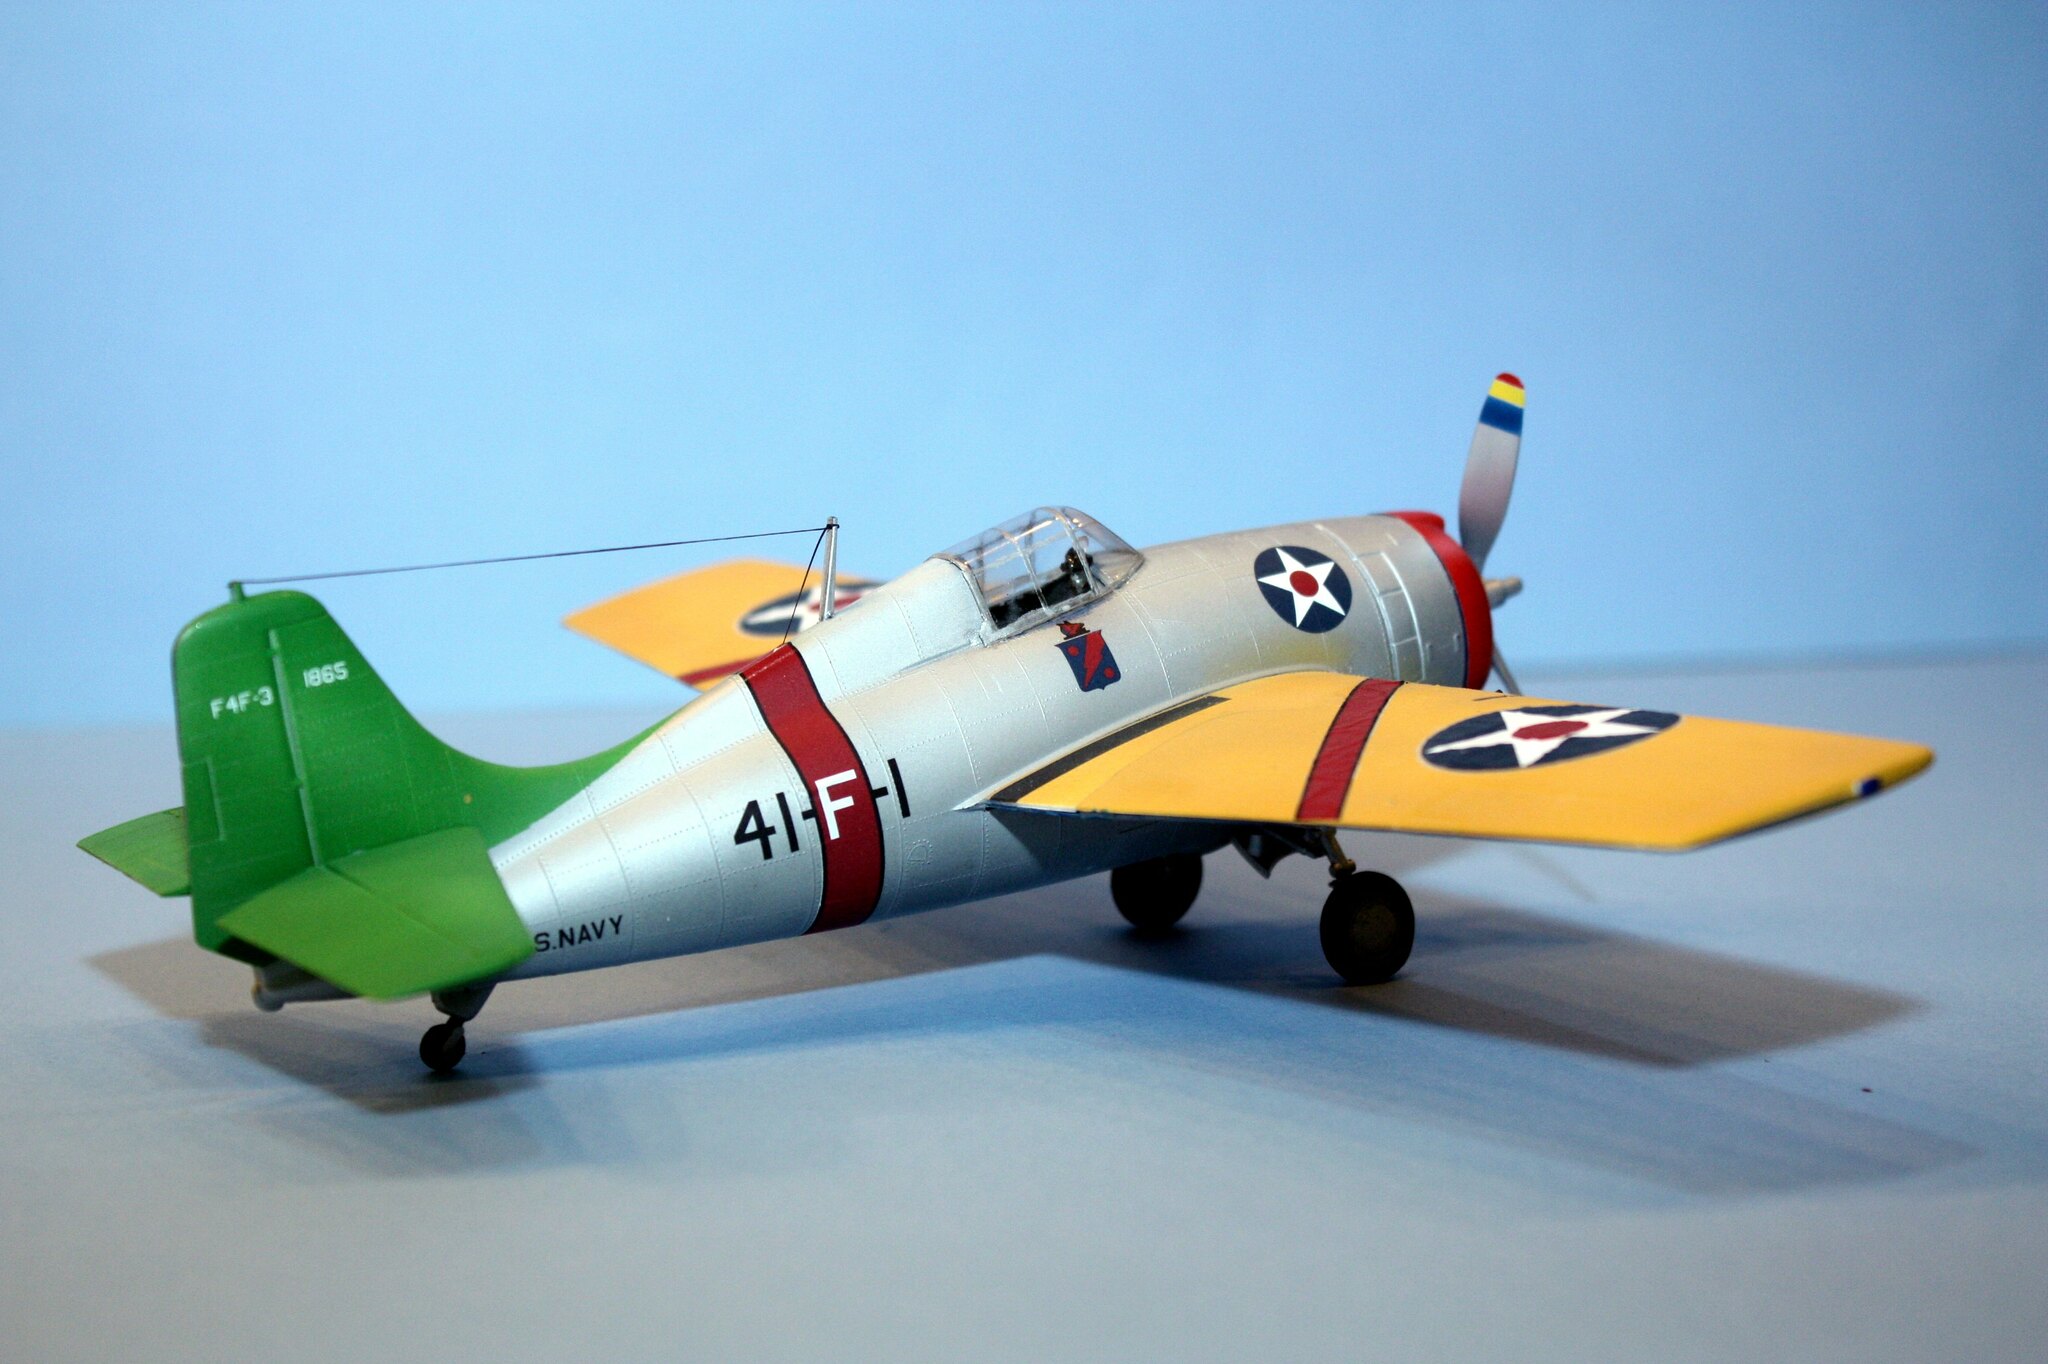
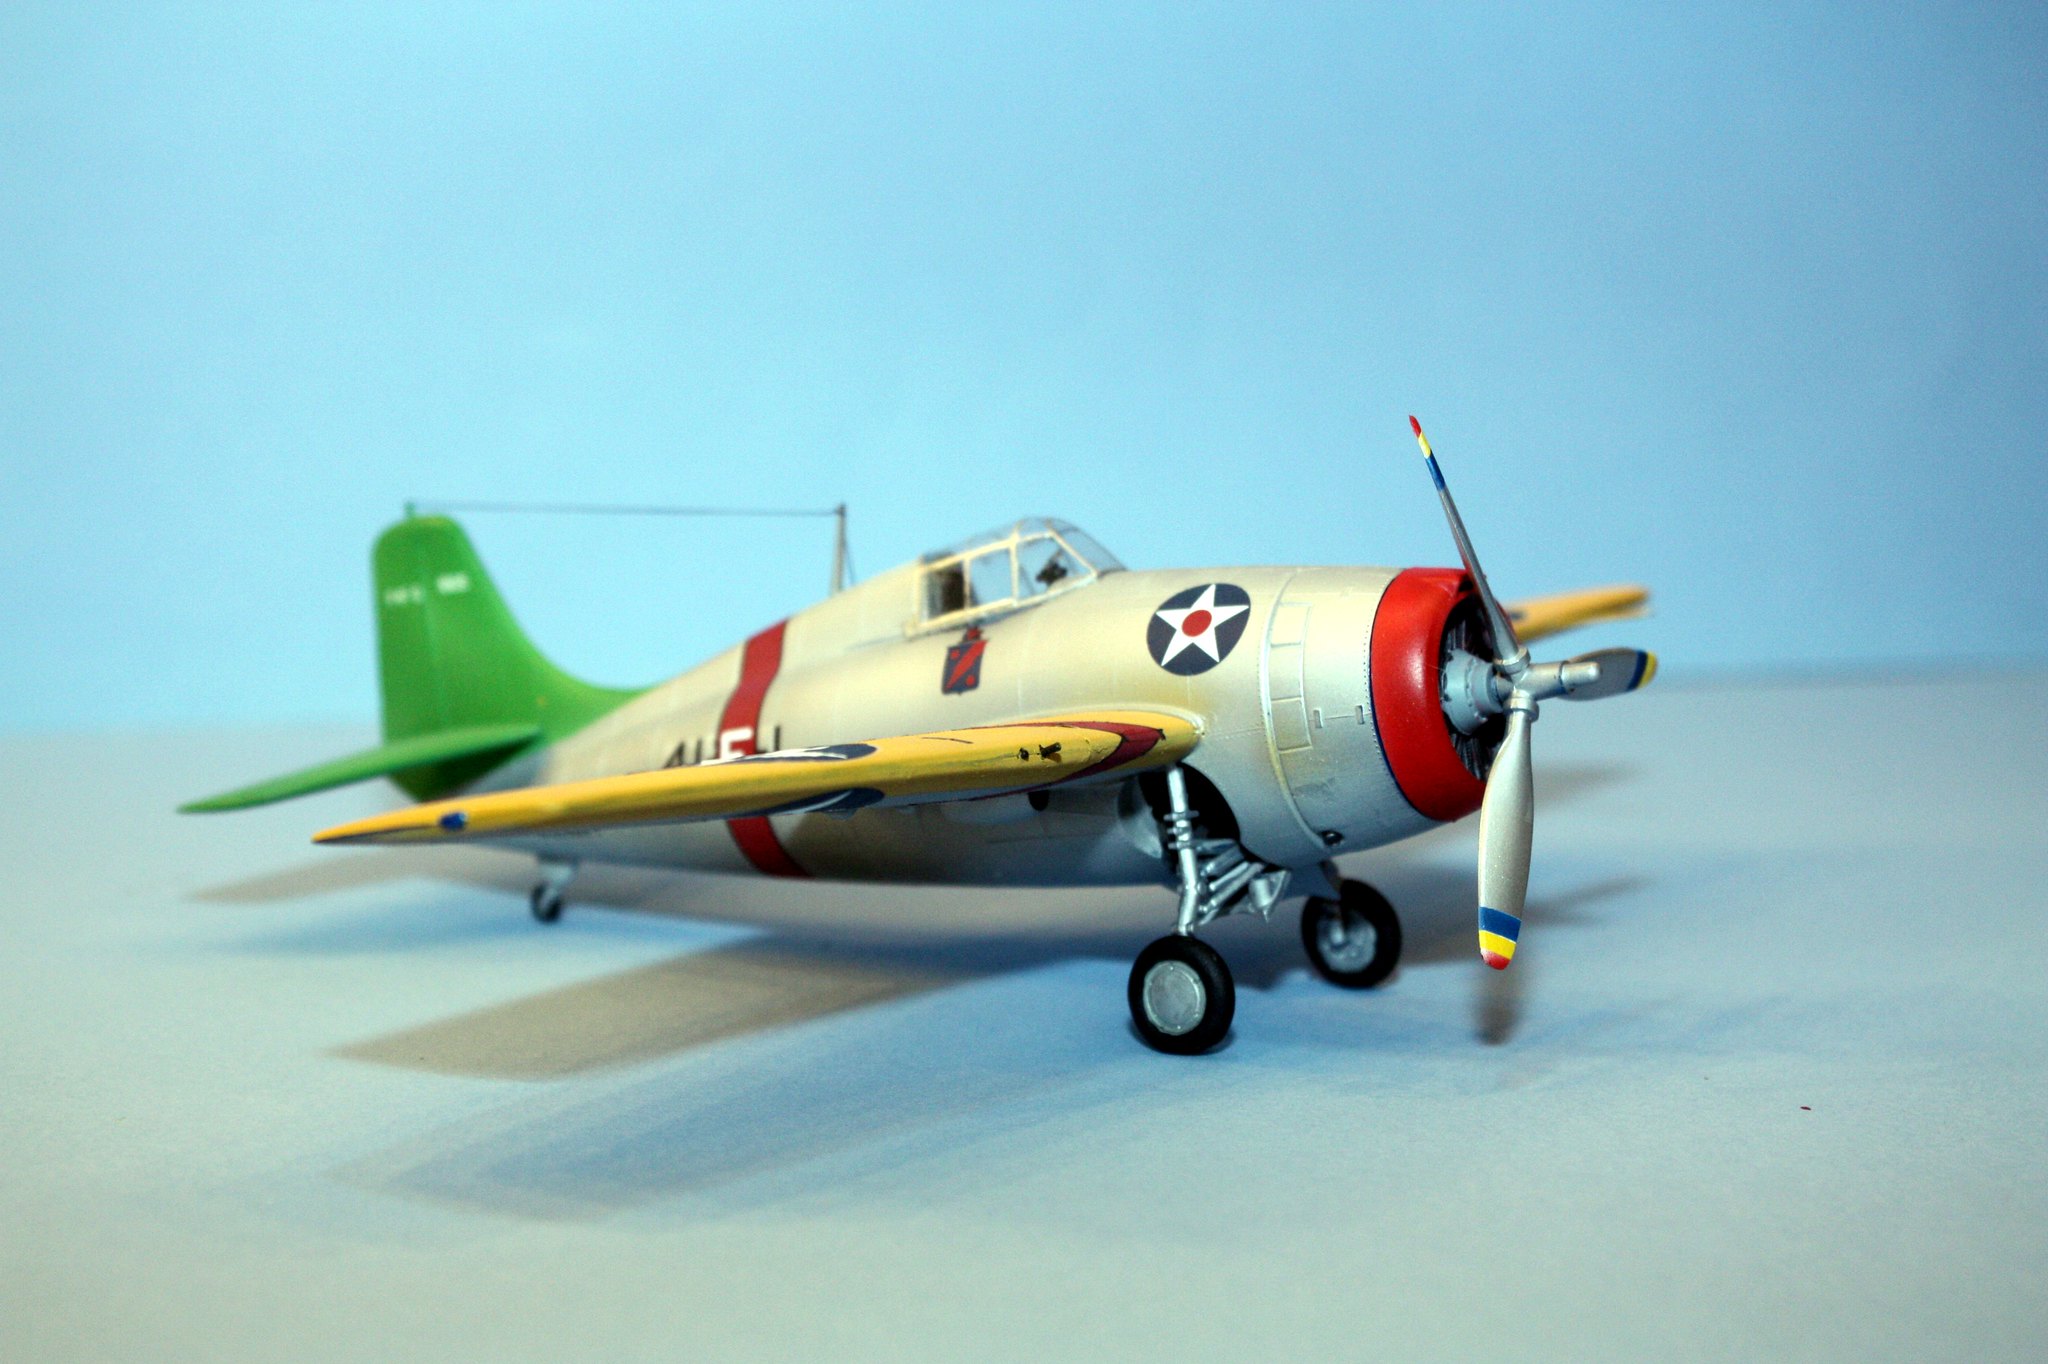
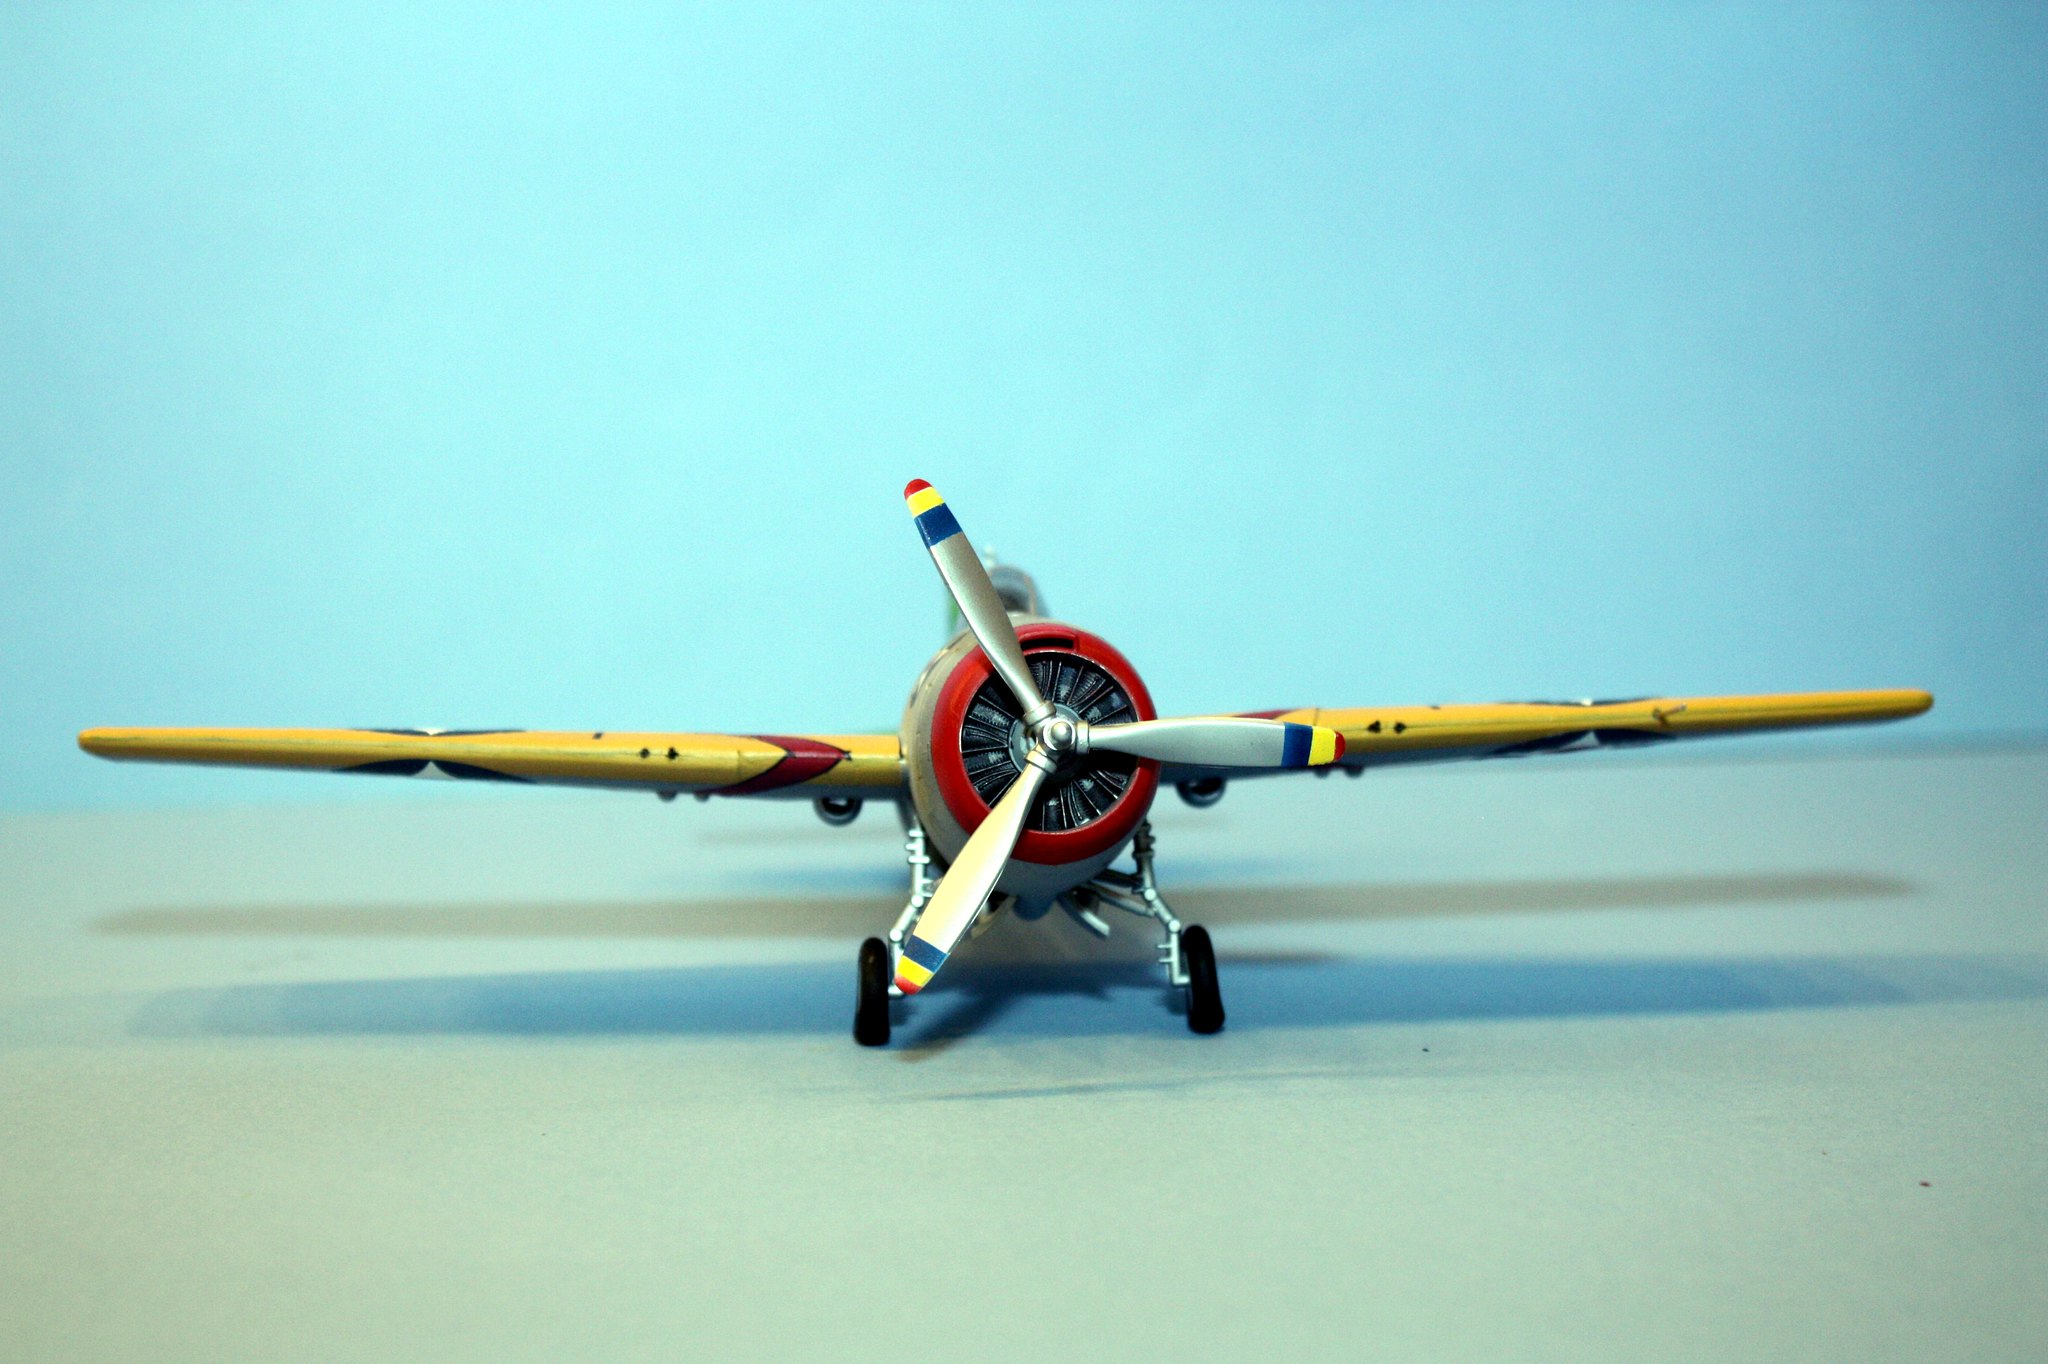
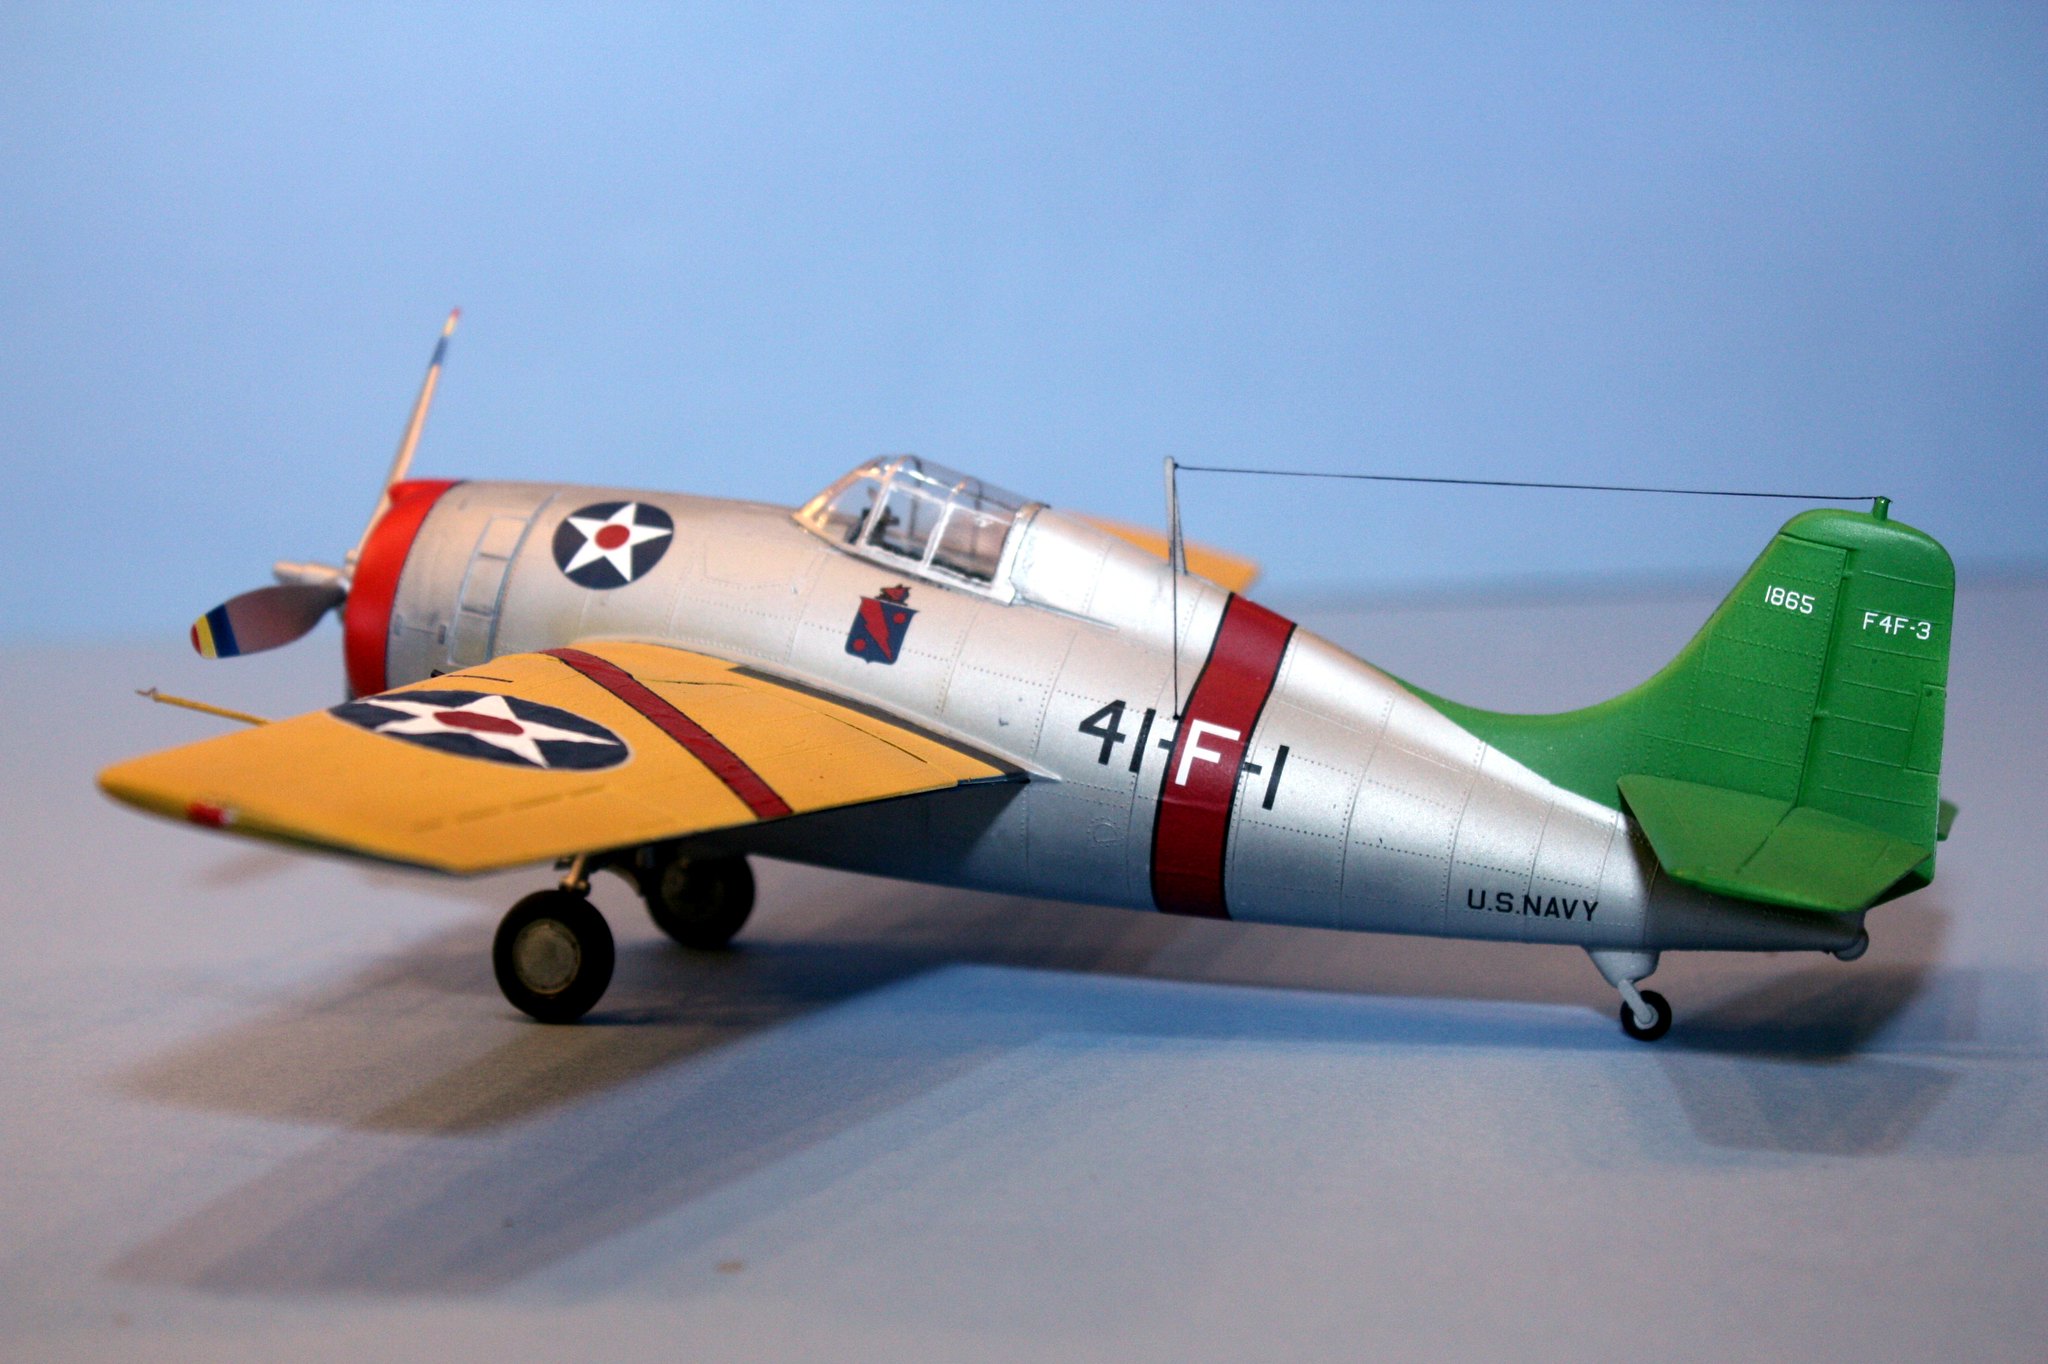
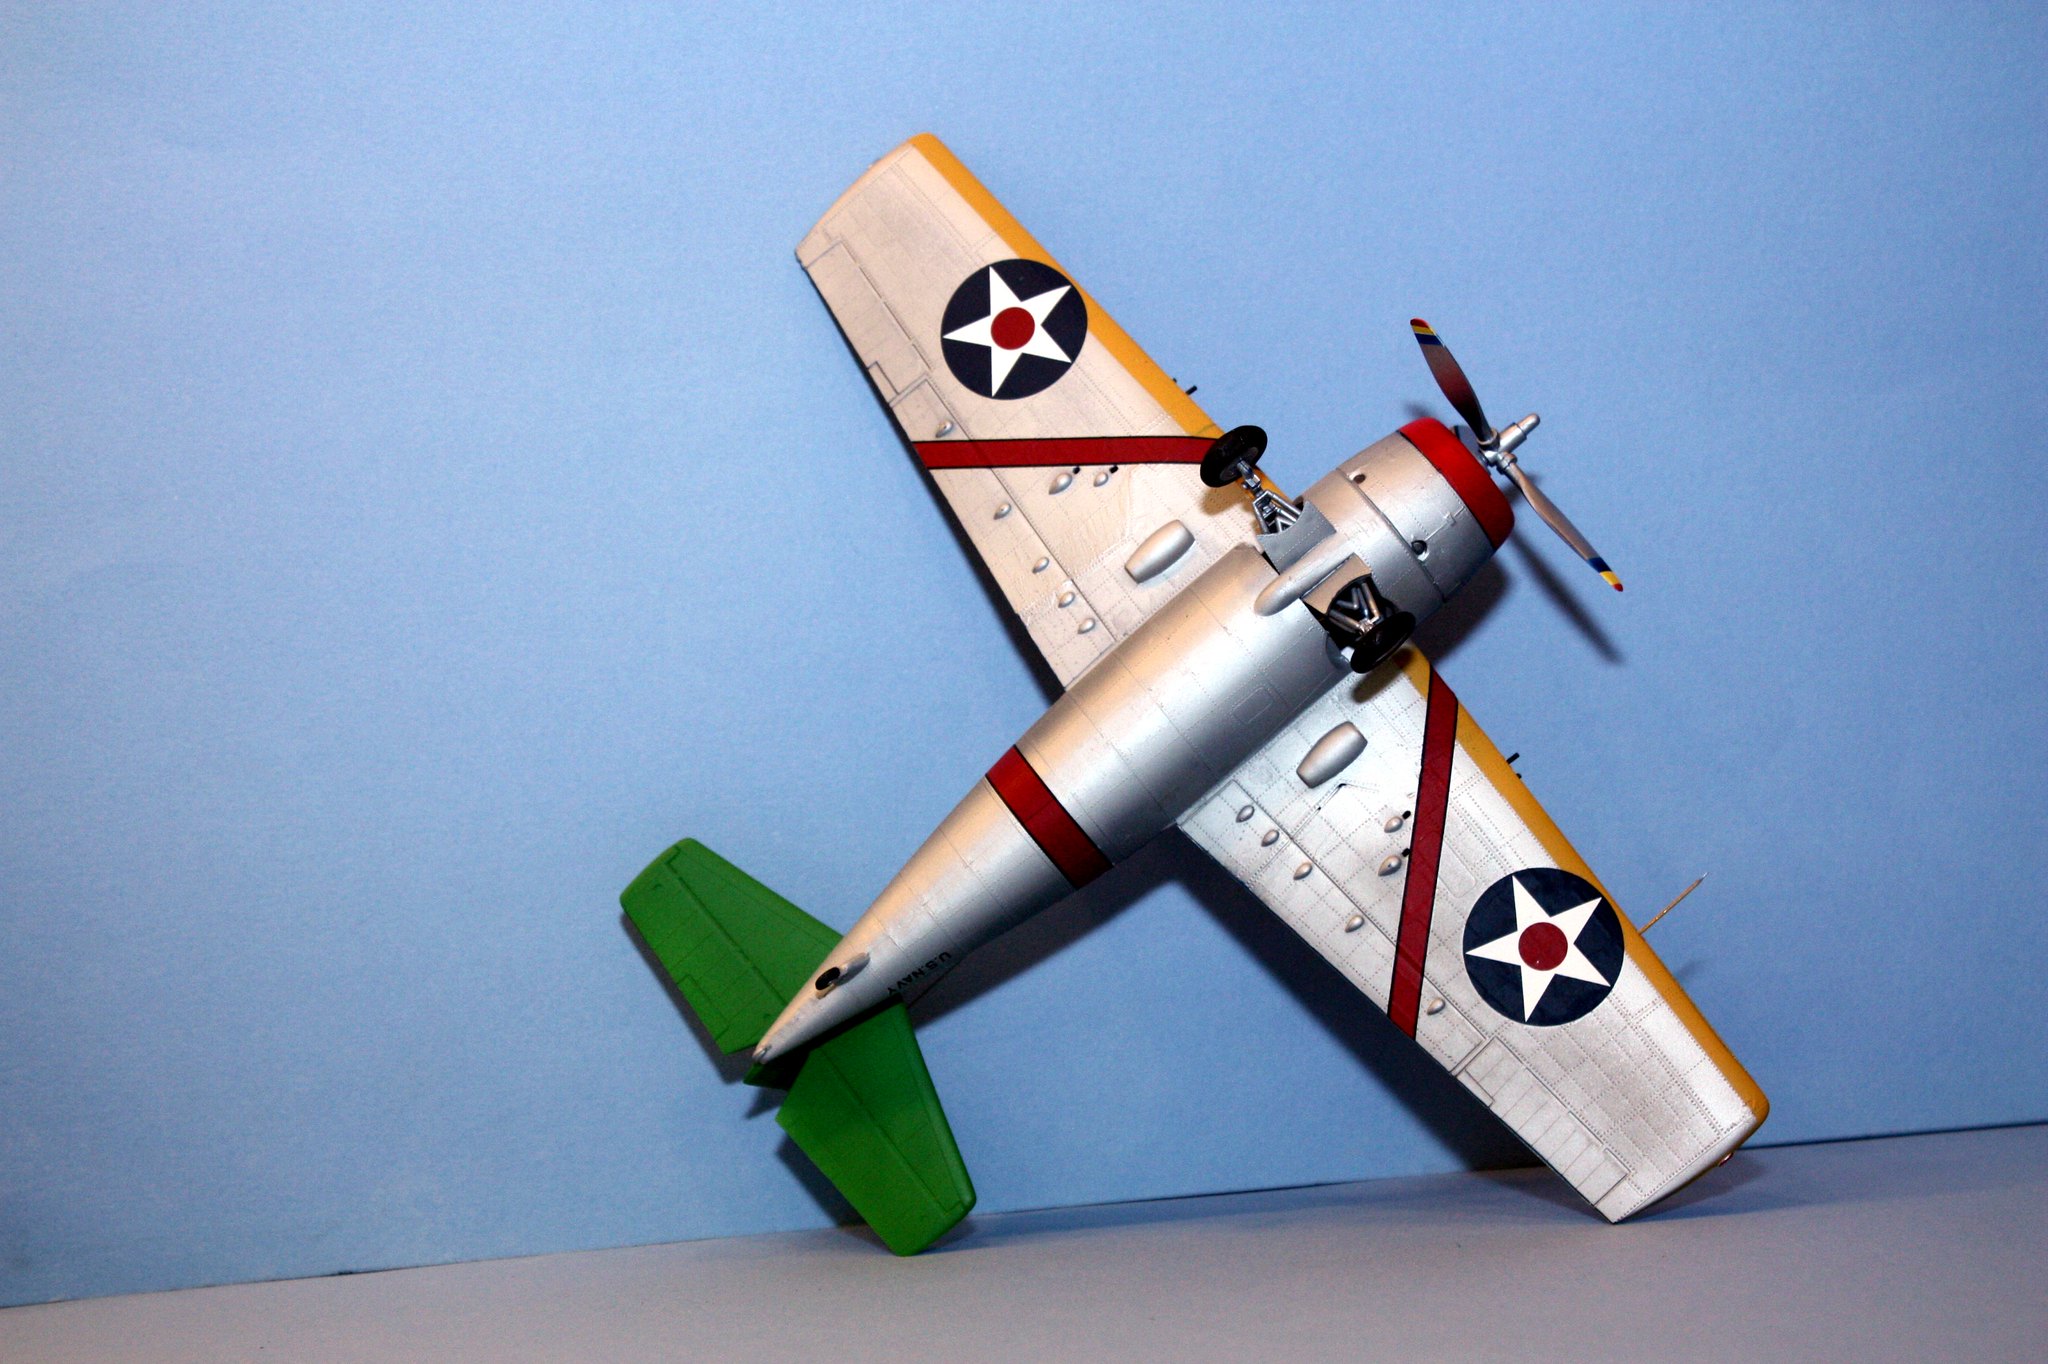
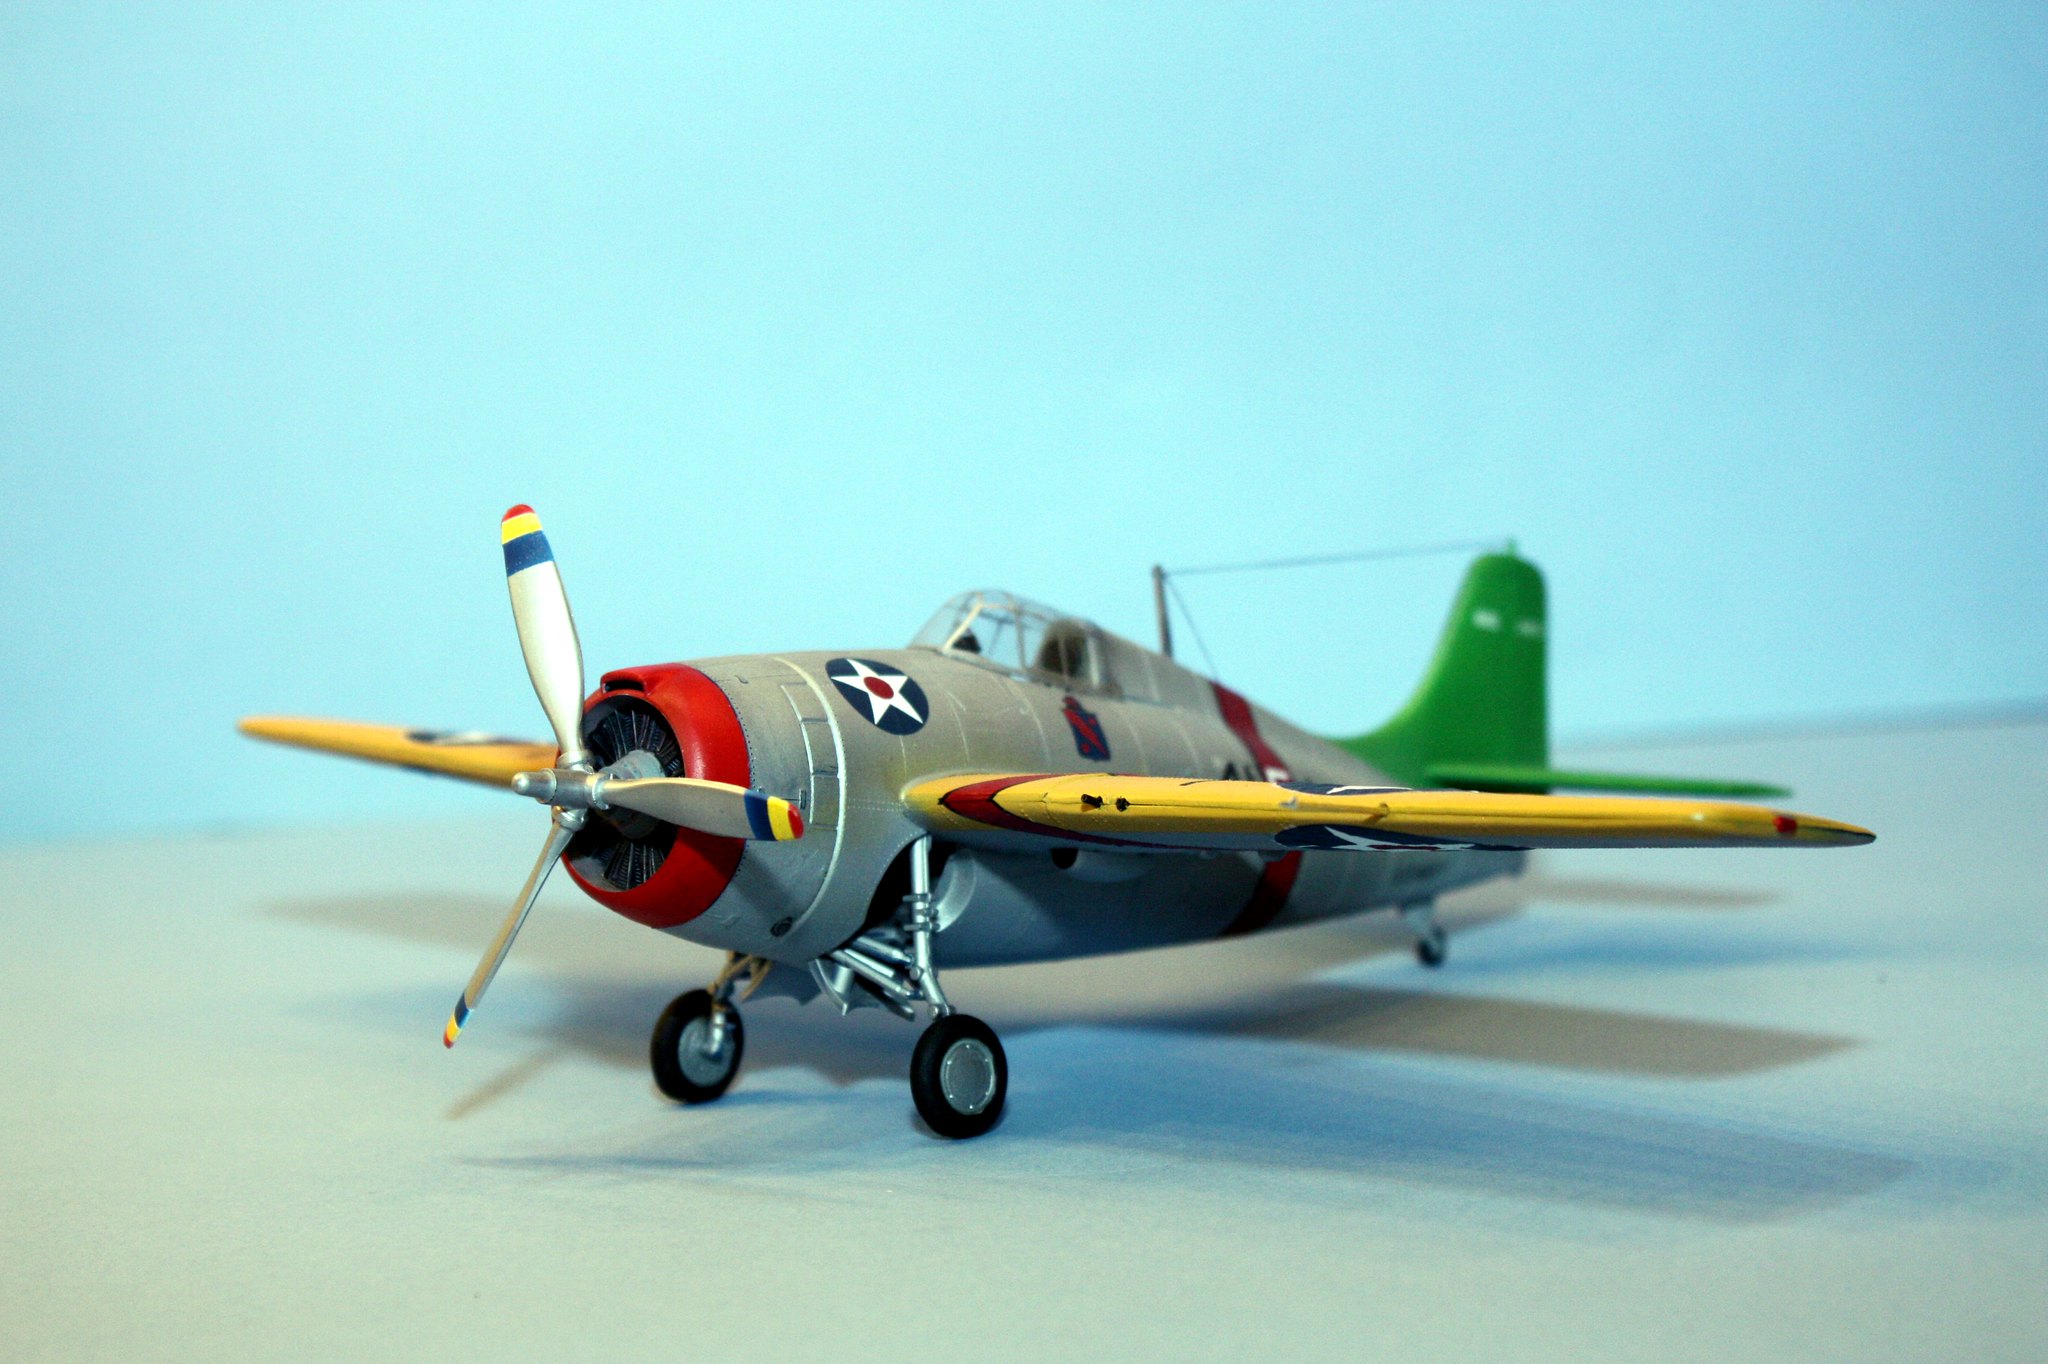
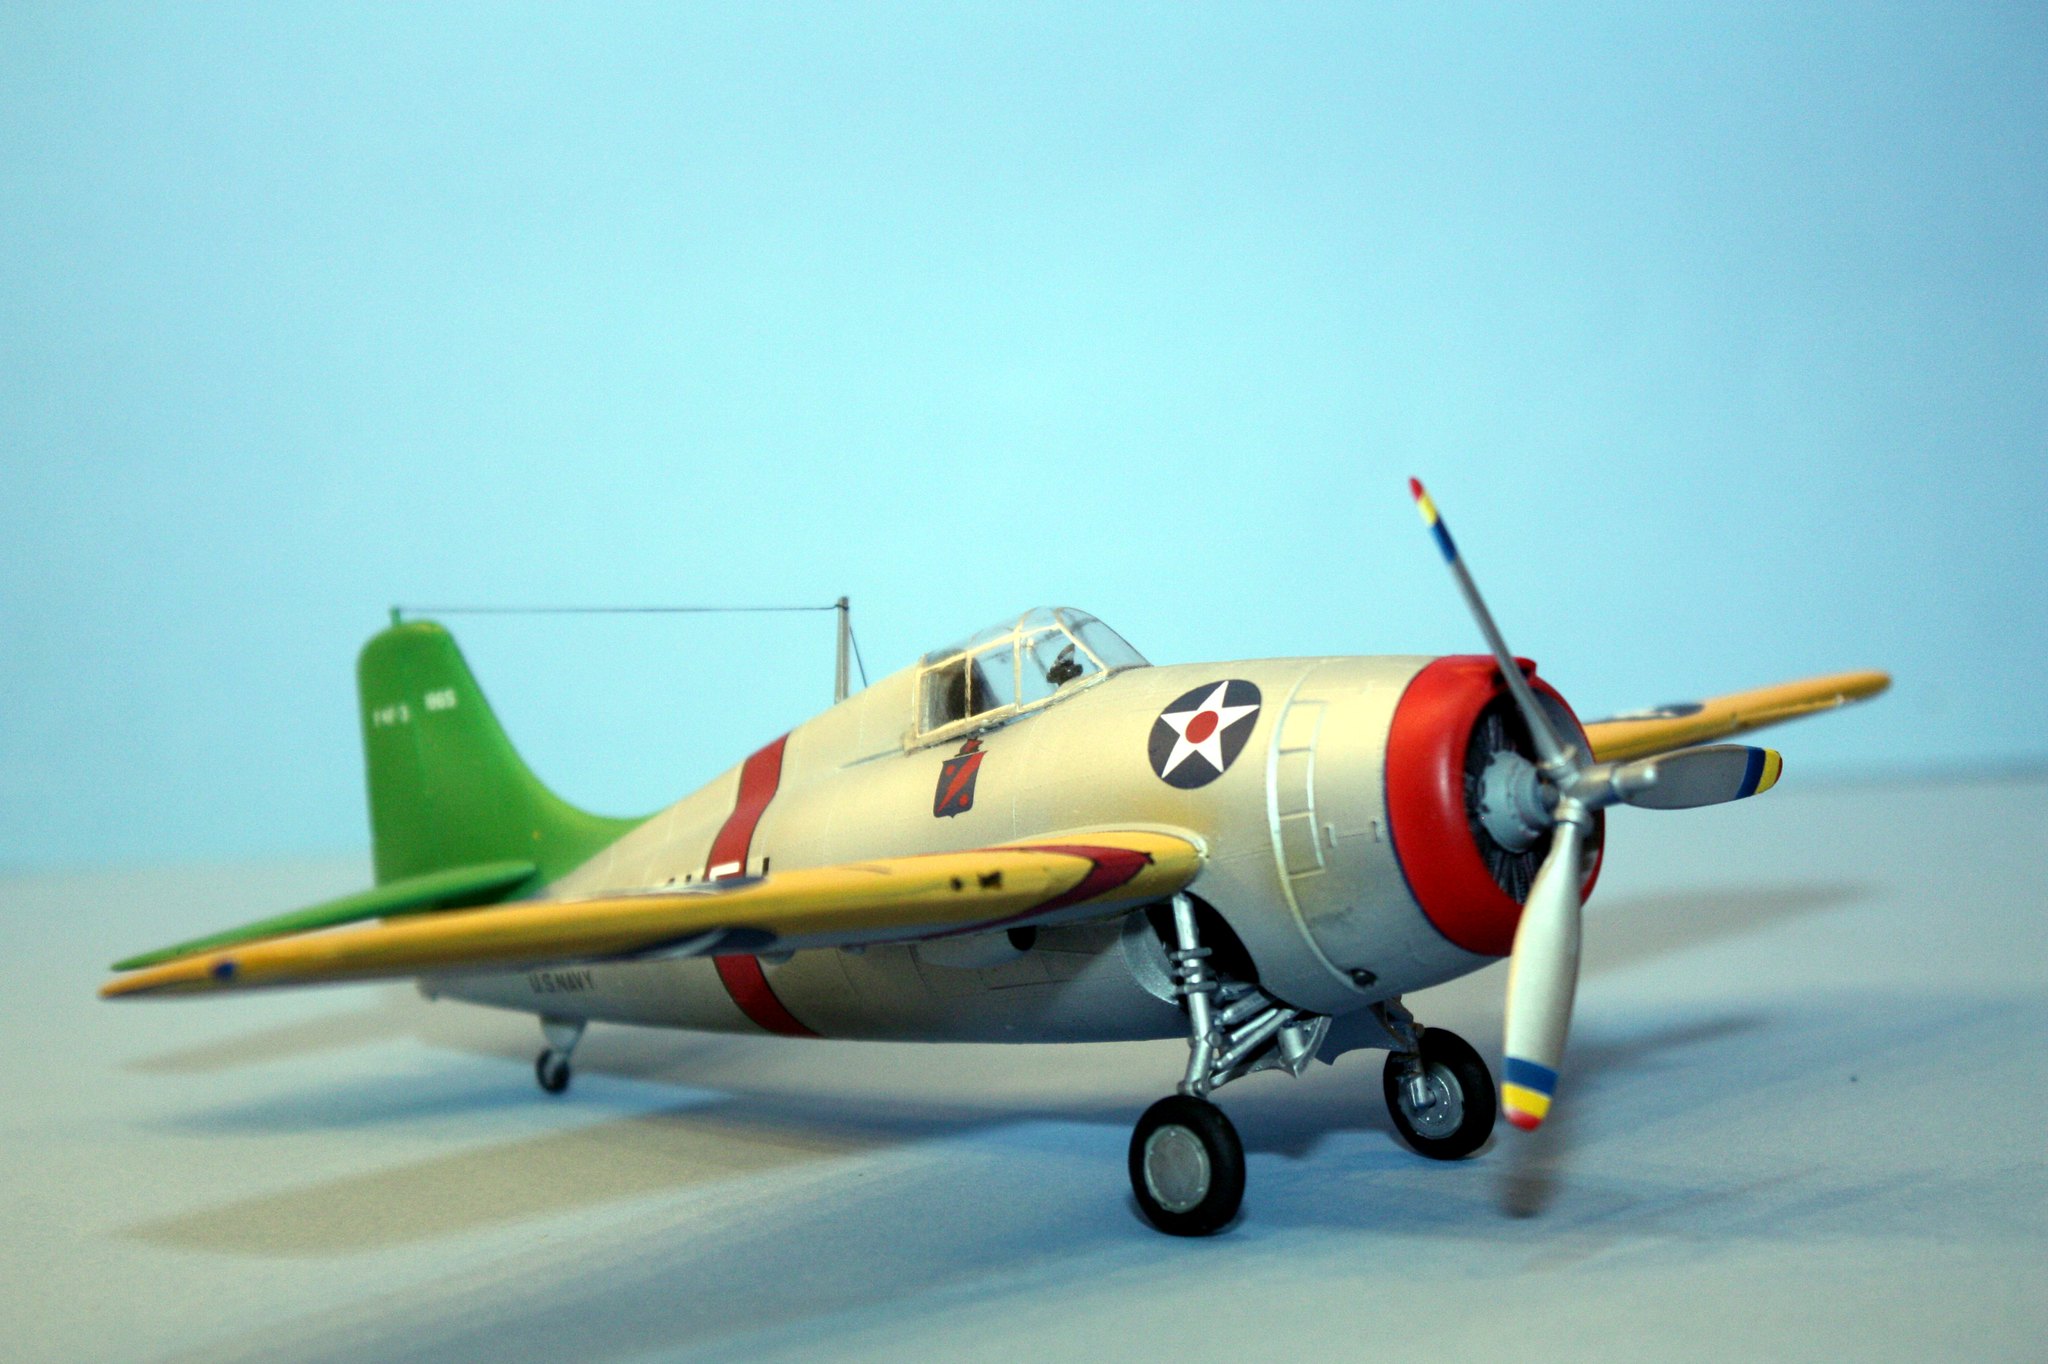
I had a great time re-visiting my childhood and improving upon a kit that I built probably no less than half a dozen times while growing up.