SEARCH FINESCALE.COM

Enter keywords or a search phrase below:

Completed: 1/72 Eduard MiG-15

1596 views
13 replies
1 rating 2 rating 3 rating 4 rating 5 rating
  • Member since
    January 2015
Completed: 1/72 Eduard MiG-15
Posted by BrandonD on Thursday, November 10, 2016 11:55 AM

I got talked into a 1/72 MiG-15 by Eduard (their limited edition dual combo with Czech markings).

I've heard great things about this kit, and so far all I can say is, wow - they're warranted.

The cockpit built up nicely, and I used Lawdog's method described in the post he made here. It was my first time using PE in 1/72. Fiddly, but Eduard designed it well.

I painted it Neutral Gray, and the PE wasn't a great match, but I figured weathering would take care of that.

And it did.

But man is this thing little!

I should close up the fuselage at lunch today and get on with it.

-BD-

  • Member since
    December 2002
  • From: Bury St Edmunds, Suffolk, England
Posted by Bish on Thursday, November 10, 2016 1:29 PM

Nice work there. I've got an Eduard MiG 15 in the stash, differant boxing, so will be watching.

I am a Norfolk man and i glory in being so


On the bench: Airfix 1/72nd Harrier GR.3/Fujimi 1/72nd Ju 87D-3

  • Member since
    January 2009
  • From: hamburg michigan
Posted by fermis on Thursday, November 10, 2016 1:35 PM

Pit looks great.


Little "heads up"...the pit/intake parts fit into the fuselage with very little room for error...if it's off by just a touch, it'll mess up the fit of the "chin" piece...not horribly, but it is something (about the only thing) to look out for. A little dryfitting prior to gluing is not a bad idea! I've done a couple of these...enough time had passed between em, that I had forgotten about the issue and had to do some filling and sanding to fix it. Aside from that, the only other minor issue is the attachment point of the main gears...not much to go on there!

You should have no problem enjoying the rest of the kit!

  • Member since
    January 2006
  • From: Earth
Posted by DiscoStu on Friday, November 11, 2016 1:09 PM

Nice work on the cockpit.  I've got one of these on the bench at the moment as well.  I don't usually operate in 1/72 but it's a pretty nice little kit.  I have the Royal Class boxing for 4 kits, including the two seater.  Watch the engine placement.  I must have screwed something up back there and had a real hard time closing up the tail of the aircraft.  Had about a 1mm gap that needed attention.  I'm sure it was operator error, but just something to watch for.


"Ahh the Luftwaffe. The Washington Generals of the History Channel" -Homer Simpson


  • Member since
    November 2003
  • From: Naples, FL
Posted by tempestjohnny on Friday, November 11, 2016 8:52 PM
I don't know BD you might get the Braille scale bug and start building 72 scale more often. Great start


  • Member since
    March 2015
  • From: Streetsboro, Ohio
Posted by Toshi on Saturday, November 12, 2016 6:30 AM

Wow, the detail is so amazing.  It looks like 1/48!  I'm looking forward to your WIP!

Toshi

On The Bench: Revell 1/48 B-25 Mitchell


Married to the most caring, loving, understanding, and beautiful wife in the world.  Mrs. Toshi


  • Member since
    January 2015
Posted by BrandonD on Monday, November 14, 2016 3:30 PM

TempestJohnny - don't hold your breath. I've built a few of the newer Airfix 1/72 offerings and have a Junkers J.1 from Eduard and then these guys, but I like my 1/48 too much to let it go.

Thanks for theheads-up on the potential pitfalls. I got the fuselage together pretty easily and the chin piece on. I did break off one of the gun barrels, but found it, so I will replace it post-painting.

Right now, it's sitting with the wings on it and a small bit of Mr. Dissolved Putty drying in one wing root because I played with it too much before the glue was dry.

-BD-

  • Member since
    April 2016
  • From: Parsons Kansas
Posted by Hodakamax on Monday, November 14, 2016 4:47 PM

Wow, that teeny little cockpit is looking great! Looks to be a cool build, Keep up the good work!

Max

  • Member since
    January 2015
Posted by BrandonD on Tuesday, November 22, 2016 3:08 PM

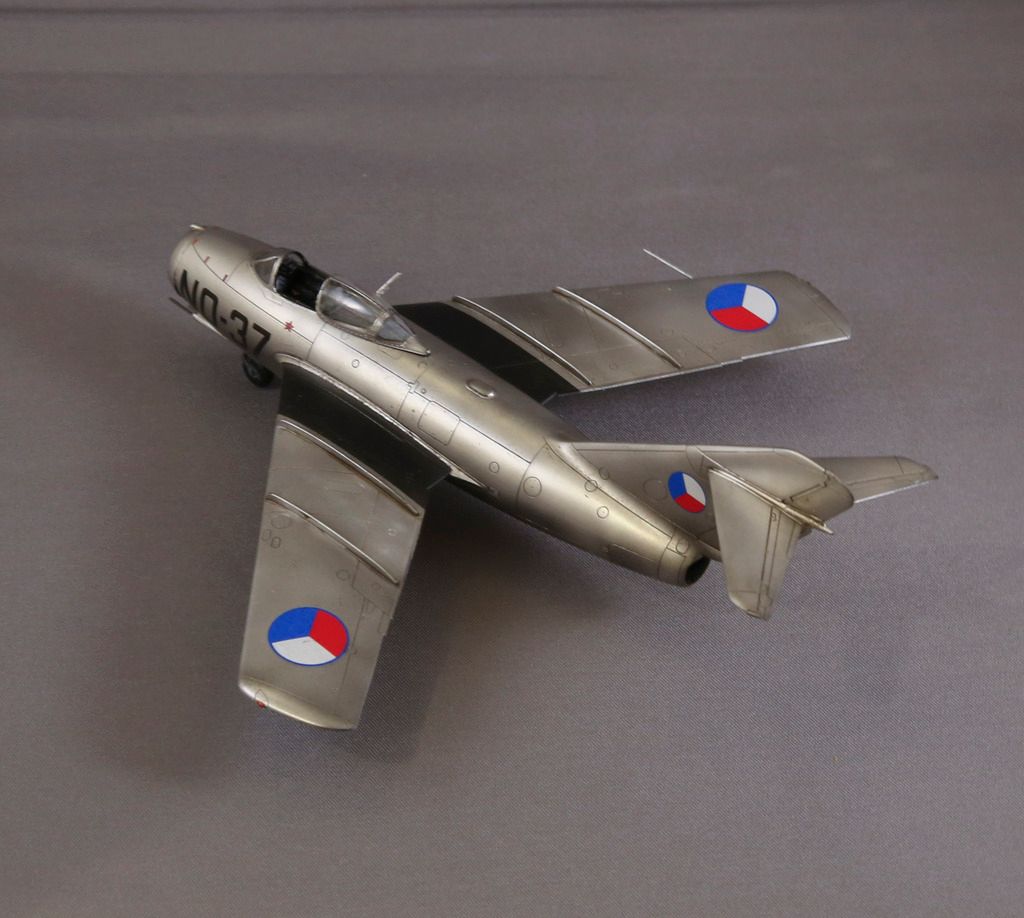
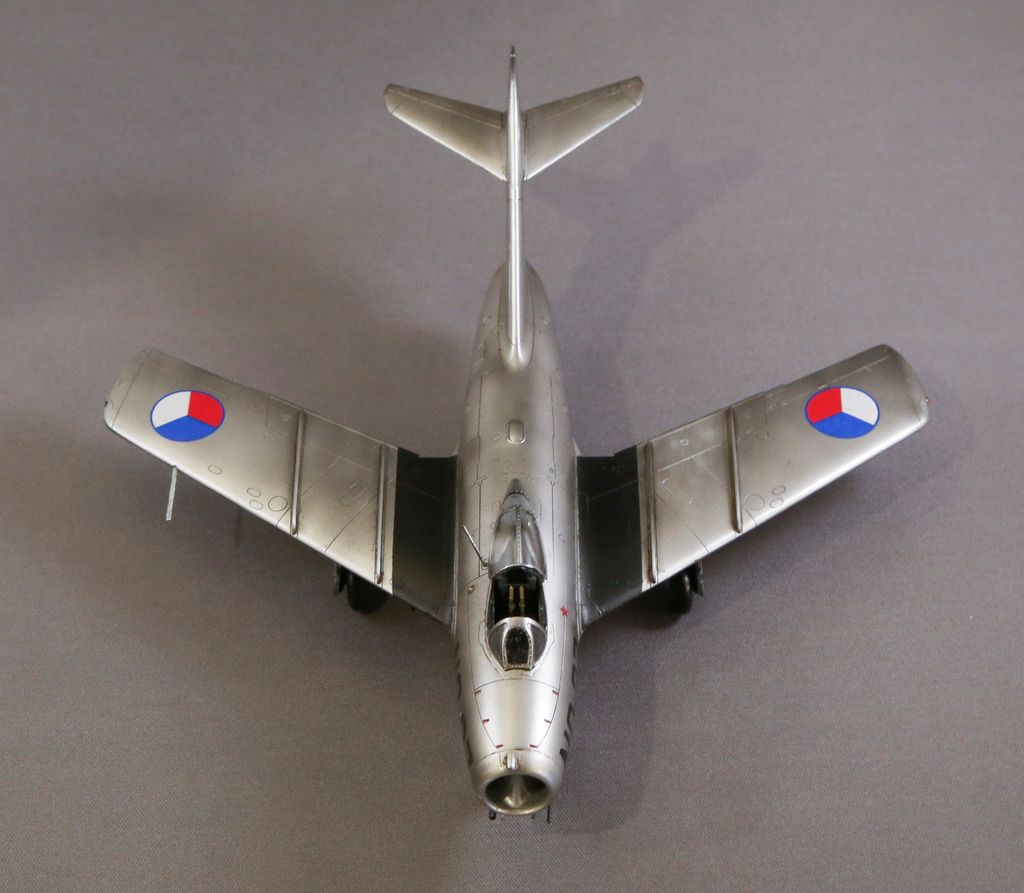
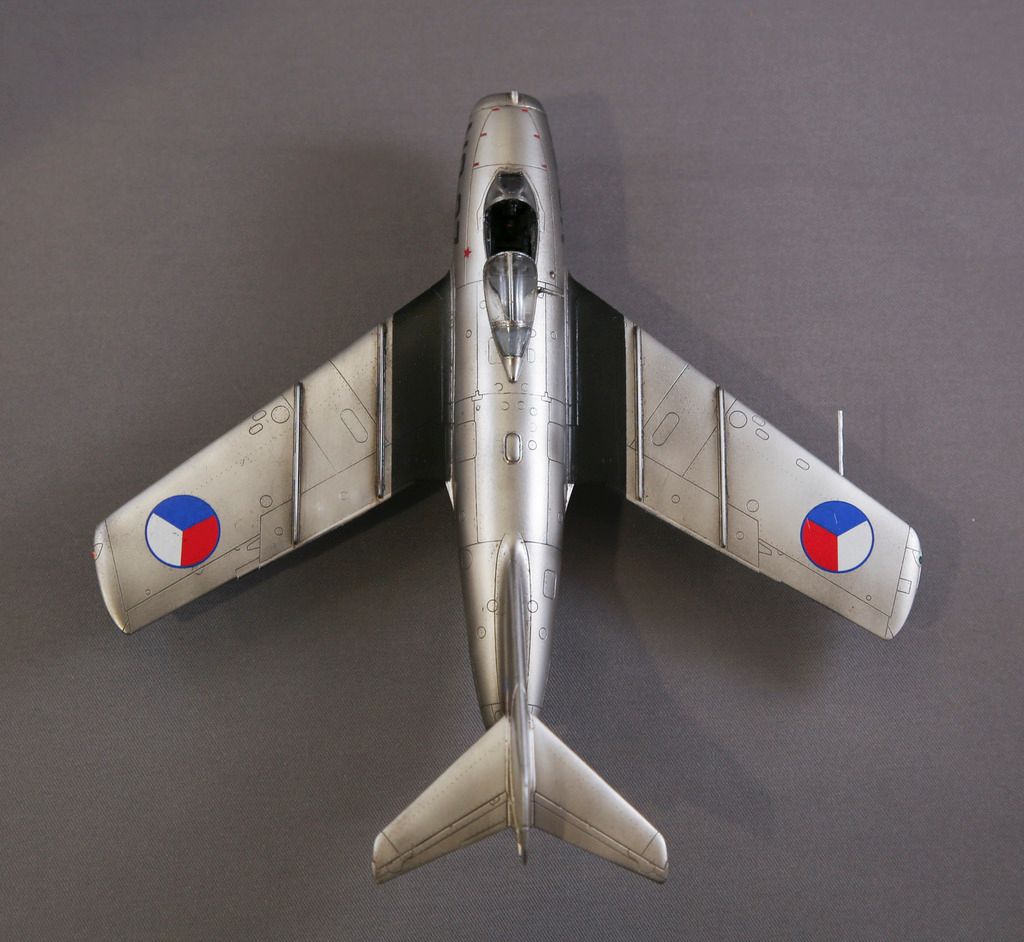
Ok, I got a lot of work done on the 1/72 Eduard MiG-15 over the weekend and finished it up last night. After filling the wing root seams with Gunze Mr. Dissolved Putty and just wiping them with a paper towel with Mr. Leveling Thinner on it, I sprayed Mr. Surfacer 1500 Black and then masked the wing walk areas before coating it with Tamiya Gloss Black.
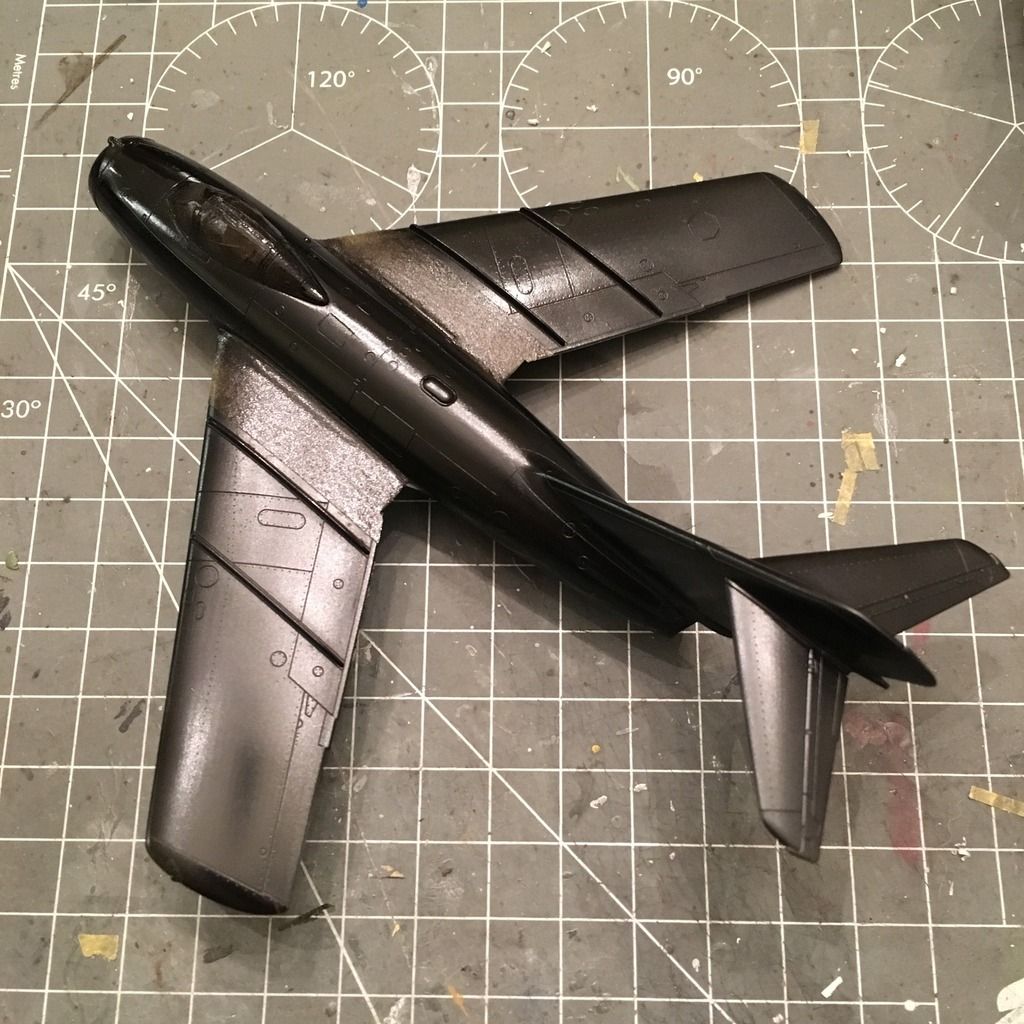
Next up was the Alclad, and I used Polished Aluminum as a base coat, with Airframe Aluminum on the speed brakes.
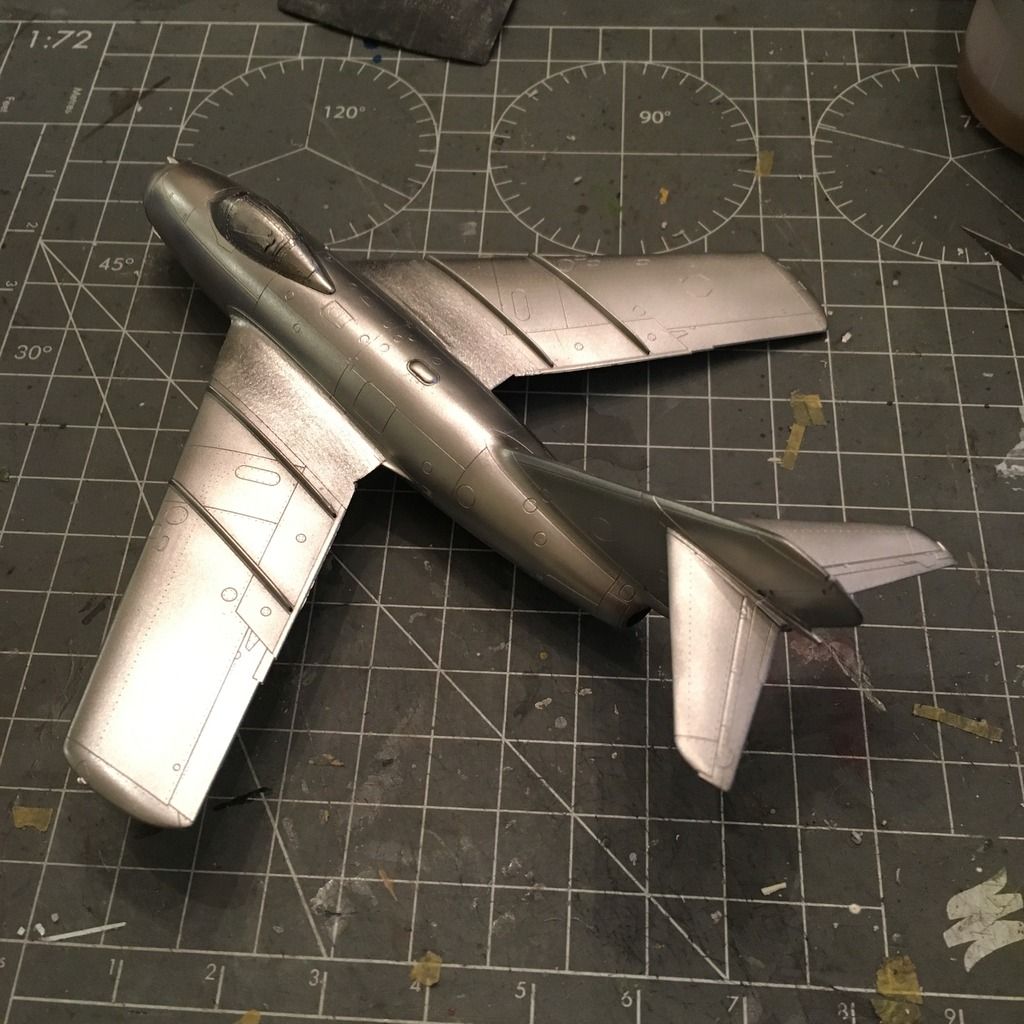
I did some random shadows and highlights with Magnesium and White Aluminum, but kept it all pretty subtle, as my references show these Czech MiGs were kept pretty clean.
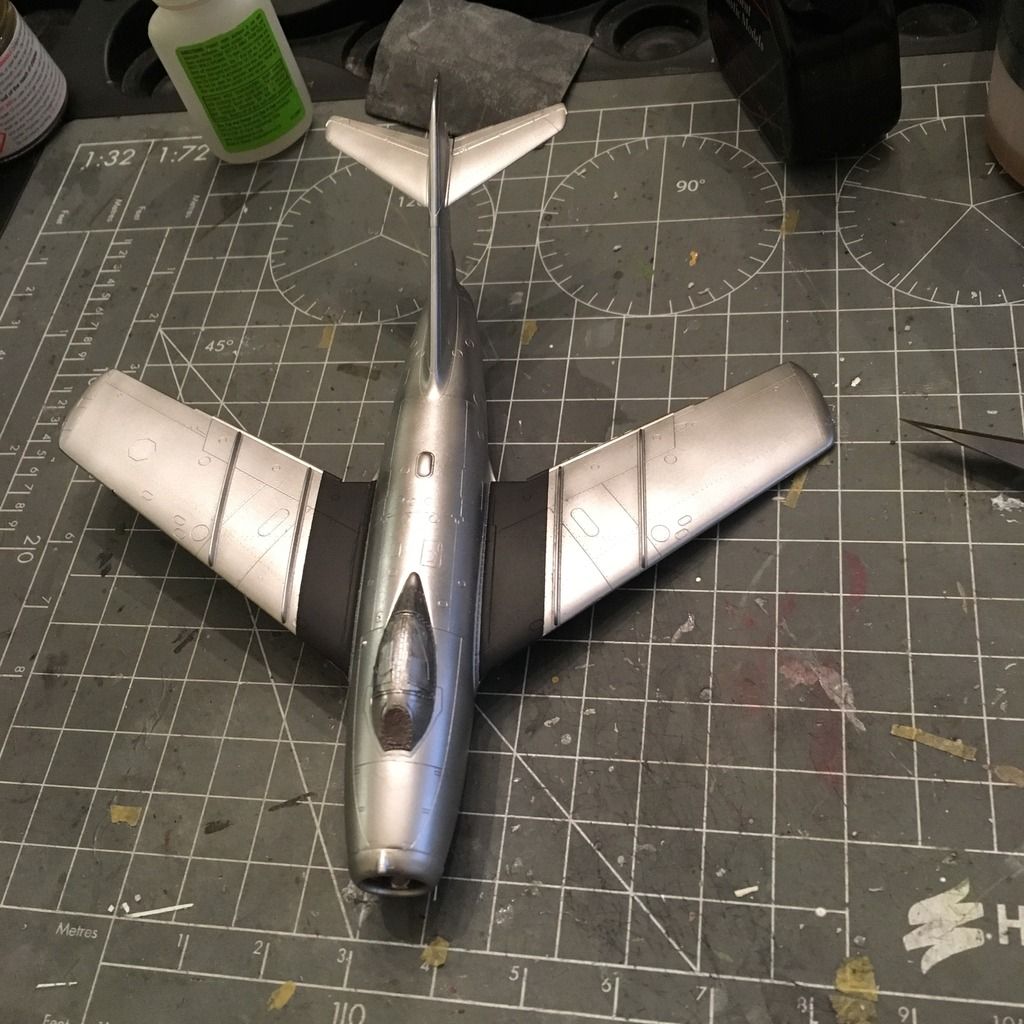
Then I went to shoot Tamiya Clear on it and accidentally dropped it. Instead of letting it fall 2 inches, I caught it and this happened.
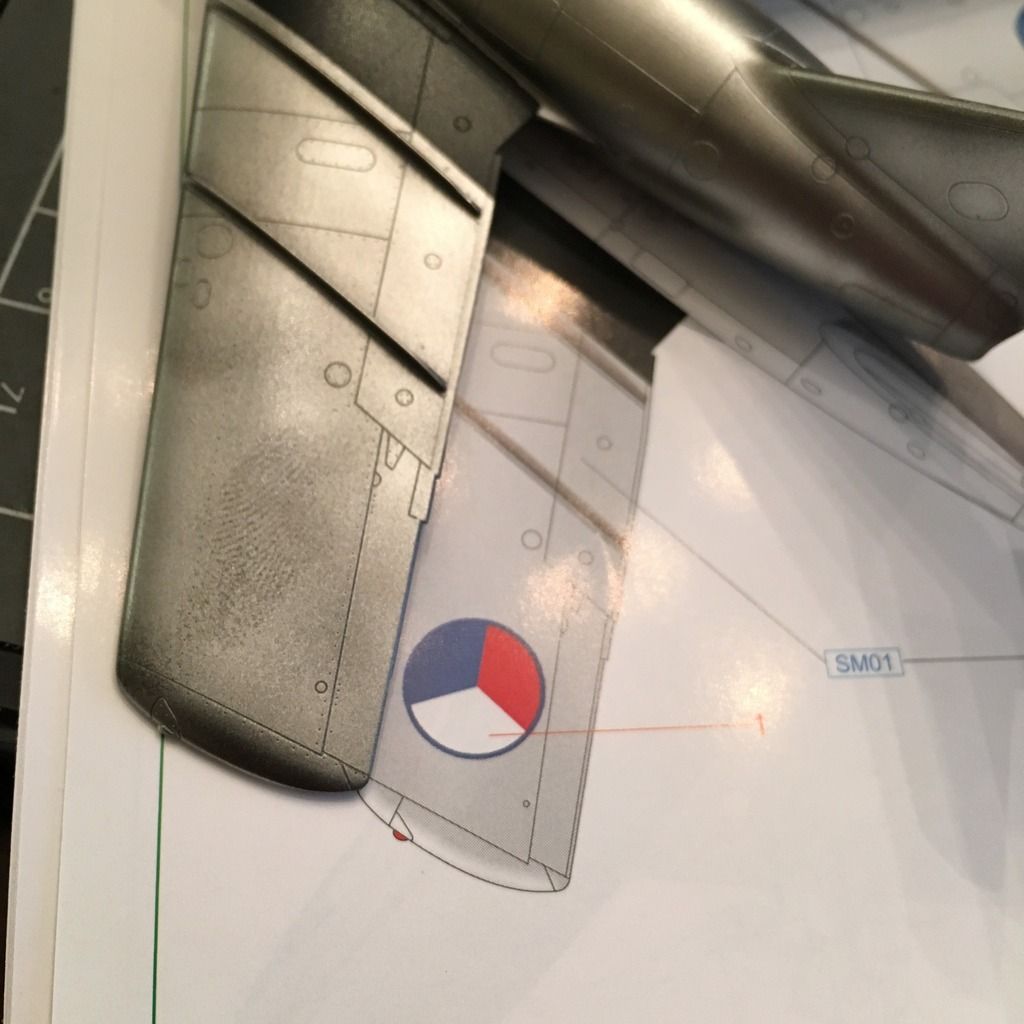
I was just going to leave it since a roundel went there, but I decided to be an adult about it and really quickly re-shot it with Polished Aluminum.
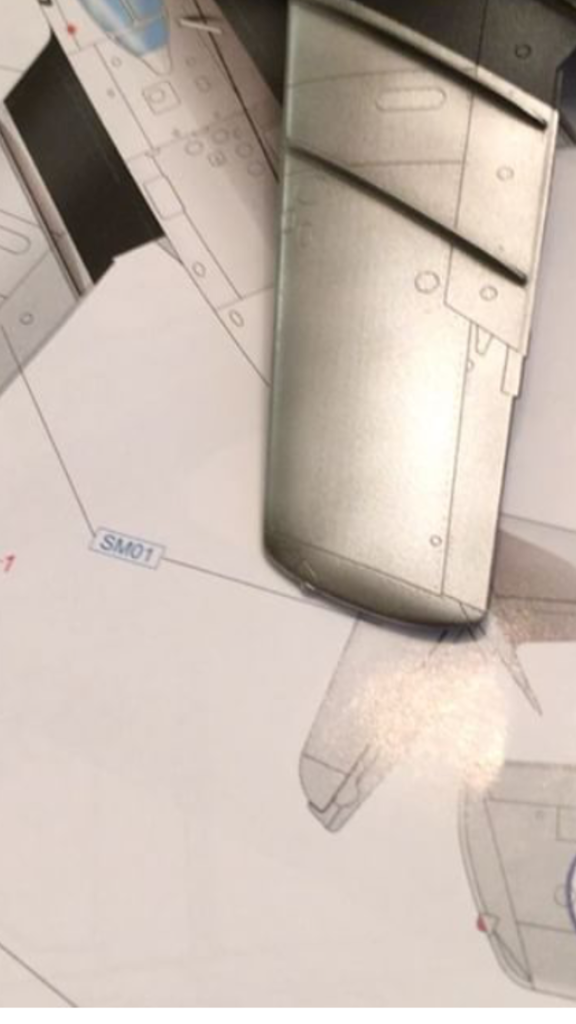
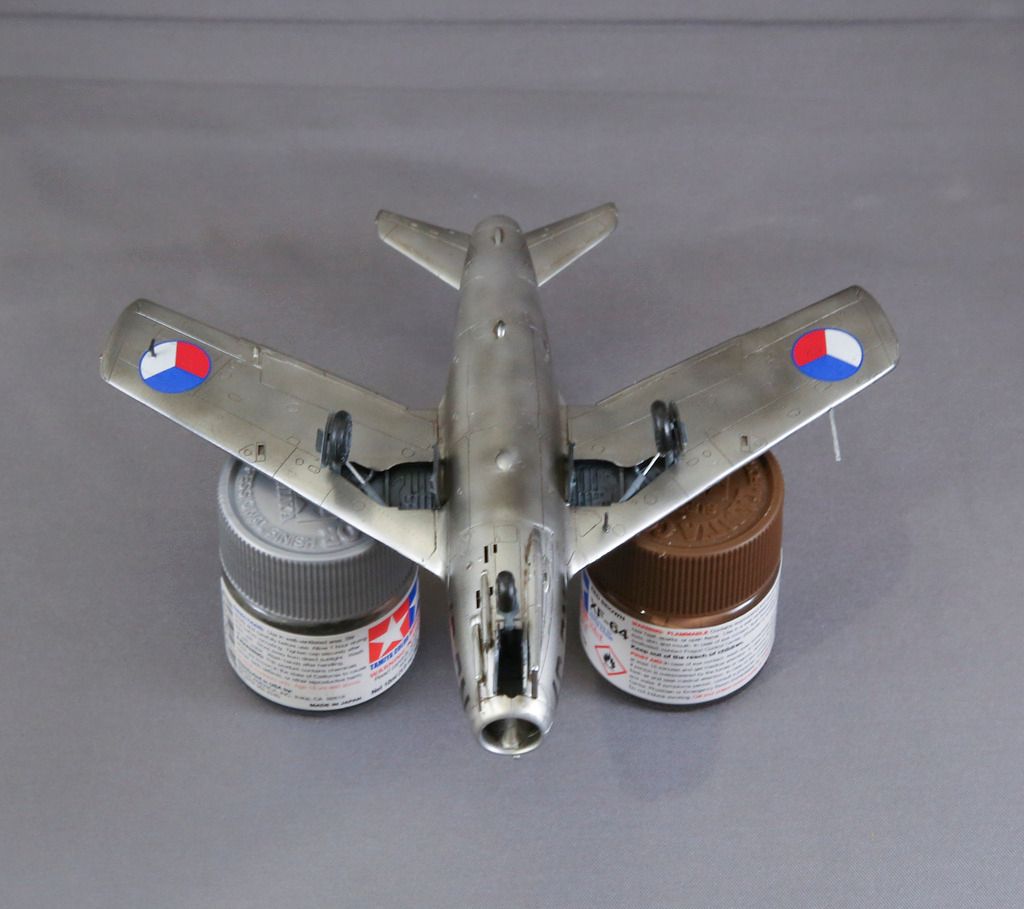
Once I put the legs on it, I ran into another issue - not enough nose weight. I tried several things, mostly around crushing lead pellets and dropping them in behind the cockpit, but too many went farther back past the landing gear and didn't help. I got it close by super gluing them in place behind the cockpit, but it was still a tail-sitter.

Finally, I decided to try something else. So I cut up a bunch of pellets after I flattened them with pliers.
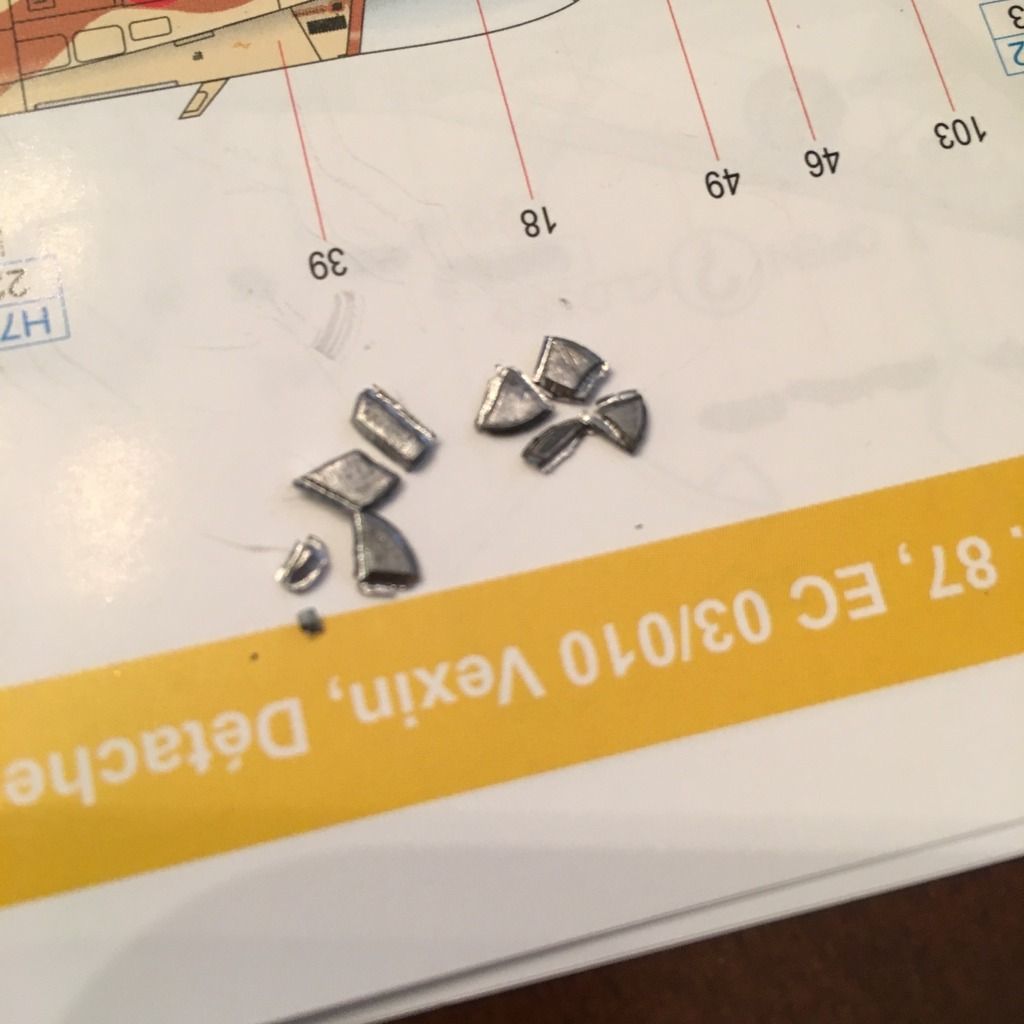
Then I pulled the ejection seat and took a drill to the cockpit so I could access the space in the weapons bay. You can see in the photo below I had some more cleanup to do around the cockpit area due to some super glue (this was just not my build in a few ways).
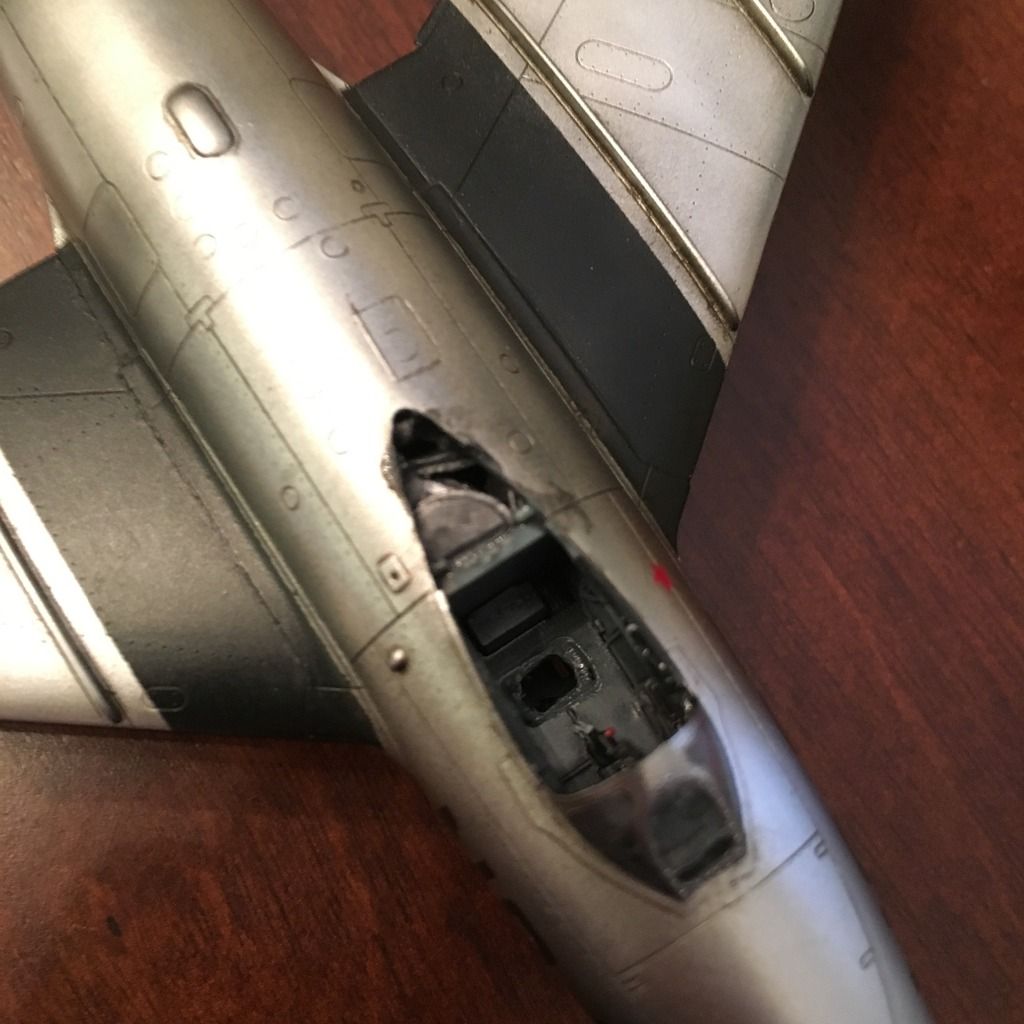
But that worked, and at the end, it sat firmly on the nose wheel, so I did the finishing touches and took it into the photo booth today at lunch.
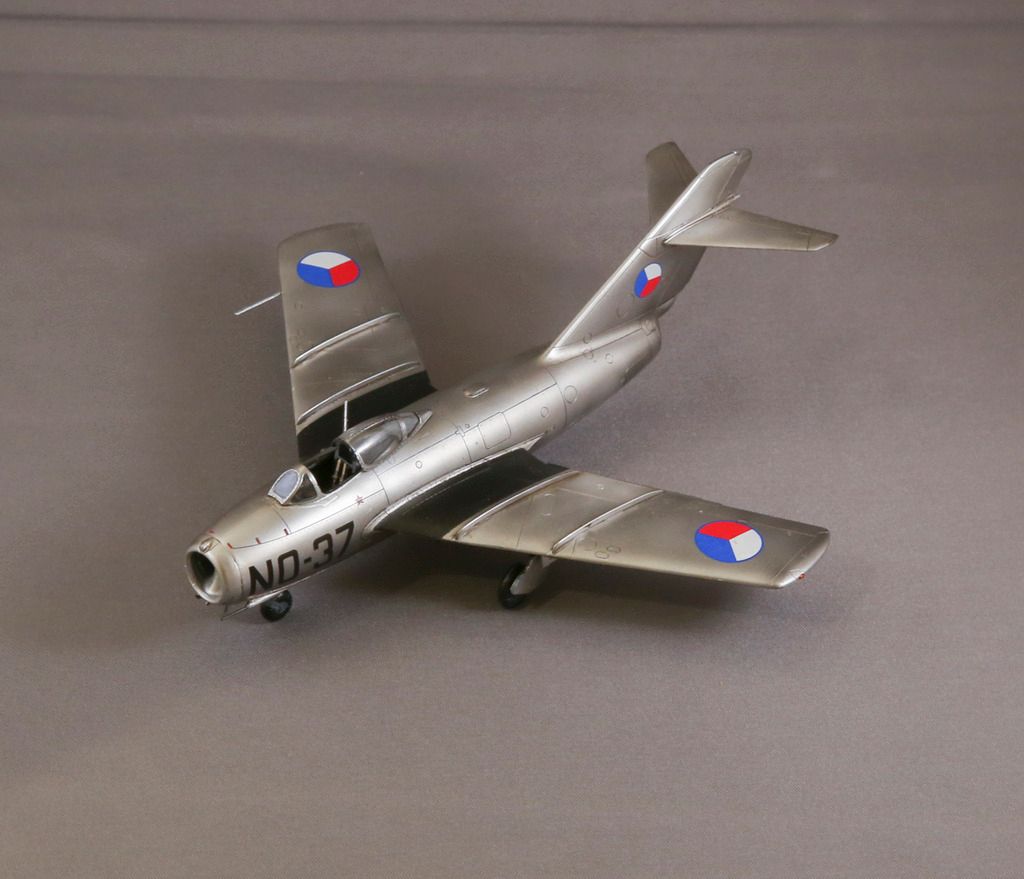
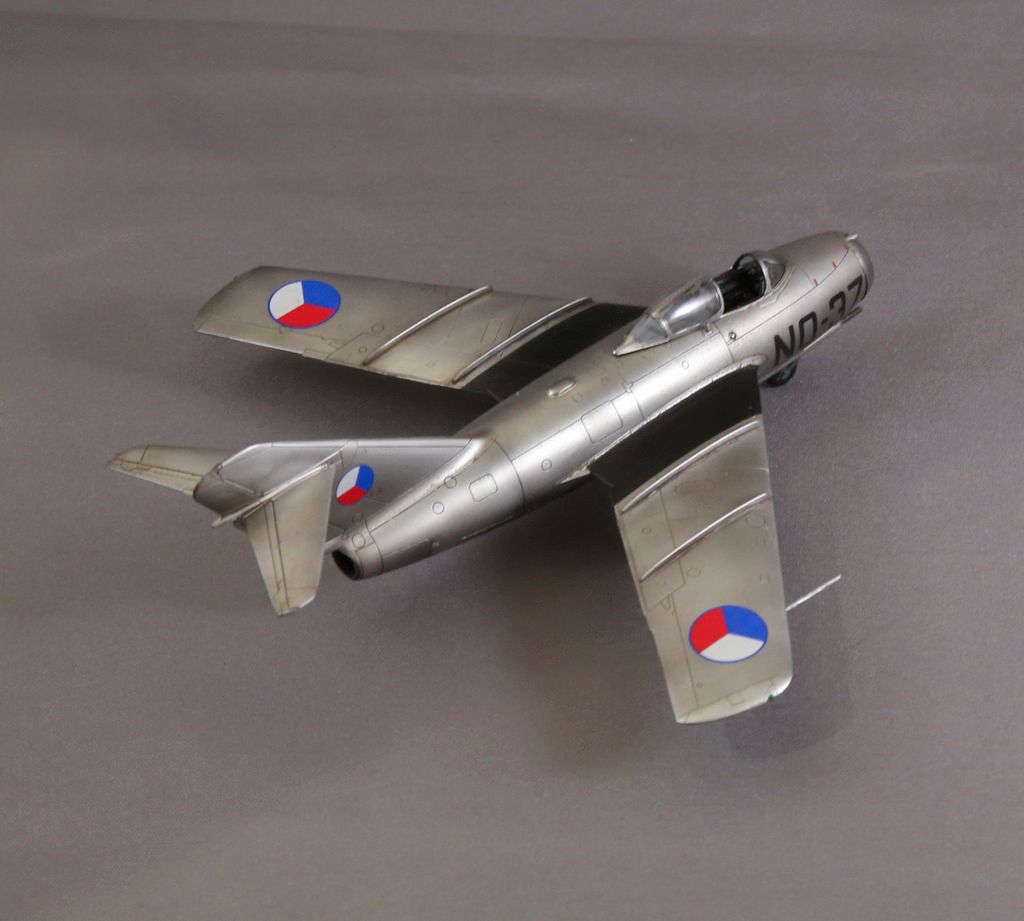
This one was flown in 1953 by the Czechoslovakian Air Force, and actually downed a US F-84 that the directions say "probably" flew into their airspace. The American pilot bailed out.

Thanks for looking!

-BD-

  • Member since
    January 2009
  • From: hamburg michigan
Posted by fermis on Tuesday, November 22, 2016 3:56 PM

Nicely done!

Last pair I did, I completely forgot to add weight,Dunce ended up cutting some lead sheet that I have and stuffing it into the intake. Not readily noticable, but if ya look for it, it aint hiding so well.

  • Member since
    November 2003
  • From: Naples, FL
Posted by tempestjohnny on Tuesday, November 22, 2016 4:19 PM
BD that looks great. Nice save on the tail sitting.


  • Member since
    November 2016
Posted by Marevic on Tuesday, November 22, 2016 6:40 PM

Great finish.
Really like the metal paintwork with the contrasting black.

Jurgen

  • Member since
    November 2003
  • From: State of Mississippi. State motto: Virtute et armis (By valor and arms)
Posted by mississippivol on Tuesday, November 22, 2016 6:50 PM
Nice!
  • Member since
    January 2015
Posted by BrandonD on Tuesday, November 29, 2016 11:52 AM

Thanks, guys!

Yeah, the tail sitting would have driven me nuts if I hadn't been able to fix it. I was actually ready to buy an airfield base just to glue the nose wheel down and keep it off its rear. Fortunately, I didn't have to.

The lead sheet in the intake is a good idea, too.

-BD-

JOIN OUR COMMUNITY!

Our community is FREE to join. To participate you must either login or register for an account.

SEARCH FORUMS
FREE NEWSLETTER
By signing up you may also receive reader surveys and occasional special offers. We do not sell, rent or trade our email lists. View our Privacy Policy.