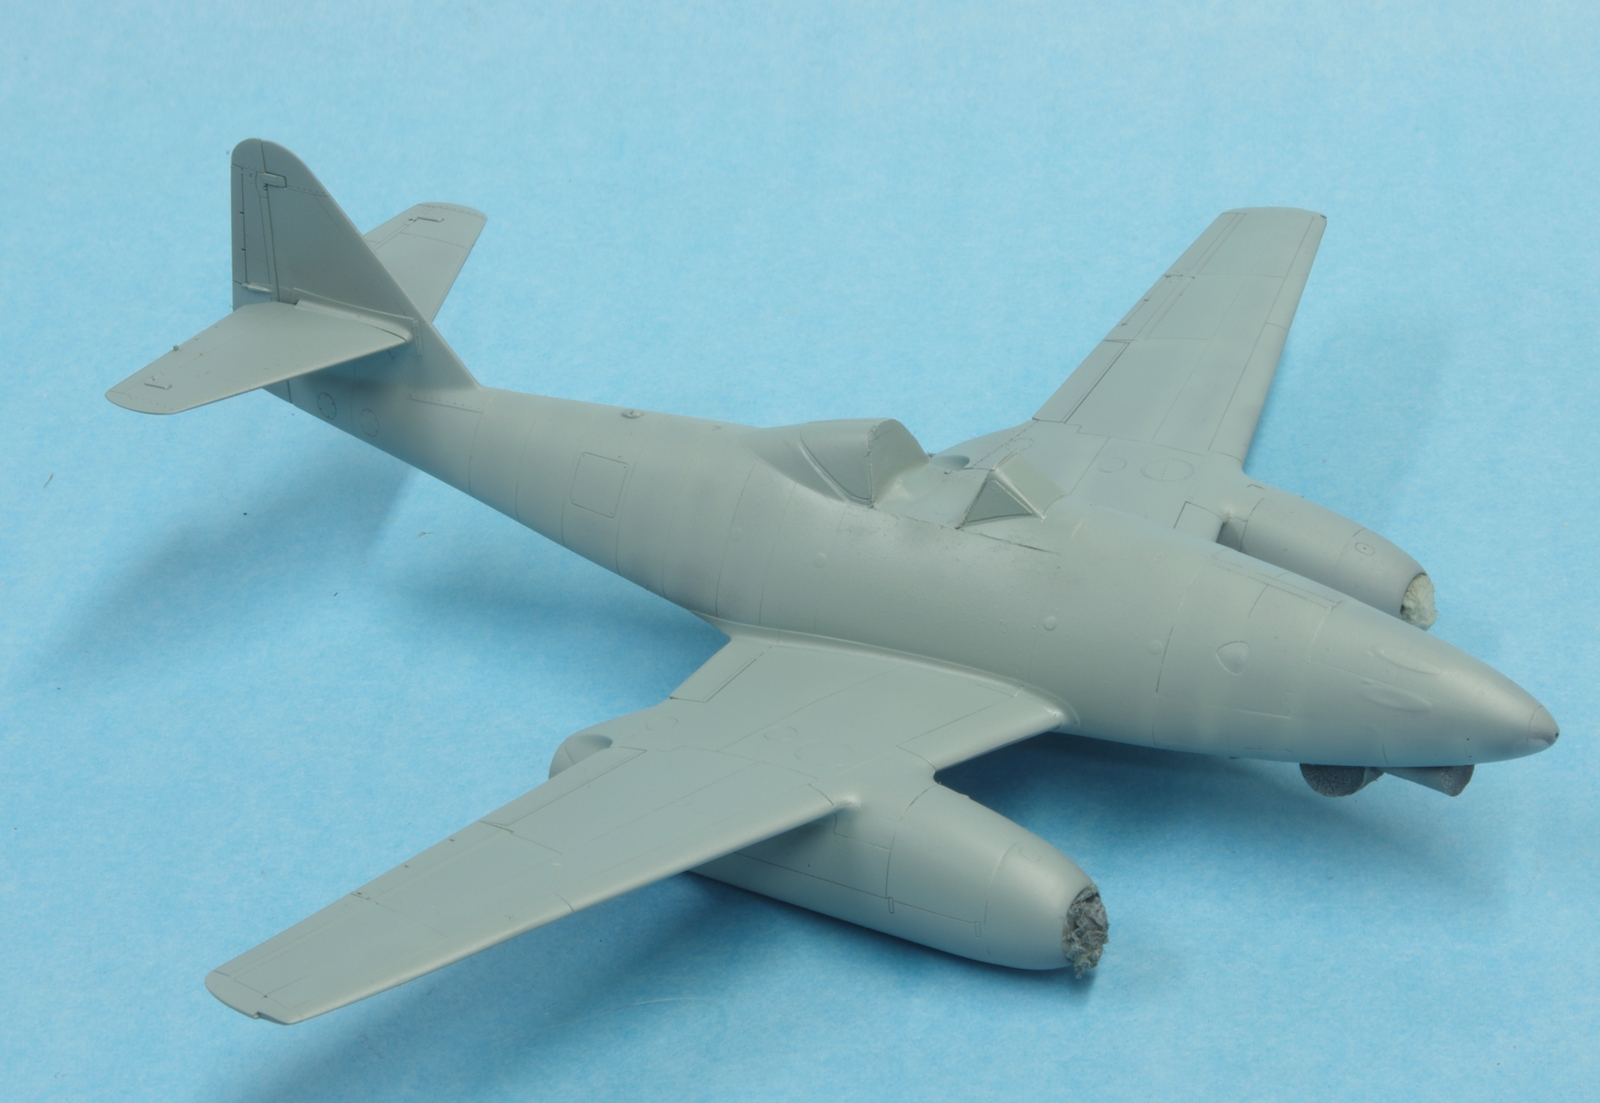
The Tamiya Me-262 is a wonderful kit. I don't know how they do it. Such fine detail, fits that are incredible, I am not worthy! I did manage to mess up the instrument panel decal. I tried to tamp the decal to absorb a little extra Mr. Mark Softer (first time I have used it) and two gauges came back with the paper towel. That Mr. Mark Softer does not fool around!
In keeping with my early jets theme of the moment, this was built as the V7 prototype, the first one with the final canopy design and the second with tricycle landing gear. Markings and colors are based on internet research, and books, including William Green's Warplanes of the Third Reich, and the Monogram book by Merrick and Hitchcock, relying mostly on photographs. But in the end I shot the experten and built it. My main interest in this series is the technology.
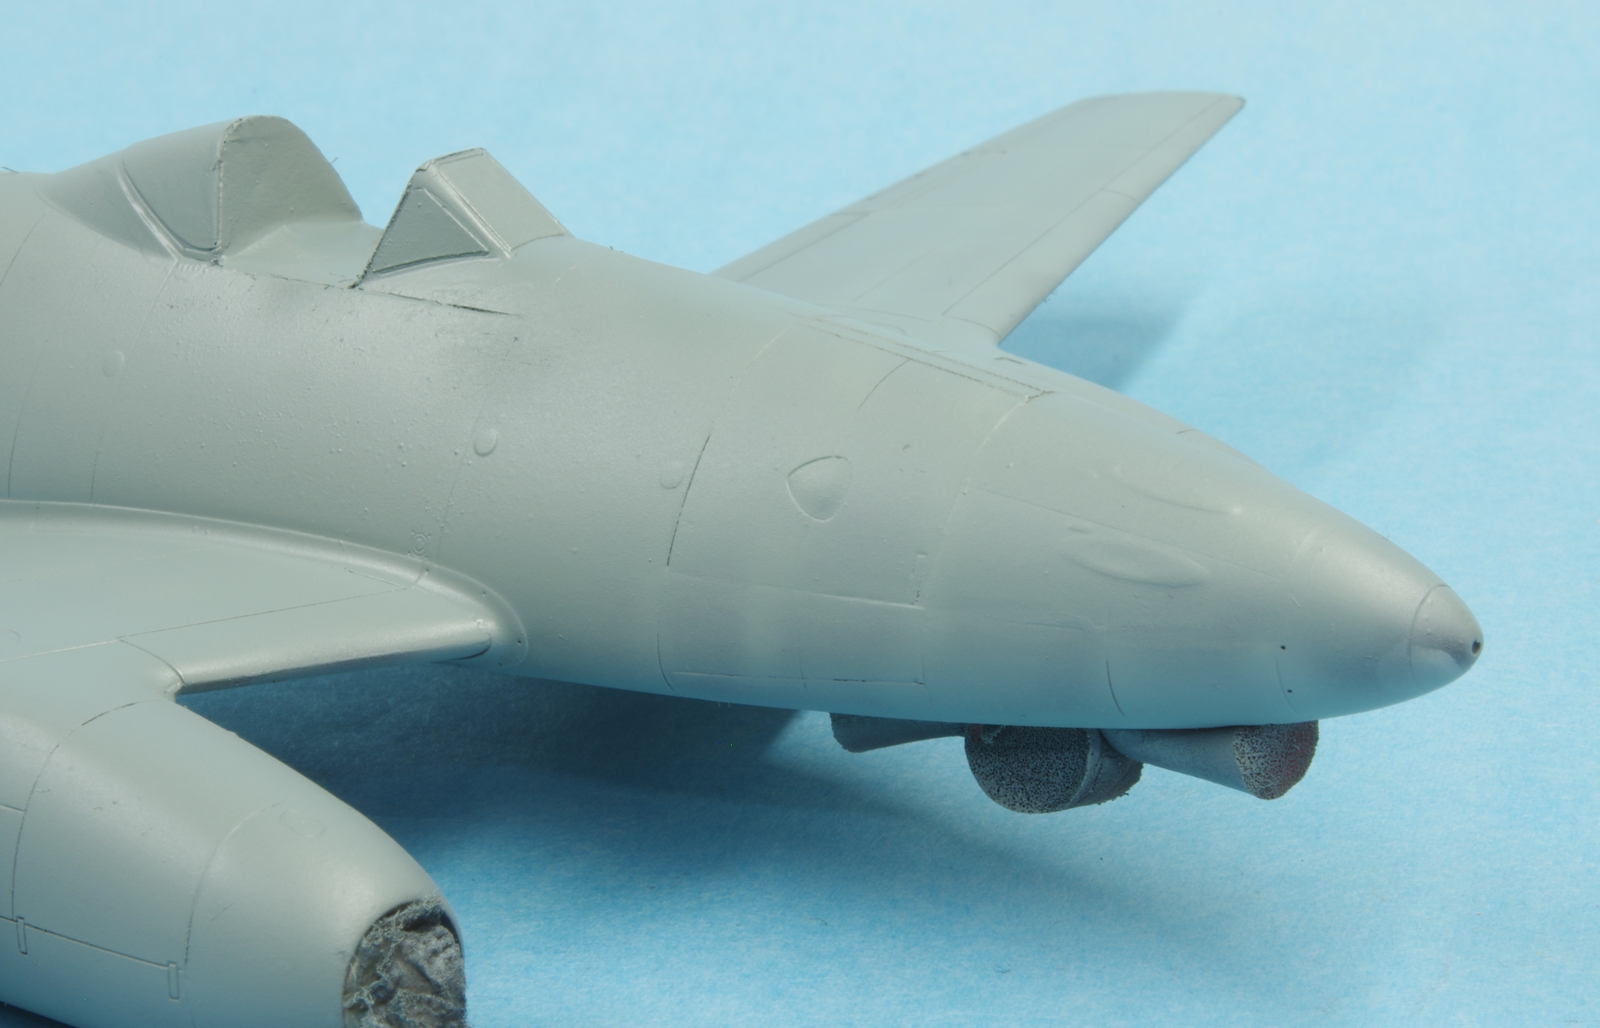
I blanked off the cannon ports as this airplane never had armament fitted, however I have no photographic proof this was the case on V-7 or whether the holes were plugged in some less visible manner. I also left off all antenna except for the loop, and I probably should have deleted it. The kit comes with alternate rudders, one with an external tail light and the other with a inset lens. I looked as hard as I could and finally concluded the right one to use was the external light, but now that I am done I quickly came across reference that the clear lens was in fact on early 262A's but was deleted due to being easily damaged by debris. I still don't know if it was actually on any V series airplanes and it seems very unlikely to have been on the first five taildraggers.
Building the Me 262 in close proximity with the He-280, it seems clear to me that the 262 aerodynamically was a far better design that the 280, apologies to Ernst Heinkel. He was handicapped by being first I am sure, but the telling differences I see are the wing design and the fuselage volume difference between the two. The He-280's fuselage is elegant, but there is not enough room for fuel, and the wing section is way too thick to have a decent critical Mach number. From what I have read the 262 did not have sufficient sweepback to make a difference in critical Mach, and in any event the sweepback was there not for aerodynamic reasons but to correct a mistake in CG calculations. CG adjustment is same reason the Tiger Moth has sweepback and the DH-60 Moth does not. So Messerschmitt can not claim that was the intent of the sweepback, but the very thin wing was a great stroke. To me the 262 fuselage is anything but elegant, especially in front view, but there is a lot of room for fuel.
The first time I saw a 262 was in 1965 at the Ontario, California, airport, which was at that time the home of Planes of Fame. Paul Allen now has this airplane and it is under restoration to flying condition with the Jumo engines. I understand they are improving the metallurgy of the internal parts to make this possible. I was amazed at how rough the construction of the airplane was. It was definitely bash to fit and paint to match, in stark contrast to the design. But I guess that is what you get when unskilled slave labor is doing the work. I think it is important to remember that was the case and to remember those poor souls.
I made the attempt to convey the look I remember as best I could. The Tamiya kit being pretty much perfect and my skills at replicating distressed metal being minimal at best, I determined to do the best I could with paint to represent what V7 might have looked like.
I would put in a picture of the box contents, but better you should get yourself to the hobby shop and get one for yourself! I don't know if Tamiya needs the money, but you need this kit.
The nose weight is in the form of the nose gear well. A plastic part that is the nose gear mount is inserted into the front of that weight but is not glued, and is trapped by the weight and some pin receptacles in the fuselage sides in the nose. All very neat and self aligning, so long as you see the note and don't superglue the part as I of course didn't and did.
I think that is why this became necessary later on; I had fouled a precisely engineered fit just slightly. I'll find out when I build the A-2a kit, I guess.
I did a pretty serious preshade as you can see, followed by white sprayed along rivet lines. This was to replicate the lines of filler that were on the rivets, done in strips, not just around the rivet heads. I don't know how well you can see the effect, it is apparent to me, but I can also see it on the model and that may affect my perception. Very little RLM 76 was sprayed on in very thin amounts.


Once again I made masks with the Silhouette vinyl cutter, and this time I also made masks and sprayed on everything but the swastika. It was an interesting and overall successful effort, but in the long run the early balkenkreuz with the black outer outlines seems just outside the capabilities of either the vinyl or the cutter, as those little parts don't cut perfectly. Since there is little exposed carrier film on the insignia, for this particular type the decal may be a better choice. It is nice to not need any clear coats which I think in this build in conjunction with the quality of Tamiya's panel lines combined to give a nice effect. I just don't like stark panel lines. I have to keep working on that issue from a more subtle direction, I guess, for it to work for me.
The masking process. First the masks are applied with the white areas removed but black parts still masked I drew the masks such that the outer shapes aligned with panel lines, and the lettering and insignia are all included on the mask insuring placement is accurate:
After the white is sprayed the white segments of the masks are replaced using the black parts to insure alignment, they sort of key into place when they are right. Then the black segments are removed and the black is sprayed.