SEARCH FINESCALE.COM

Enter keywords or a search phrase below:

1/72 Spitfires WIP

1690 views
16 replies
1 rating 2 rating 3 rating 4 rating 5 rating
  • Member since
    January 2009
  • From: hamburg michigan
1/72 Spitfires WIP
Posted by fermis on Monday, February 27, 2017 7:34 PM

Doing a pair of Spits...Eduard and new Airfix.
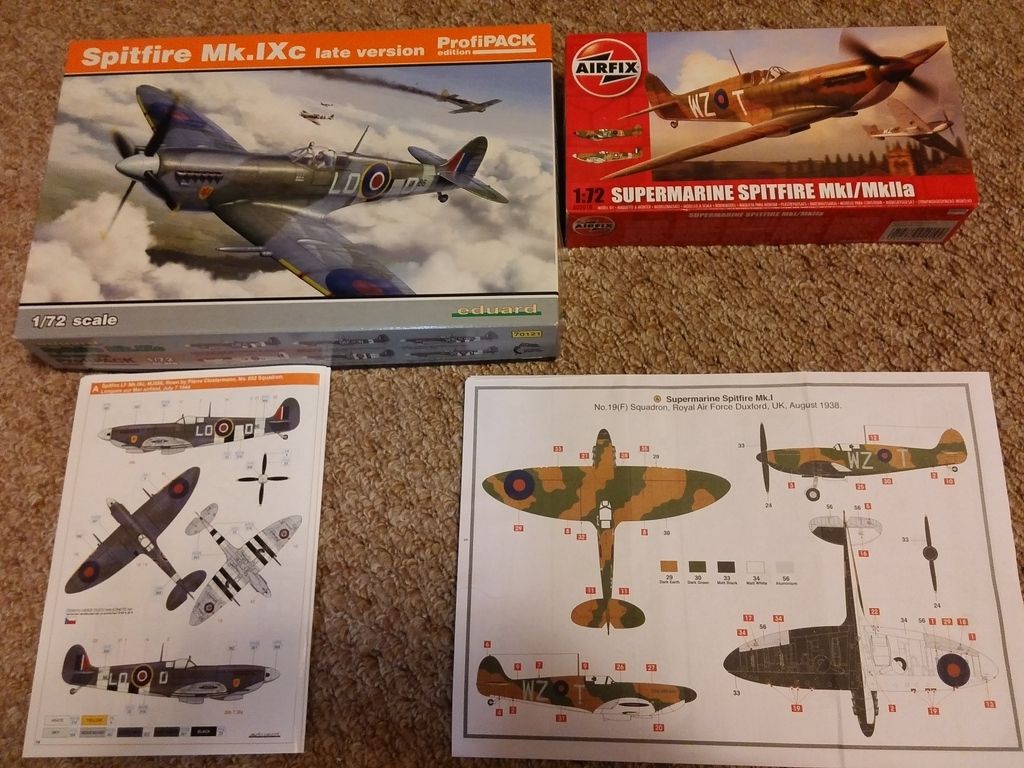
As you'd guess, the Eduard kit is far superior to the Airfix, but for less than 10 bucks, the Airfix is quite nice. Fits right in with the rest of their newer stuff.

I got a bit ahead of myself and forgot to take the obligatory pit pics. Eduards pit is GREAT, and Airfix's pit is a bit more simple, but still pretty nice. I did cut of the Airfix IP and replace it with the molded IP from the Eduard kit. The Airfix IP was just smooth, for a mediocre decal.

Since all that and most of the assembly is already done, I'll focus this more on a couple simple things that can be easily done, to add a little "life"...starting with droping the elevators.

It takes very little effort to drop the elevators, and I believe the benefit outweighs the effort. 

I started with a PE saw (from Tamiya...came as a set of 4...recommended!).
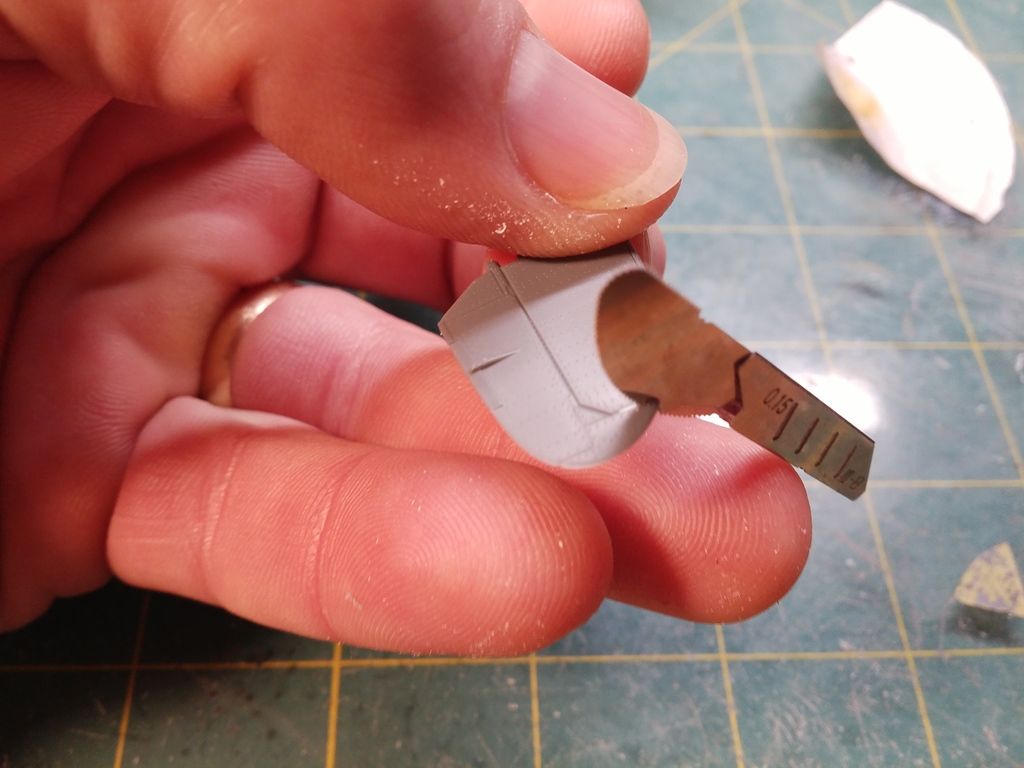
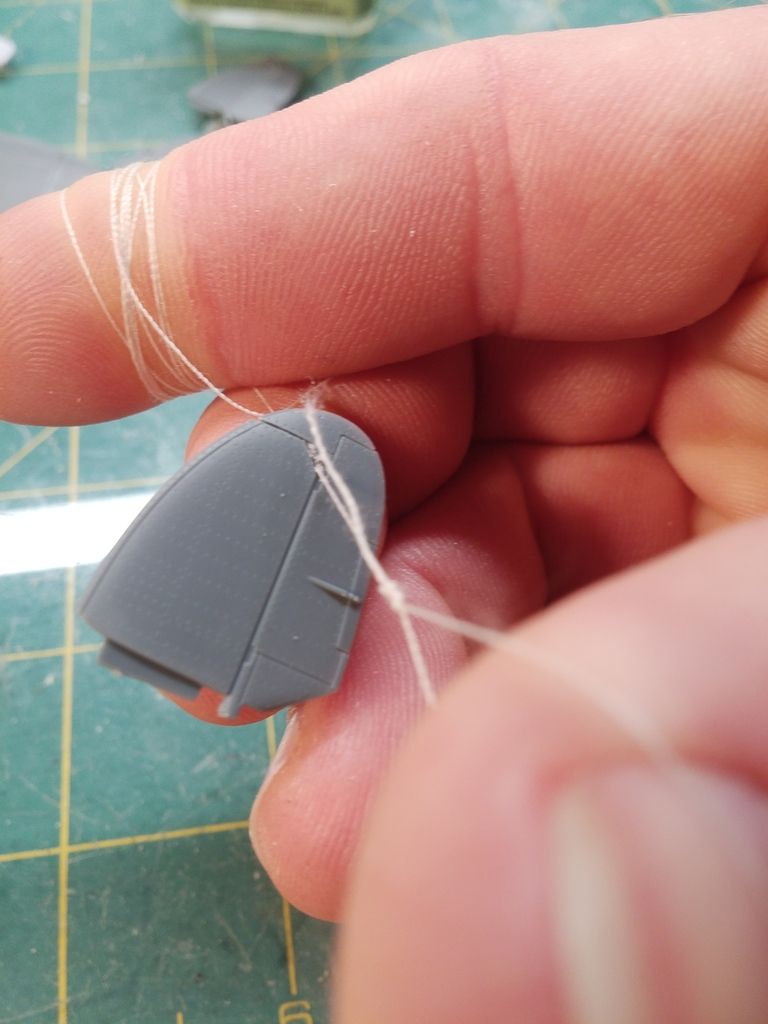
This will only go so far, on account of the angle. For the angle, I used regular sewing thread to "saw" through the plastic...
For the long, straight section, I just scored the top a few times with the back of a blade. I scored the underside moreso than the top.
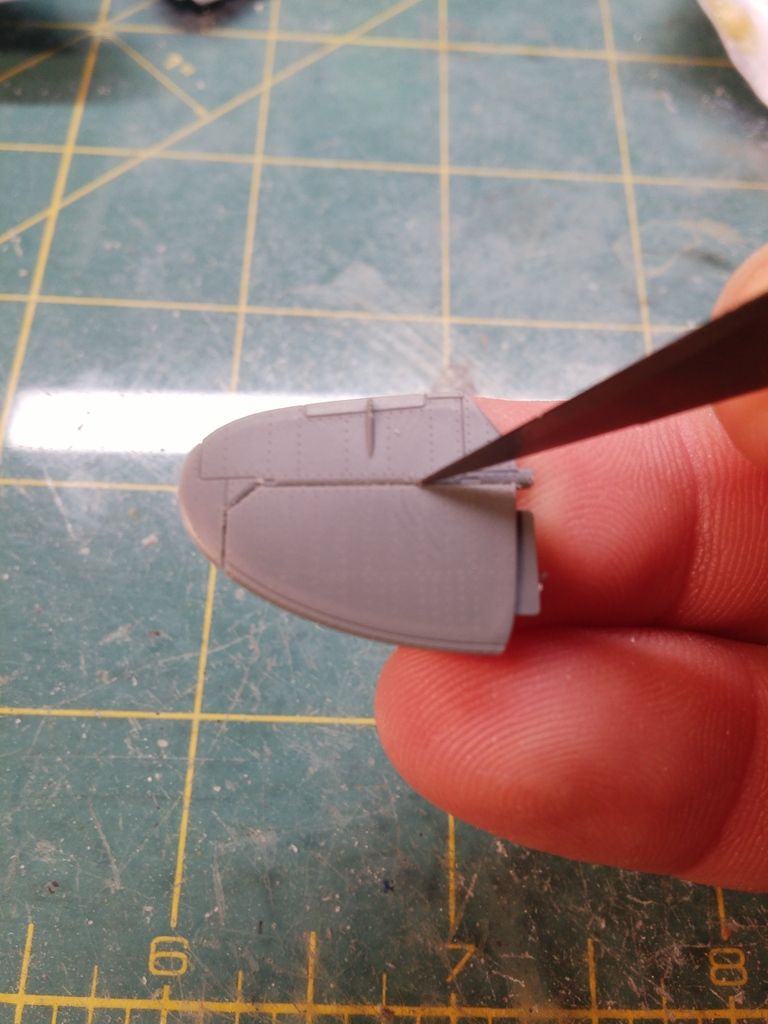
I score it until it is thin enough to bend, but not break.
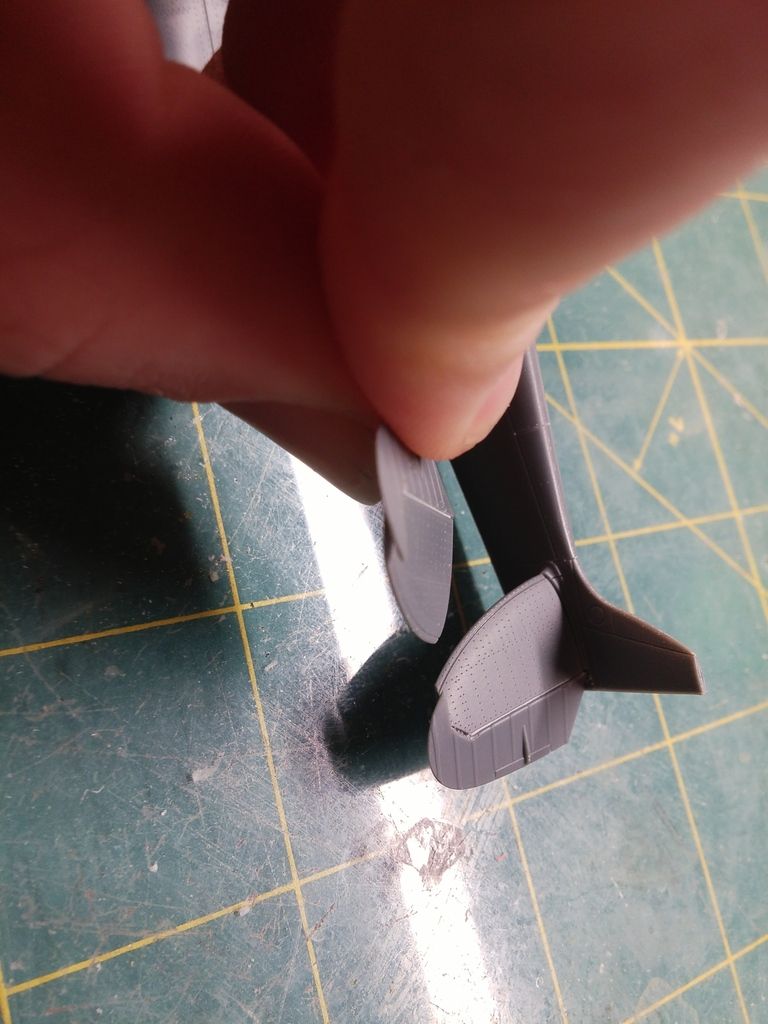
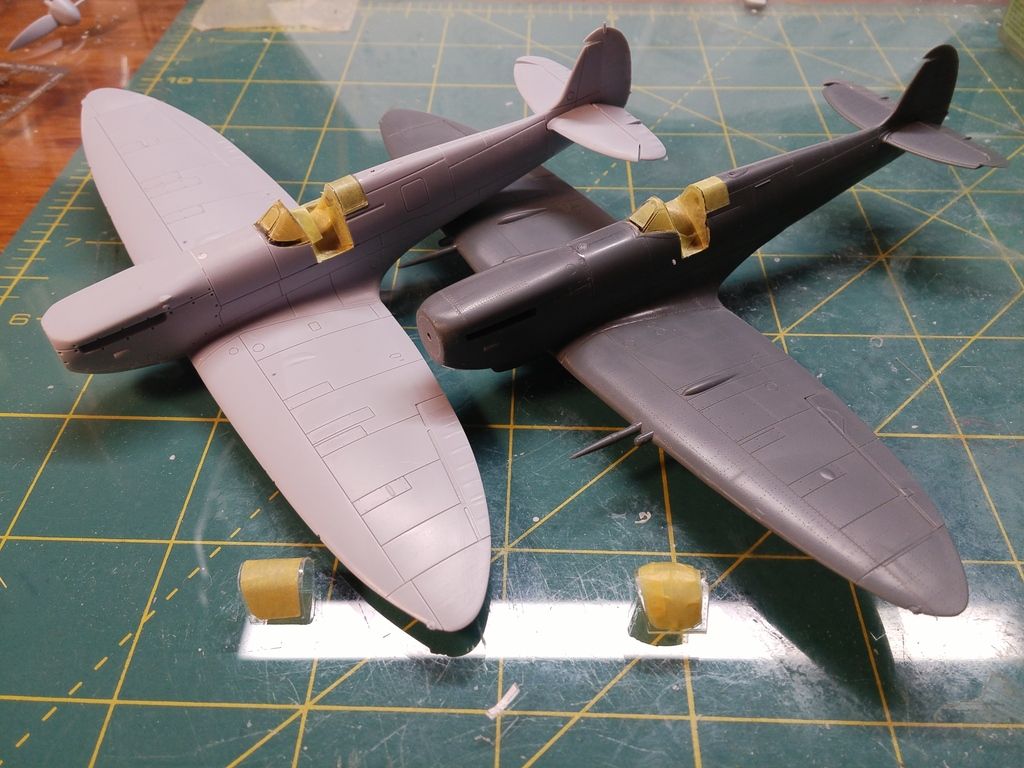
In place. This is a good time to "eye ball" em...make sure they're the same!
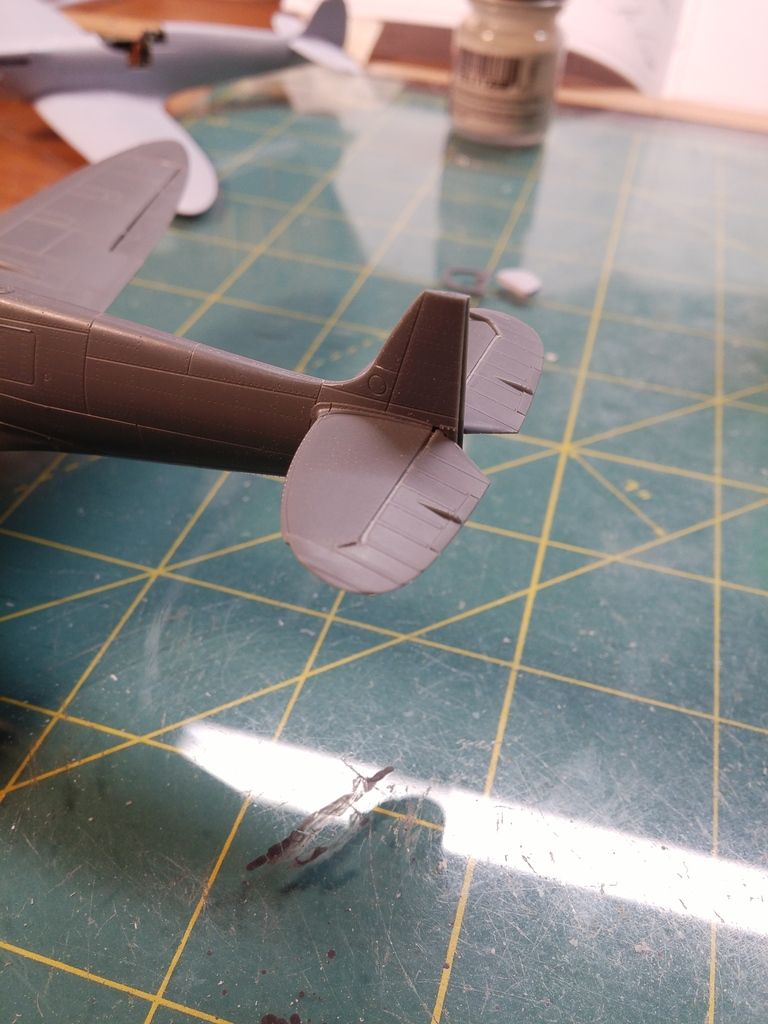
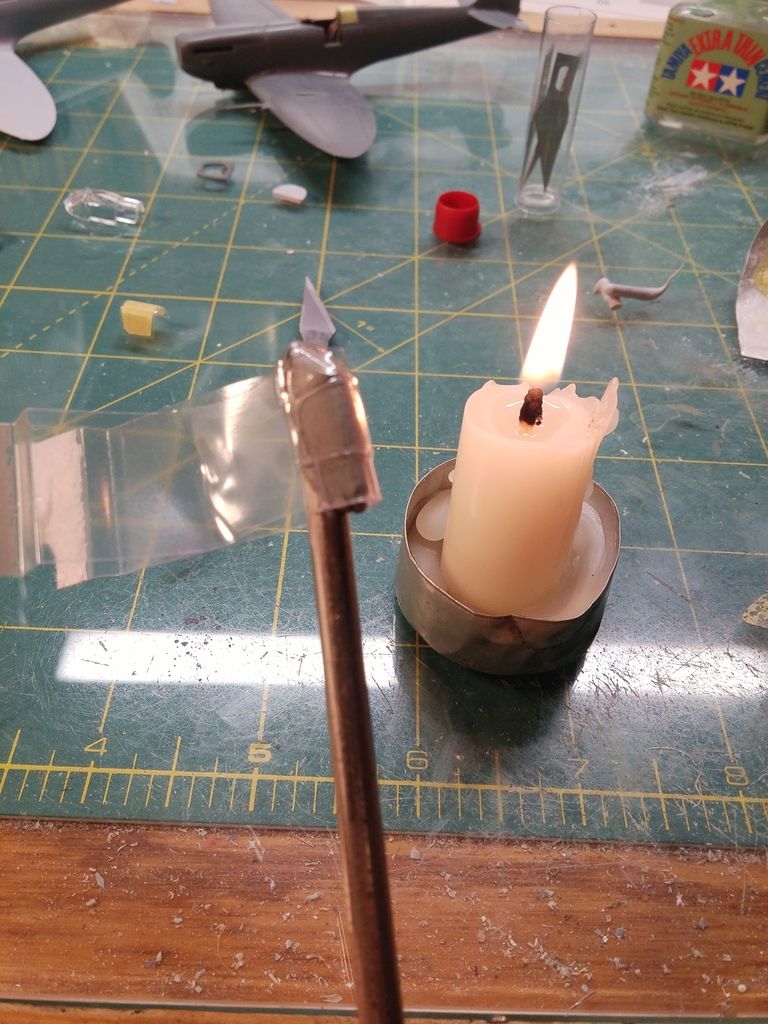
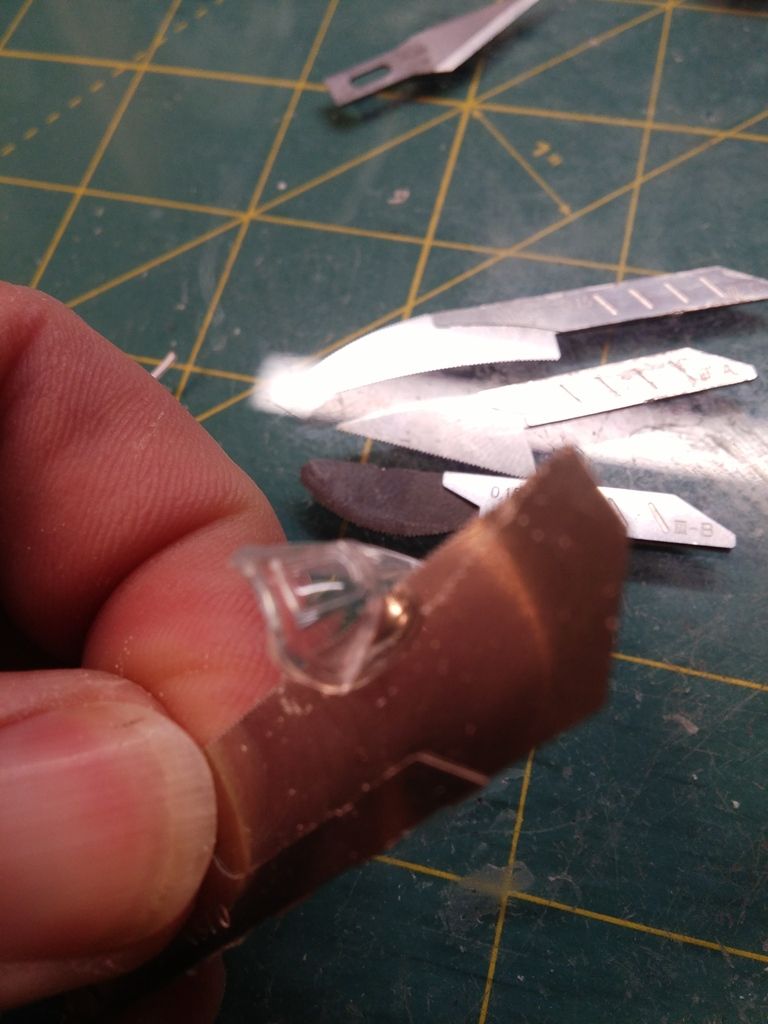
The only bugger about the Airfix kit, is that there's no option for the canopy to be open. Simple fix! The windscreen fits nice, so that can be cut free from the one piece canopy...same goes for the rear piece. Problem is, the center section will not fit over the rear section. So, before cutting up the canopy, I smash molded some clear plastic (from a blister pack), over the kit canopy (attached to the end of a screwdriver with some poster tack...I hold the handle of the screwdriver between my knees).
Next, I cut a mask on the kit part, peel it off and stick it to the new part. This makes it a lot easier to cut the part to the right size. (I should also mention that I had to cut out the little door)
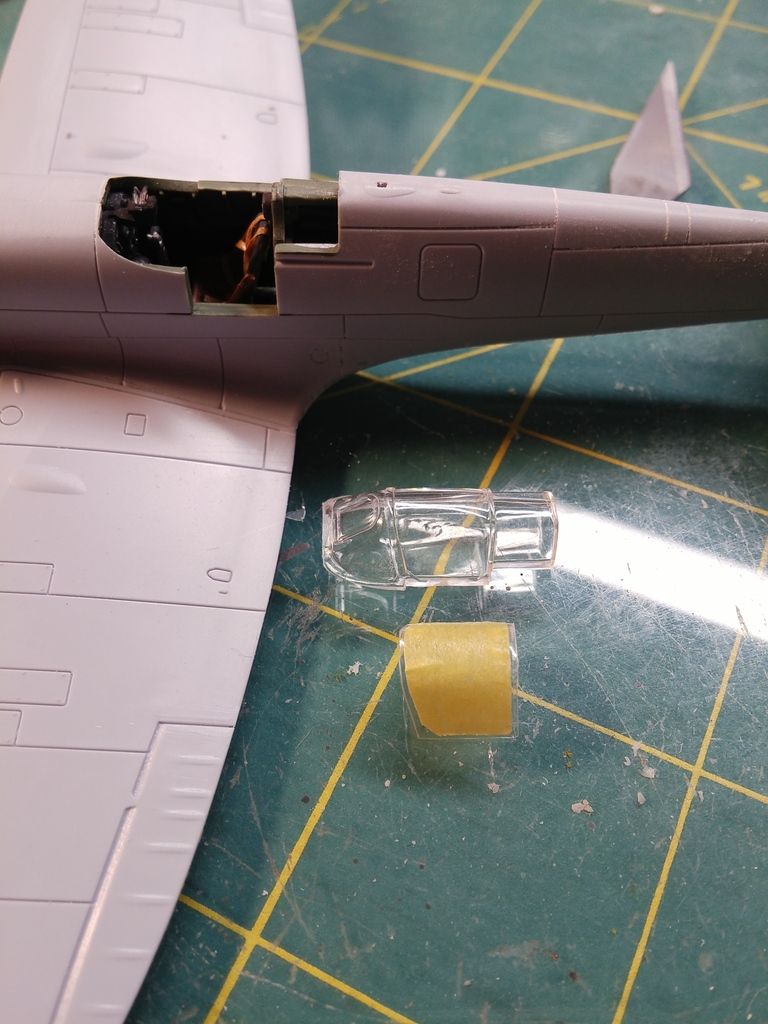
Again, using the PE saw (I love these things! They are also perfect for rescribing panel lines), I cut up the canopy.
Everything in place...
Next, I'll take ya'll through how I finish.

  • Member since
    September 2014
Posted by rooster513 on Monday, February 27, 2017 8:17 PM

Really nice work there! I like the sewing thread idea. I built the Eduard in 1/48 and loved it. You'vengot a great start here, looking forward to seeing more!

-Andy

  • Member since
    May 2016
Posted by Revenant on Monday, February 27, 2017 9:21 PM

Stick out tongueWhat schemes you going with???

  • Member since
    November 2004
  • From: Cat Central, NC
Posted by Bronto on Monday, February 27, 2017 9:21 PM

Since you dropped the elevators, don't forget to move the control column in the cockpit in the appropriate direction.  It is one of the little details that most builders that move control surfaces always neglect.

  • Member since
    March 2015
  • From: Streetsboro, Ohio
Posted by Toshi on Tuesday, February 28, 2017 2:30 AM

I've seen PE Tamiya cutting saws before but was quit hesitant in purchasing those saws.  Now that you recomended these saws, I'll have to get a set myself.  As for cutting through styrene plastic with a sewing string, I've never heard nor seen this procedure in my life!  That's just incredible, I'll have to definately try this technique.

Everything else looks great and I really appreciate your step by step instructions as I learn so much from your building techniques!  Thank you sir!

Toshi

On The Bench: Revell 1/48 B-25 Mitchell


Married to the most caring, loving, understanding, and beautiful wife in the world.  Mrs. Toshi


  • Member since
    January 2009
  • From: hamburg michigan
Posted by fermis on Tuesday, February 28, 2017 5:00 PM

Revenant

Stick out tongueWhat schemes you going with???


The one in the first pic!


Bronto

Since you dropped the elevators, don't forget to move the control column in the cockpit in the appropriate direction.  It is one of the little details that most builders that move control surfaces always neglect.

I do it without even thinking about it...kinda goes "hand in hand"!

Toshi

I've seen PE Tamiya cutting saws before but was quit hesitant in purchasing those saws.  Now that you recomended these saws, I'll have to get a set myself.  As for cutting through styrene plastic with a sewing string, I've never heard nor seen this procedure in my life!  That's just incredible, I'll have to definately try this technique.

Everything else looks great and I really appreciate your step by step instructions as I learn so much from your building techniques!  Thank you sir!

Toshi

I regret not getting these saws sooner! As for the thread, believe it or not, I discovered its use as a "saw", way back when I was 9-10 or so. I was just messin around with it. I didn't put it into practical use until years later though. It doesn't really cut...friction=heat=melts through. It does leave a little bit of mess that requires a little clean up along the cut, but not bad.

  • Member since
    May 2016
Posted by Revenant on Tuesday, February 28, 2017 9:07 PM

Stick out tongueWhen u painting these things...???

  • Member since
    January 2009
  • From: hamburg michigan
Posted by fermis on Wednesday, March 1, 2017 9:53 AM

Revenant

Stick out tongueWhen u painting these things...???


Started last night.


First off...everything gets covered in dark grey (almost black)...

Then, I load up the a/b white white, (thinned a bit beyond 50/50) and "marble" it on...

For the areas that will be white, I back away a bit and spray thin coats.

Masked for the (almost) black...

I then sprayed the "Sky" tail band and spinner. It will be easier to paint and mask the band now, rather than trying to paint it later.

And, some light grey for the rest of the belly.

That's as far as I got so far.


  • Member since
    May 2016
Posted by Revenant on Wednesday, March 1, 2017 10:52 AM

Lookin good...what's up the the half-black bird???

  • Member since
    January 2009
  • From: hamburg michigan
Posted by fermis on Friday, March 3, 2017 1:51 PM

Moving along...

I airbrushed the first camo colors, going just beyond where that color end and the other begins.

For masking, I started with tape, in the rough shape of the pattern, then used poster tack "worms" for the edges.

Second color and unmasked

Masked and sprayed the leading edge as well as control surfaces on the other.

Back to the booth for some gloss....hoping to be done in time for the show on Sunday!

  • Member since
    September 2014
Posted by rooster513 on Friday, March 3, 2017 2:47 PM

Those are a couple of beautifully painted birds fermis!! I really like the way the paint on the airfix came out. Well done!

-Andy

  • Member since
    May 2016
Posted by Revenant on Friday, March 3, 2017 3:12 PM

Stick out tongue

Not bad.

  • Member since
    November 2003
  • From: Naples, FL
Posted by tempestjohnny on Friday, March 3, 2017 10:39 PM
Hey Bish, Fermis has two really cool Spitfires to show you.


  • Member since
    January 2009
  • From: hamburg michigan
Posted by fermis on Monday, March 6, 2017 6:44 PM

Much thanks guys!

Got in a rush to get at least the Eduard kit finished in time for the contest on Sunday. Managed to get'er done. took a bronze in "OOB" catagory.

Finished up the Airfix kit tonight.


  • Member since
    December 2002
  • From: Northern California
Posted by jeaton01 on Monday, March 6, 2017 6:50 PM

Nice, Jeremy.  No goofs under pressure, too!

John

To see build logs for my models:  http://goldeneramodel.com/mymodels/mymodels.html


  • Member since
    May 2016
Posted by Revenant on Monday, March 6, 2017 8:29 PM

Stick out tongueNot bad...what's next?

  • Member since
    December 2002
Posted by Bossman on Monday, March 6, 2017 9:11 PM

Really nice work Fermis.  Congrats !  Well deserved !

Interesting roundel config on  WZ*T . . .  Never seen that before !

Chris

JOIN OUR COMMUNITY!

Our community is FREE to join. To participate you must either login or register for an account.

SEARCH FORUMS
FREE NEWSLETTER
By signing up you may also receive reader surveys and occasional special offers. We do not sell, rent or trade our email lists. View our Privacy Policy.