SEARCH FINESCALE.COM

Enter keywords or a search phrase below:

RoG F4U-4 Corsair

3313 views
25 replies
1 rating 2 rating 3 rating 4 rating 5 rating
  • Member since
    March 2017
  • From: Mid Michigan
RoG F4U-4 Corsair
Posted by shamoo on Friday, May 12, 2017 11:16 AM

Ok, my first attempt at a build log.  We'll see how it goes...

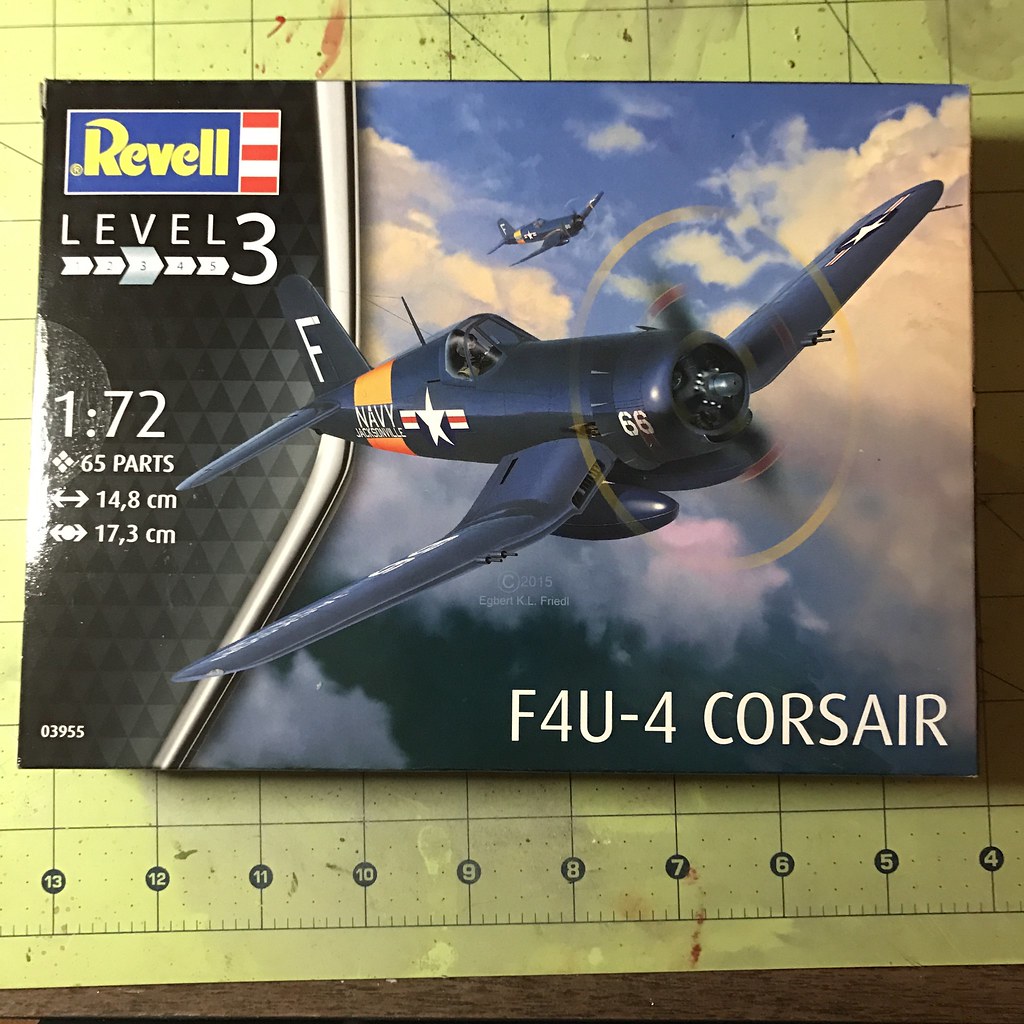
I'll be building this one out of box.  The kit detail seems ok to me, as I normally work in 1/48 scale.  My recent change in living arrangement doesn't allow much display room so...  I don't count rivets, and at this size I don't think anyone is going to see many rivets anyway.  

 Untitled by David Brownlee, on Flickr


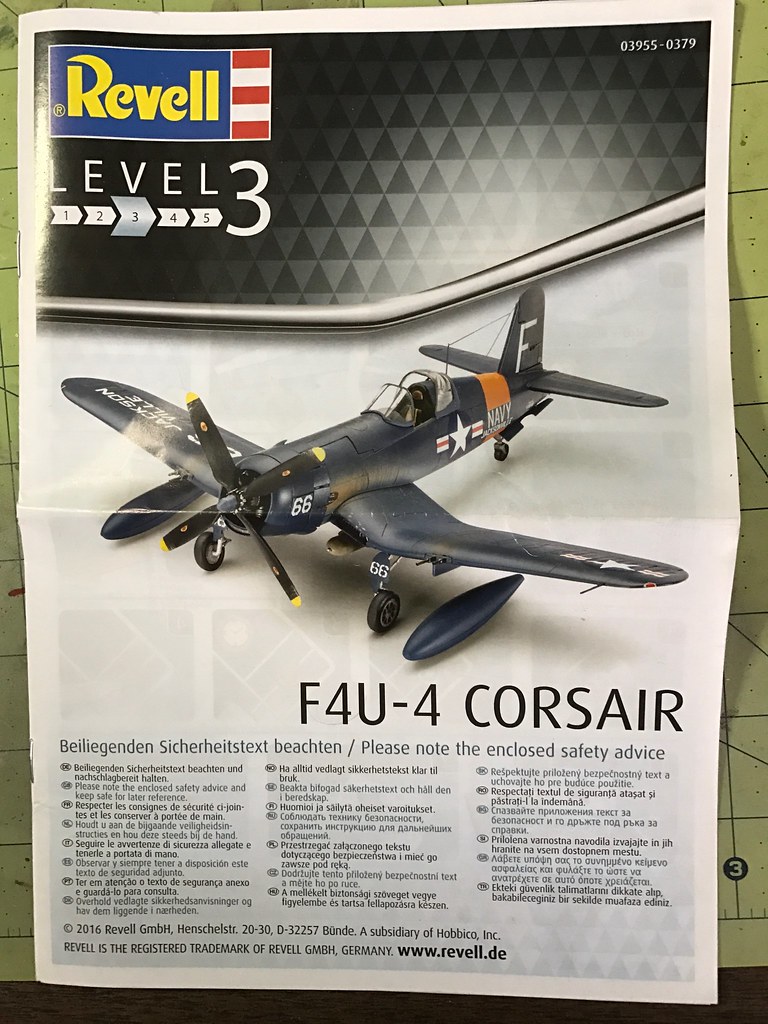
This is a first for me- color instruction sheet

 Untitled by David Brownlee, on Flickr

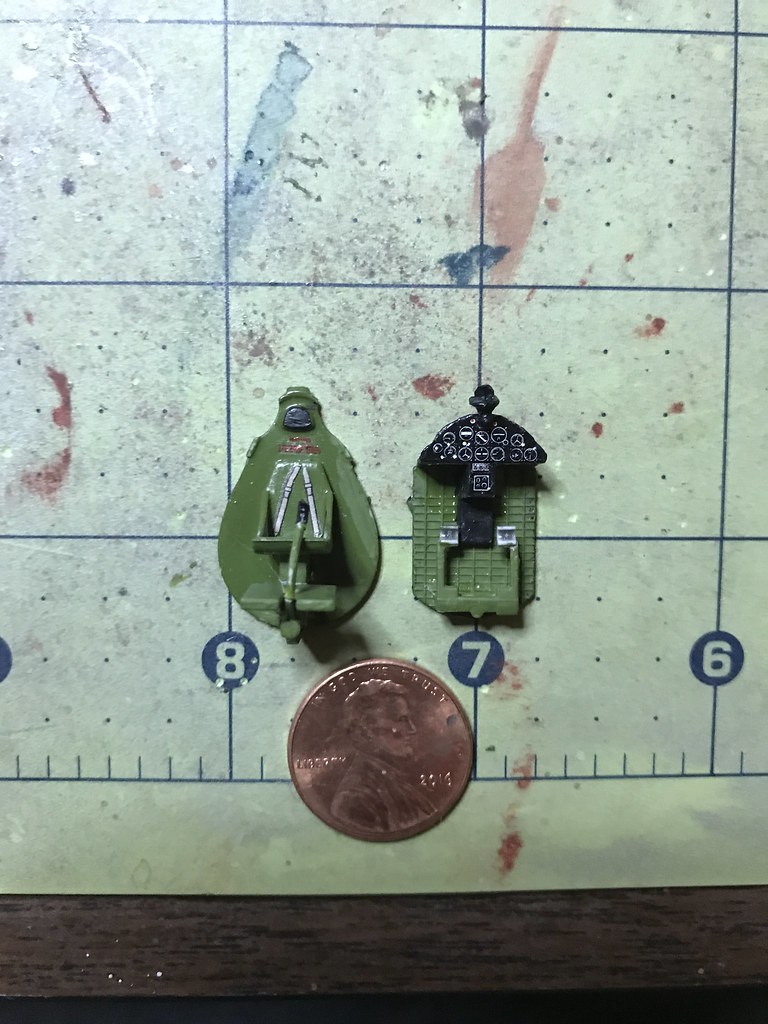
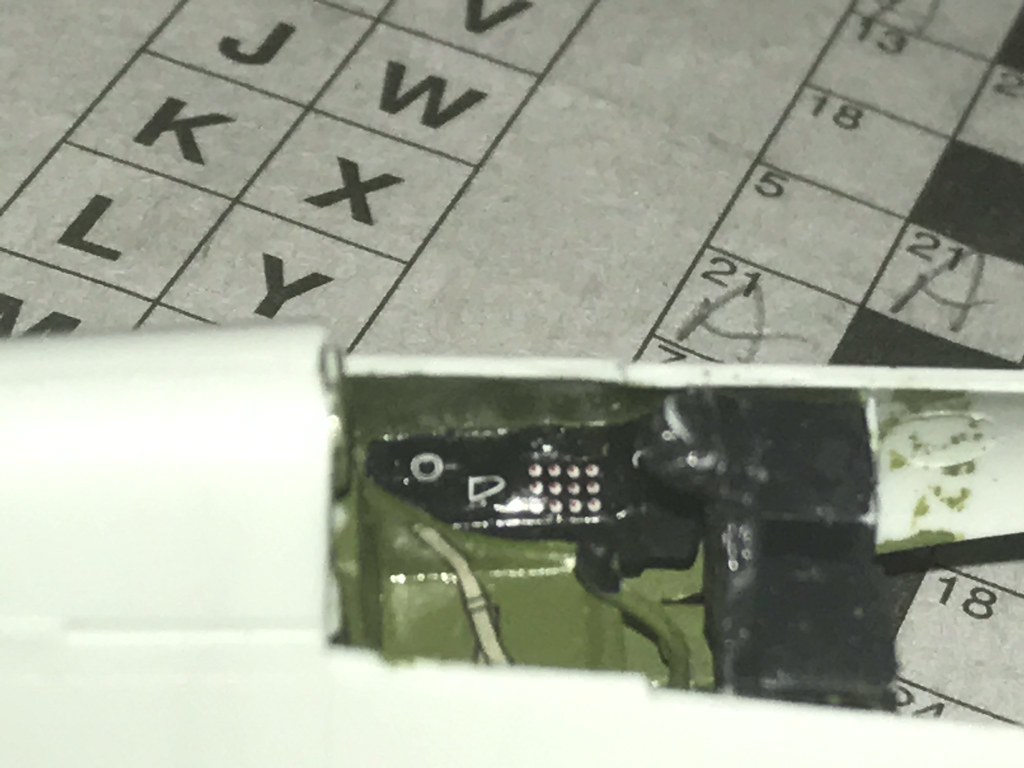
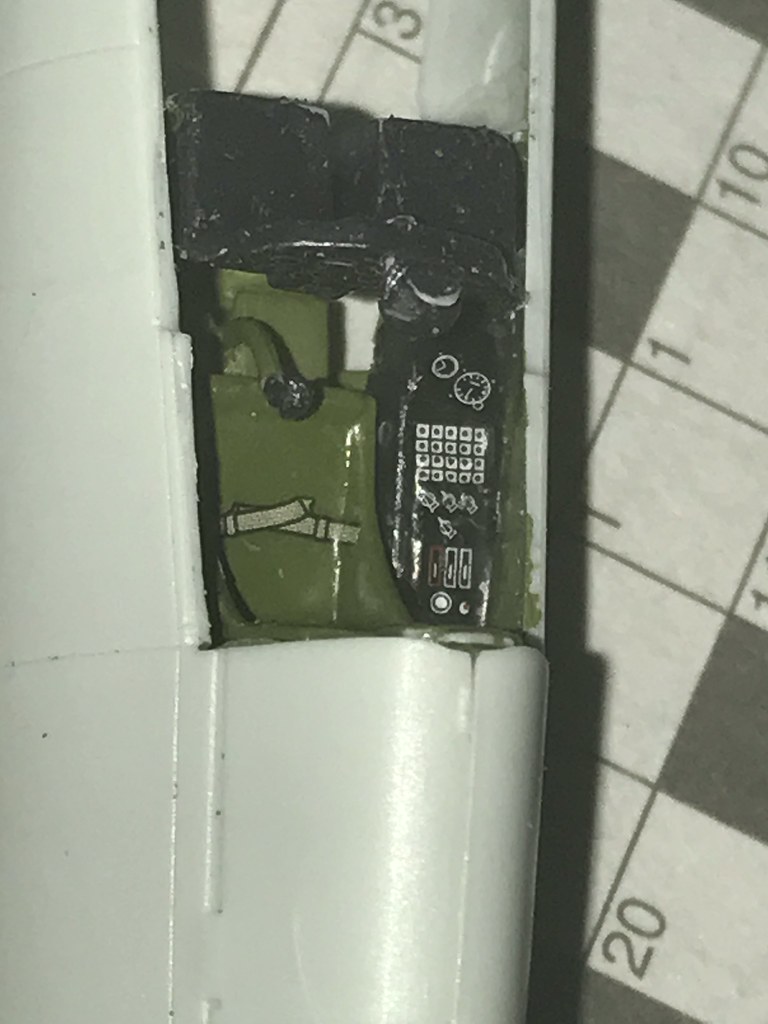
Cockpit detail courtesy of the decal sheet.  Likely the last anyone will see these.

  Untitled by David Brownlee, on Flickr

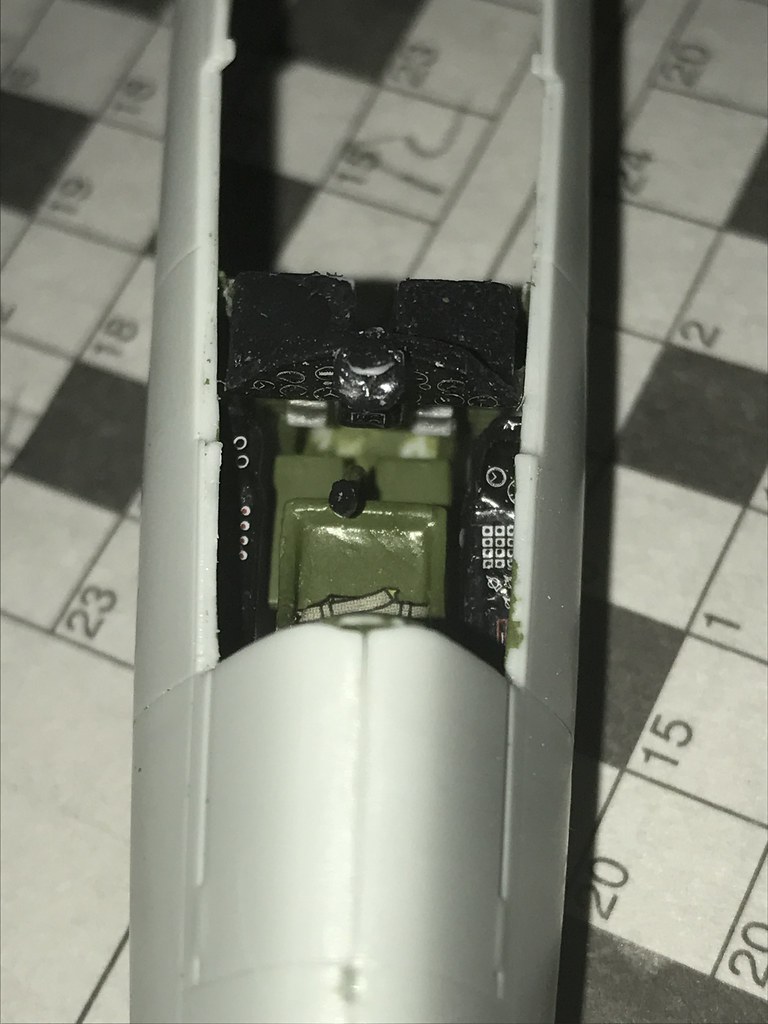
Fuselage closed up.  I guess if you get really close...

 Untitled by David Brownlee, on Flickr

 Untitled by David Brownlee, on Flickr

 Untitled by David Brownlee, on Flickr

You may notice a lack of weathering.  These are my first builds in a lot of years.  I never tried it before.  Until I got back into this recently, I had never heard of resin or photoetched details.  I've got a couple other builds going on that will include these.  All part of a learning process to0ward a couple of "dream builds" in the future.

Any comments or criticisms are welcome.

Dave


  • Member since
    March 2015
  • From: Streetsboro, Ohio
Posted by Toshi on Friday, May 12, 2017 12:51 PM

Nicely done.  Great detail in my favorite aircraft of all time!

Toshi

On The Bench: Revell 1/48 B-25 Mitchell


Married to the most caring, loving, understanding, and beautiful wife in the world.  Mrs. Toshi


  • Member since
    January 2015
Posted by PFJN on Friday, May 12, 2017 6:20 PM

Hi,

That looks really nice so far.

Pat

1st Group BuildSP

  • Member since
    March 2017
  • From: Mid Michigan
Posted by shamoo on Tuesday, May 16, 2017 10:49 AM

My apologies. I am needing paint before I can mak any progress on this. Should have it by Saturday. Stay tuned. 

  • Member since
    January 2015
  • From: Tumwater, WA.
Posted by M. Brindos on Tuesday, May 16, 2017 1:49 PM

No worries. We will be waiting lol.

We all work at our own pace. :) this does look like a nice kit, so enjoy it to the fullest.

- Mike Brindos "Lost Boy"

  • Member since
    December 2002
Posted by Bossman on Tuesday, May 16, 2017 8:27 PM

Looking good so far Dave !

Chris

  • Member since
    December 2002
  • From: Bury St Edmunds, Suffolk, England
Posted by Bish on Wednesday, May 17, 2017 6:11 AM

Off to a nice start. I do like the corsair, will be following this one.

I am a Norfolk man and i glory in being so


On the bench: Airfix 1/72nd Harrier GR.3/Fujimi 1/72nd Ju 87D-3

  • Member since
    March 2003
  • From: Towson MD
Posted by gregbale on Wednesday, May 17, 2017 7:06 AM

Looks good so far!

Any Corsair is a good Corsair....

Greg

George Lewis:

"Every time you correct me on my grammar I love you a little fewer."
 
  • Member since
    March 2017
  • From: Mid Michigan
Posted by shamoo on Wednesday, May 17, 2017 12:27 PM

It is a nice kit. Probably the nicest I've worked on. Fit and detail are very nice.

I'm debating how much scratch detail I want to attempt. I haven't done much modeling since high school and never added anything outside the box then, so anything I decide to try is going to be an experiment.

As a side note- most of the kits in my price range now are the same ones that I could afford back then. Monogram/Revell, AMT, Lindbergh, etc.

  • Member since
    February 2003
  • From: Green Bay, WI USA
Posted by echolmberg on Friday, May 19, 2017 11:17 AM
Dave, yer KILLIN' me here! I gotta wait until the weekend before I see more progress??? LOL! Just kidding. I'm definitely going to be looking in your build. I love the -4 variant of the Corsair and I truly do appreciate your step-by-step photos. Please keep us updated on the quality of this kit! I was actually thinking of stopping off at the hobby shop on my way home from work today to pick up the Revell F4U-1A to try my hand at some oil painting techniques I came across the other day. Keep up the great work! Eric

  • Member since
    March 2017
  • From: Mid Michigan
Posted by shamoo on Monday, August 28, 2017 3:10 PM

Well I actually got some time to make a little progress:

 2017-08-28_03-24-12 by David Brownlee, on Flick

Next up I'll make a stab at detailing the engine, and touch up a few seams to get ready for primer. Stay tuned.

Dave

  • Member since
    March 2005
  • From: Lancaster, South Carolina
Posted by Devil Dawg on Wednesday, September 27, 2017 2:46 PM

She's lookin' good, Mr. Brownlee!! What's the latest on her?

Gary


Devil Dawg

On The Bench: Tamiya 1/32nd Mitsubishi A6M5 Model 52 Zeke For Japanese Group Build

Build one at a time? Hah! That'll be the day!!

  • Member since
    March 2017
  • From: Mid Michigan
Posted by shamoo on Wednesday, September 27, 2017 4:10 PM

Devil Dawg

She's lookin' good, Mr. Brownlee!! What's the latest on her?

Gary


I actually got the fuselage primed and the seams looked good. Installed the engine and buttoned up the cowling and rest of the fuselage. I will start brushing some paint on this evening. I'll post some pics later when I get to a real computer 

  • Member since
    March 2017
  • From: Mid Michigan
Posted by shamoo on Saturday, September 30, 2017 9:40 PM

As promised, some more photos:

 2017-09-24_06-10-28 by David Brownlee, on Flickr

 2017-09-24_06-09-19 by David Brownlee, on Flickr

And the first coat of Model Master RLM 74 Dunkelblau on the upper wings.  A few too many brush marks for my taste, so I will buff those out and apply another coat.

 2017-09-27_06-53-07 by David Brownlee, on Flickr

More to follow.

Dave

  • Member since
    March 2015
  • From: Streetsboro, Ohio
Posted by Toshi on Sunday, October 1, 2017 3:06 AM

Great progress.  Paint job is nicely done.

Toshi

On The Bench: Revell 1/48 B-25 Mitchell


Married to the most caring, loving, understanding, and beautiful wife in the world.  Mrs. Toshi


  • Member since
    March 2017
  • From: Mid Michigan
Posted by shamoo on Sunday, October 15, 2017 11:19 AM

Thanks, Toshi!

Got the airframe painted up and applied Future in preparation for the decals.

 IMG_20171007_211600773 by David Brownlee, on Flickr

 2017-10-07_09-20-33 by David Brownlee, on Flickr

Unfortunately as I started playing with masking the canopy I snapped the front windscreen in two. Crying  Worst part is I had just finished reading an article of hints that talked about how brittle clear plastic can be so it is wise to support canopies with silly putty when working with them.  The d**n silly putty was literally inches away on the bench.  Oops

 2017-10-06_11-48-33 by David Brownlee, on Flickr

I have contacted Revell and ordered a new canopy but it does have to ship from Germany, so it could be eight weeks before it arrives. 

Decals applied:

 2017-10-13_08-23-28 by David Brownlee, on Flickr

 2017-10-13_08-23-15 by David Brownlee, on Flickr

I've got to find a little orange paint to fill in the gap on the bottom of the fuselage stripe.

The landing gear is installed and being painted, then I'll attach the gear doors.  There is the option of attaching either two drop tanks or two small bombs.  I'm not sure yet which I will use, if I use them at all.  My late father was a USAF pilot (F-105 Weasel and F-4E) and he always told me when I was building aircraft as a kid the the planes wert a lot more fun to fly clean so...  It is marked for a stateside training bird, so I imagine the tanks would likely not be used very often.  I also would need to find out if Navy practice bombs were painted a different color than live ones.  If anyone knows I would appreciate the information.  I could always display them alongside the plane in a runway diorama.   

Dave

  • Member since
    August 2013
Posted by Jay Jay on Monday, October 16, 2017 9:45 AM

You brush painted that ?  Holy cow that is a great job. I wish i could get your results when brush painting.


 I'm finally retired. Now time I got, money I don't.

  • Member since
    March 2015
  • From: Streetsboro, Ohio
Posted by Toshi on Monday, October 16, 2017 10:28 AM

I can’t believe that’s hand painted!  You did a fantastic job on this build.  That’s too bad that your canopy snapped in half, but ROG and Revell are very very good with customer service.  

Toshi

On The Bench: Revell 1/48 B-25 Mitchell


Married to the most caring, loving, understanding, and beautiful wife in the world.  Mrs. Toshi


  • Member since
    March 2017
  • From: Mid Michigan
Posted by shamoo on Monday, October 16, 2017 11:58 AM

Thank you, gentlemen!  Toshi, I’ve had to order parts from Revell before so I know it‘ll get here eventually.  Hopefully they will send the entire clear sprue because I broke the sliding part now too.Bang Head  

Yes, it is brush painted. I recently bought an airbrush but I already had purchased Model Master enamel for this kit and I wasn’t thrilled with the idea of cleaning the enamel paint out while I was still experimenting.  The trick is to use a good quality flat brush (not a Testor’s white handle) and very little paint at a time. Work in small sections and always brush back into the wet paint, not away from it. Don’t brush your paint too much, just keep it thin and it will level itself. Make sure you don’t leave any heavy lines of paint at the edges of wings, panel for lines, rivets, etc. Wipe the brush off frequently to prevent it from getting gummy. Depending on the color you can get away with one coat sometimes, but it’ll usually take at least a couple.  Really it’s just like anything else. Takes a little practice. 

Dave

  • Member since
    March 2017
  • From: Mid Michigan
Posted by shamoo on Monday, October 16, 2017 4:48 PM

I should also mention that a closer inspection would reveal the imperfections in the finish. That’s the benefit of my iPhone camera being out of commission and using my old droid phone for pictures. Confused

  • Member since
    January 2015
Posted by PFJN on Monday, November 13, 2017 5:28 PM

Hi,

That turned out great. though everytime I see the name Jacksonville I'm reminded of Bruce Campbell off "Ash vs Evil Dead"

Jacksonville

I've always wanted to spend some time in a city so nice they named it Jacksonville.


1st Group BuildSP

  • Member since
    March 2017
  • From: Mid Michigan
Posted by shamoo on Monday, November 13, 2017 9:32 PM

PFJN

Hi,

That turned out great. though everytime I see the name Jacksonville I'm reminded of Bruce Campbell off "Ash vs Evil Dead"

Jacksonville

I've always wanted to spend some time in a city so nice they named it Jacksonville.


Thanks!  I’ve got to say that‘s a new one on me. I’m going to have to google. 

  • Member since
    March 2015
  • From: Streetsboro, Ohio
Posted by Toshi on Tuesday, November 14, 2017 1:12 AM

What you have is a great example of what a 1/72 kit should look like!  You did a fantastic job on the Corsair.

Your friend, Toshi

On The Bench: Revell 1/48 B-25 Mitchell


Married to the most caring, loving, understanding, and beautiful wife in the world.  Mrs. Toshi


  • Member since
    June 2017
Posted by UnwaryPaladin on Tuesday, November 14, 2017 6:00 AM

That looks great! I really like your paint finish, brushing is not easy. I've been eyeing up that kit at the hobby store. Did it come with a pilot figure? 

  • Member since
    March 2017
  • From: Mid Michigan
Posted by shamoo on Tuesday, November 14, 2017 9:07 AM

Thanks Toshi and Paladin!  No, it doesn’t come with a pilot. It does come with the choice of hanging two bombs or two drop tanks. I referred back to what my dad (retired USAF fighter pilot) used to ask: “why hang all that stuff underneath when the plane flies a lot better without it?”  So for this build anyway I left it clean. 

JOIN OUR COMMUNITY!

Our community is FREE to join. To participate you must either login or register for an account.

SEARCH FORUMS
FREE NEWSLETTER
By signing up you may also receive reader surveys and occasional special offers. We do not sell, rent or trade our email lists. View our Privacy Policy.