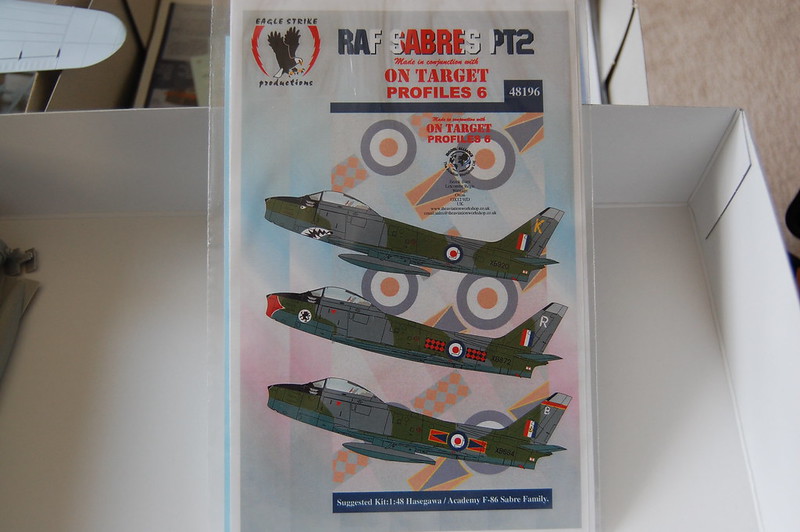
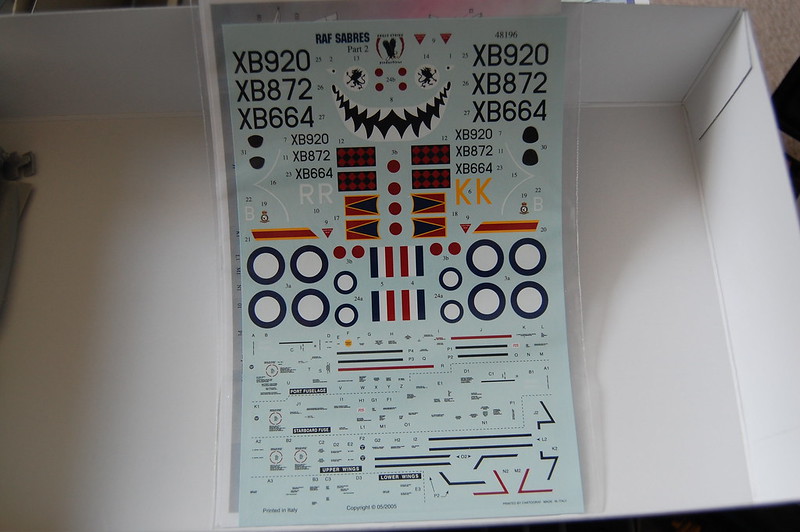
Because you can never have too many Sabres...
This is the Hasegawa F-86F-30 "U.S. Air Force" boxing of their venerable Sabre line. It's the '6-3' hard wing with fence. A bit of back story...
In the early to mid 1950's, the RAF was looking for a stop-gap fighter until the 'home grown' Hawker Hunter went into service. They decided that the Sabre was to fill the bill. Canadair was contracted to supply 60 Sabres from their Cartierville (Montreal area) assembly lines. It was designated as the Sabre 4. The Sabre 4 was basically a Sabre 2, or F-86E in U.S.A.F. parlance, with a few modifications. It was equipped with the narrow chord slatted wing or retrifitted in the field with the non-slatted and fenced '6-3' wing. The Sabre was only in RAF service for a few years until replaced by the Hunter.
The decals I used for this build had options for one fenced wing or two narrow chord slatted wing Sabres. The 112 Squadron shark mouthed scheme, with fenced wings, didn't appeal to me. I chose decals for one of the slatted narrow chord wing aircraft. Unfortunately, no kit manufacturers make a Canadair Sabre 2 or F-86E in 48th or 32nd scale. It's possible to build one in 48th scale by performing major surgery on an -F30 or -F40 wing or using a set of narrow chord slatted wings from an F-86D. So I went with a 'close eough for hand grenades and atomic bombs' build and finish.
On the kit, there are a few lumps and bumps that are not found on Canadair built Sabres. One is the raised panels around the vent on the spine near the vertical stabilizer and the other is the rectangular vent on the right side near the speed brake. That rectangular vent is unique to J.A.S.D.F. Sabres. These vents must be cut off and sanded flush with the fuselage. There are also a few little vent holes on either side of the fuselage that must be filled with putty.
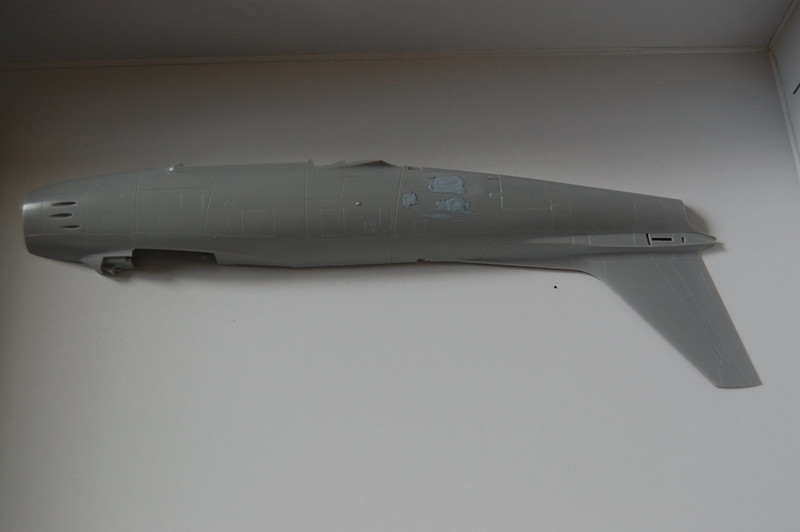
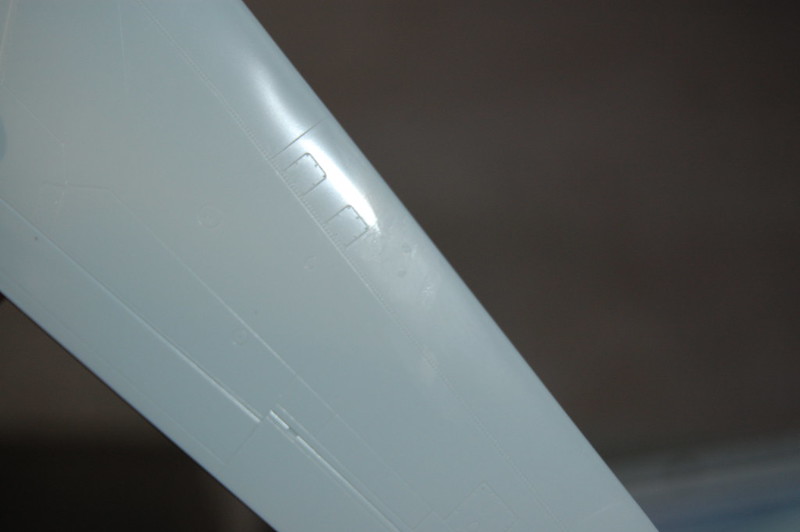
I also filled in the holes on top of the wings, where the fence attaches, with stretched sprue and sanded the area smooth.
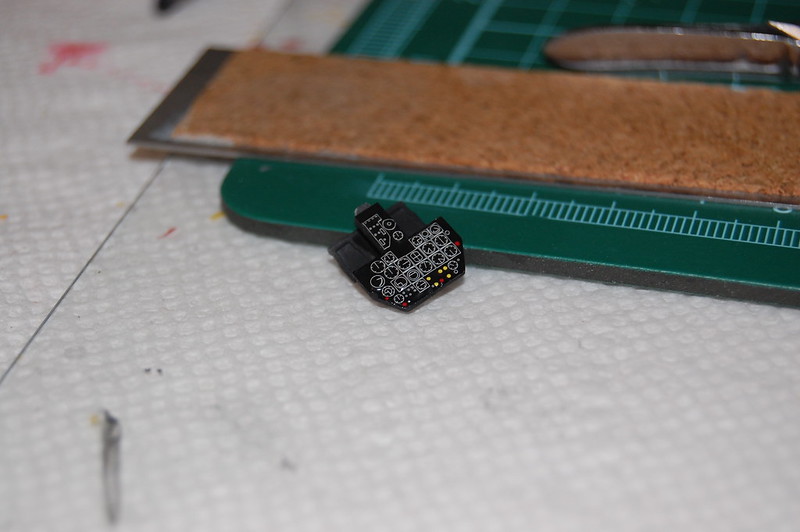
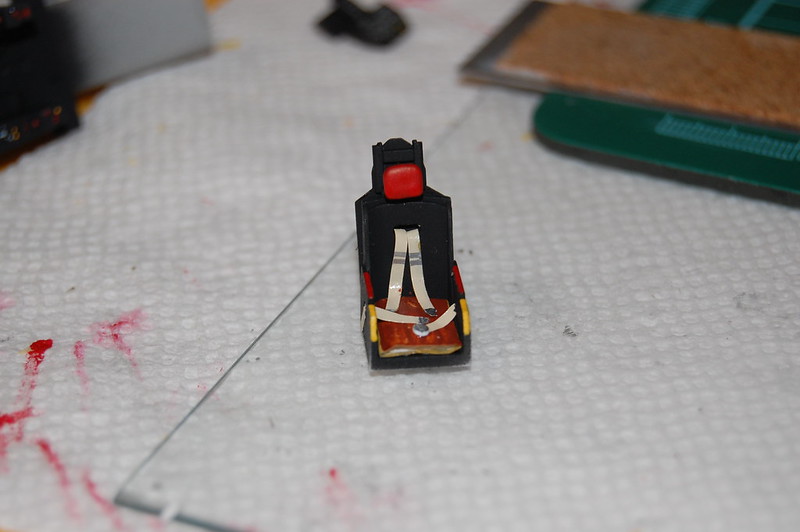
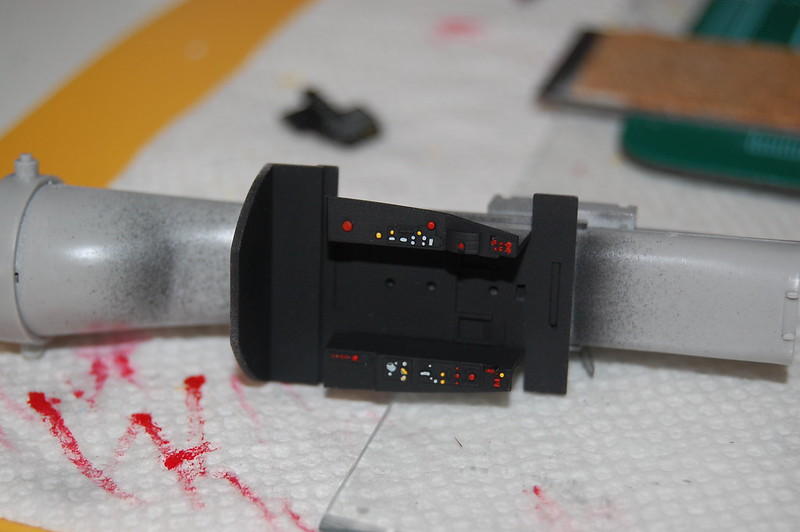
I used the kit decal for the instrument panel (incorrect for any Canadair Sabre) and added a seat cushion and tape seat belts. Also a bit of artistic license with the colours on the knobs and switches to catch the eye.
I used Model Master Enamels (RAF Dark Sea Grey and RAF Dark Green over PRU Blue, Light Grey and Flat Black), Alclad II Aluminum and Tamiya Clear Acrylics for the navigation lights and the radio beacon under the canopy. After painting, two coats of Model Master Clear Gloss lacquer. RAF markings are from Eagle Strike Productions. Stencils are from the kit and other sources. Then a final light coat of Model Master Clear Flat lacquer.
