Hello Everybody,
I hope all of the Americans on the forums are enjoying the 4th of July festivities.
I served the Marine Corps as a helicopter mechanic from 2001 to 2006, and I was stationed in Jacksonville, NC. Jacksonville has a great place on Western Boulevard called The Hobby Chest. Well, I recently visited Jacksonville to meet up with my old brothers, and I had to stop at the Hobby Chest. I felt the need to buy something in order to support such an important place. It's vital to the moral of the 2nd Marine Division and elements of the 2nd Marine Aircraft Wing. While I was there, this Phantom caught my eye.
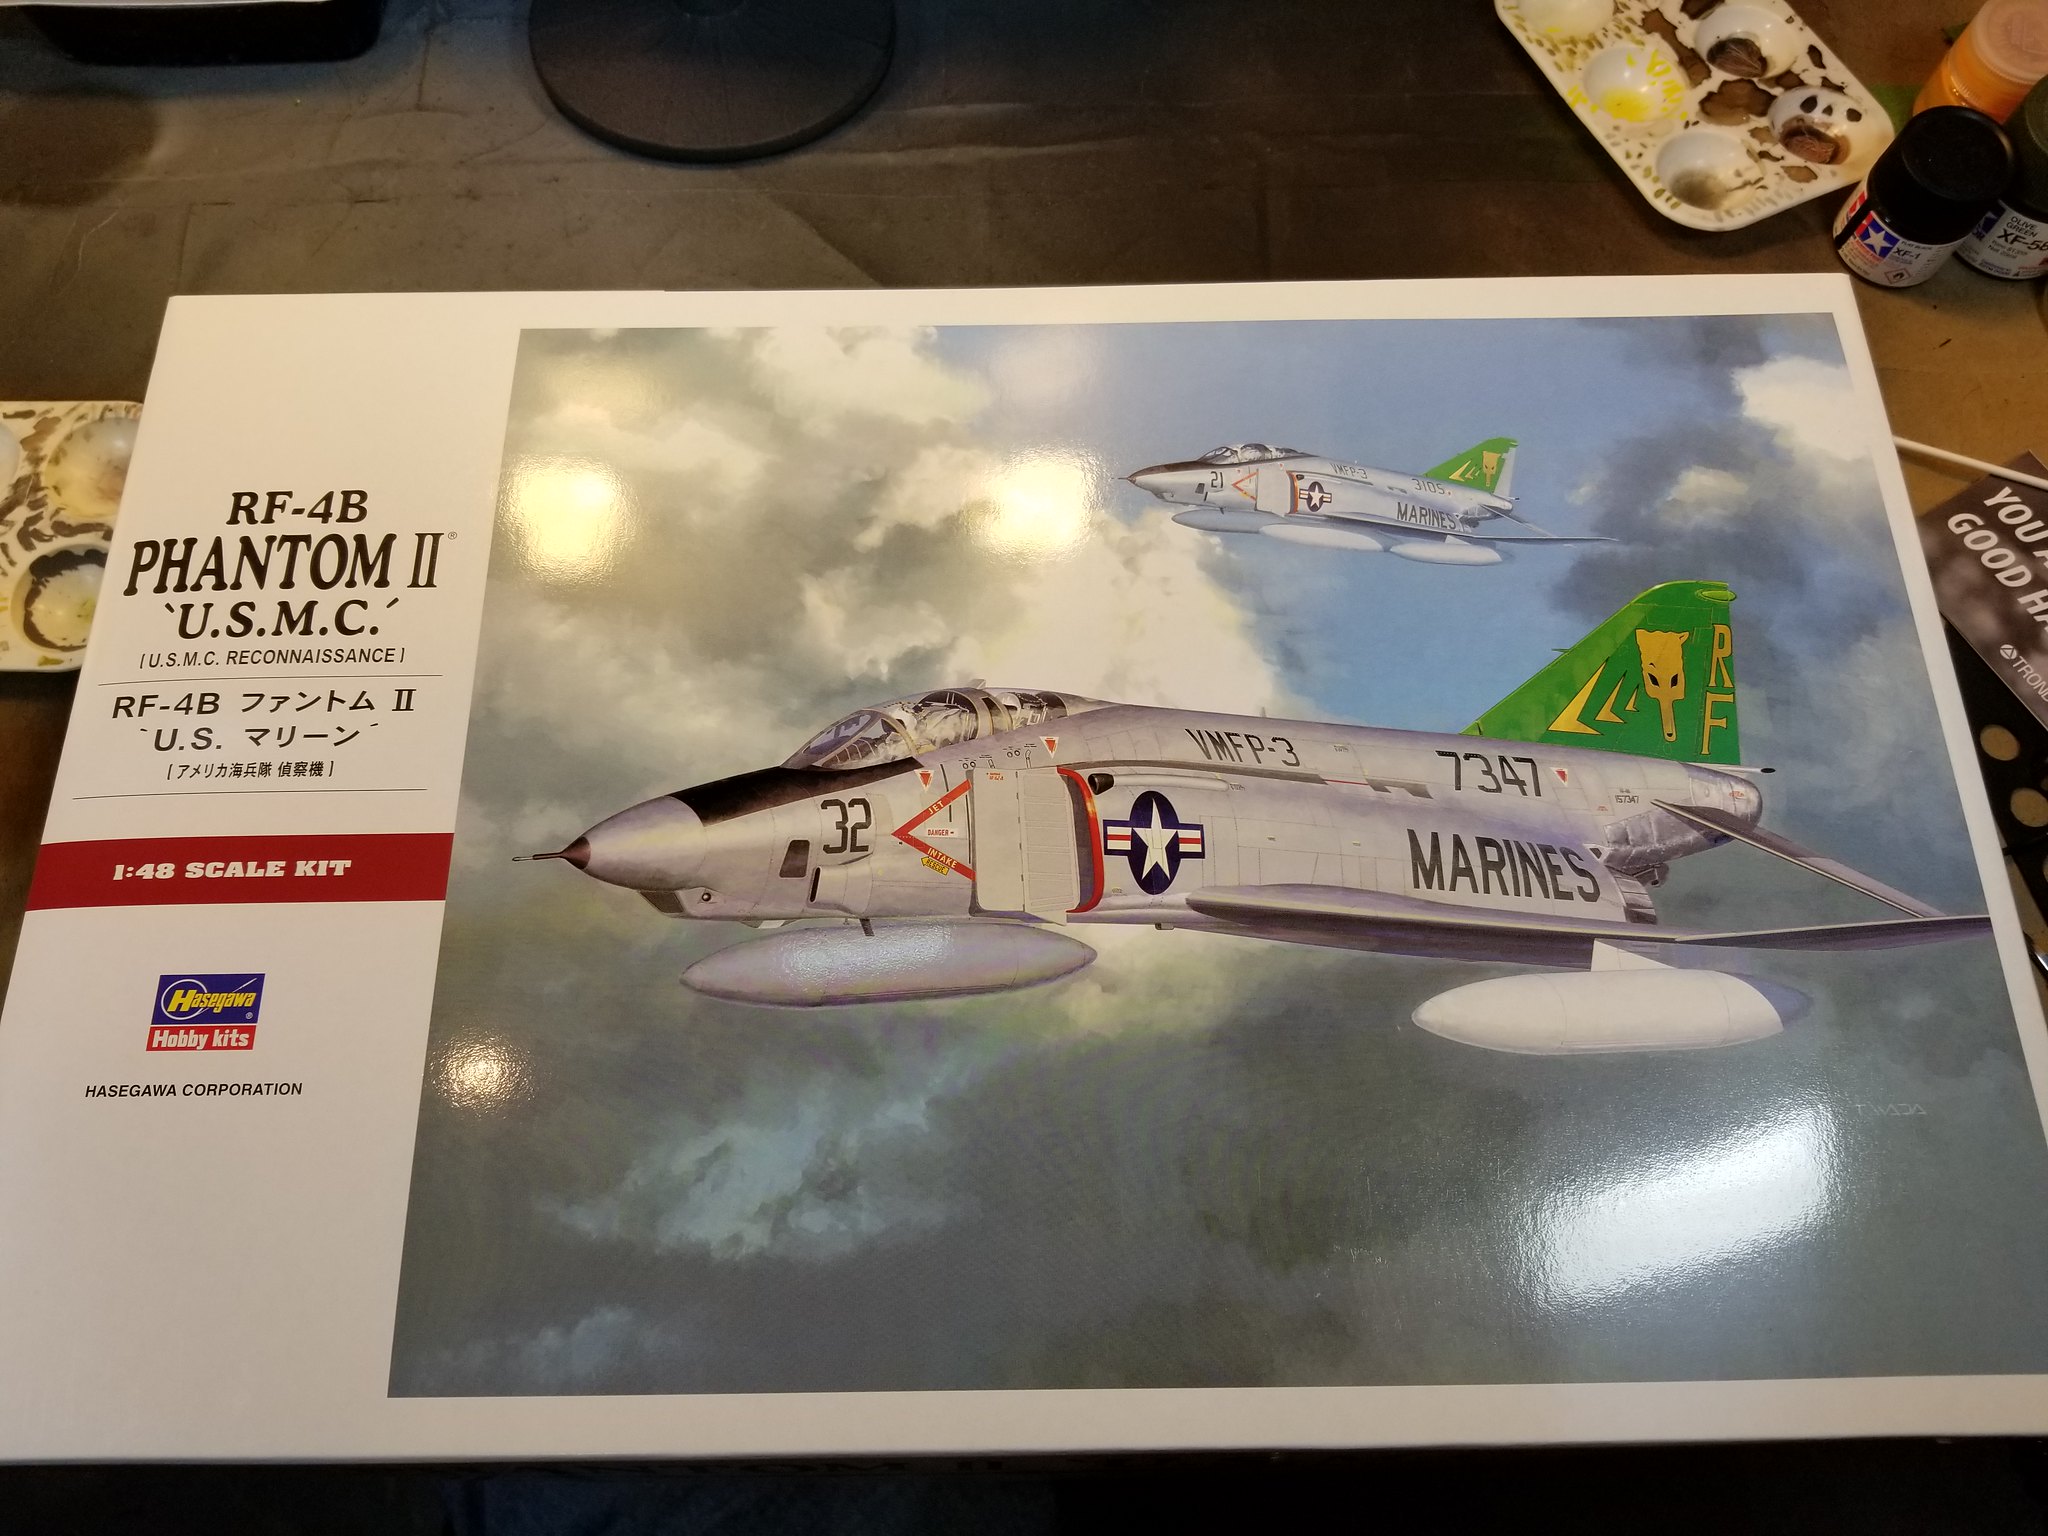 20180511_122159 by Christopher Ridle, on Flickr
I dove into the kit in mid May. The kit cockpit and exhausts were a little lacking, so I decided to get some Aires resin replacements. Plus, I've become a fan Eduard Masks.
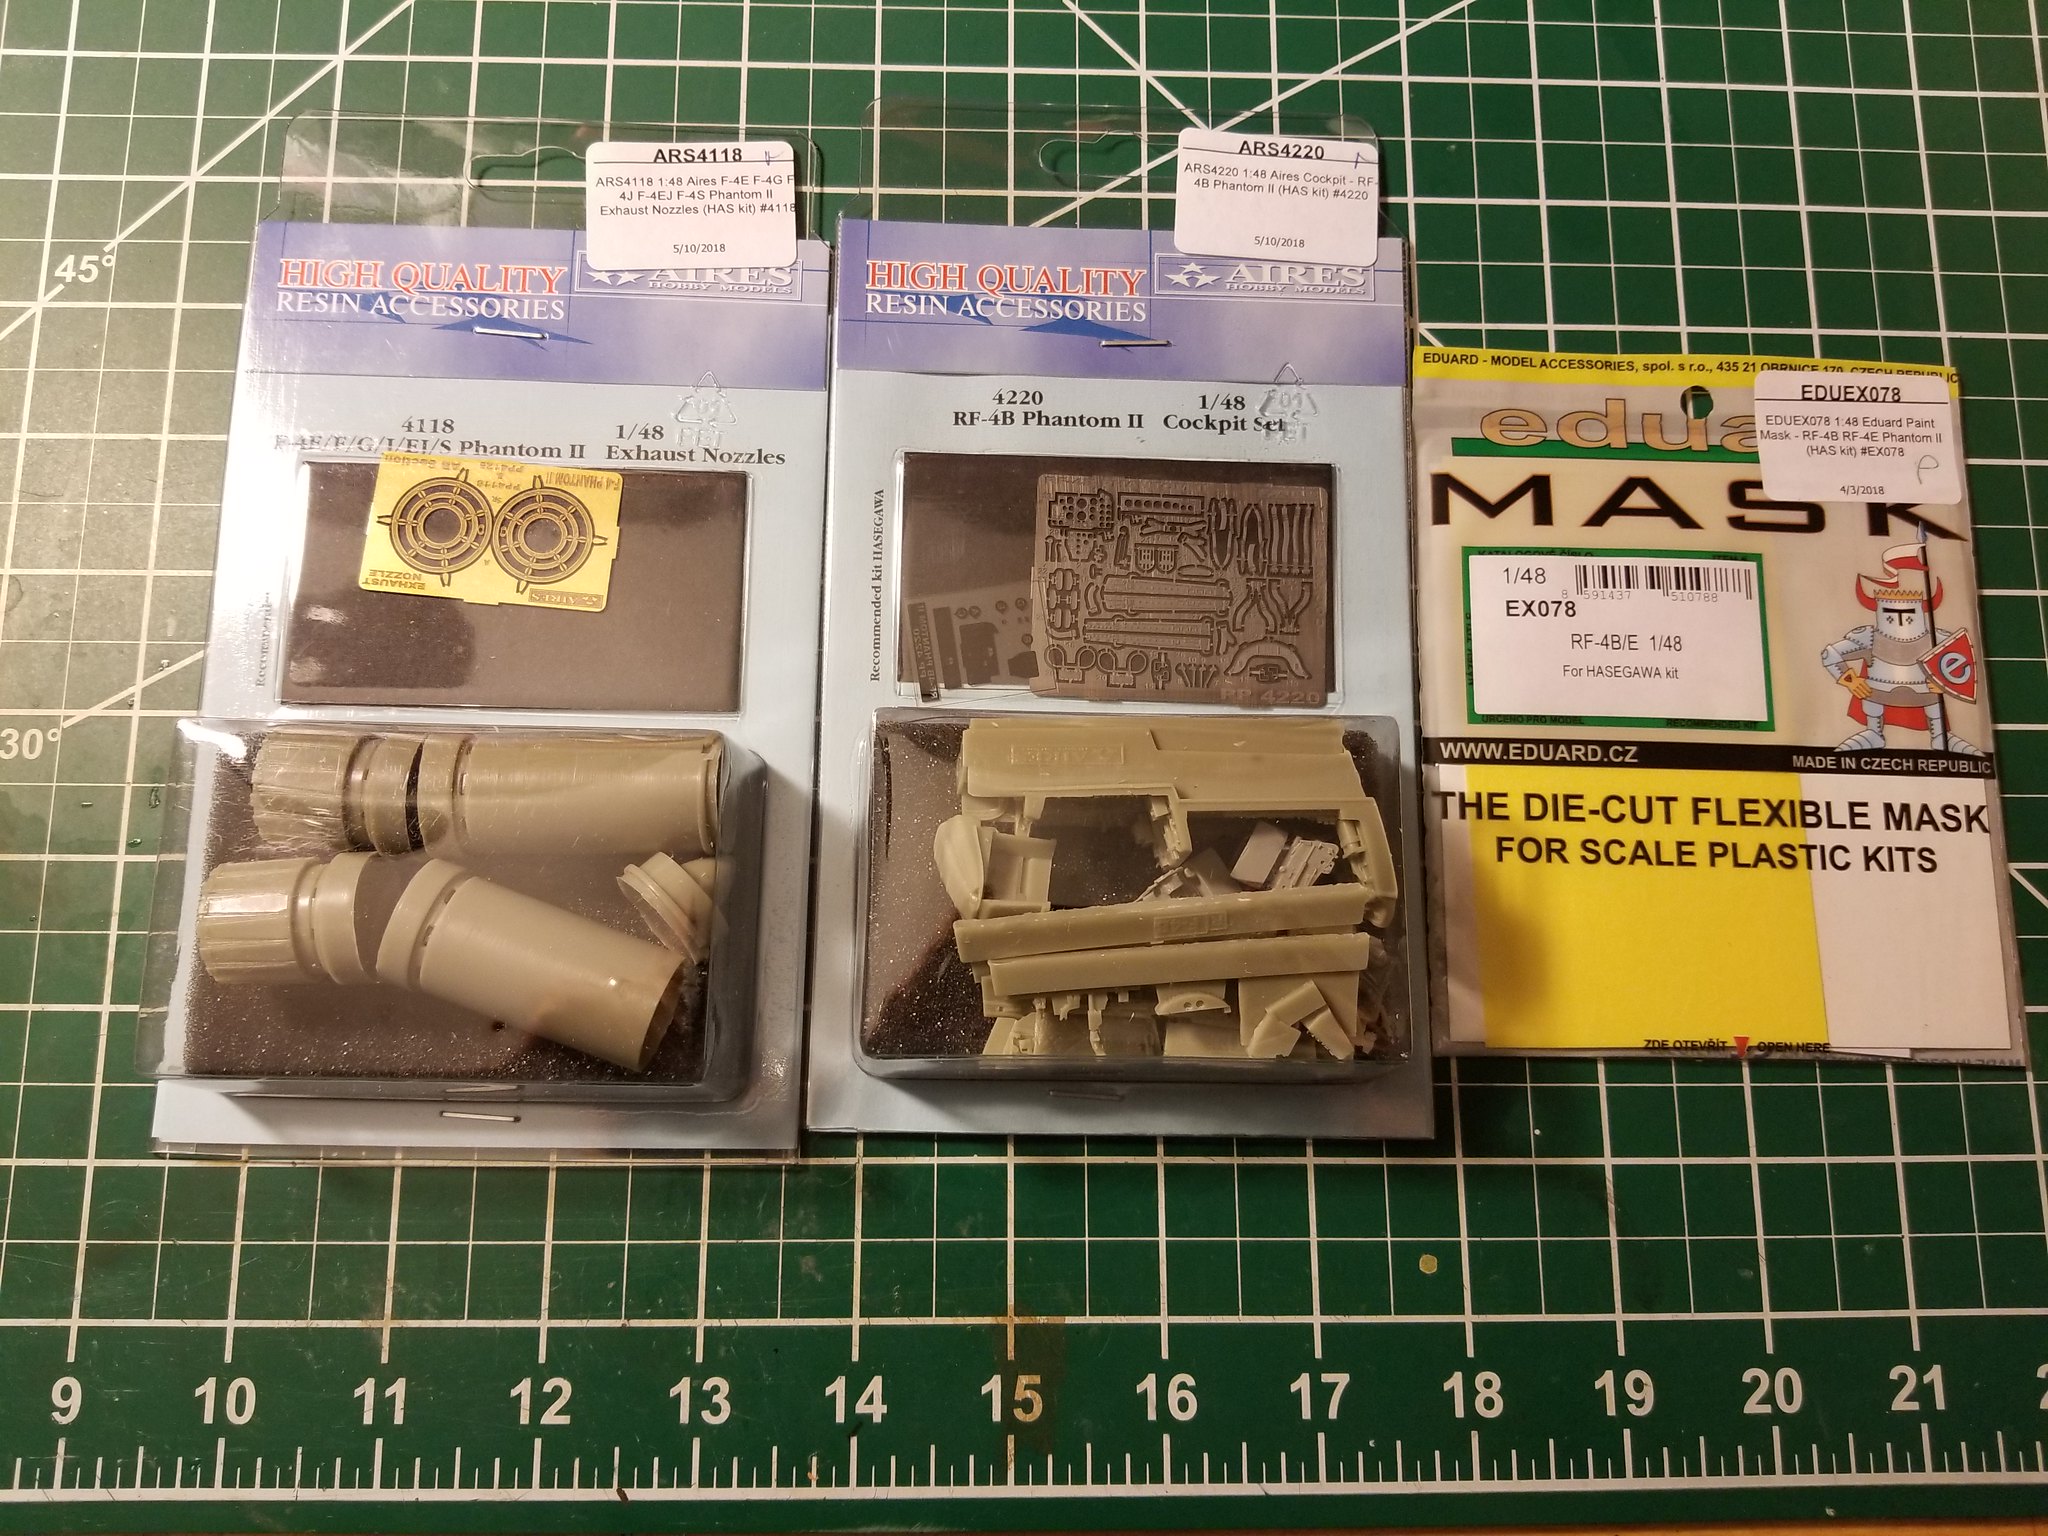 20180519_223710 by Christopher Ridle, on Flickr
The Aires pit builds up beautifully with a ton of detail.
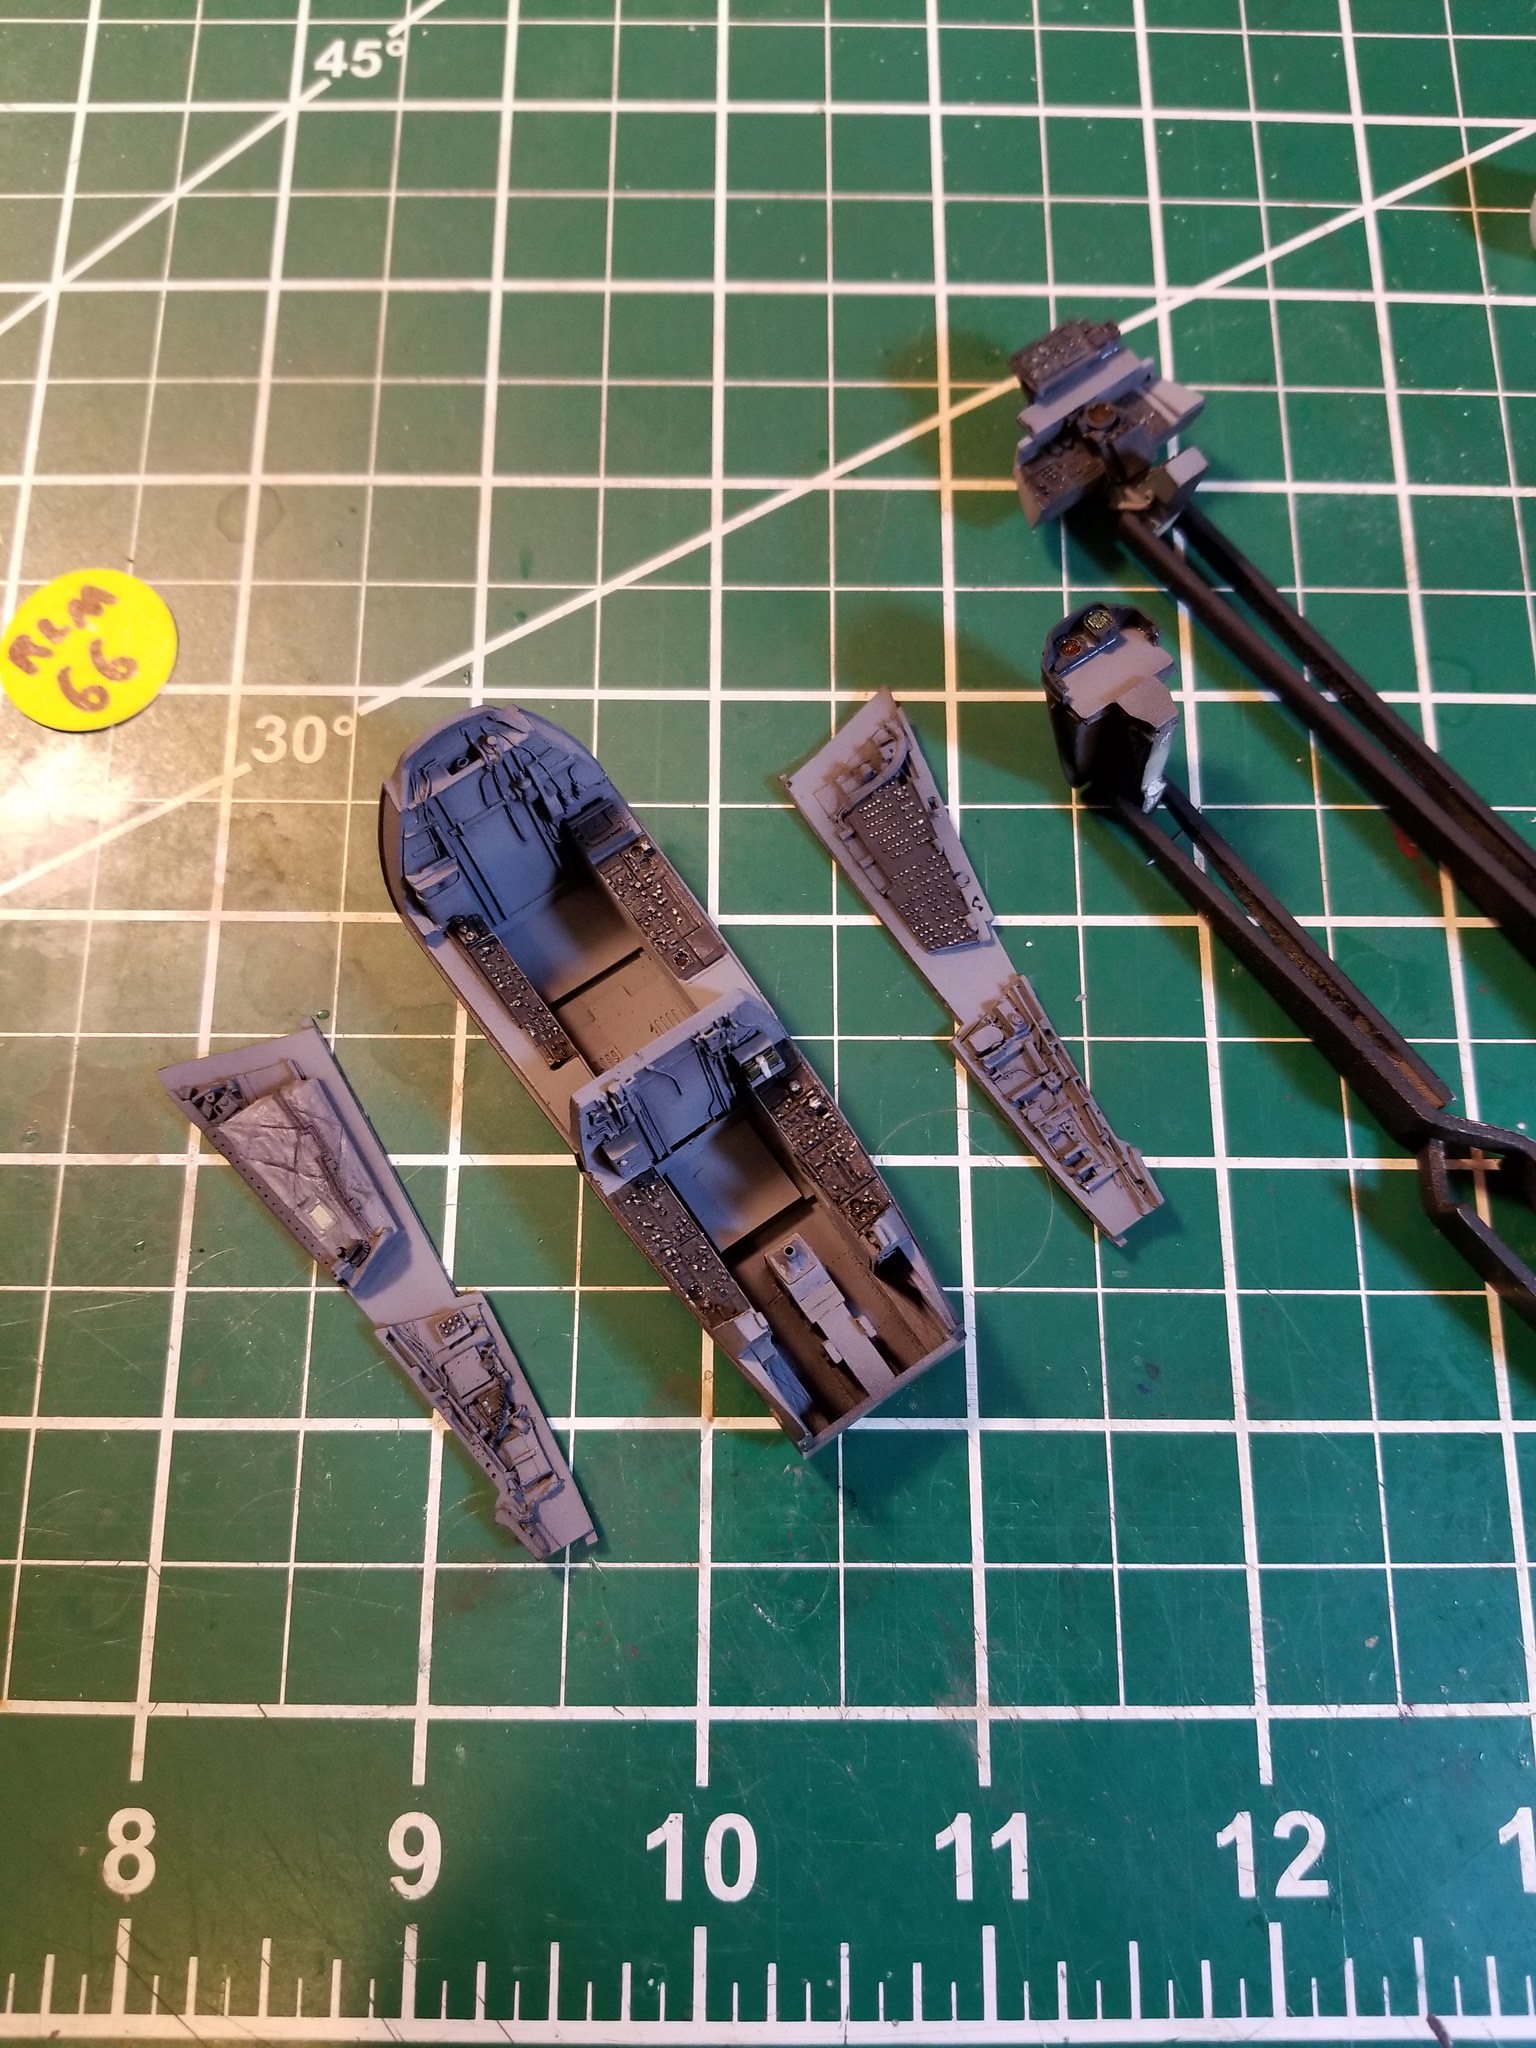 20180522_033206 by Christopher Ridle, on Flickr
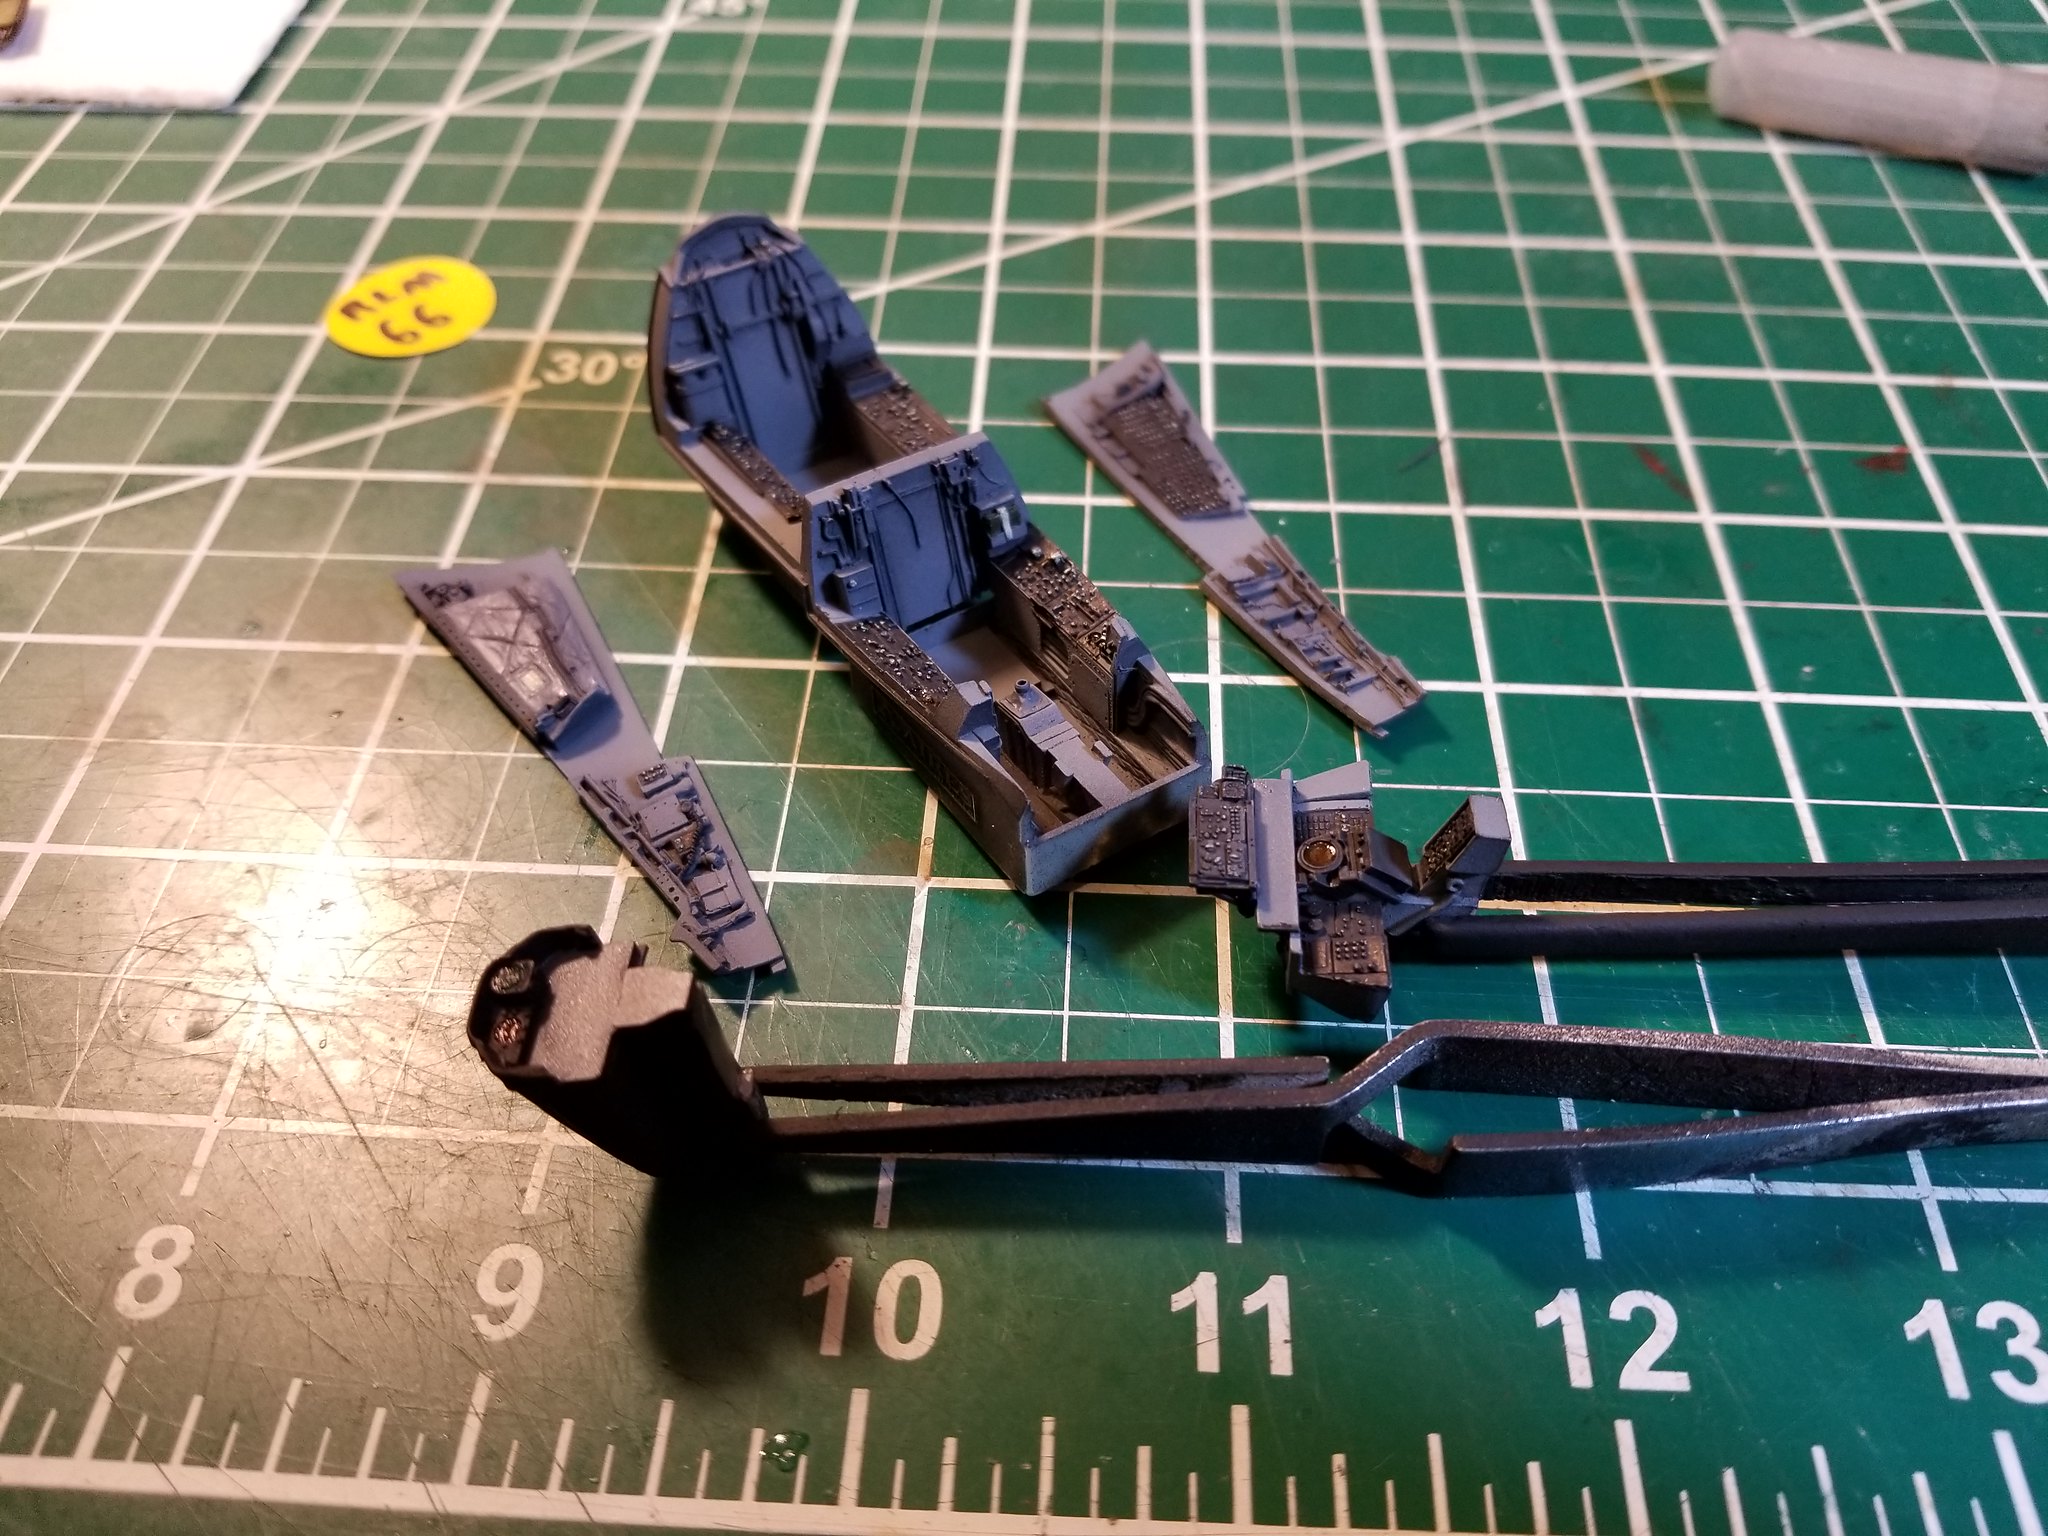 20180522_033234 by Christopher Ridle, on Flickr
The instrument details are healthy.
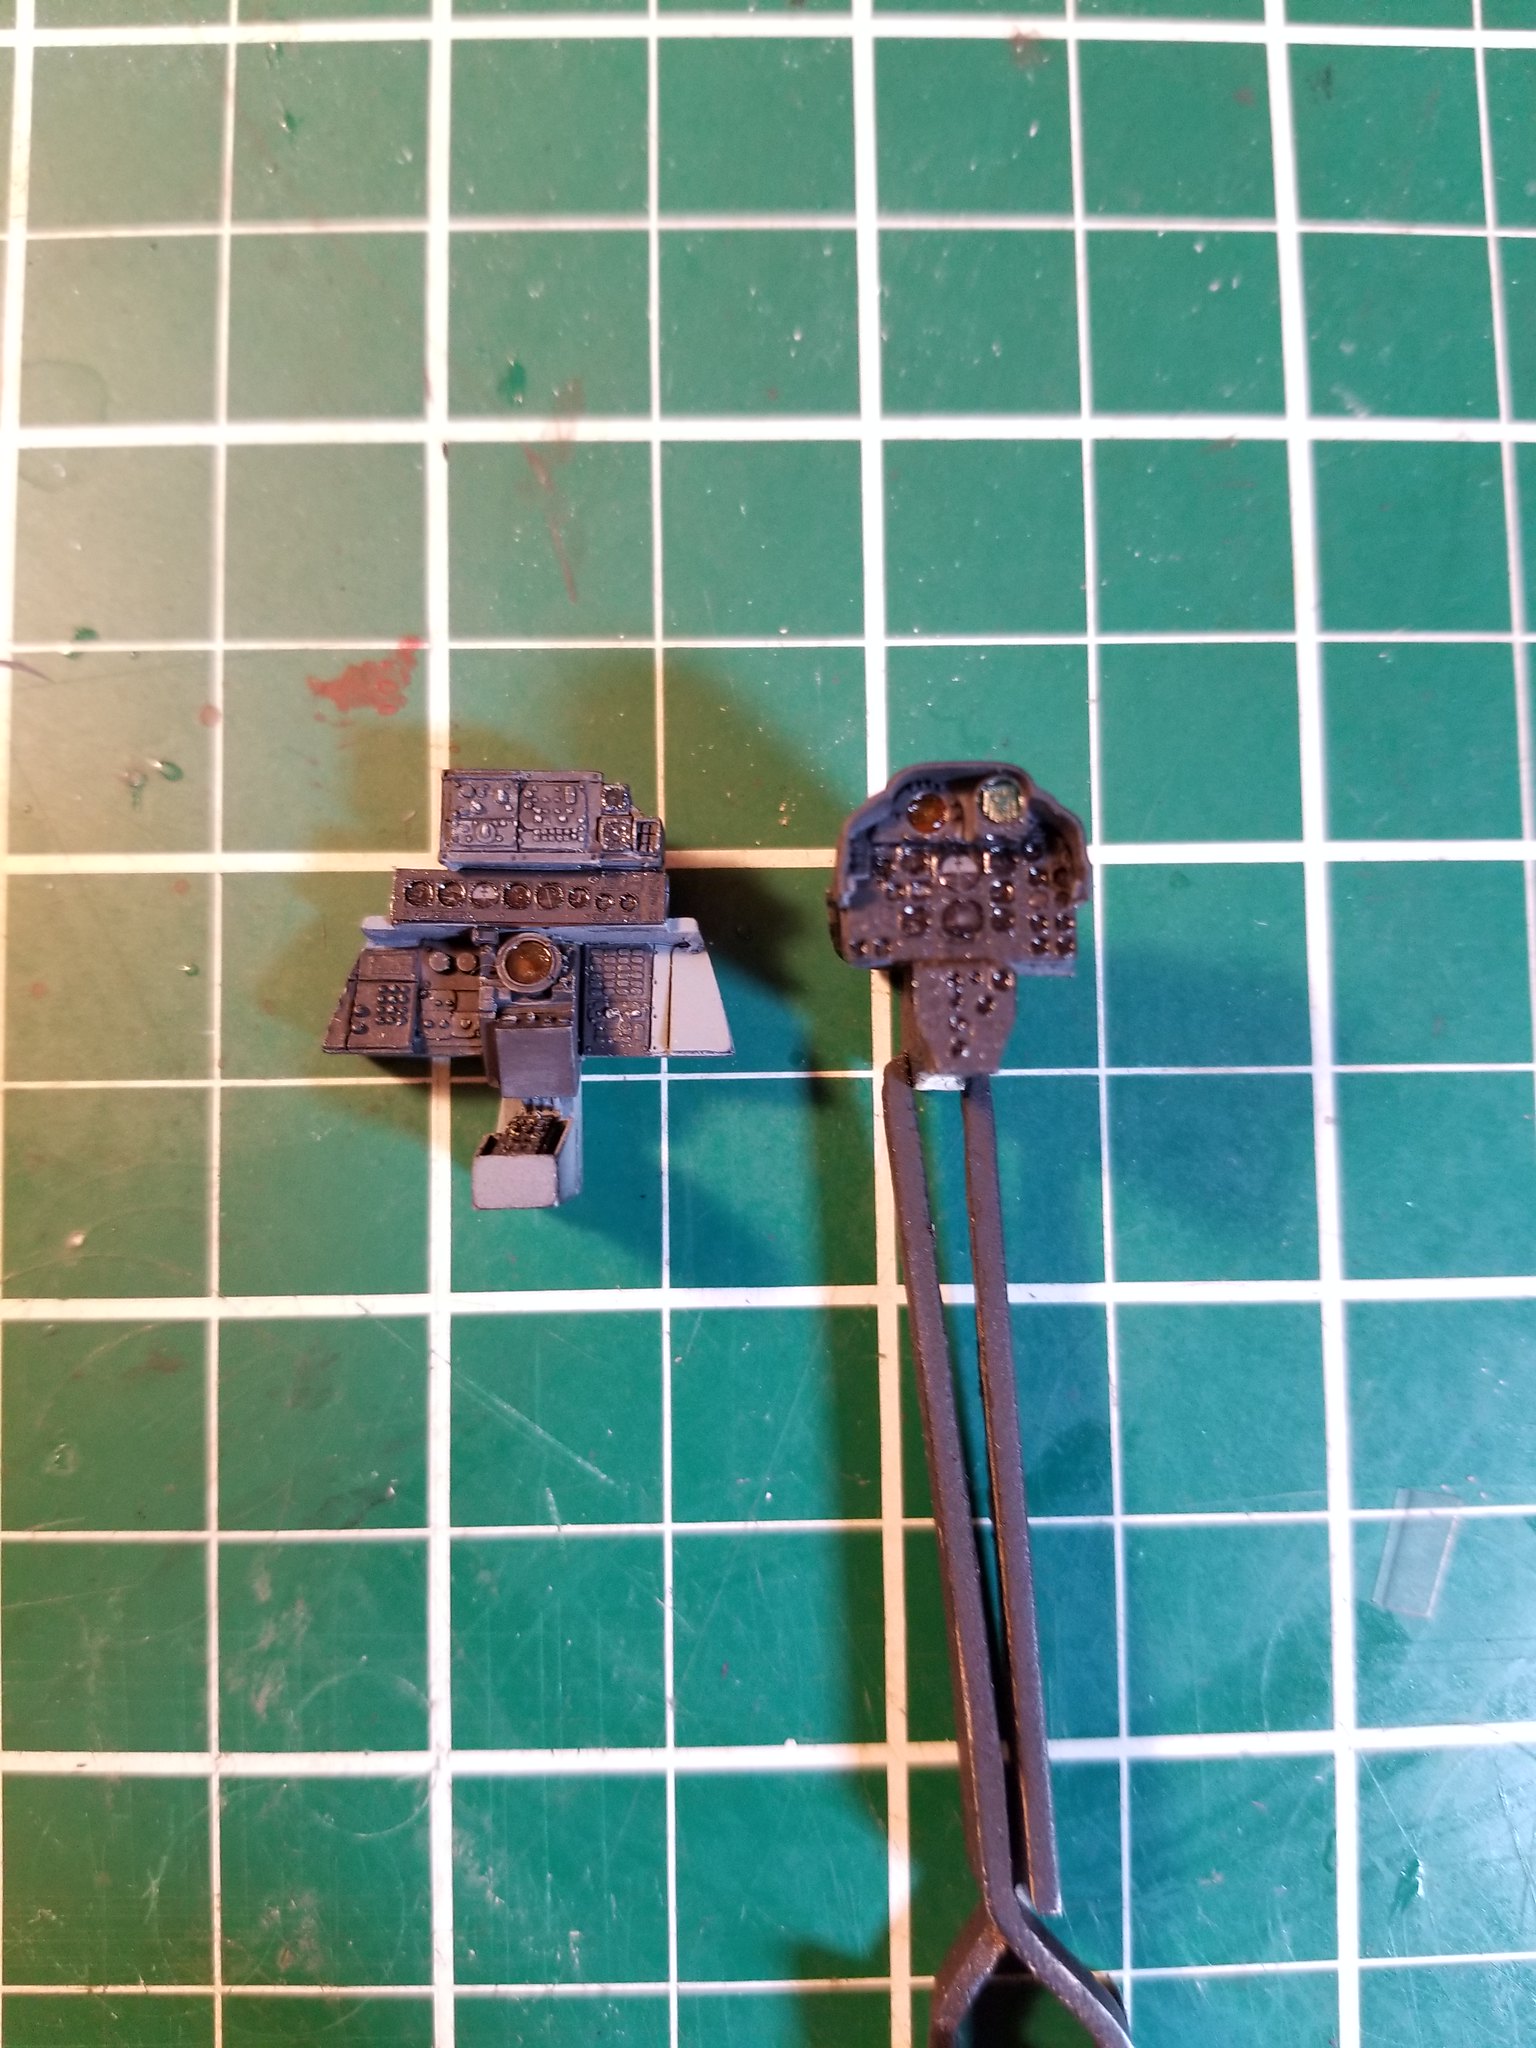 20180523_022042 by Christopher Ridle, on Flickr
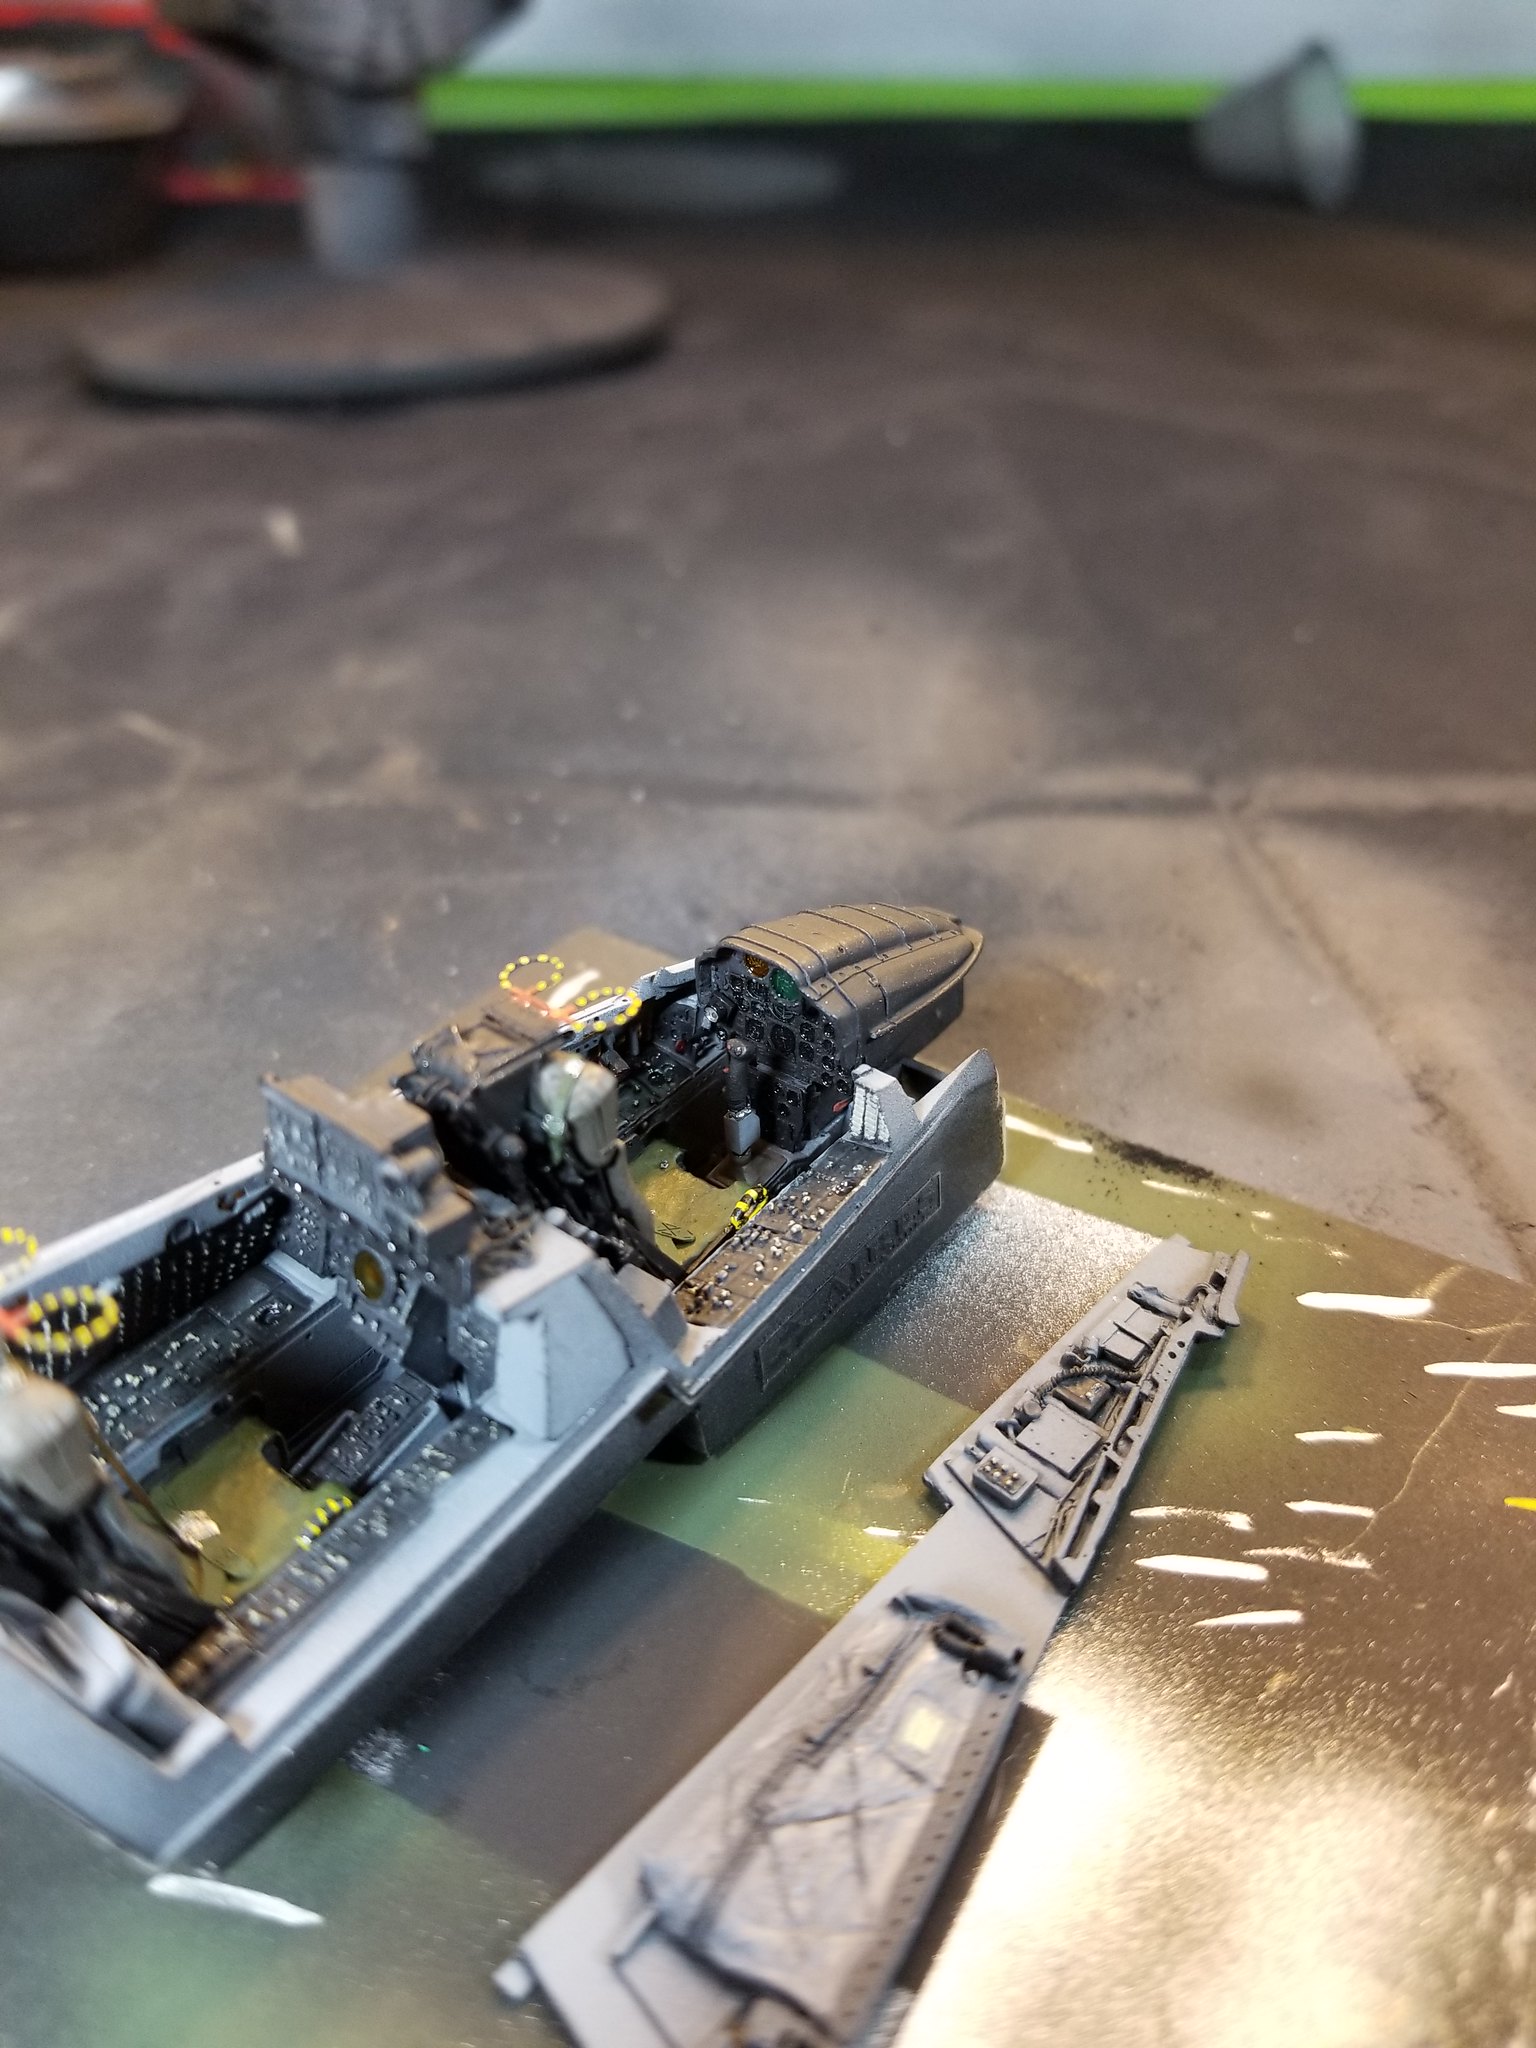 20180526_002204 by Christopher Ridle, on Flickr
The pit looked great, but it took a great deal of sanding and fitting to get it into the fuselage. At this point, the Aires burner cans were ready but not installed. I started with a primer coat of Armory black primer, which resulted in disaster. I don't know if it was the humidity or some other weird factor, but the primer resulted in a weirdly uneven, ridgy, almost furry surface. I'd never seen anything like it before. I used fine grit sanders to knock it down as best I could. However, it wasn't an even surface. My original intention was to use the black basing method, but the uneven surface forced me to apply more paint than I wanted.
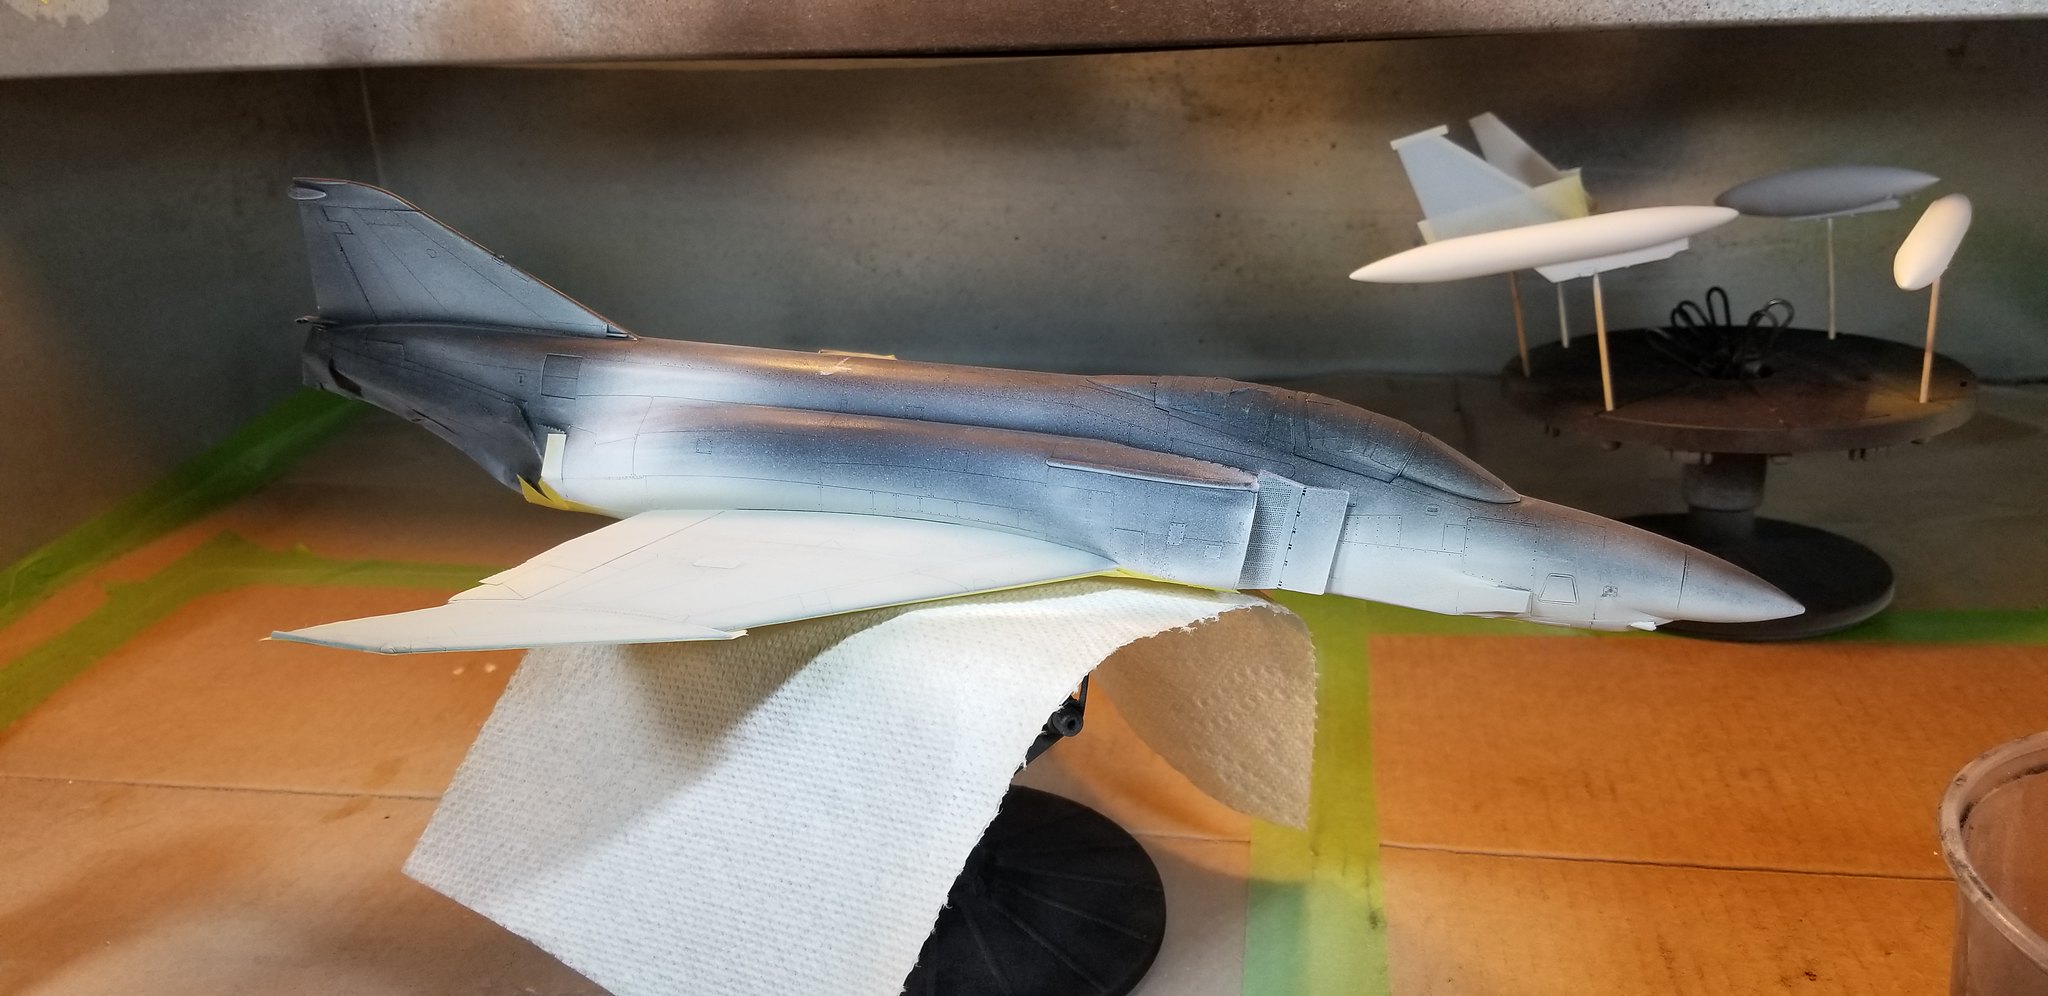 20180613_040721 by Christopher Ridle, on Flickr
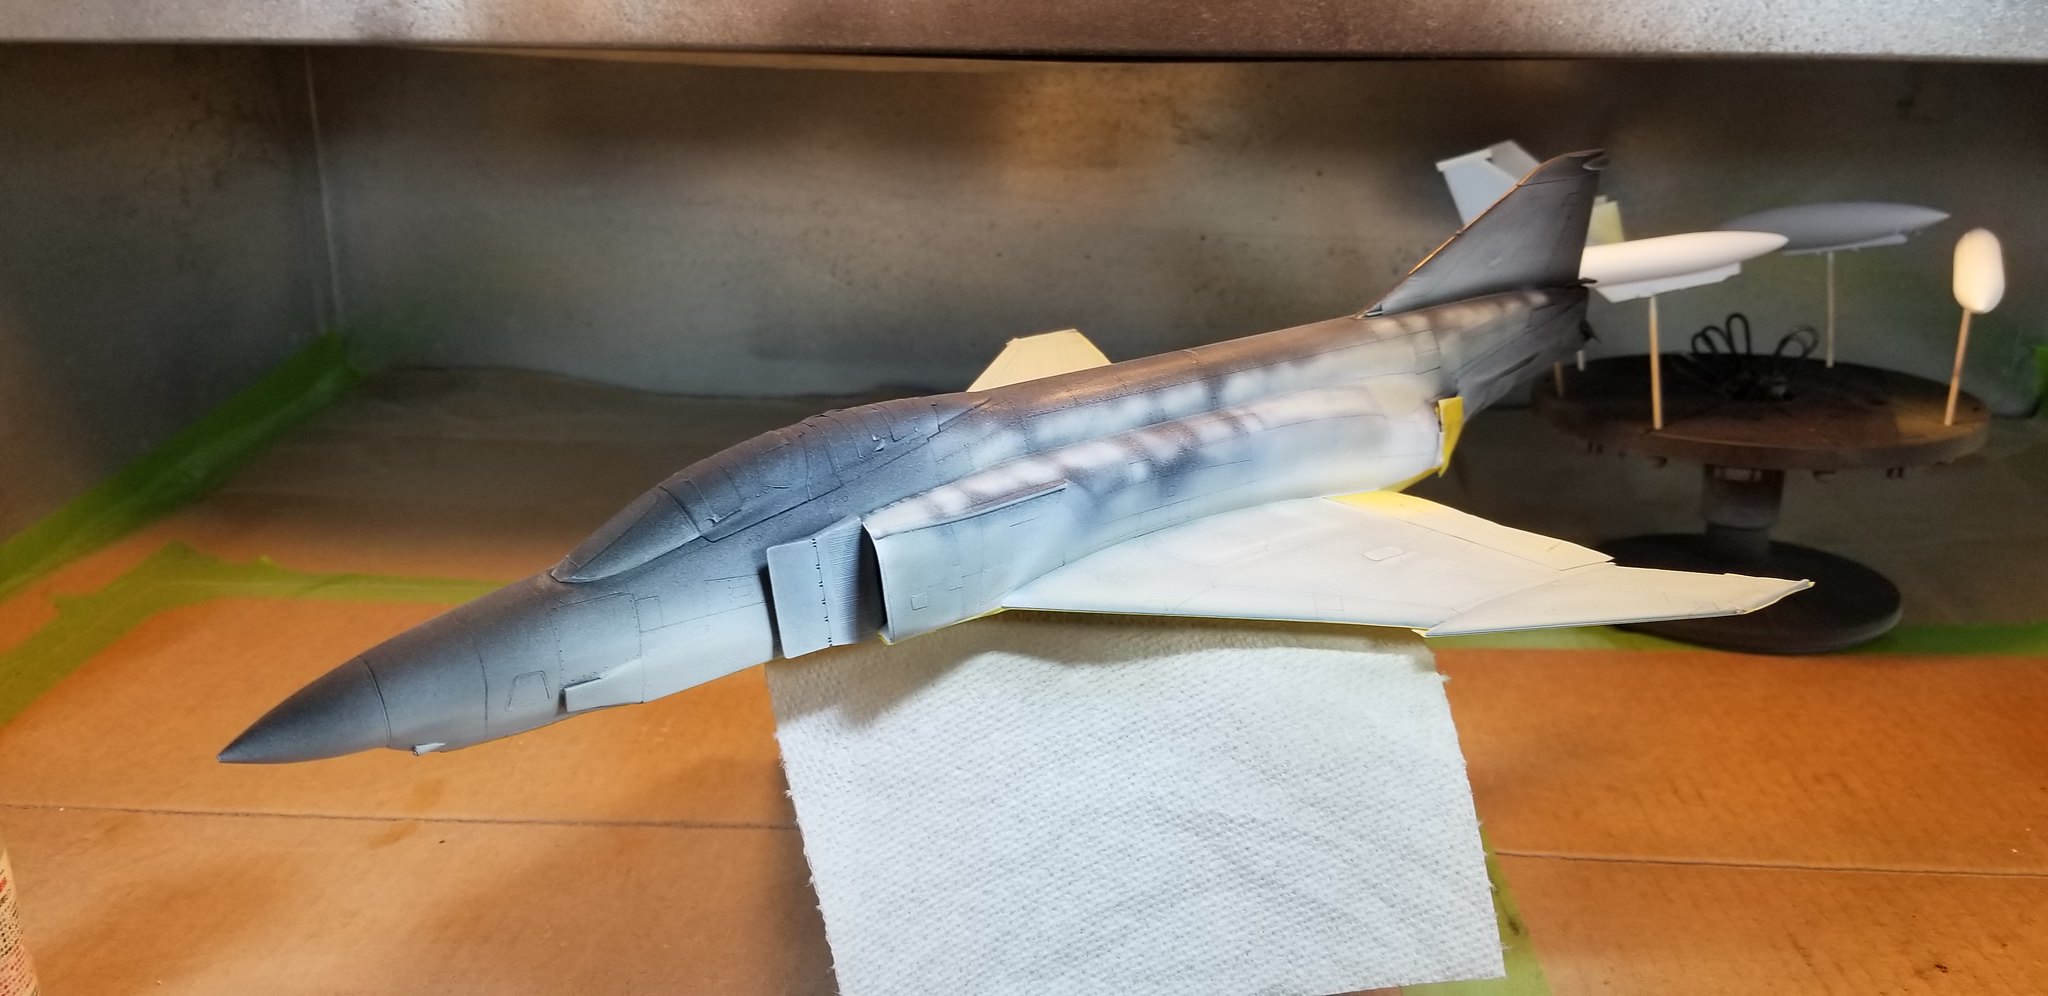 20180613_040730 by Christopher Ridle, on Flickr
This is what happens when I get very frustrated.
 20180616_023959 by Christopher Ridle, on Flickr
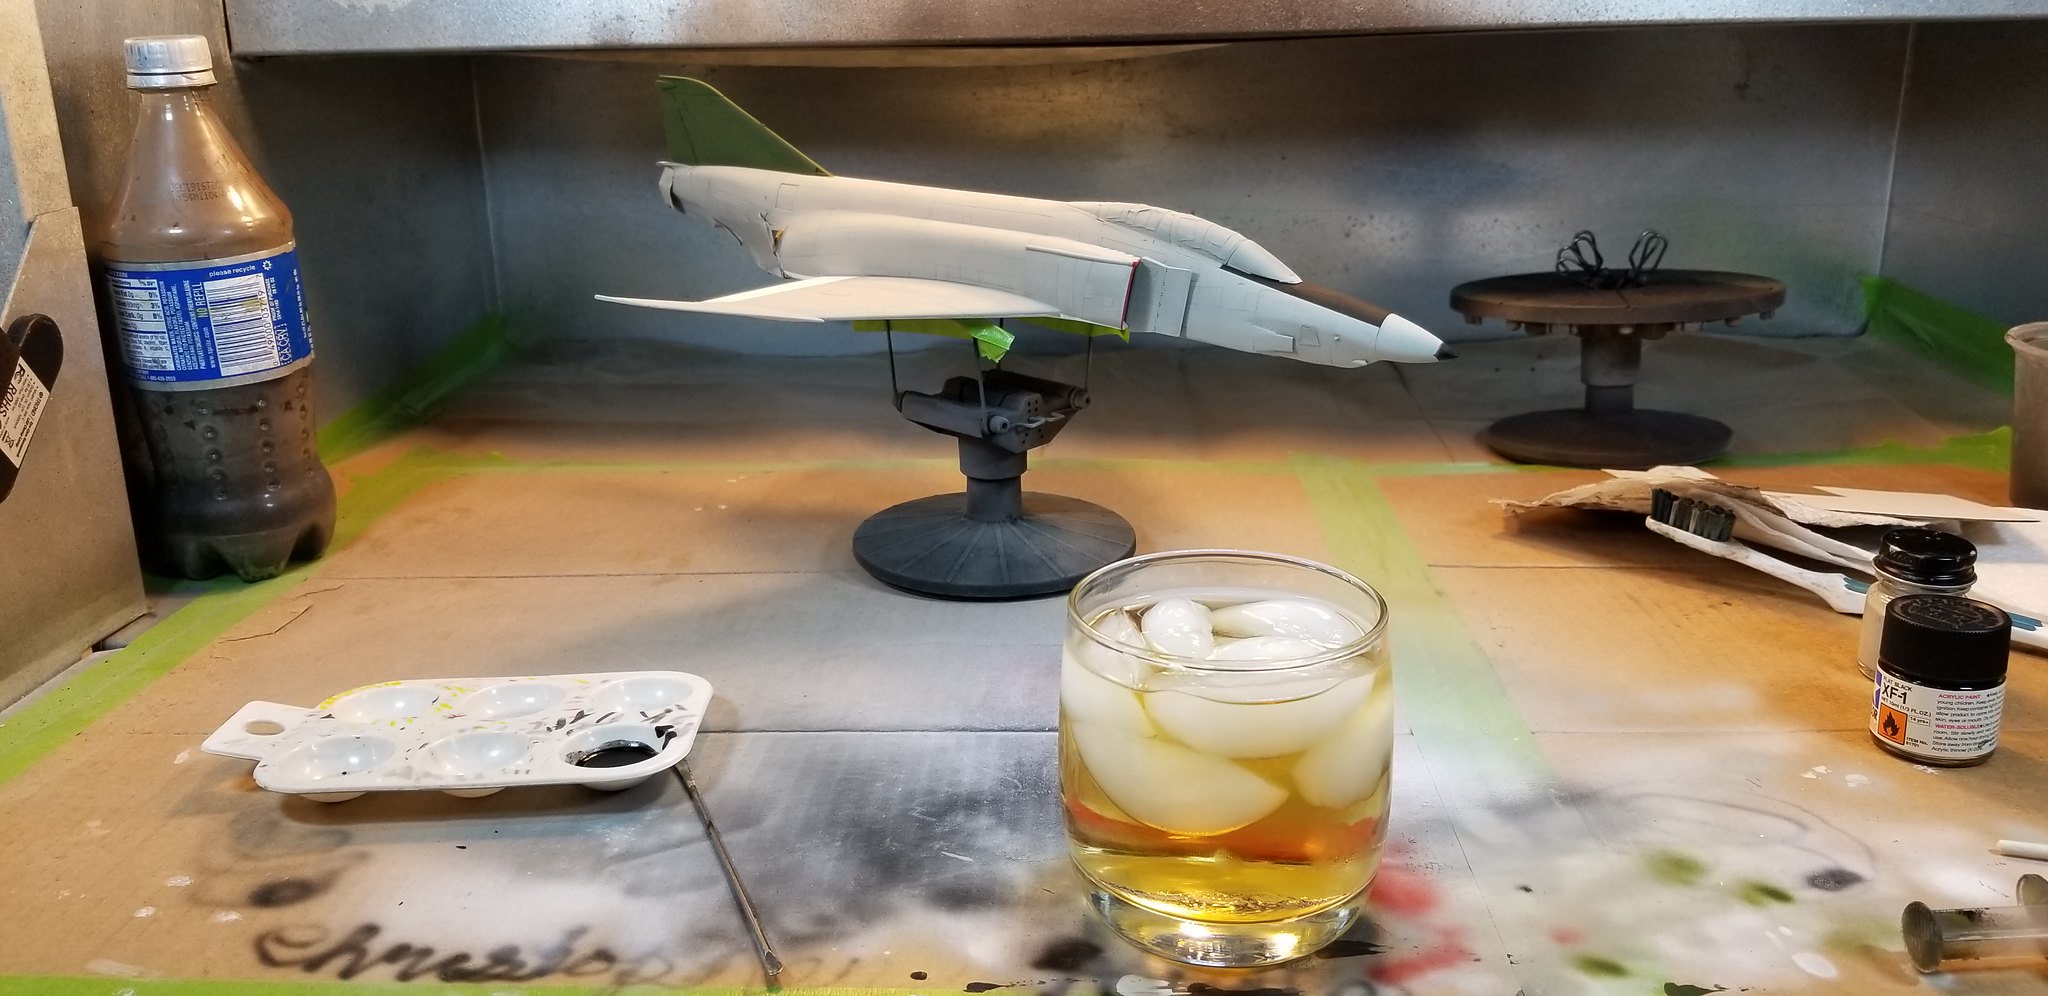
This picture shows my paint problems. Look at the uneven surface is on the tail. It was actually all over the plane, but this picture shows it best.
 20180620_035817 by Christopher Ridle, on Flickr
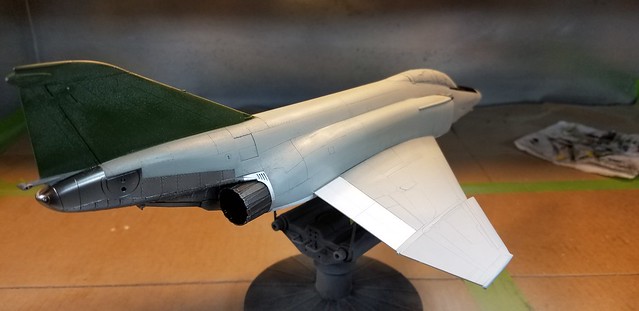
I used Vallejo gloss primer for the metallic areas. This is my first use of Vallejo metallics. I made some mistakes there too, but I've learned how to use it.
 20180620_035827 by Christopher Ridle, on Flickr
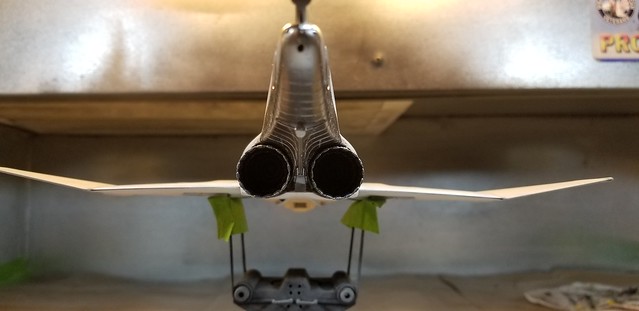
Post paint.
 20180620_035804 by Christopher Ridle, on Flickr
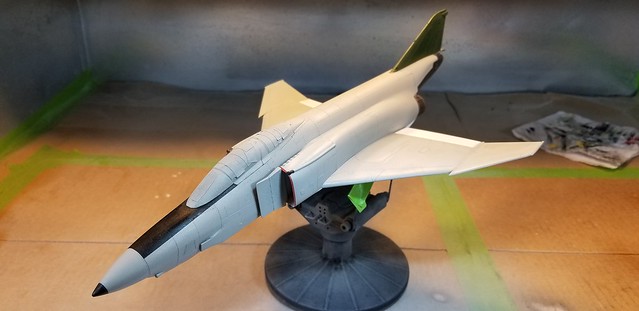
Starting decals. The decals in this kit were quite nice. I struggled with the decals on my last project, but I enjoyed these.
 20180622_032138 by Christopher Ridle, on Flickr
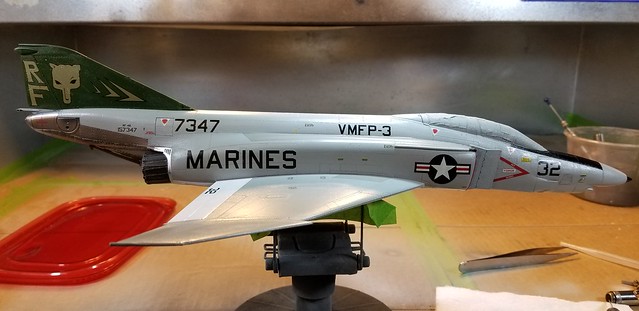 20180625_012634 by Christopher Ridle, on Flickr
At one point, I decided that I needed to apply a lighter metallic color on the sides of the tail fairing. The masking resulted in two torn decals. I tore the bureau number on the left side and the tail fox on the right side. I replaced the BN with numbers from a CH-46. I tried to fill and blend the fox emblem decal with a gold paint. It didn't work well. On the upside, Tamiya paint bottles are just the right hight for tail supports.
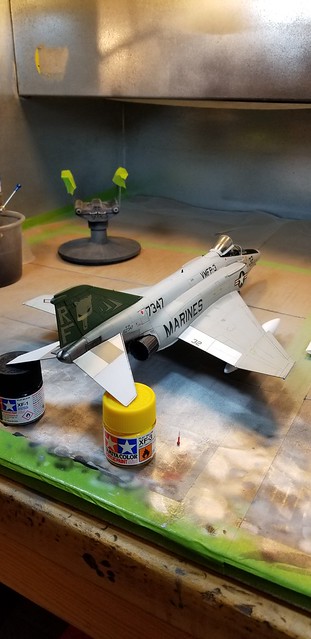 20180701_195327 by Christopher Ridle, on Flickr
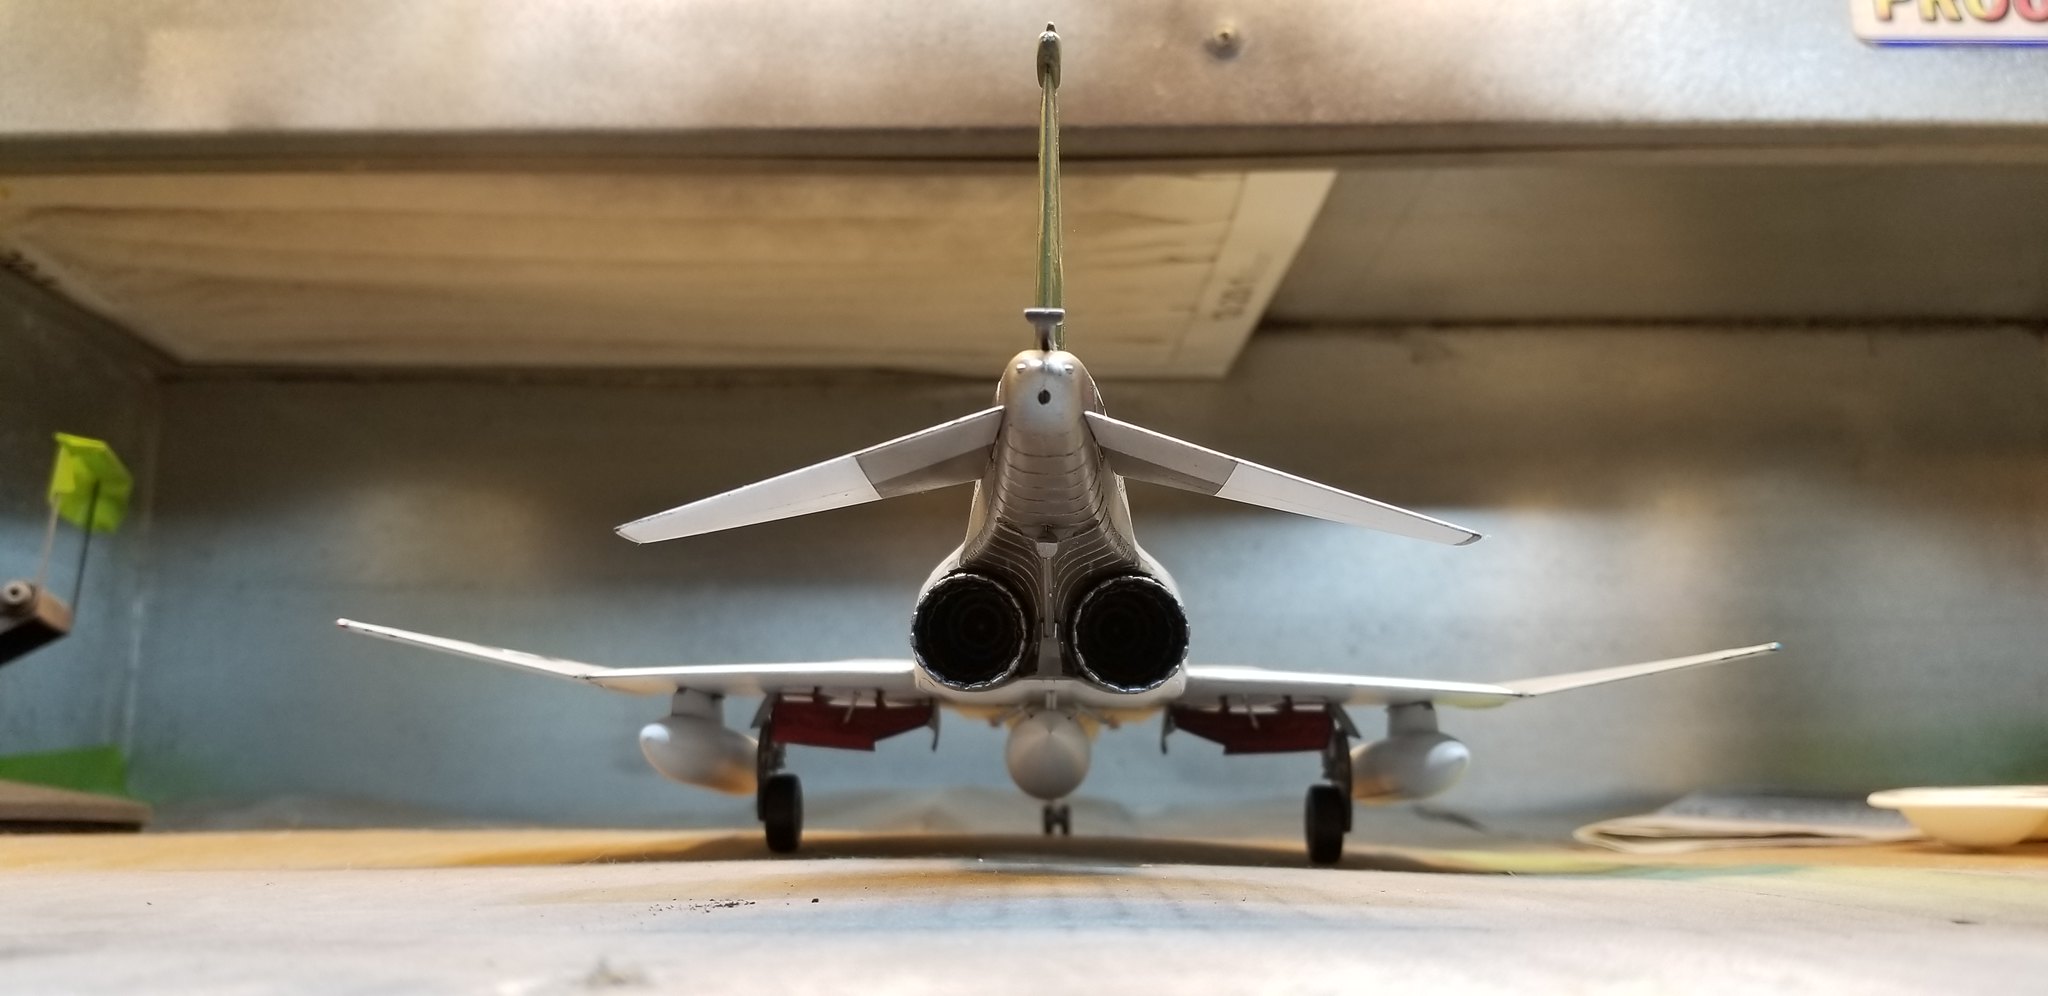
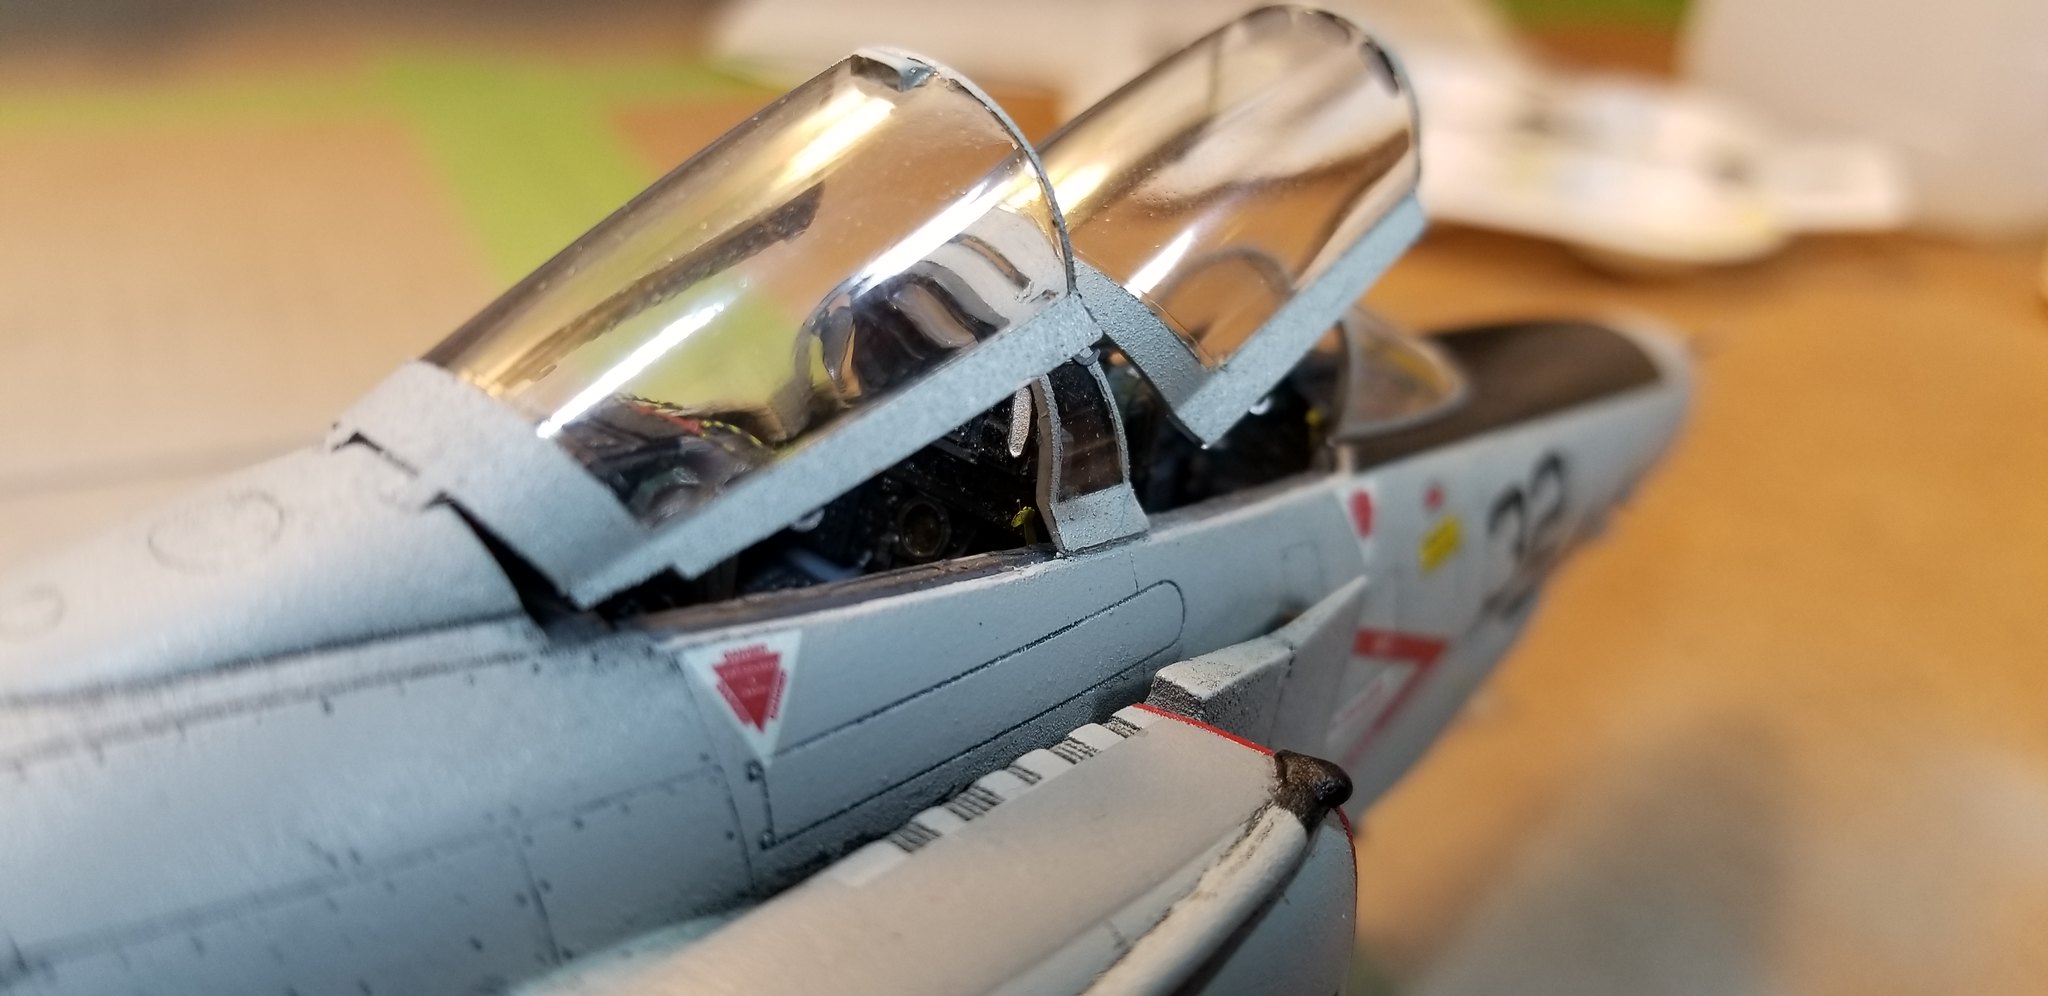
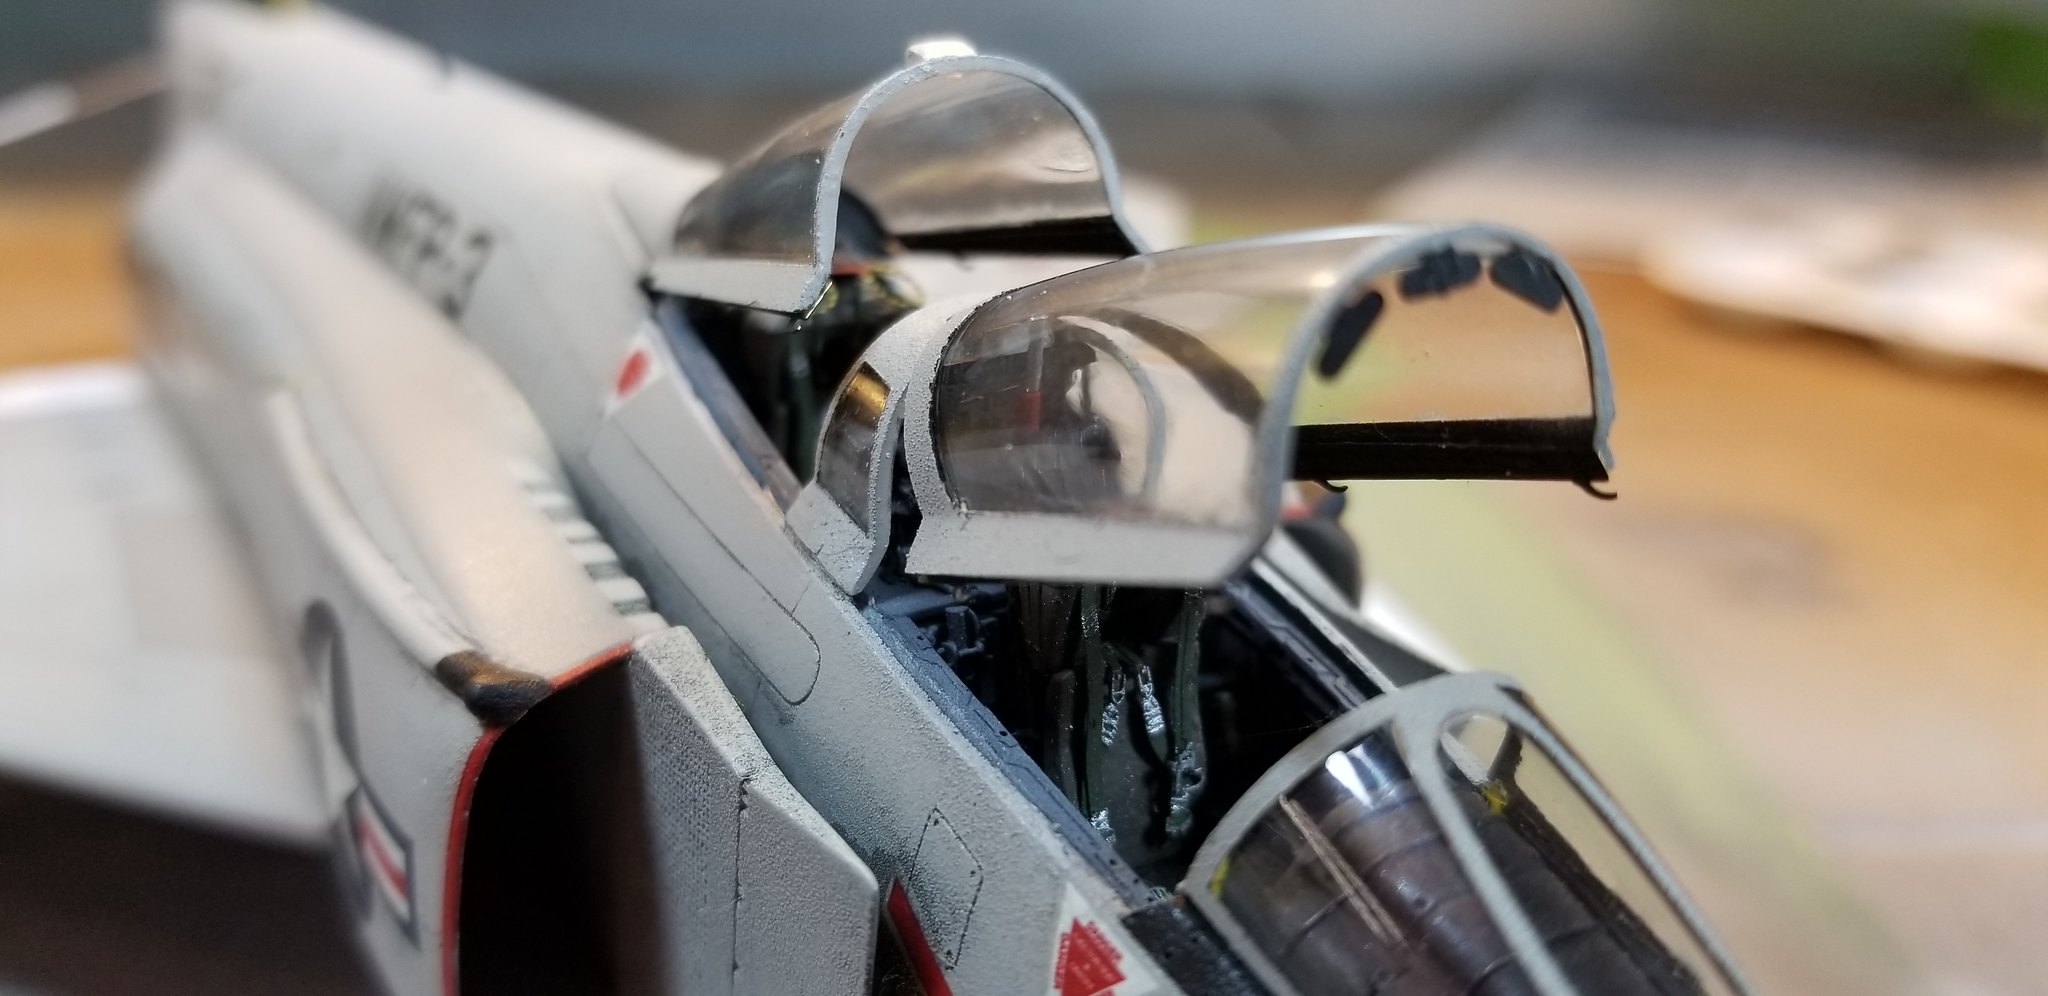
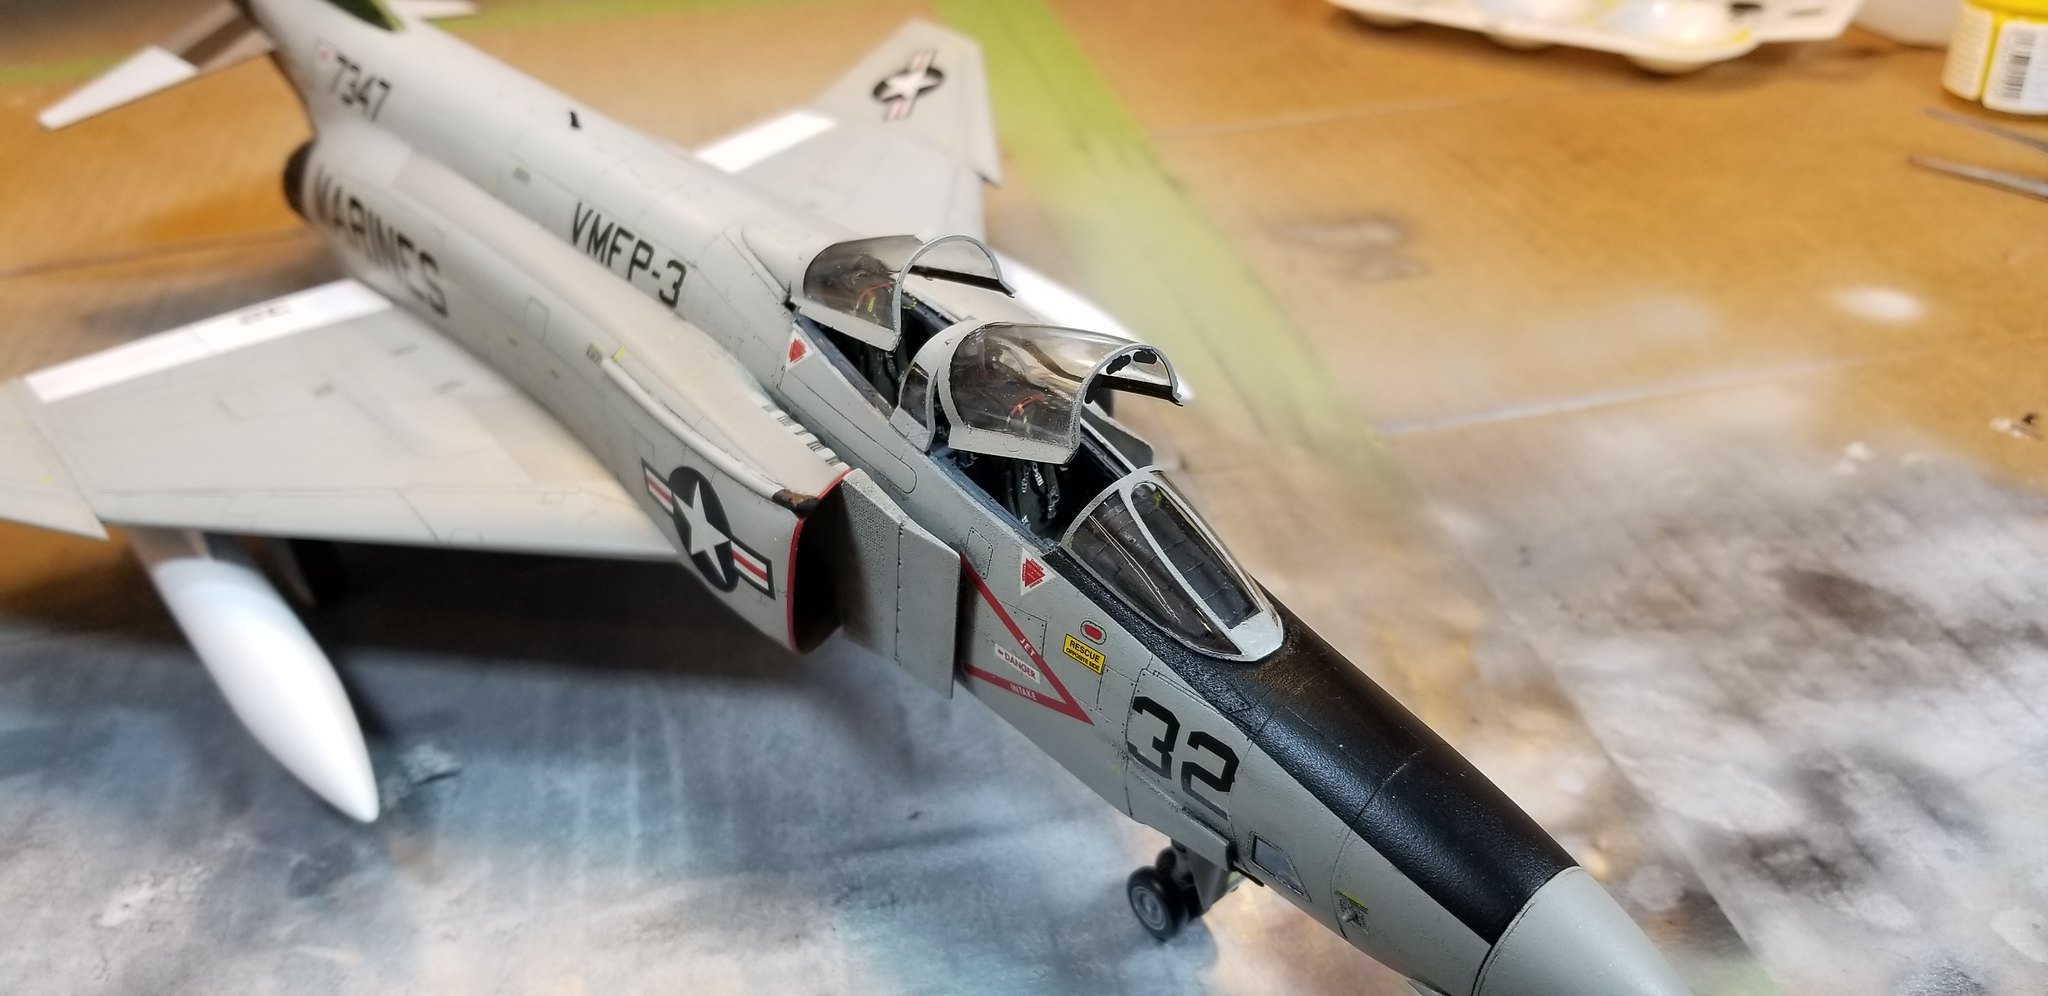
Here she is. She isn't perfect, but she looks like a Phantom. Obvious warts be darned. She looks nice in my case.
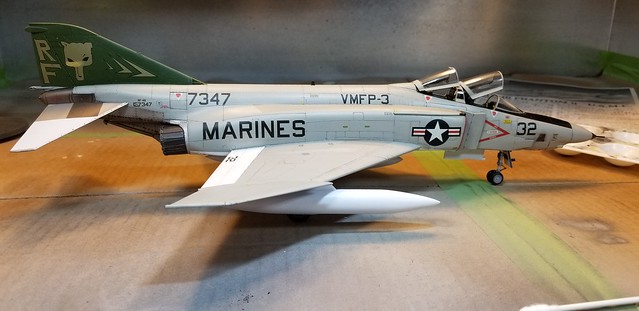 20180701_215855 by Christopher Ridle, on Flickr
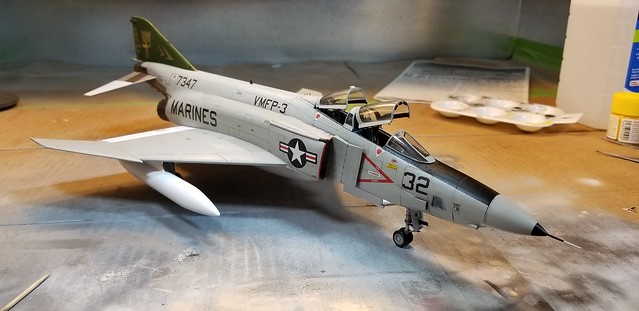 20180701_215907 by Christopher Ridle, on Flickr
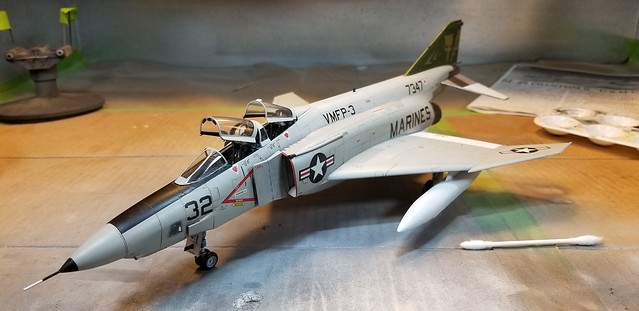 20180701_215920 by Christopher Ridle, on Flickr
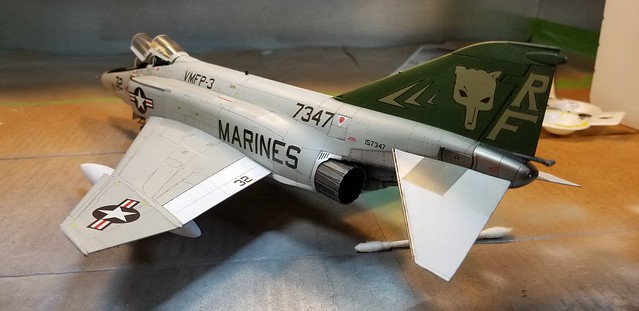 20180701_215932 by Christopher Ridle, on Flickr
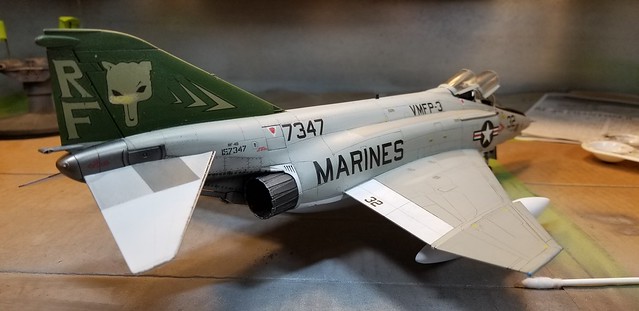 20180701_215945 by Christopher Ridle, on Flickr
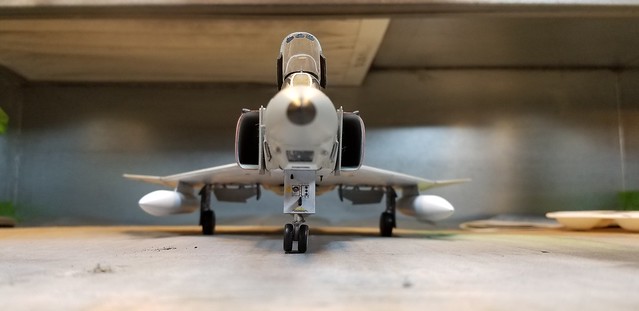 20180701_220021 by Christopher Ridle, on Flickr
 20180701_220107 by Christopher Ridle, on Flickr
 20180701_220141 by Christopher Ridle, on Flickr
 20180701_220202 by Christopher Ridle, on Flickr
 20180701_220206 by Christopher Ridle, on Flickr
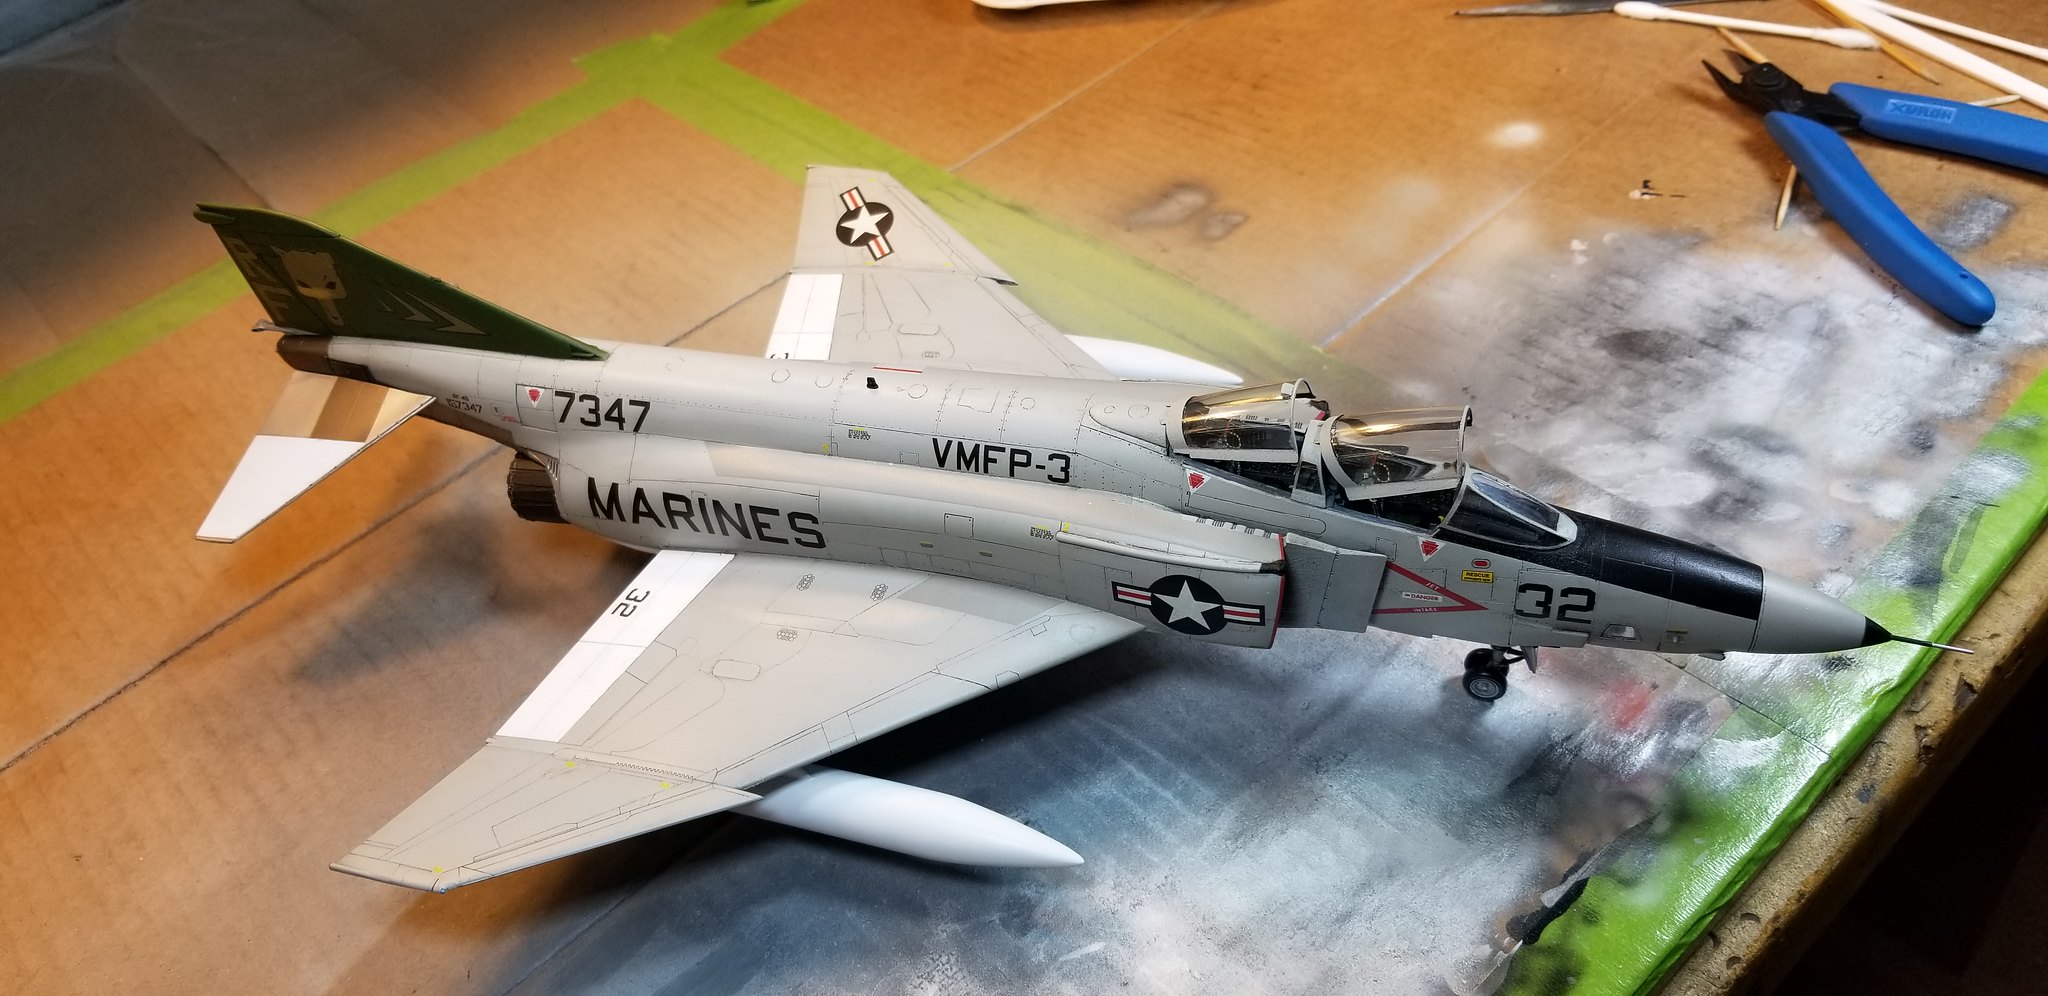 20180701_220215 by Christopher Ridle, on Flickr
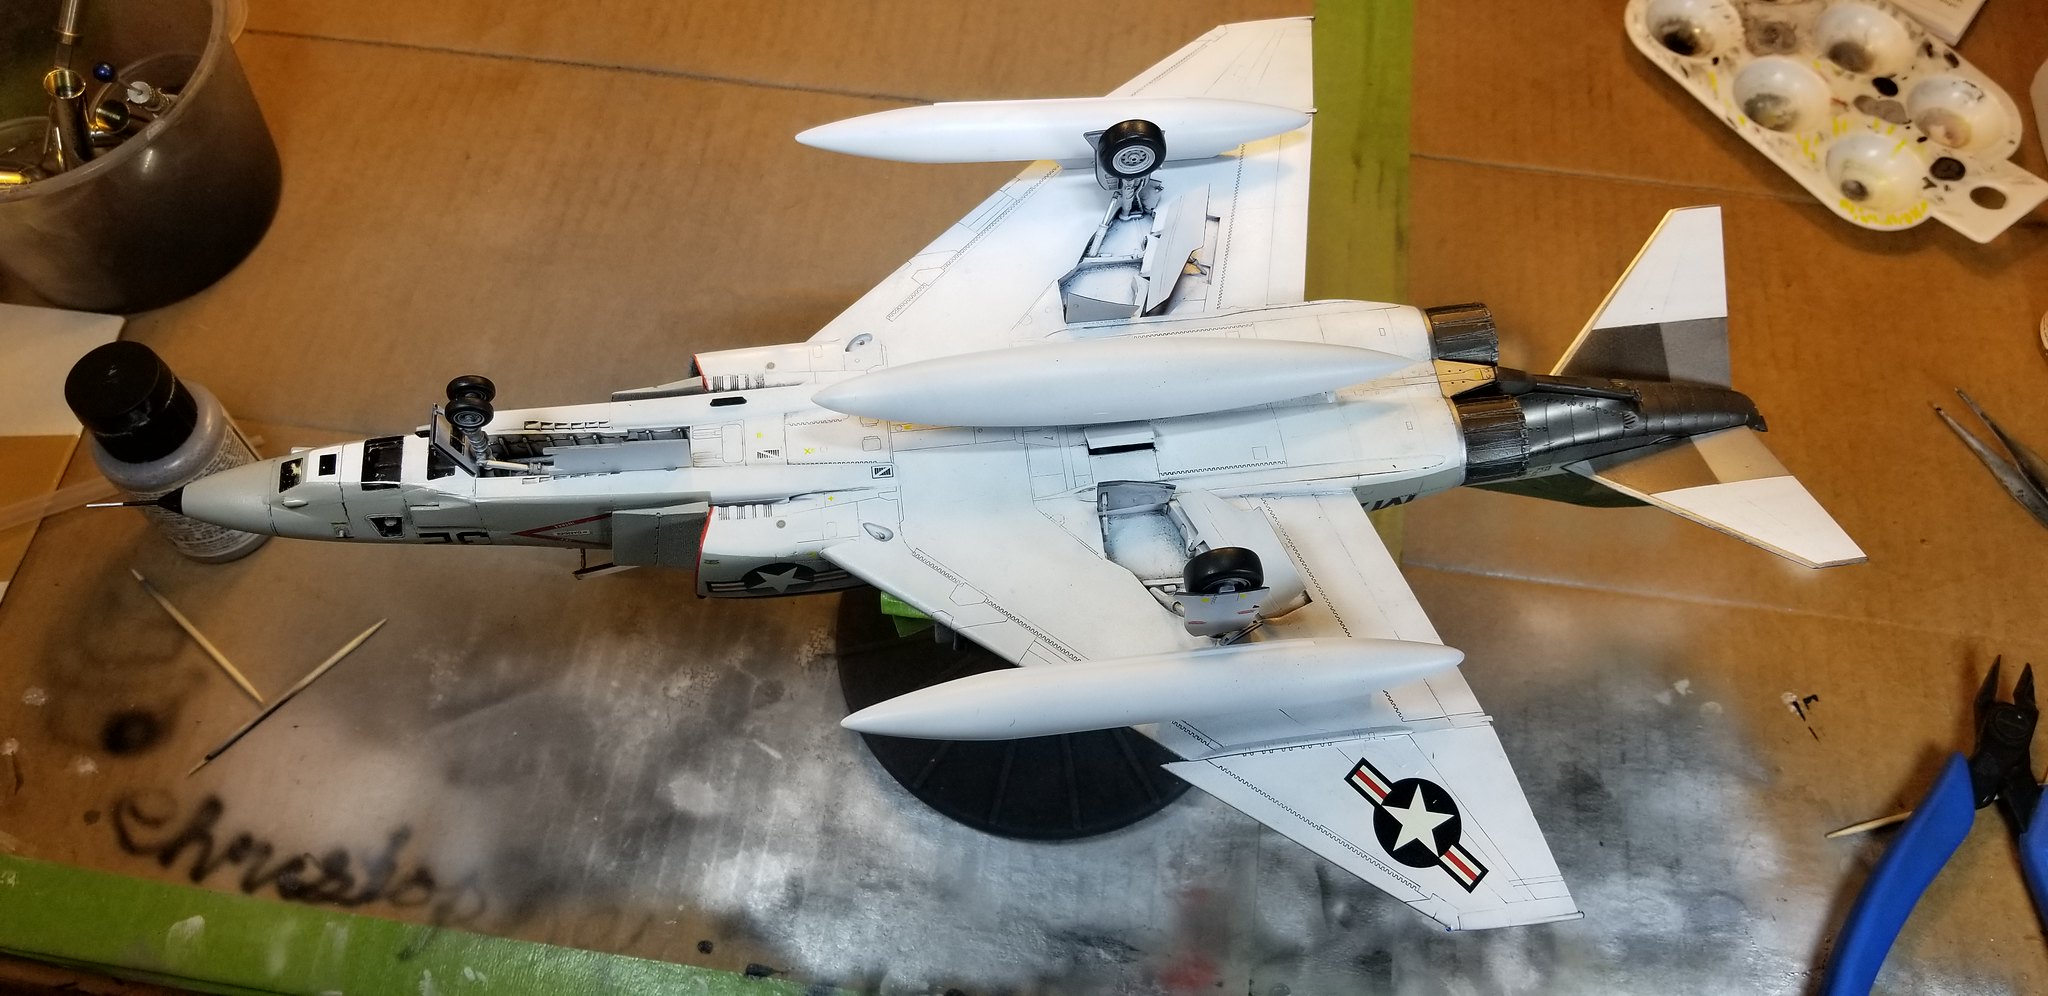 20180701_220244 by Christopher Ridle, on Flickr
It's the 48th Marine Air Wing.
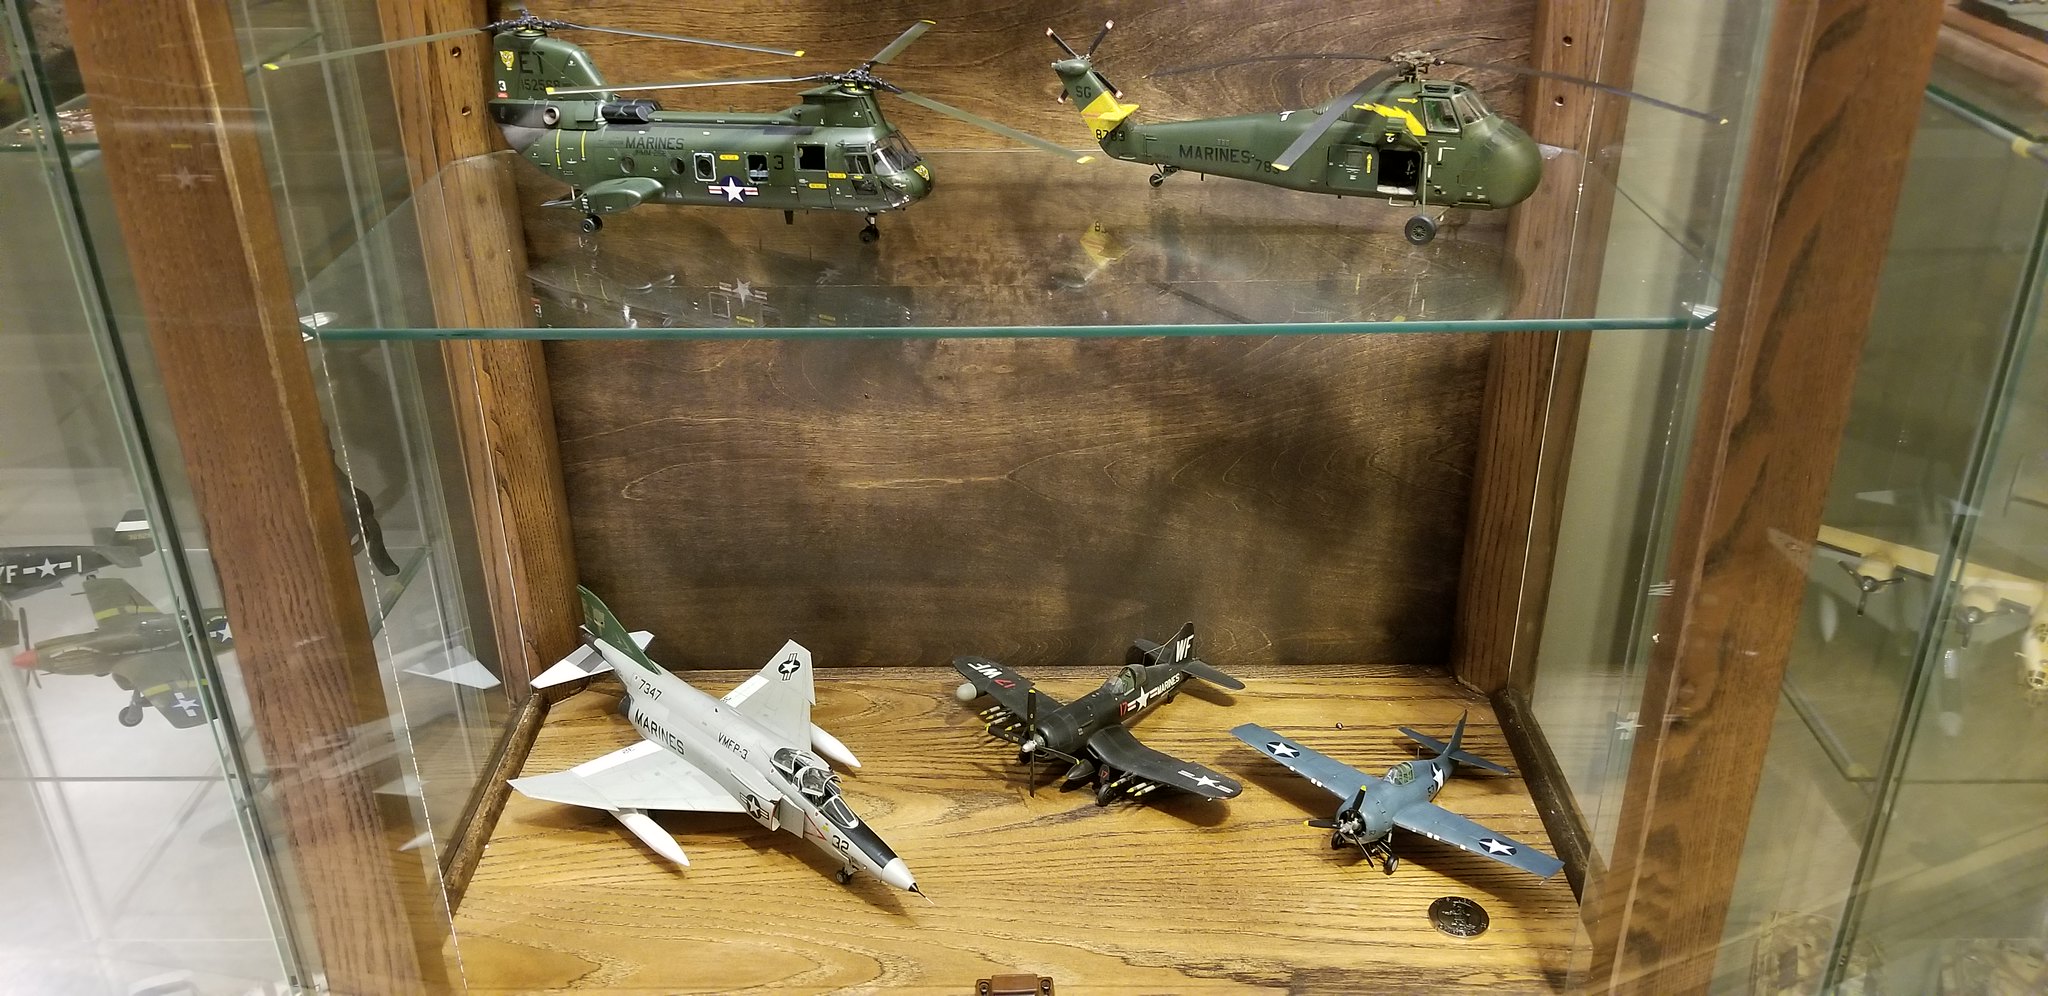 20180701_220453 by Christopher Ridle, on Flickr
Thank you for looking,
Chris