Hello Everybody,
Vallejo's new line of Metal Color Acrylics had inspired me to try a natural metal finish aircraft. I'm just one of those modelers that prefers the ease of acrylics, and I was always a little put-off by enamels and lacquers. I read FSM's article using Vallejo Metal Color to paint an F-86 Sabre. The article made it sound a little difficult. Then I saw a Flory Model's review of the paint. I got the impression that Vallejo's products were the easiest way of doing natural metal without the smell of enamels or lacquers. I decided to try it.
I wanted the subject to be an US Air Force jet. I considered everything from the P-80 to the century series. I wanted a classic. The F-84F had a sporty look, and the Hobby Boss kit was decently reviewed. The Squadron Products' special edition used the Hobby Boss plastic, which I discovered by watching kit reviews. The Squadron kit also came with a resin seat, and there were cheap kits on Amazon. In fact, the Squadron special edition was cheaper than the Hobby Boss kit. It was a no-brainer.
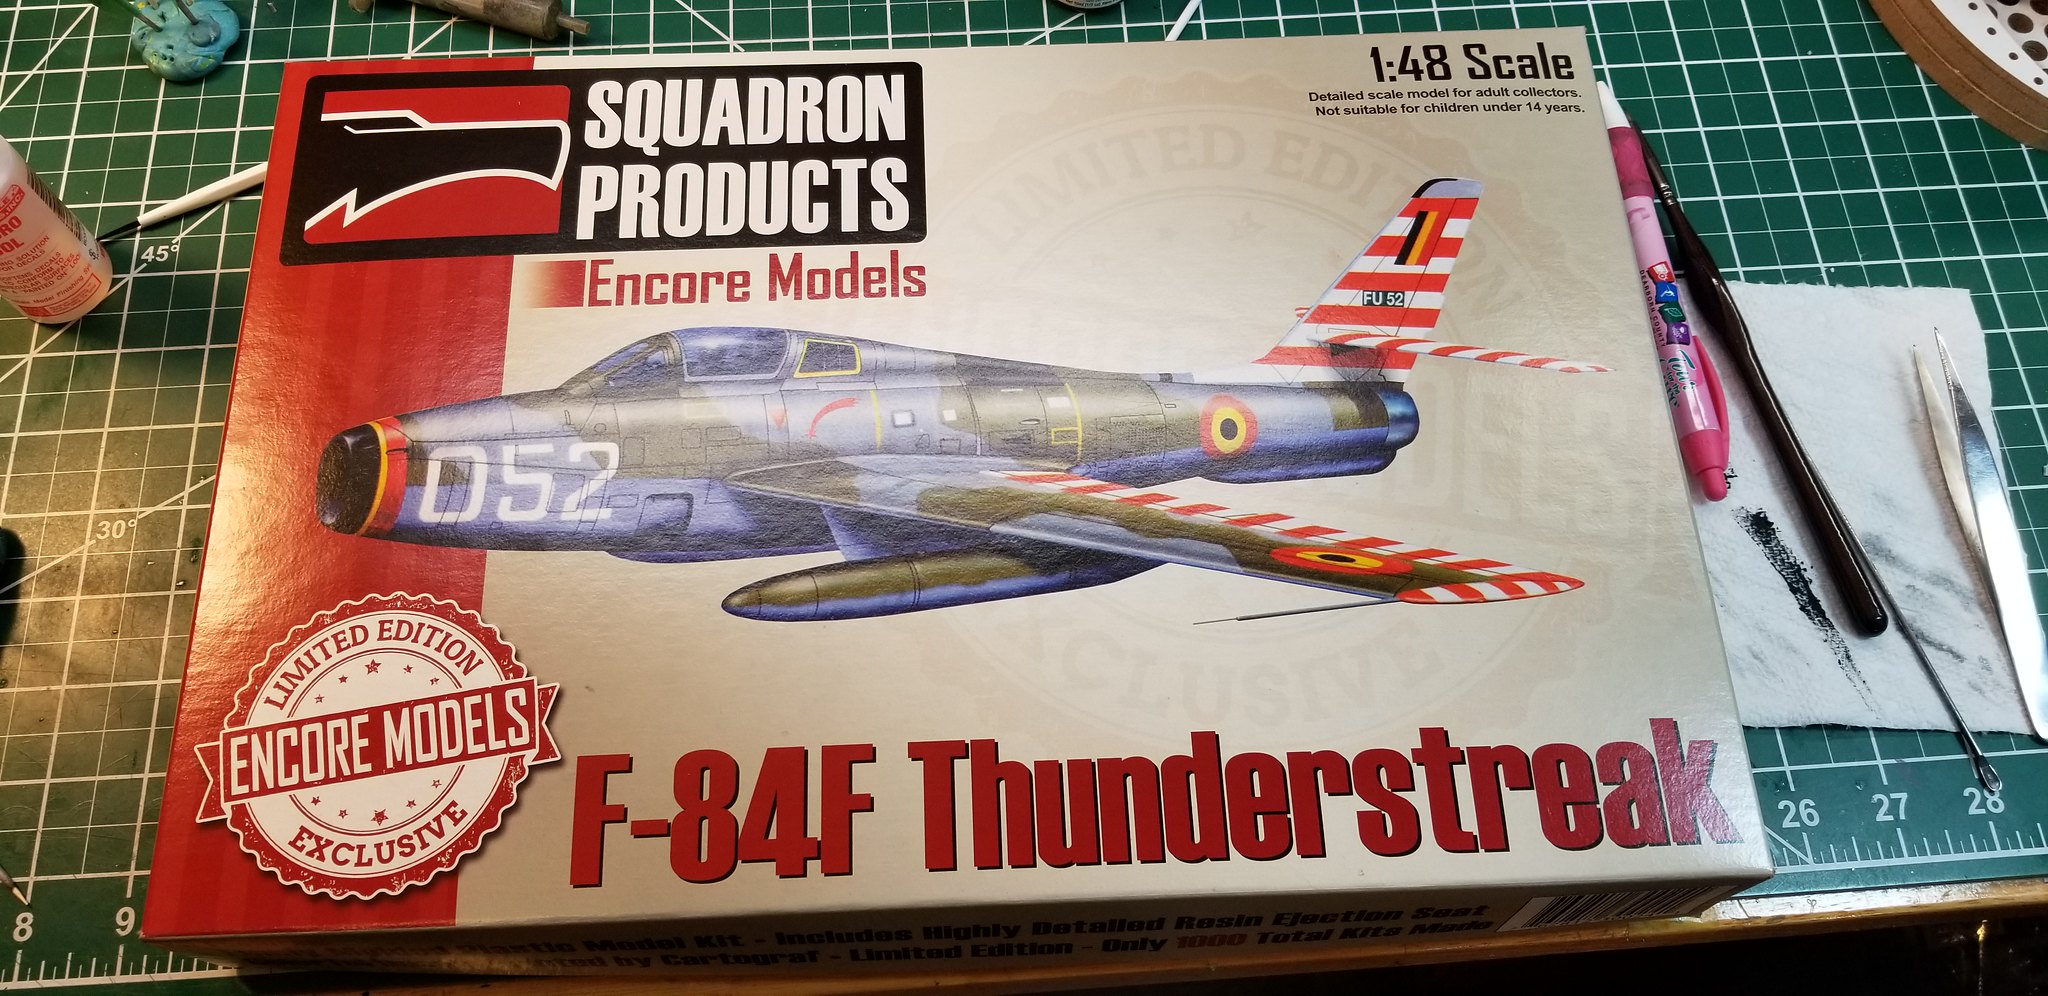 20180627_010230 by Christopher Ridle, on Flickr
Decals for a beautiful NMF USAF bird were in the kit.
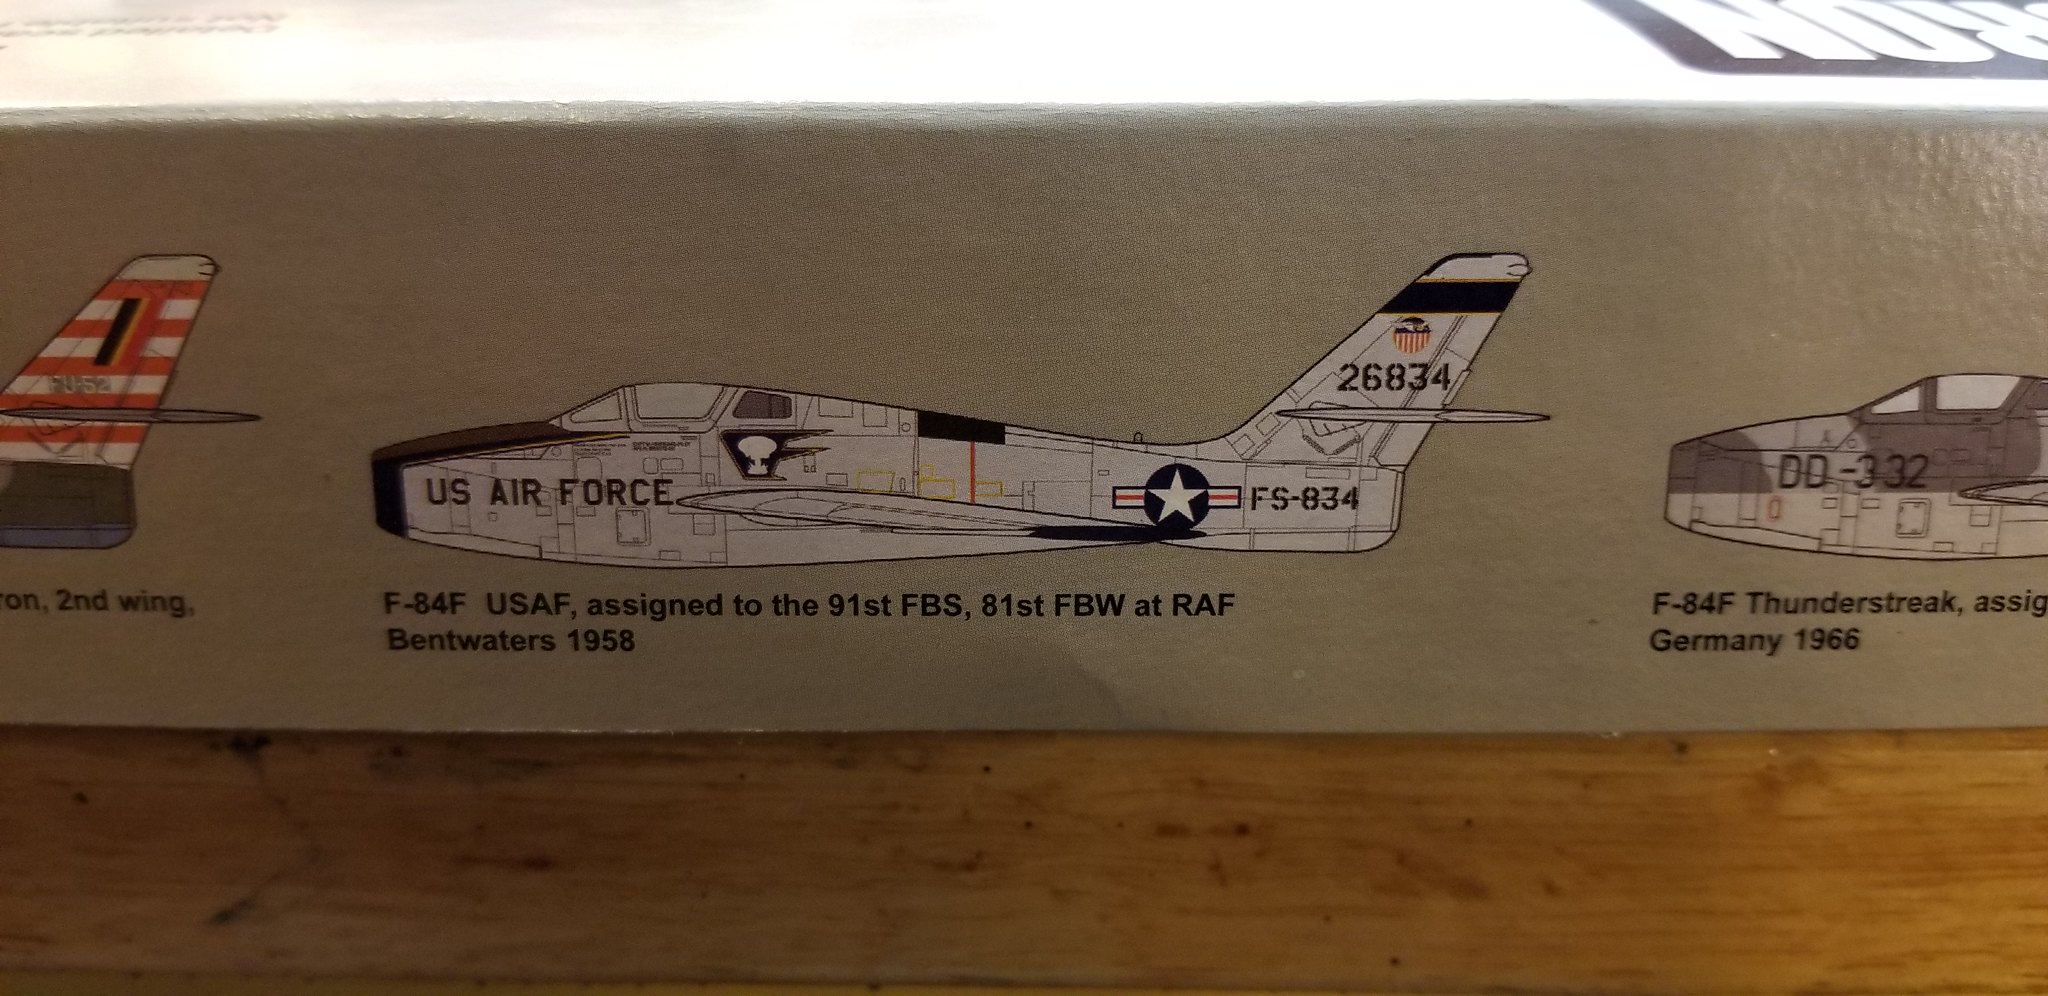 20180627_010245 by Christopher Ridle, on Flickr
The resin seat was quite nicely molded, but the rest of the cockpit was pretty basic.
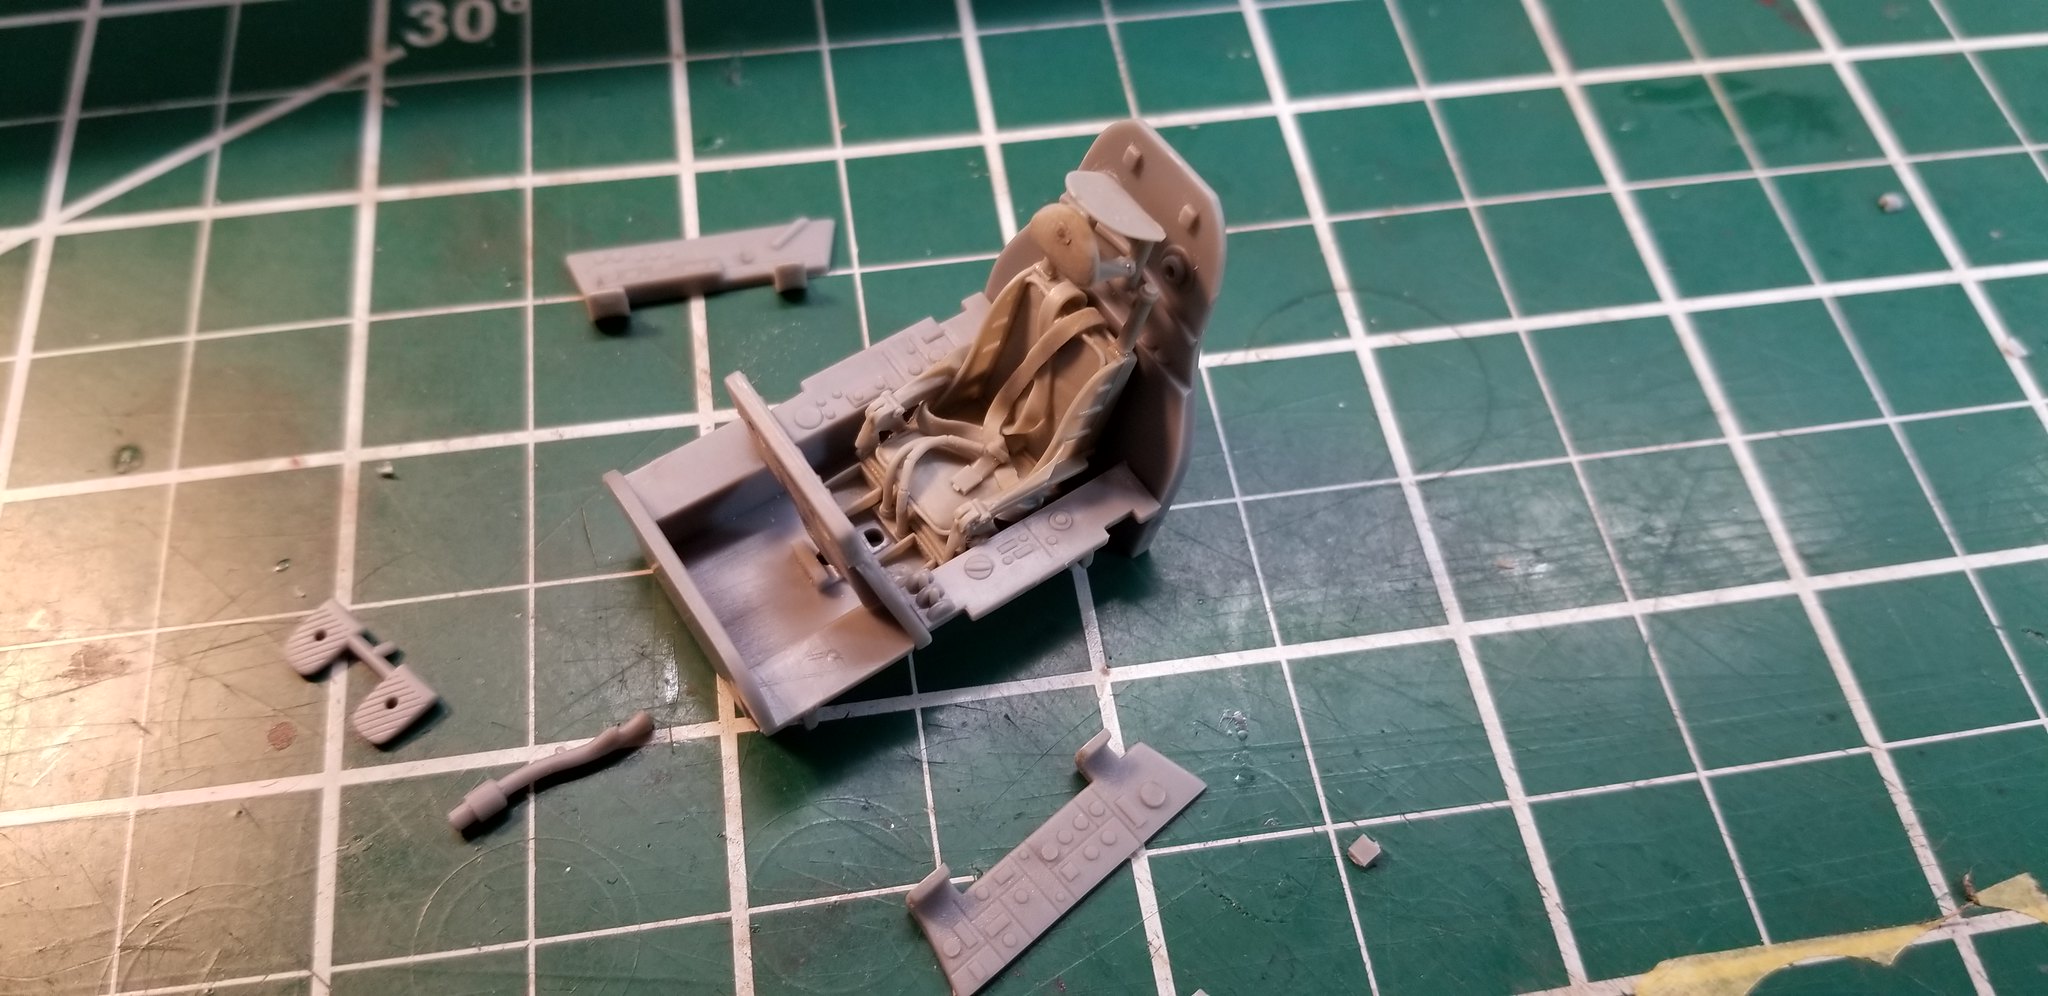 20180703_012849 by Christopher Ridle, on Flickr
However, I was happy with the build up. The controls can't really be seen after build-up anyway.
 20180705_000436 by Christopher Ridle, on Flickr
The seat should be visible when the kit is complete.
 20180705_000518 by Christopher Ridle, on Flickr
The kit built up quickly and easily. There were steps and seams in the usual spots, but nothing very large or challenging.
 20180718_190751 by Christopher Ridle, on Flickr
Vallejo's Polyurethane black primer (77.660) was not easy to use. It clogs airbrushes. Experimentation with thinner and flow-improver did not make it easier to use. Eventually, I settled on a ratio that was about 2:1, primer to thinner with a drop of flow improver. It would still clog my airbrush, but I could deal with it. I'd swab the nozzle often with a thinner-soaked Q-tip. I don't think I'll use the product again. Tamiya's X-1 Gloss Black could do the job with greater ease.
 20180720_211546 by Christopher Ridle, on Flickr
There was a spot where the primer sputtered out of my airbrush. The polyurethane has a tendancey to peal instead of sand. So removing such imperfections takes a great deal of work.
 20180720_211601 by Christopher Ridle, on Flickr
Eventually, I was happy with the gloss black primer coat.
 20180720_212118 by Christopher Ridle, on Flickr
I gave the model an Aluminum (77.701) coat, then I gave it a dusting of Duraluminum (77.702). The landing gear, flaps, speed brake panels and aft panel (around exhaust) got Semi-Matte Aluminum (77.716). The landing gear door interiors and speed brake well interiors got Dull Aluminum (77.717). The engine exhaust got Jet Exhaust (77.713). The paint itself was very easy to use. I used a 2:1 paint to thinner, and it worked rather well for all colors.
 20180725_231133 by Christopher Ridle, on Flickr
 20180725_231105 by Christopher Ridle, on Flickr
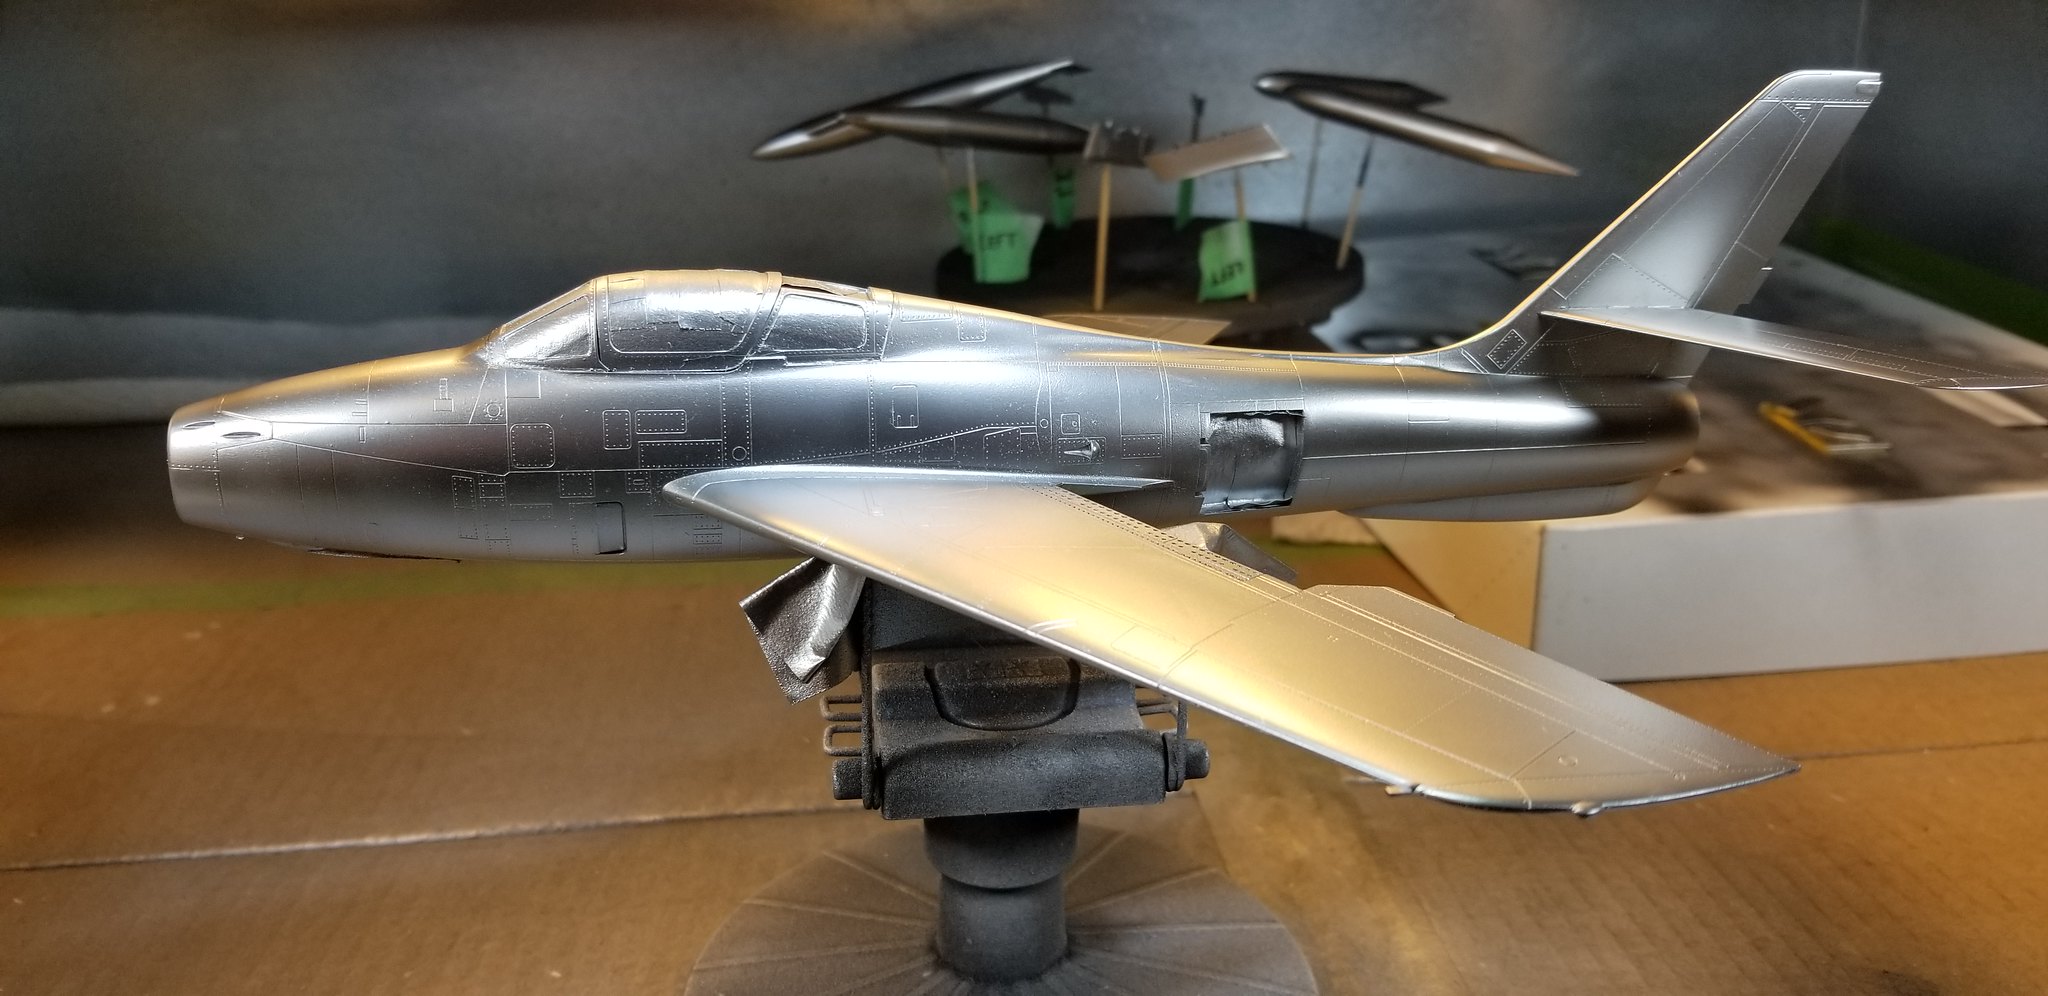 20180725_231142 by Christopher Ridle, on Flickr
The decals were great, with the exception of the nose decal. The decal included the blue band that wrapped around the intake. It also incorporated the olive drab anti-glare panel. The blue portions were fine, but the OD section wouldn't settle down over the curves of the plane.
 20180727_231225 by Christopher Ridle, on Flickr
 20180727_231232 by Christopher Ridle, on Flickr
I worked them a great deal, but I couldn't get the folds to settle down.
 20180729_203940 by Christopher Ridle, on Flickr
Finally, I sanded off the offending folds. After a clear coat, I carefully masked the anti-glare panel, and I painted the whole OD area.
 20180729_203958 by Christopher Ridle, on Flickr
I was pretty happy with how things were going.
 20180731_203711 by Christopher Ridle, on Flickr
Flory Model's Dark Dirt wash was used for weathering. This was my first try with this stuff. I experimented on a fuel tank before touching the plane. I really like the stuff. It's recommended to cover the whole model. Let it dry, and then remove the excess with a moistened cloth and Q-tips. It worked well. It makes for an ugly model while it dries.
 20180806_153904 by Christopher Ridle, on Flickr
 20180806_155324 by Christopher Ridle, on Flickr
I like the results, and I didn't think the plane needed anything else.
 20180806_204758 by Christopher Ridle, on Flickr
I should've weighted the nose, but I didn't. The thing was a major tail-sitter after I installed the landing gear. I drilled holes into the large fuel tanks, and rolled BB's to their noses. Then, I squirted some CA glue in them to hold the BB's. The holes are just under the mount pylons.
After I got her sitting nice, I started working on the last bits. This includes the canopy, the pitot tube, and the landing gear doors. I decided to model the flaps up and the air-brakes closed, because this matches the majority of the reference pics with aircraft sitting on the tarmac.
I'm pretty happy with this one. Its NMF gives it a presence in my case. It catches the eye when I walk into the room.
 20180808_185036 by Christopher Ridle, on Flickr
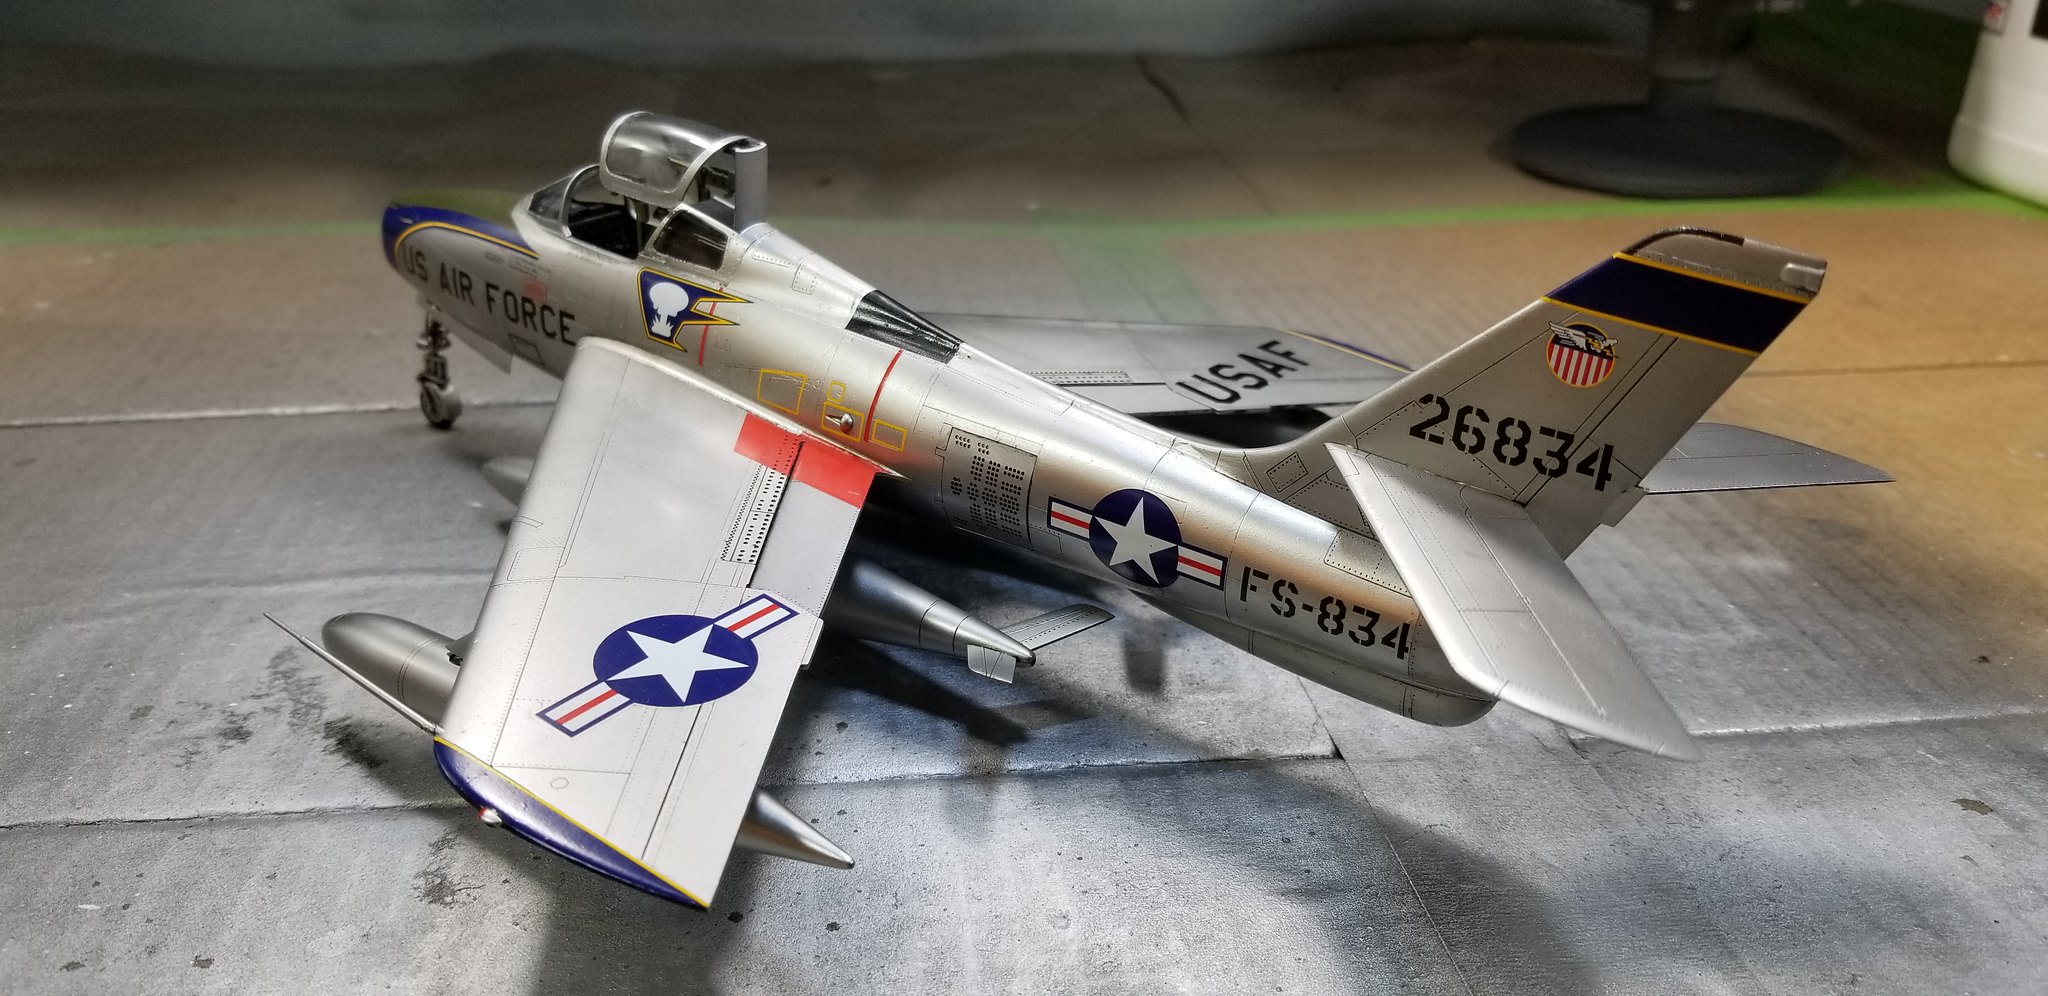 20180808_185052 by Christopher Ridle, on Flickr
 20180808_185152 by Christopher Ridle, on Flickr
 20180808_185112 by Christopher Ridle, on Flickr
 20180808_185127 by Christopher Ridle, on Flickr
 20180808_185140 by Christopher Ridle, on Flickr
 20180808_185210 by Christopher Ridle, on Flickr
 20180808_185226 by Christopher Ridle, on Flickr
 20180808_185245 by Christopher Ridle, on Flickr
 20180808_185258 by Christopher Ridle, on Flickr
 20180808_185322 by Christopher Ridle, on Flickr
 20180808_185428 by Christopher Ridle, on Flickr